


![[Gallery] Street Rodders for Life Memorial Day Car Show](https://www.racingjunk.com/news/wp-content/uploads/2026/06/Memorial-day-show_0198-376x206.jpg)
![[Gallery] Townsman Car Show](https://www.racingjunk.com/news/wp-content/uploads/2026/05/916_2843-e1780072552171-376x206.jpg)

Jet 1
For many, carburetor jetting and horsepower seem inexplicably linked. And because of this, main jetting is often the cause of confusion in high performance carburetors. The "as delivered" jetting from Holley is very close to optimum for the majority of high performance applications. When it comes to calibration, Holley carburetors are base line jetted at sea level at 70 degrees F. A few specific carburetors require stagger jetting, but for the most part, the factory installed jets will be within a couple of numbers of being right.
Fair enough. Keep in mind though, the density of air decreases when temperature increases. Hot air is less dense than cold air -- there are actually fewer air molecules in a specific volume of warm air than in the same volume of cool air. Because there are fewer air molecules in warm air, then the carburetor jetting will usually need to be adjusted to compensate. In order to accomplish this you have to reduce the jet size or jet number (in other words, lean out the engine). How big can these changes be? An old racer rule of thumb states you should reduce by one jet number for every 20° F of temperature increase. Keep in mind that isn’t an absolute figure either since altitude density also enters the equation. That’s why careful tuning is important. The best way to compensate is to decrease jet numbers one at a time until the performance improvements cease. And just like the case of adding ignition timing, keep a close eye on the spark plugs. They’ll show you when the mixture is too lean.
We’re not quite done with jetting. There’s one more old drag racer rule of thumb to consider: For every 700-800 foot change in altitude, the jetting should be adjusted (keeping in mind the Holley baseline tune up at sea level). Basically, this is the same thing as an increase in temperature. As the altitude increases, the available air molecules in a given volume decrease. The solution? Decrease jet size as the altitude increases. Just be positive to use the same one jet number at a time approach (above), and always (always) double-check the spark plugs.
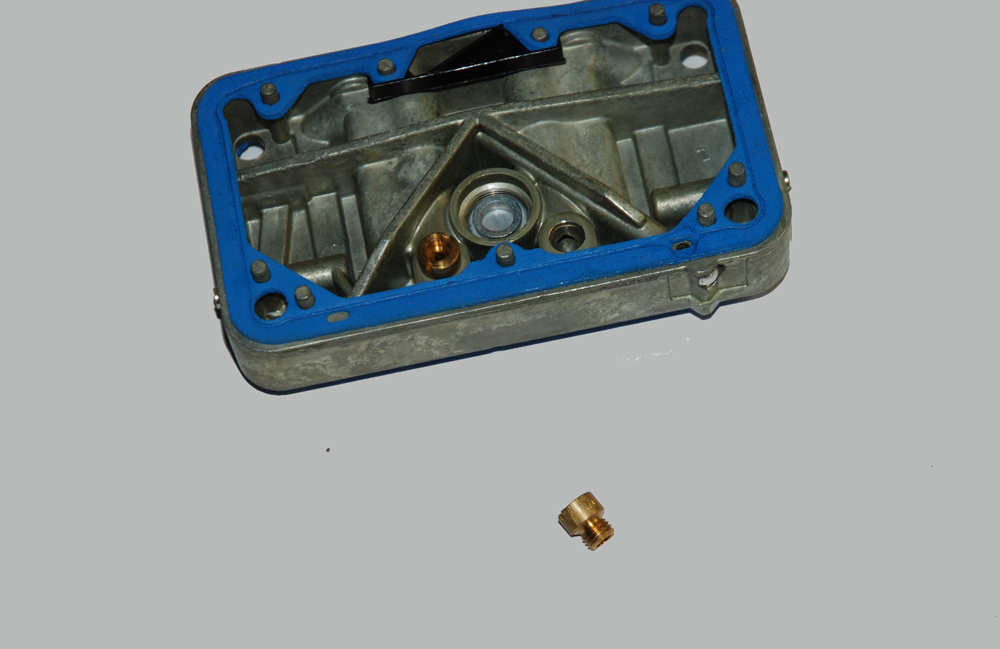
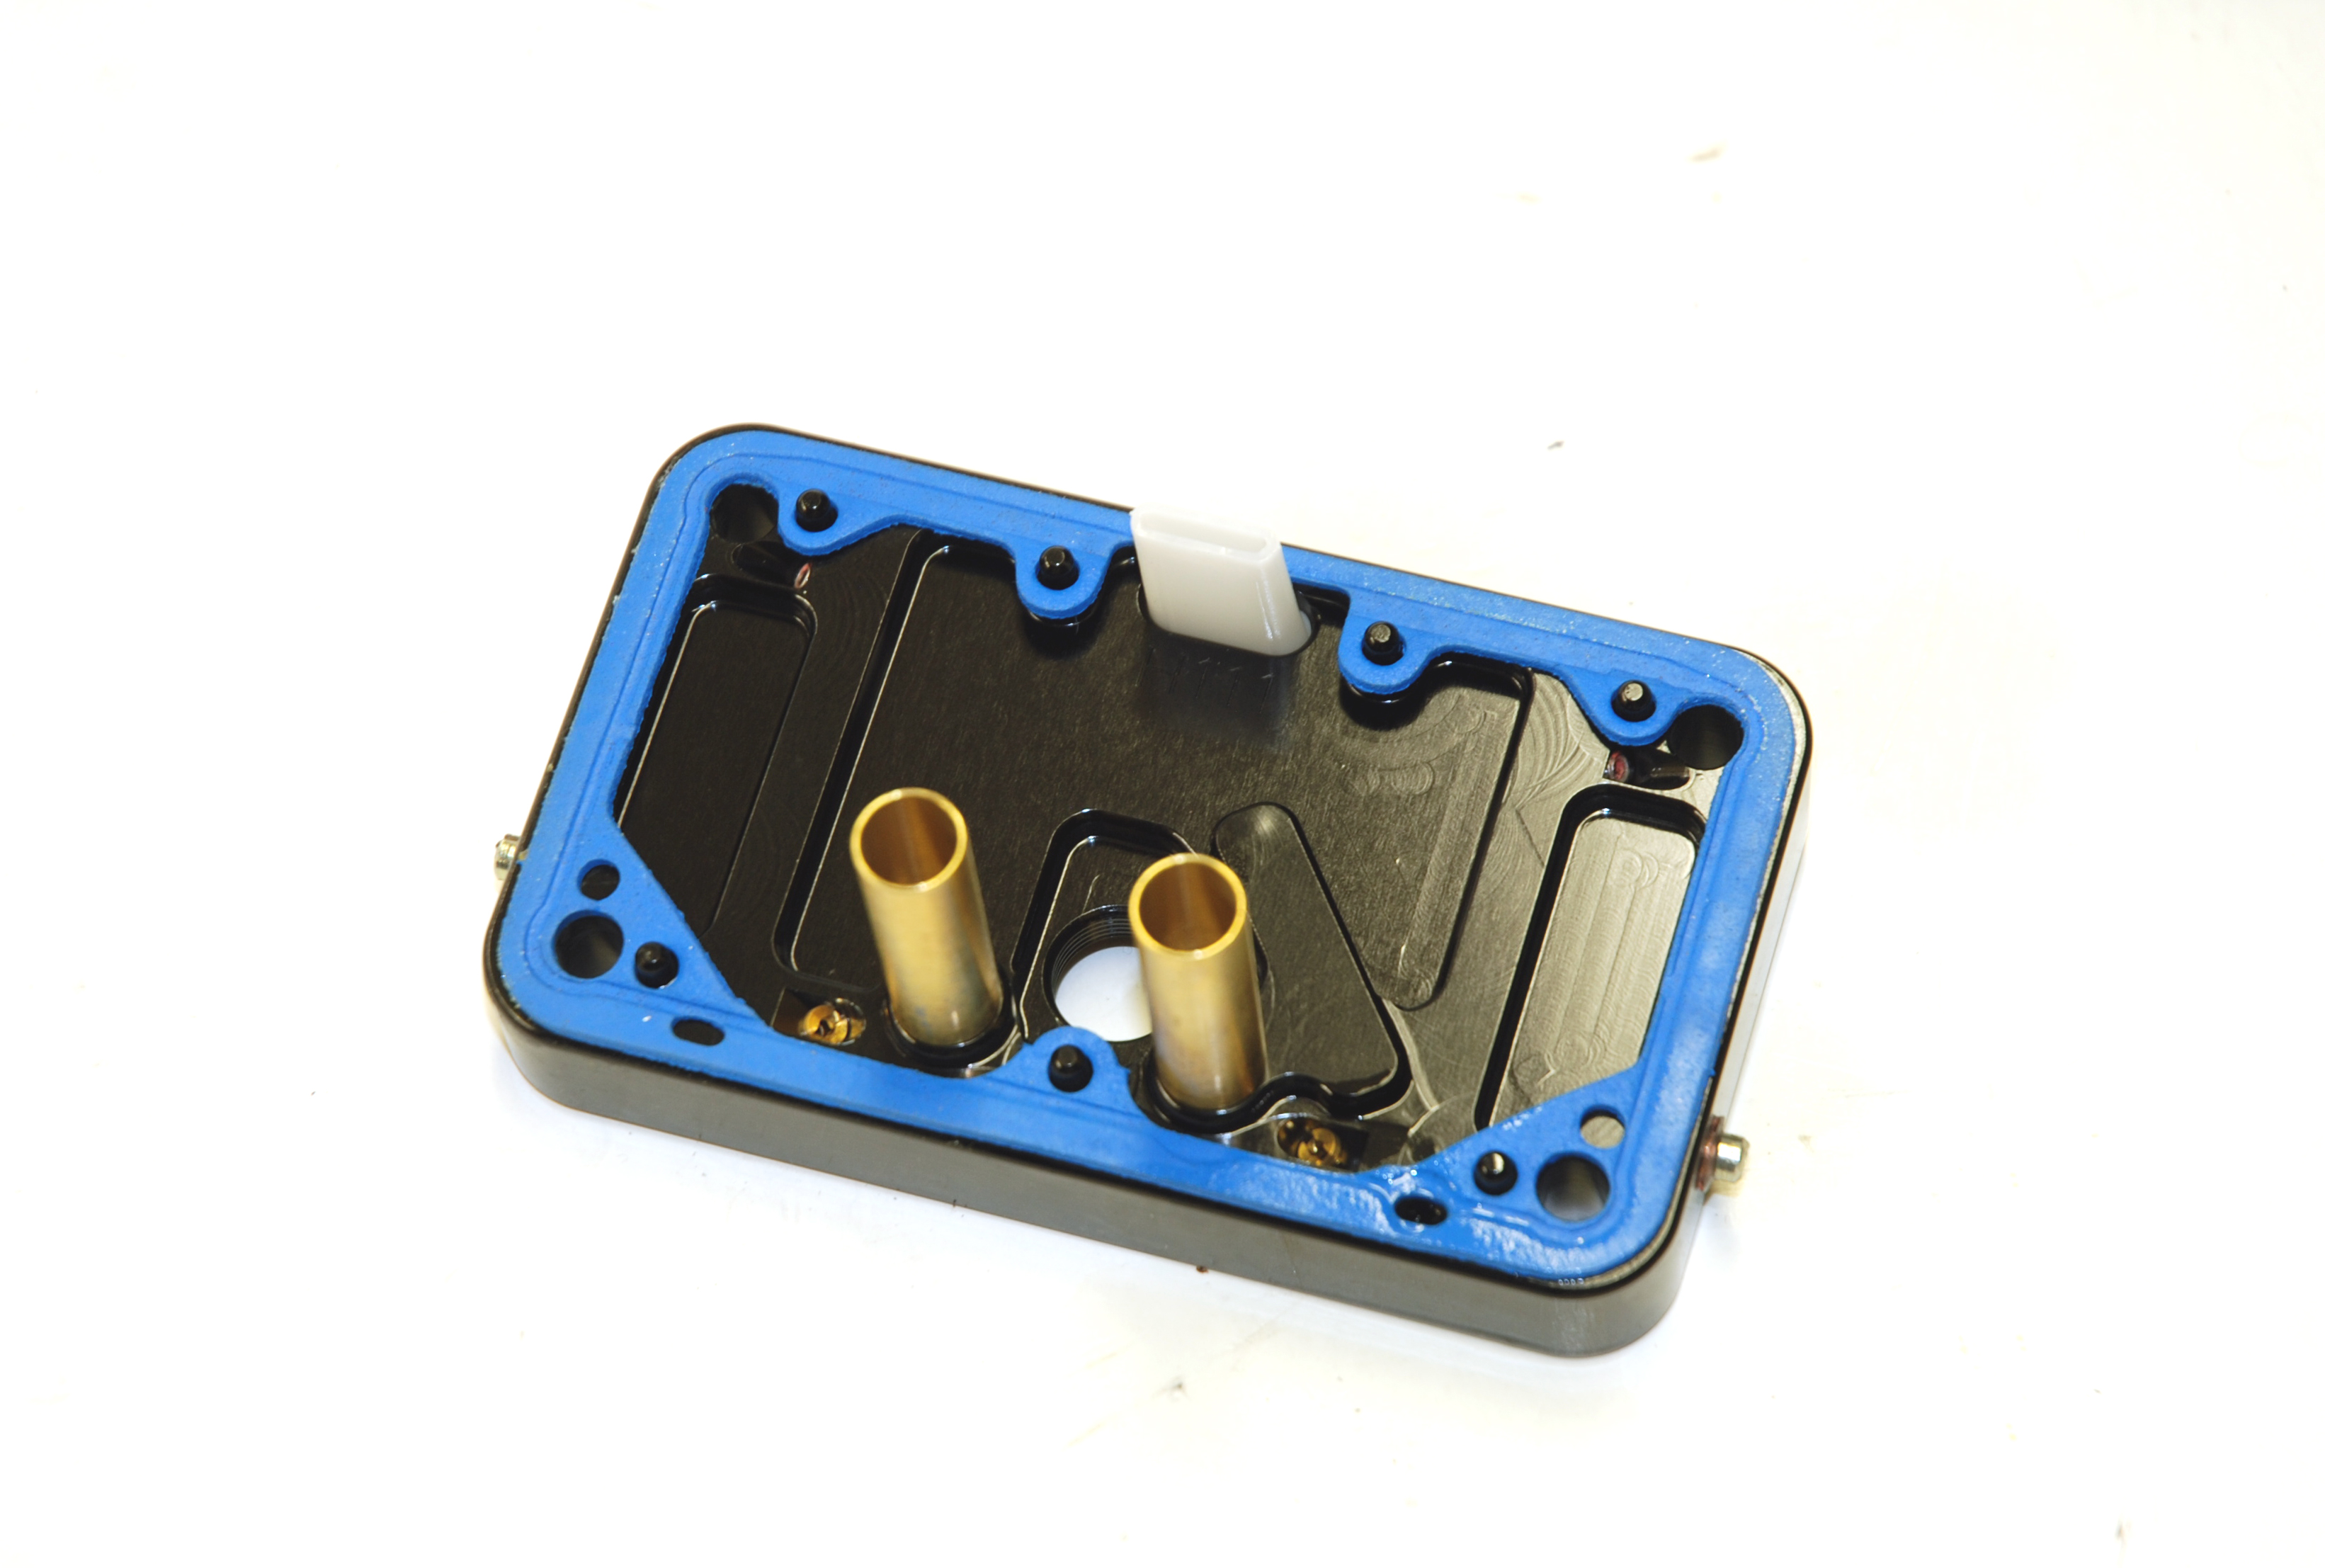
Most performance-oriented Holley carbs have jets on both the primary and secondary sides. The jets are accessed by removing the fuel bowls on each end of the carburetor. But there is an important exception: 4160 carburetors (such as most O-3310's and O-1850's) do not have replaceable jets on the secondary side. In place of the jet block is a special metering plate. The only way to change the orifice size of these plates (when re-jetting) is to replace the entire plate. Although special plates are generally available from Holley for this purpose, finding them can sometimes prove troublesome. A much easier method is to convert the carburetor to a 4150-type assembly, which uses replaceable jets. The proper kit for making this changeover is available from Holley under the part number 34-6. A metering plate is also available from Quick Fuel Technology that allows you to use standard jets on the secondary side of a 4160 (part number 34-2QFT and 34-3QFT).
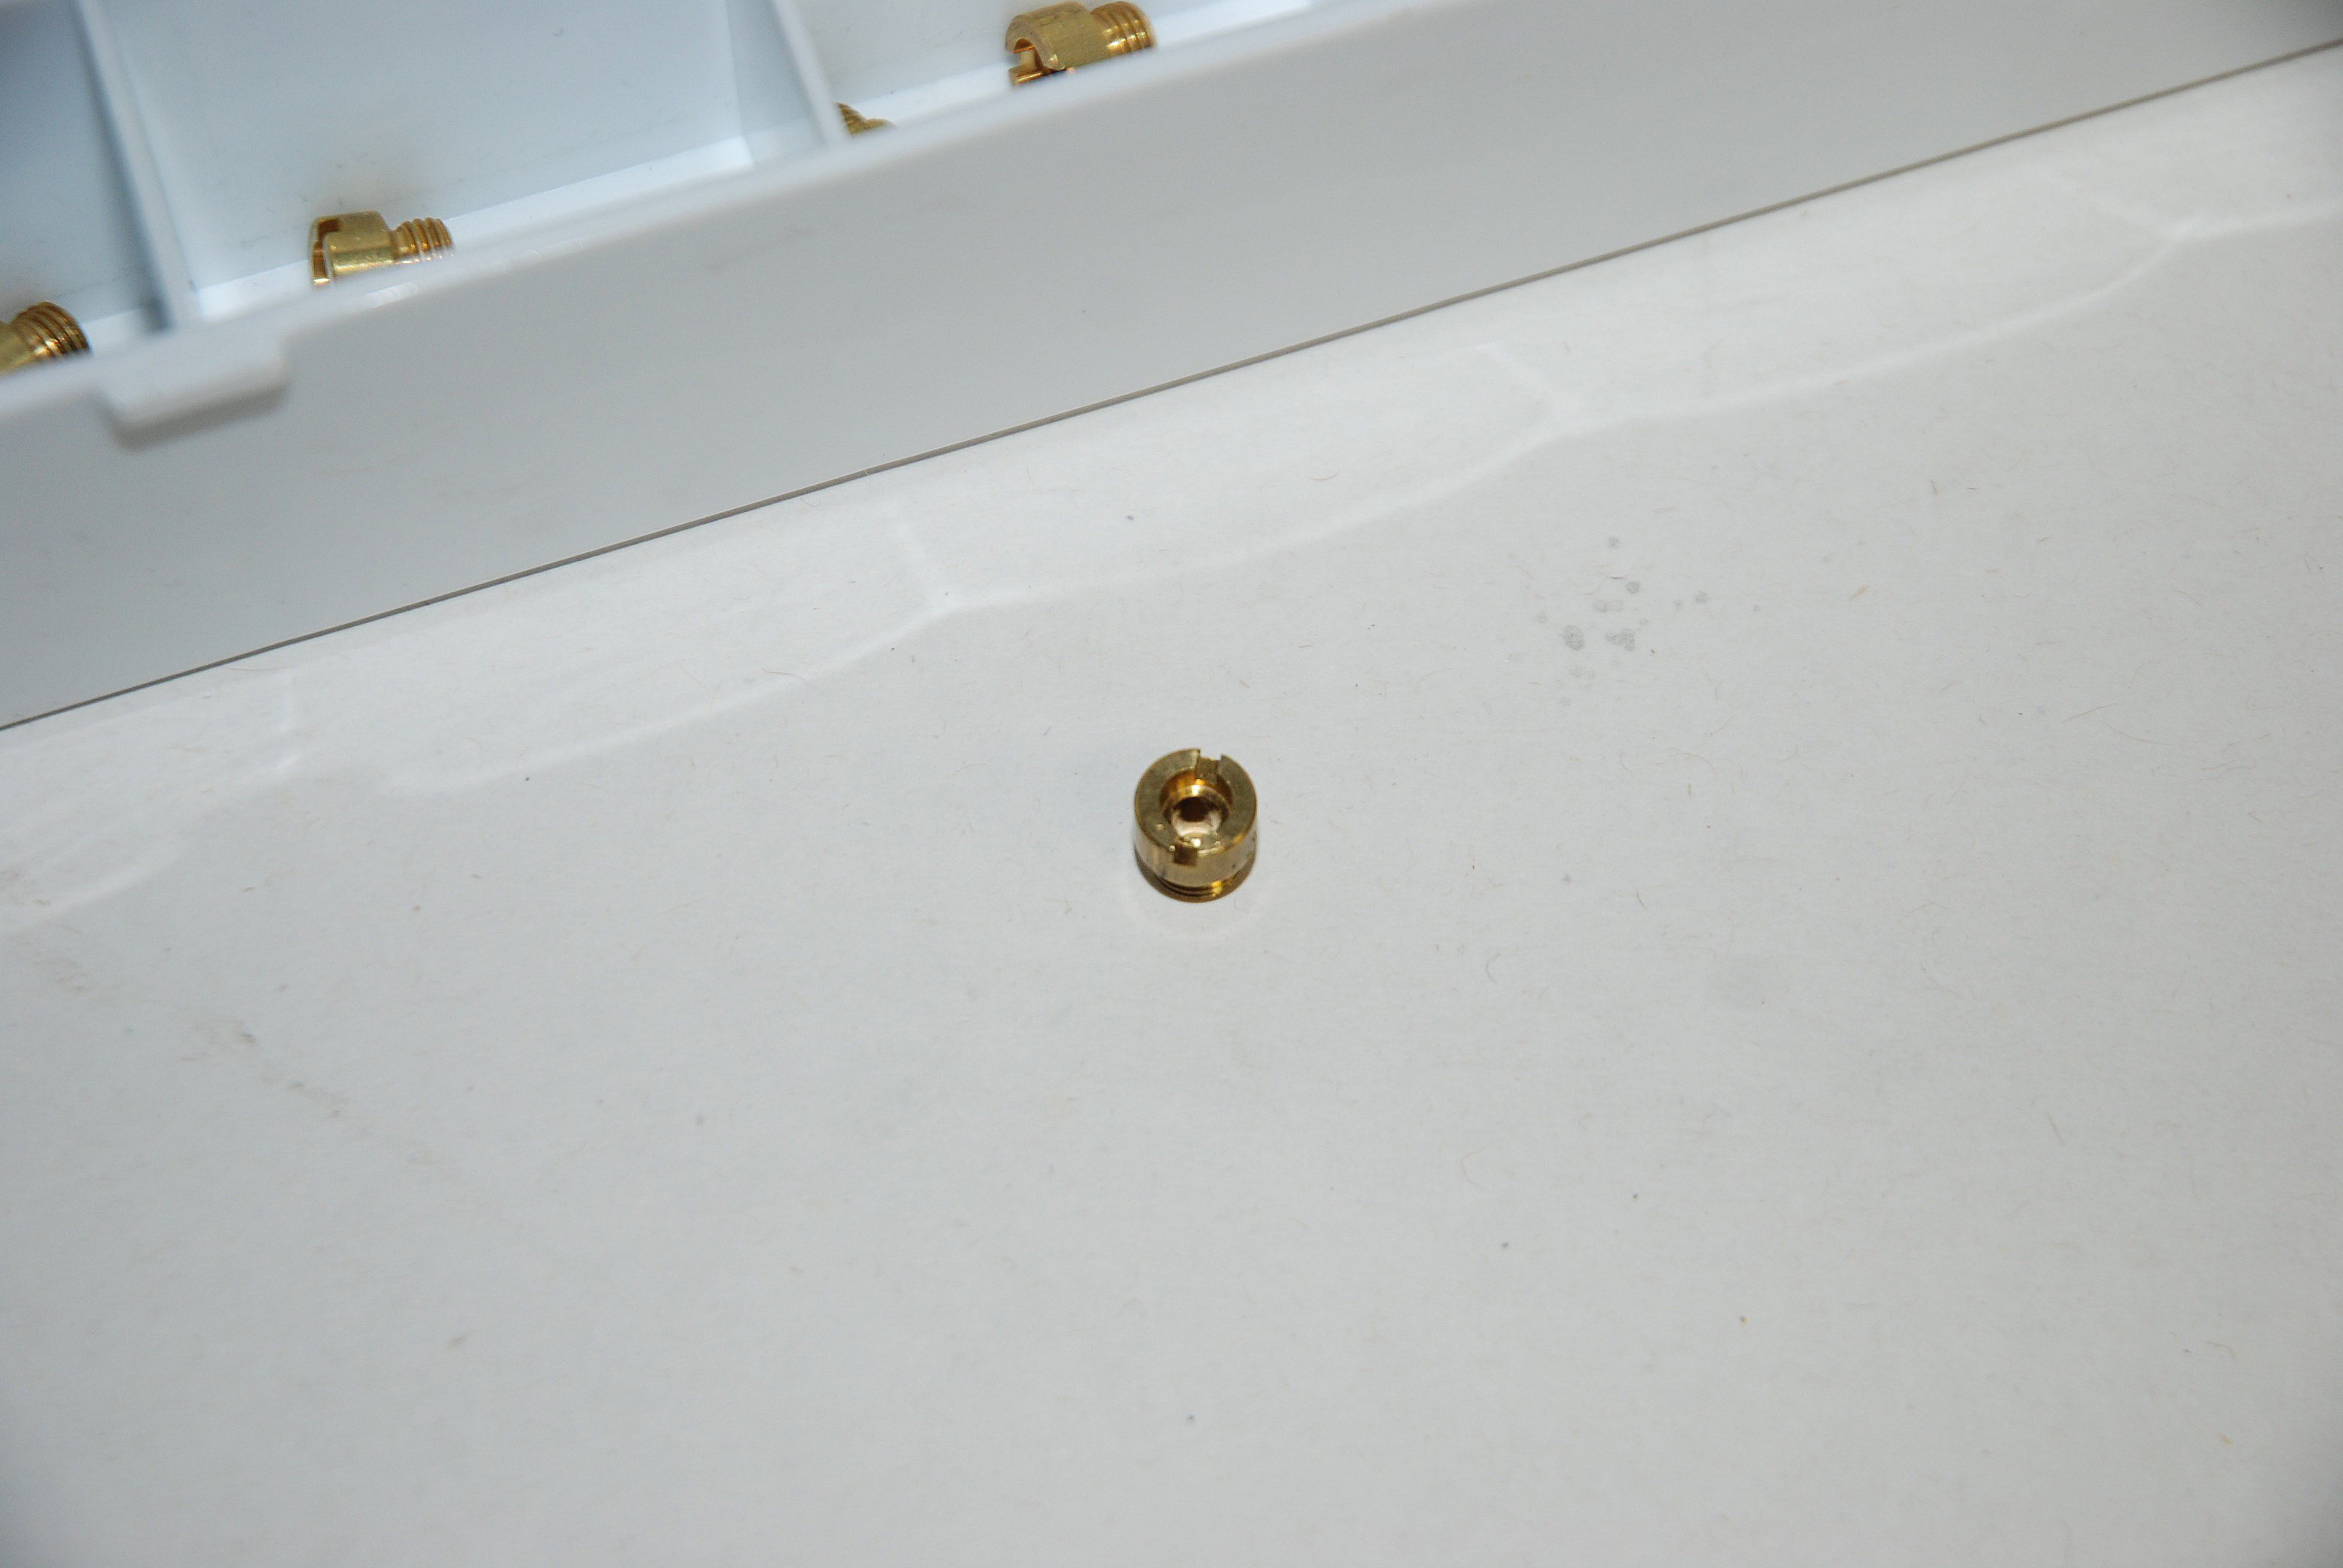
When it comes to jet sizing, the number size of a jet does not correlate with the diameter. Jets are broached. Holley points out there is a chamfer around that hole that has a strong effect on what that jet flows. As a result, jets should never be re-drilled, nor should they be strung on a piece of wire for storage.
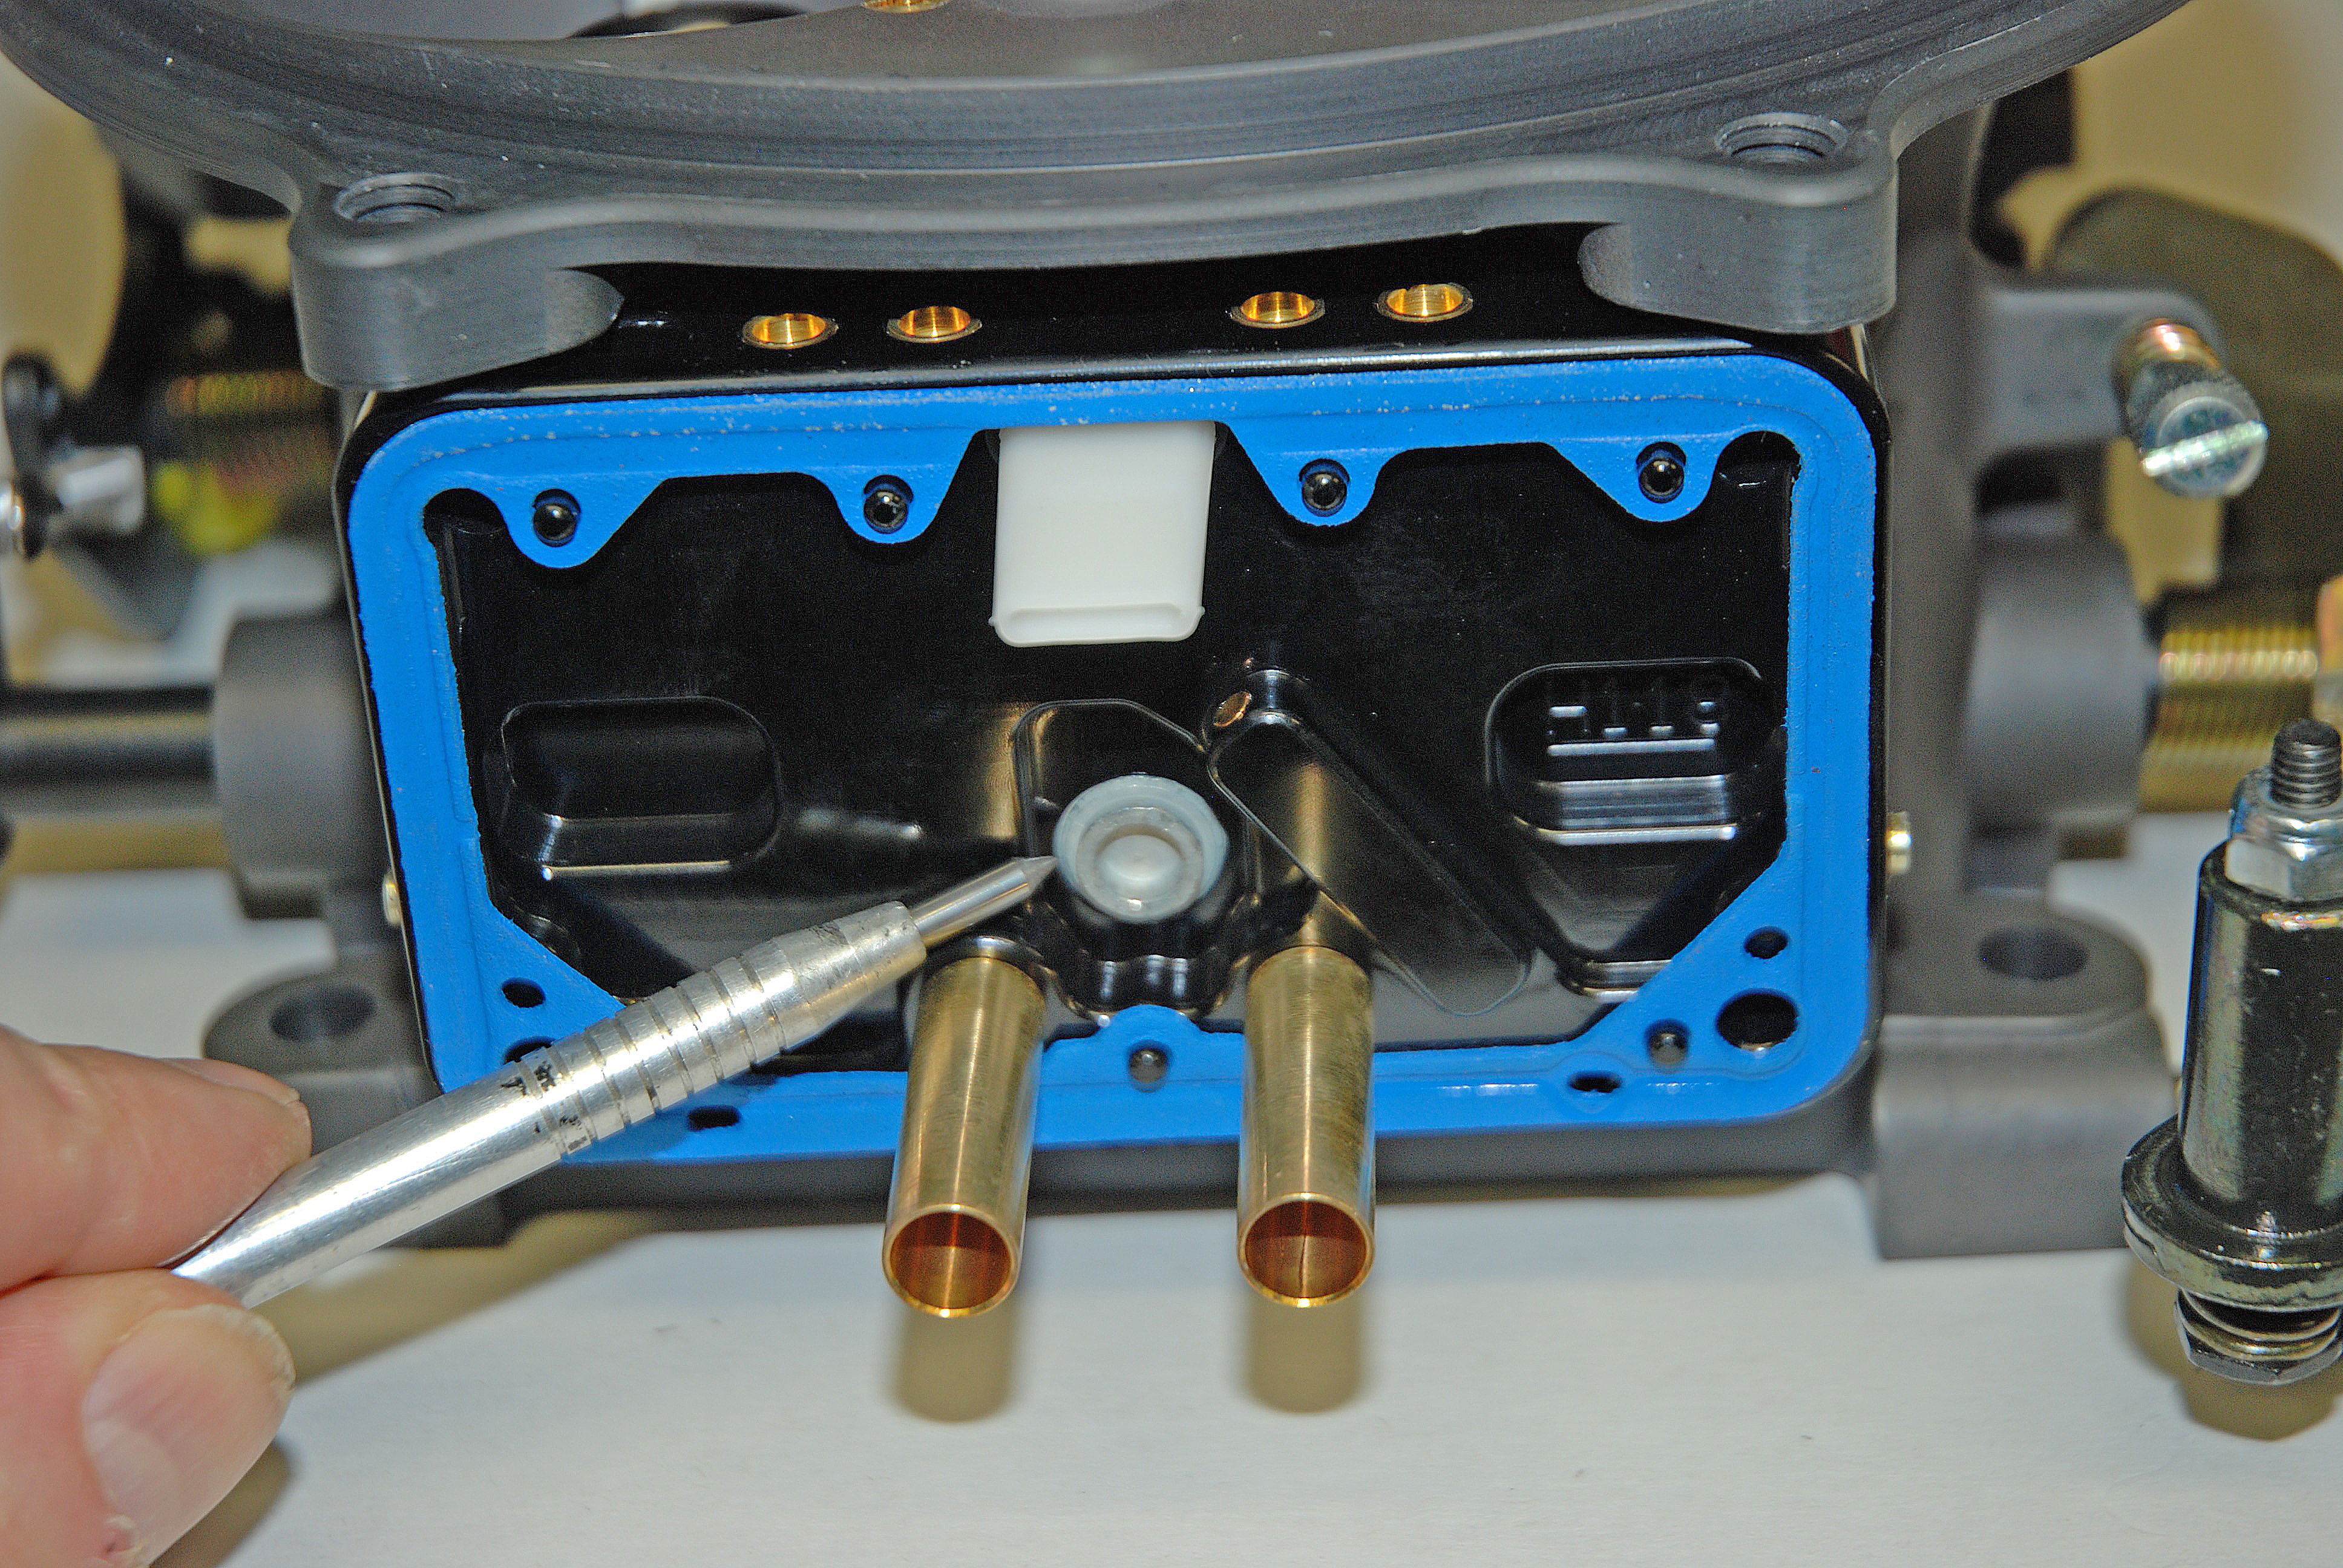
Jets aren't the only components to consider when it comes to richening the fuel circuits in your Holley carburetor. The fuel "enrichment" circuit of a Holley carburetor is based on a power valve system. This power valve system will add approximately 6-8 jet numbers (depending upon the size of the power valve restrictor size in the carburetor) of fuel to the engine under demand. These particular power valves are located in the metering block of the carburetor (behind the jets) so changes are relatively simple and straight-forward.
When the throttle is cracked open on your car, the vacuum level drops, which allows the power valve to open. This is a very critical step in tuning the carburetor. If the engine has a long-duration camshaft (and consequently, has very low manifold vacuum readings), the power valve could easily be opening during idle -- allowing excess fuel to exit the carburetor through the transfer slots. This leads to a very erratic idle and poor off-idle throttle response. Which power valve is right for your modified car? Holley Performance’s Quick Fuel Technology Division offers this advice: “First perform a vacuum test. Attach a vacuum gauge to the manifold vacuum port on the carburetor. Place your foot on the brake, engage a gear and record the reading. The rule of thumb is that the power valve rating or the opening point should be ½ the manifold vacuum at idle. So if you obtain a reading of 13 inches HG, your engine requires a number 65 power valve. If the gauge reading is 7 inches HG, then you need a number 35 power valve.” Holley notes that if you come up with an even number, for example 16” Hg, which divides to 8 and see that we do not make that specific size power valve, round down to the closest size (7.5) in this case.
Each and every Holley power valve features a stamped-in number that corresponds to the valve opening point. As an example, a No. 65 power valve will open a 6.5-inches of manifold vacuum, while a No. 35 power valve will open at 3.5-inches of manifold vacuum.
Just like the jetting, altitude plays a very important role in the selection of power valves. The circuit must be "readjusted" to compensate for the decreased available intake vacuum. At this point, it’s best to go through the power valve selection process when you race at a different altitude.
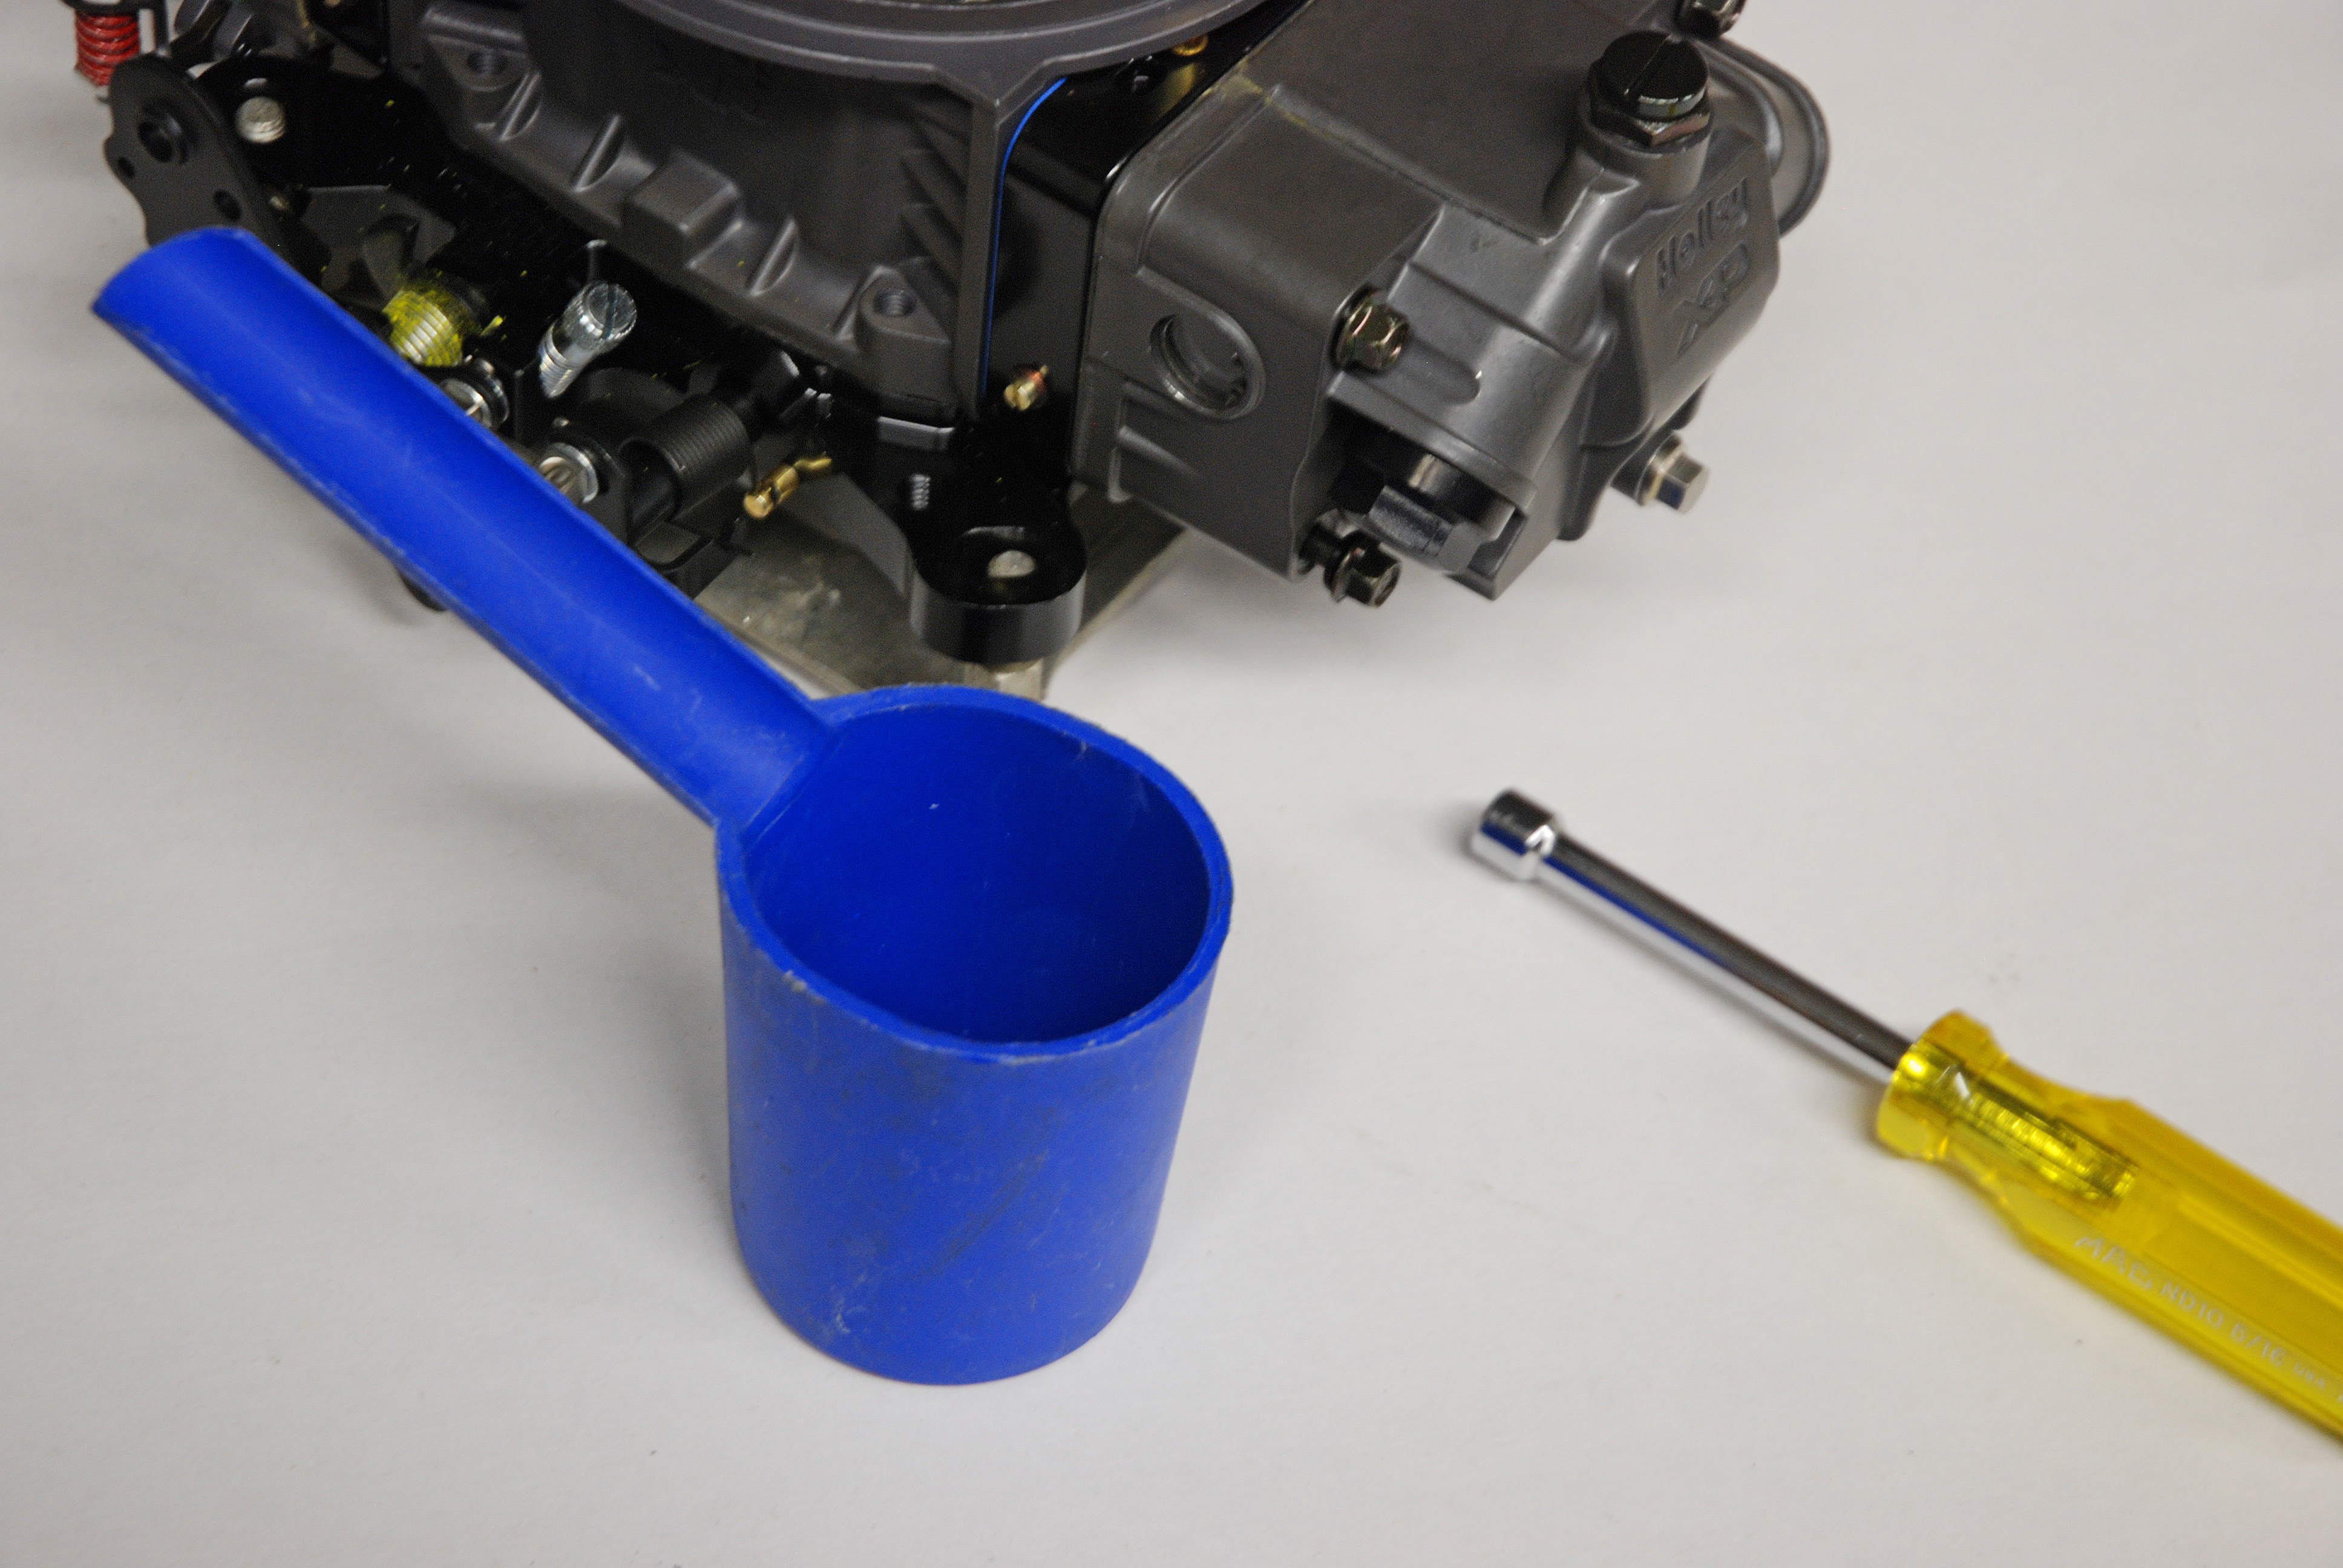
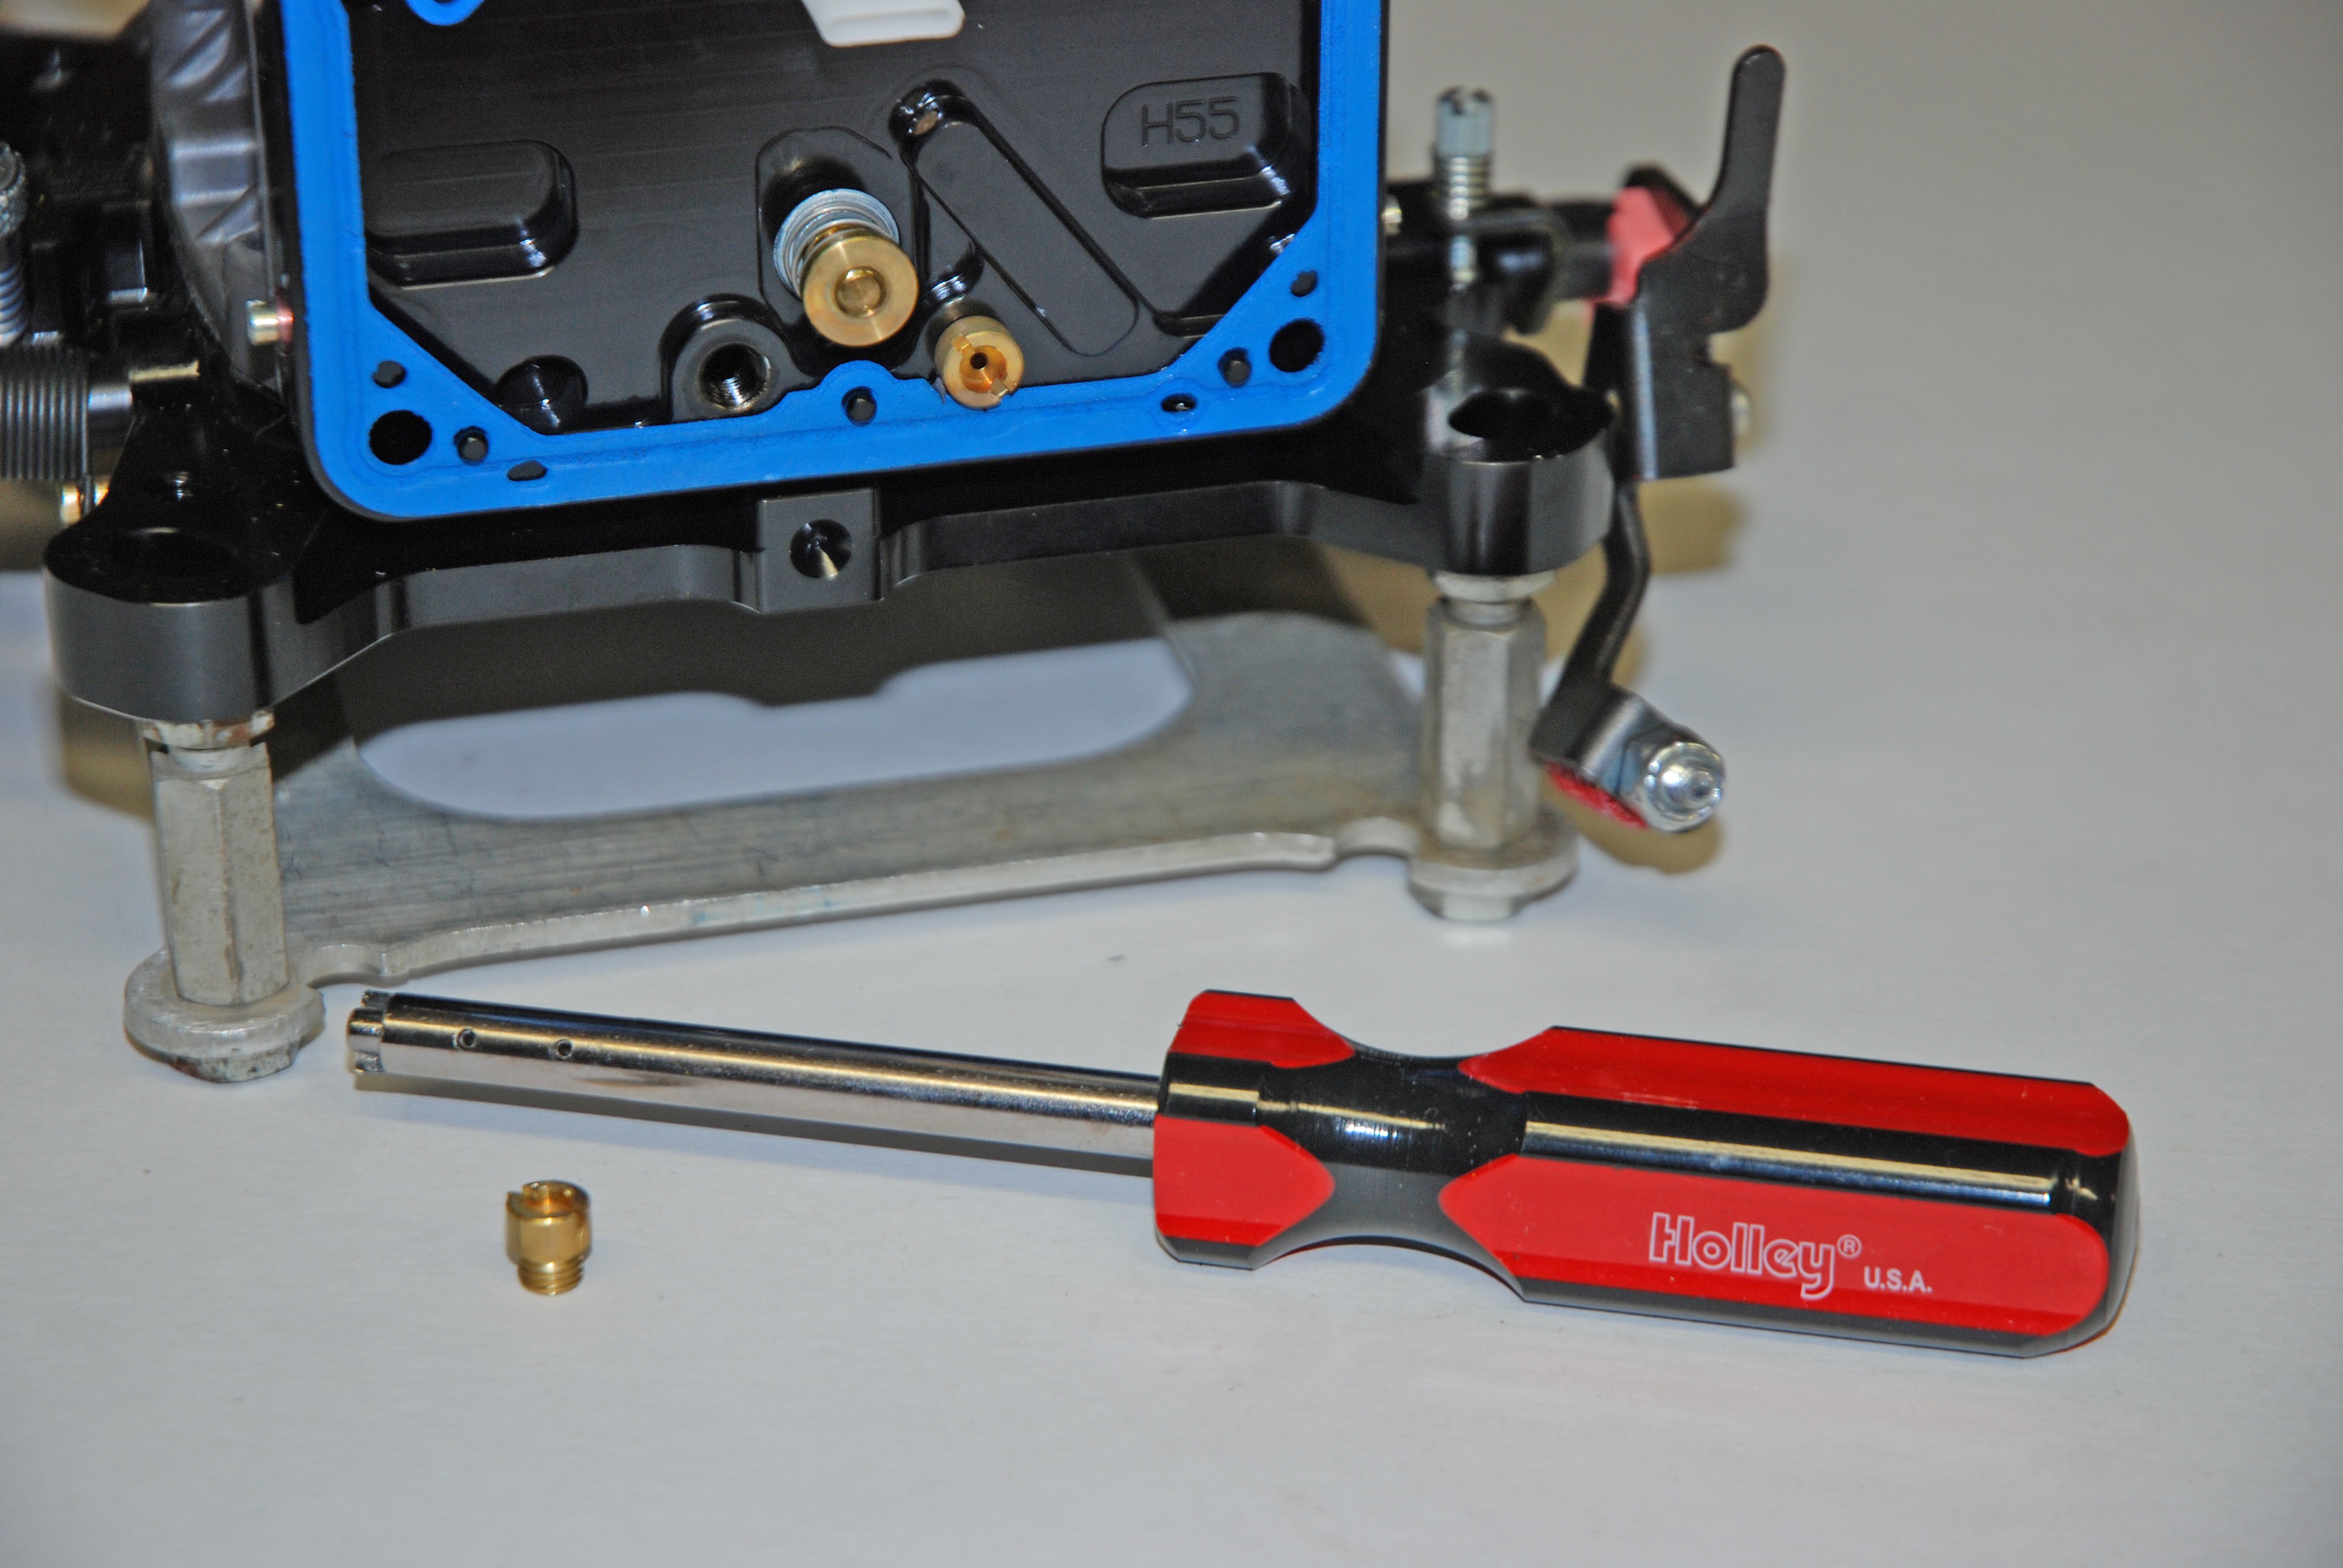
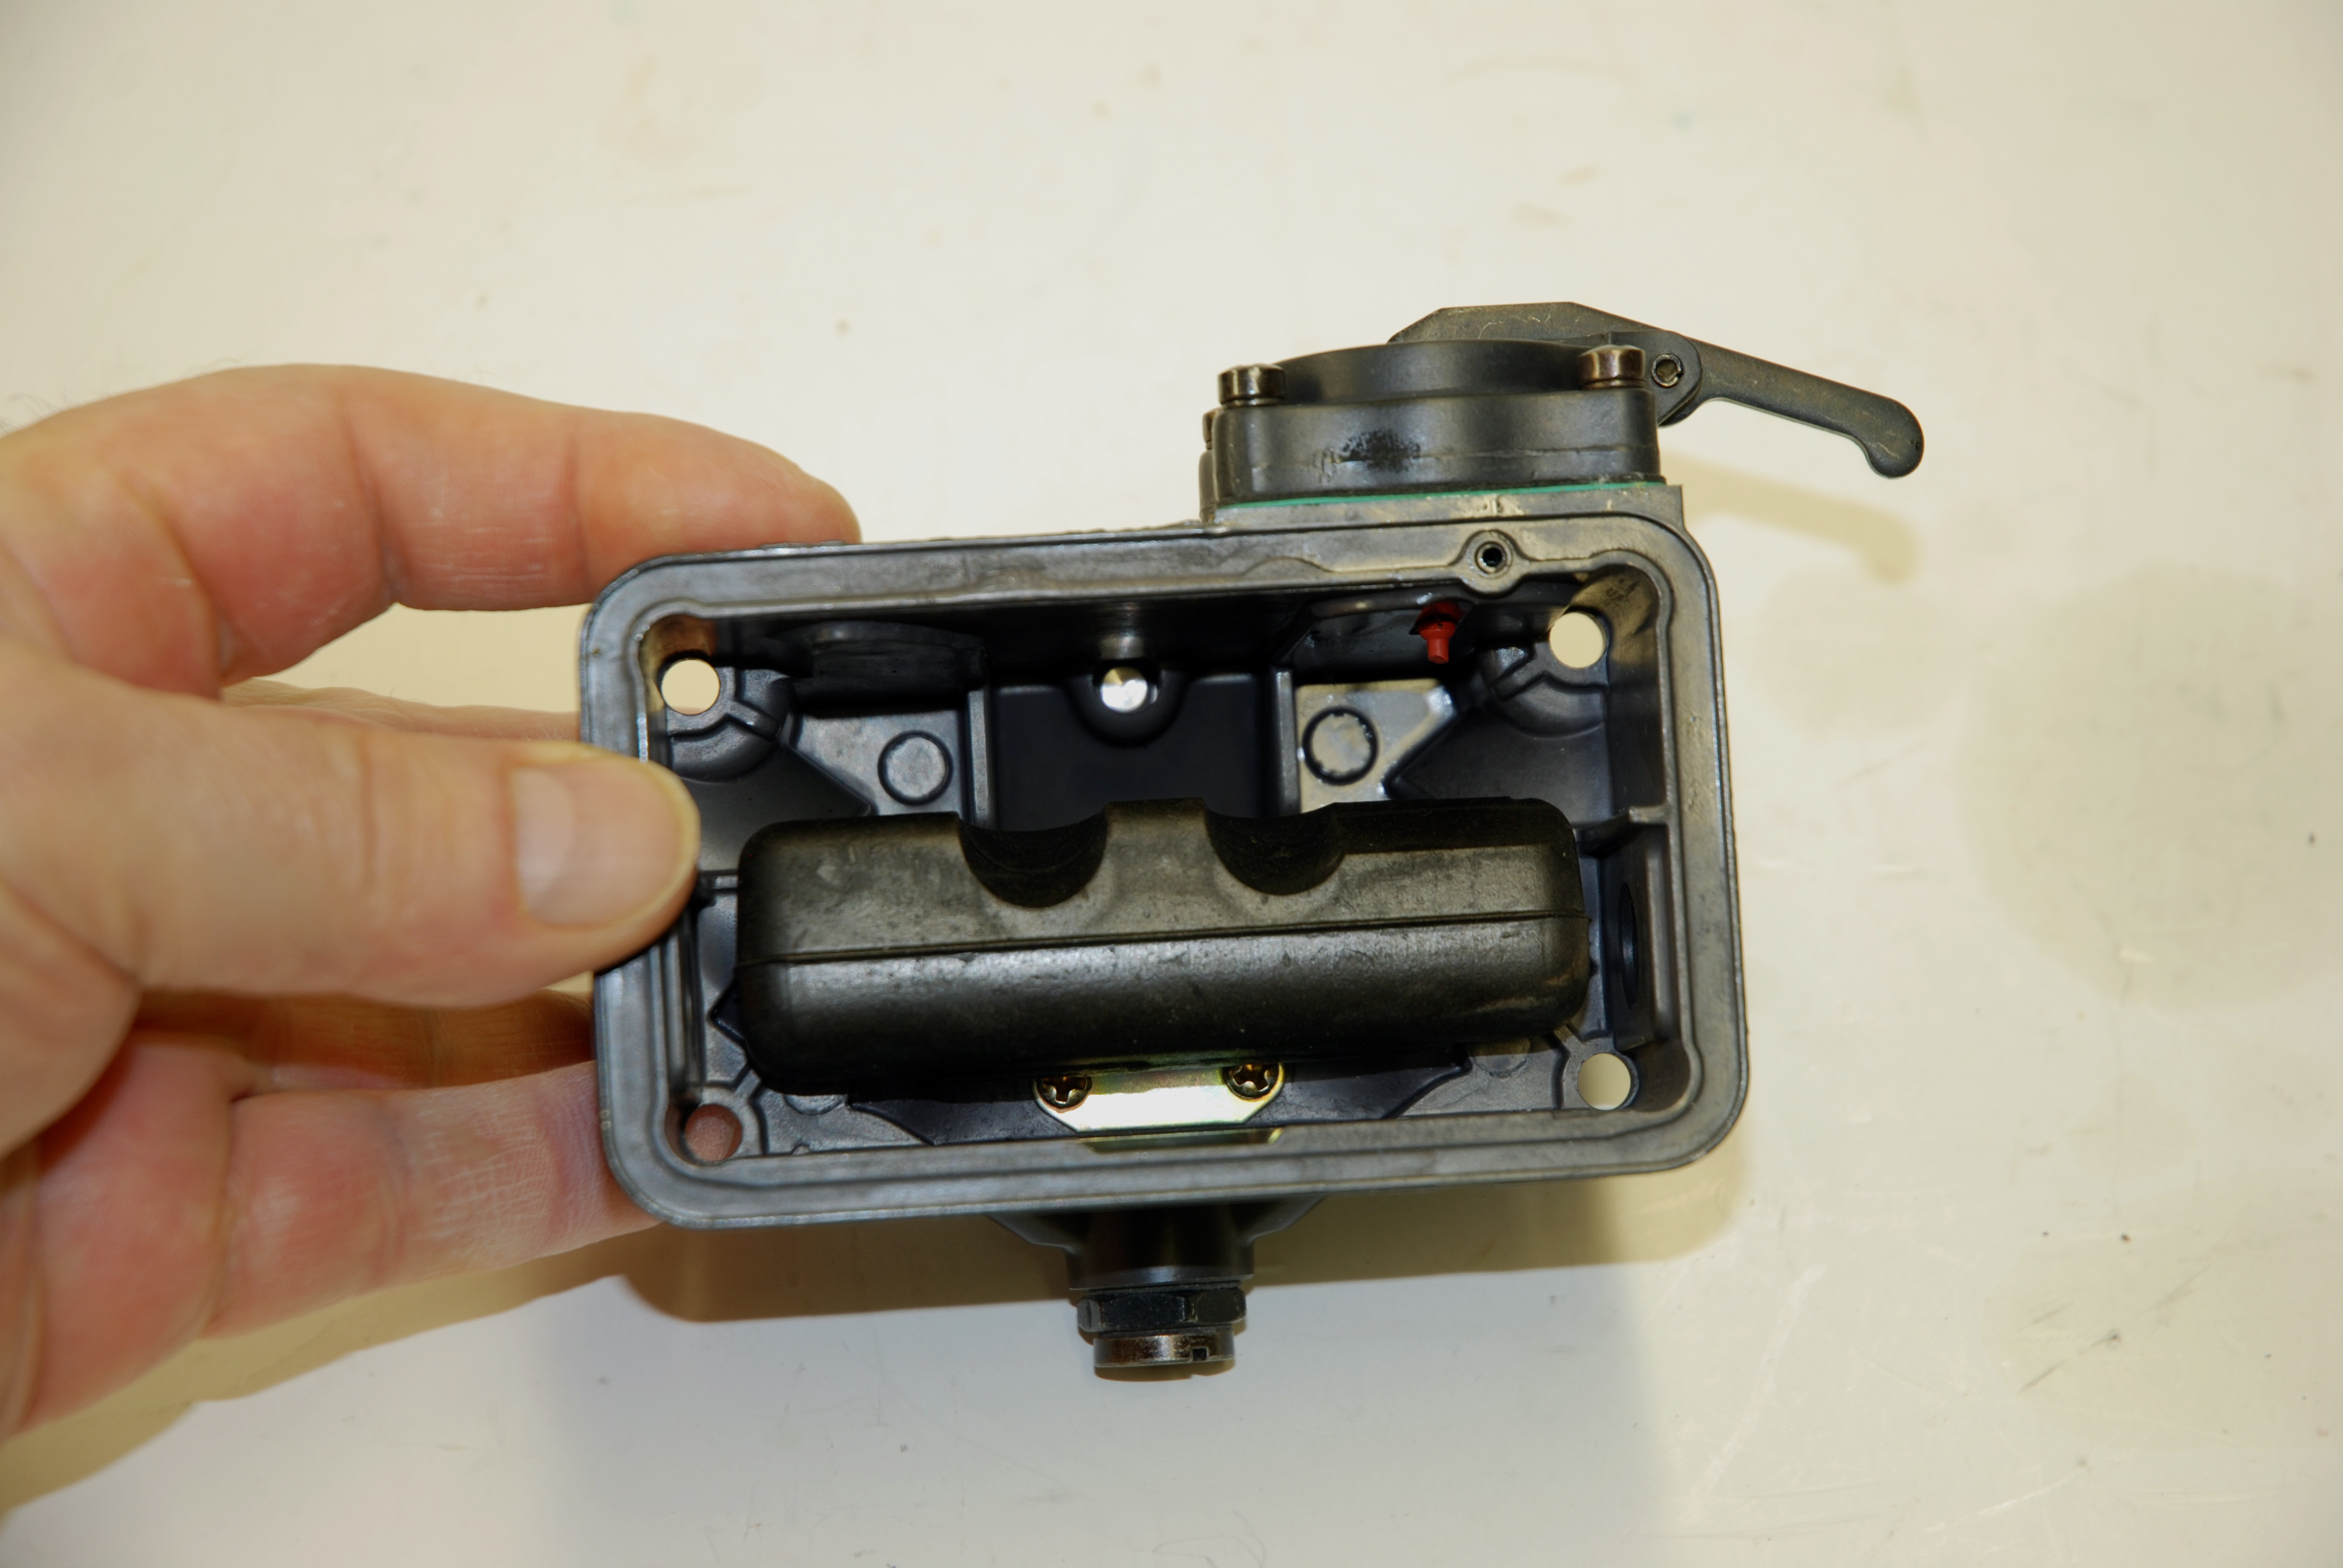
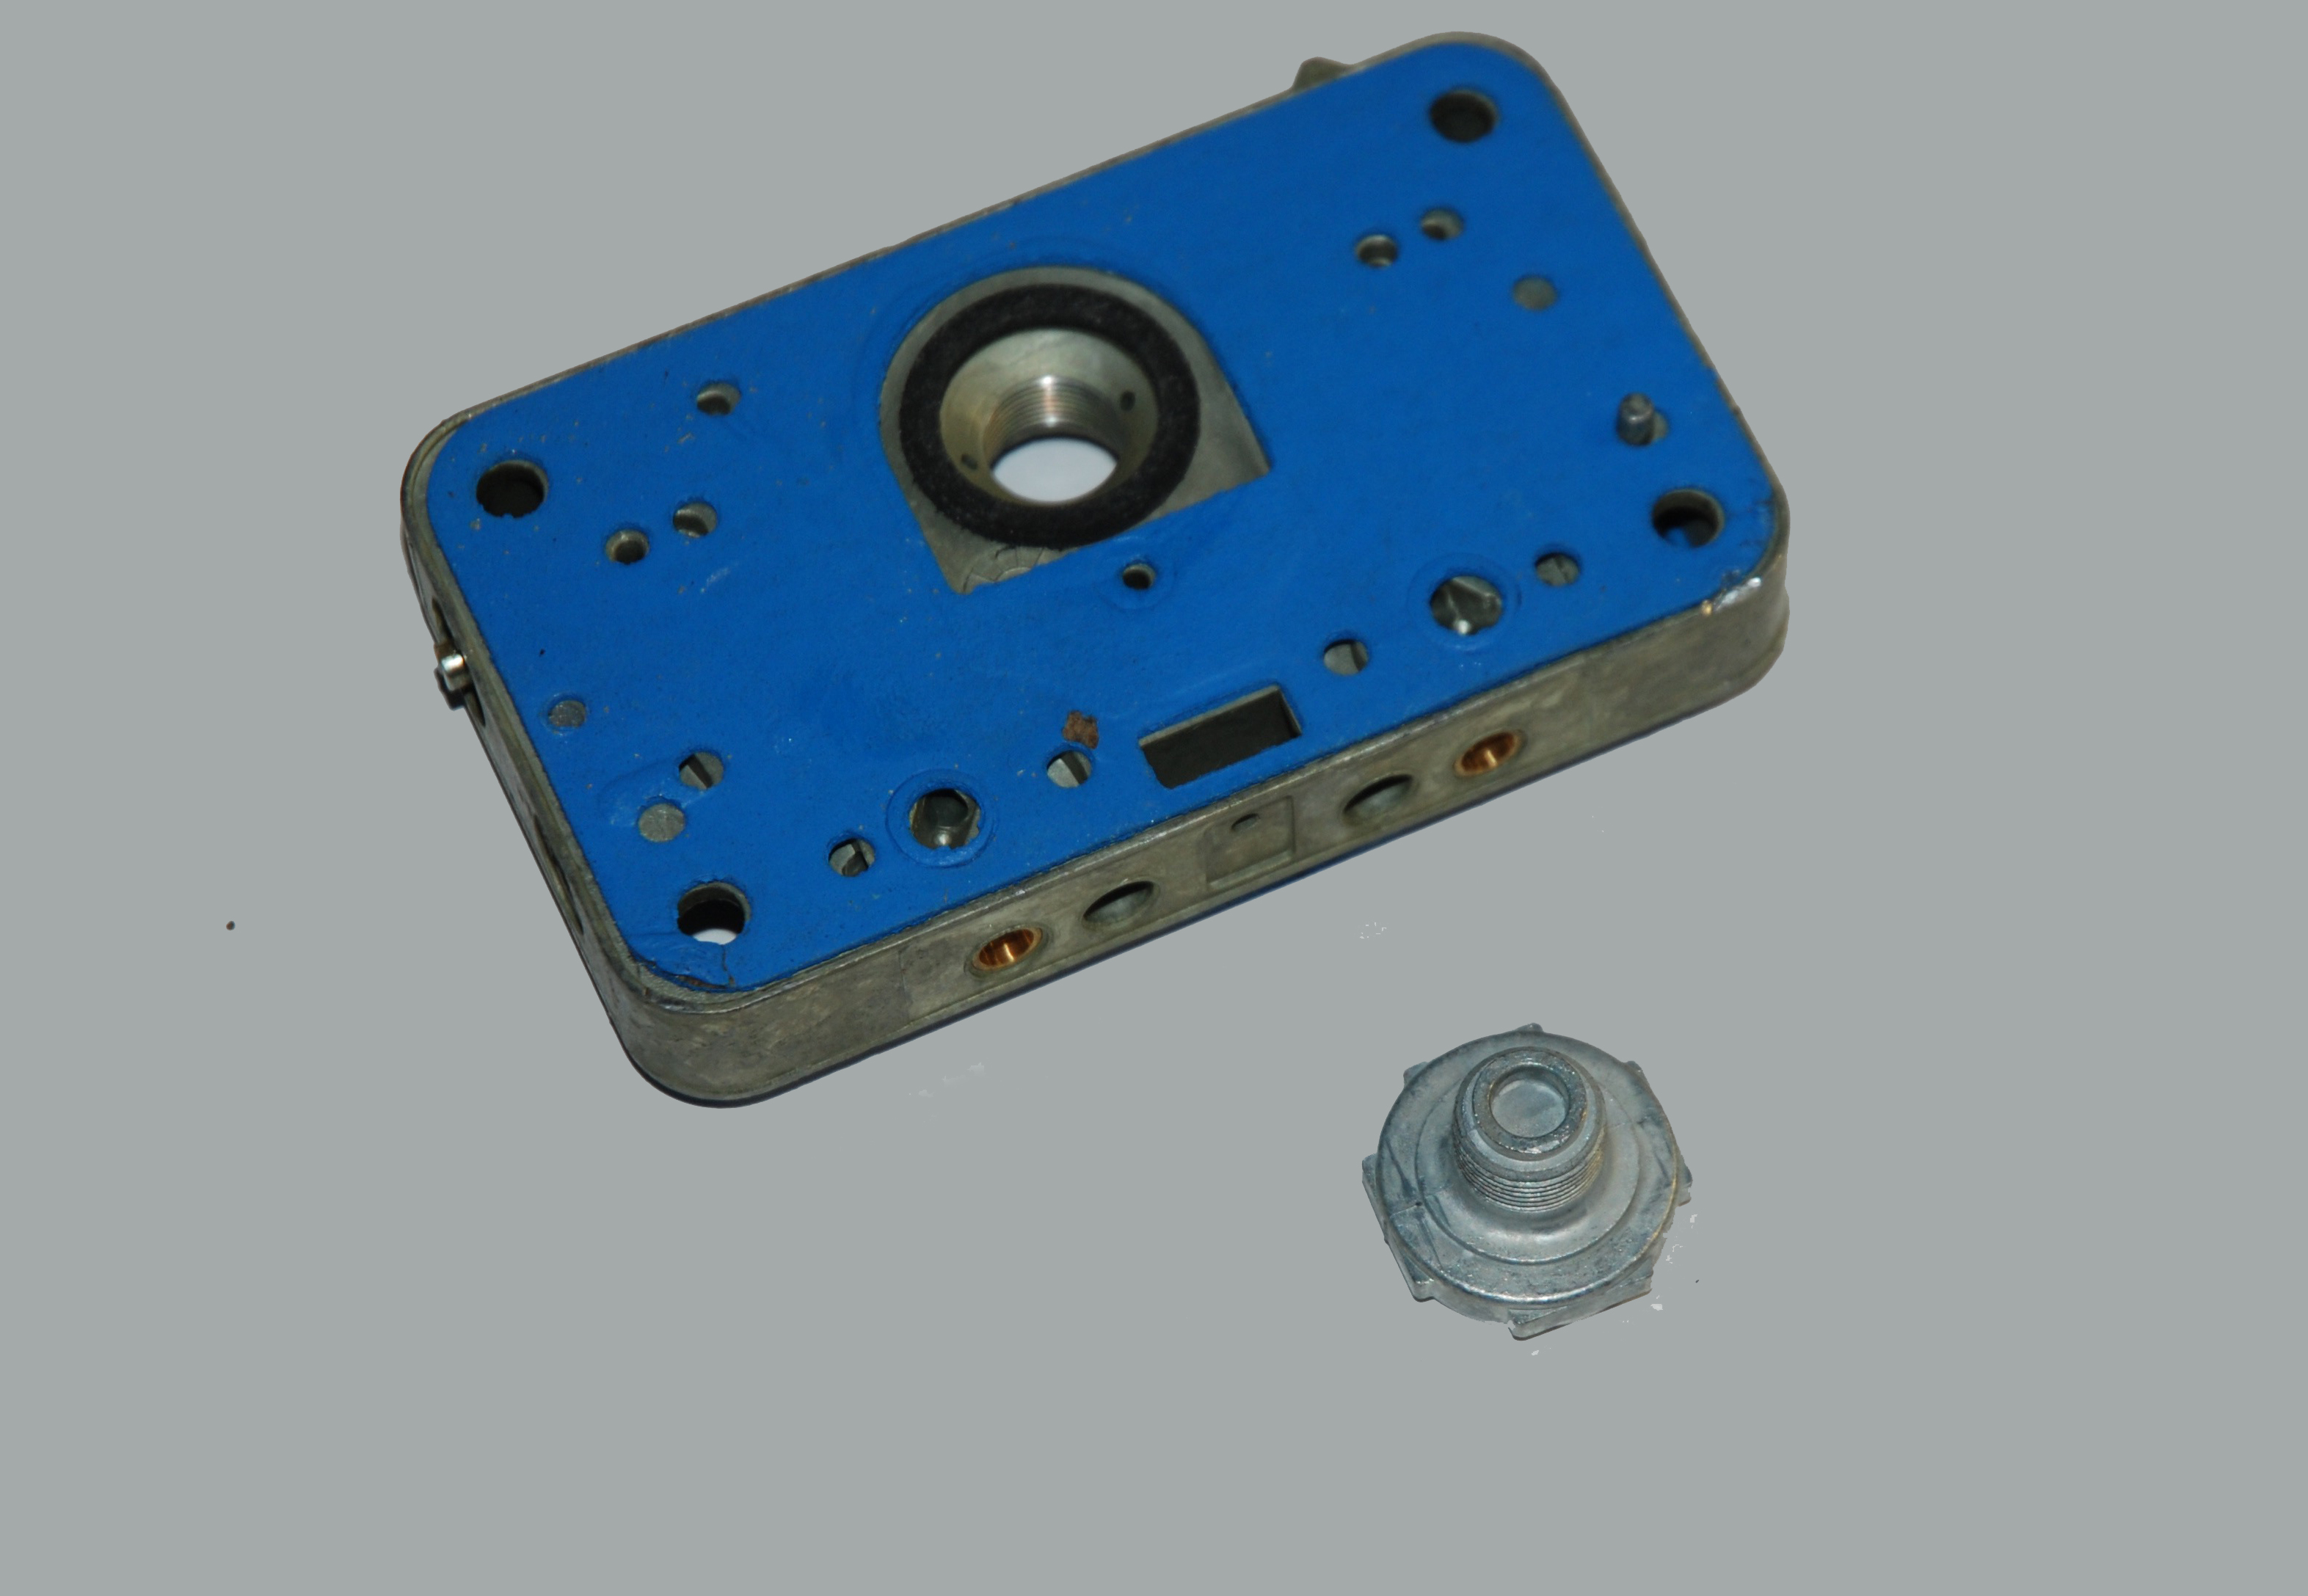
So how do you physically change jets and power valves on a Holley carburetor? Check out the following photos. There's something here for everyone.
Click Here to Begin Slideshow
Leave a Reply