

Need to check valve lash in a fresh cam or new engine? Part 1 of Wayne Scraba’s new two part series will show you how.
Setting valve lash with a mechanical cam isn’t uncommon (in truth, absolutely necessary and even a lot of vintage high performance cars were solid lifter equipped). No secret we’re sure. Most professional engine builders will tell you the lash on a race car should be checked (at least) between each event. Some drag racers (both Pro and Sportsman) prefer to see lash checked between rounds. Aside from ensuring the lash is in good shape, a really good reason for this is it gives you the opportunity to see if something is amiss inside the engine. For example, the engine might have experienced a bent valve or a broken lifter. You can spot this before the carnage really begins.
When you examine the cam spec card for your engine, you’ll find the valve lash is almost always listed “hot”. But how do you know where to start with a fresh cam or new engine? If you’re running a pretty common aluminum head/iron block combination, start by setting the cold lash 0.006-inch tighter then the hot lash recommended by the cam manufacturer. Fire up the engine and allow it to run until it’s up to operating temperature. Shut off the engine and lash the valves on one cylinder to the recommended hot lash.
Allow the engine cool down (I usually leave it overnight), and check the lash on the pair of valves that were previously set hot. The lash that you now check will be the correct cold lash setting you can use from now on. Set the balance of the valves to the “new cold setting” and you’re done. For the most part, you’ll never need to check it hot again unless there is a change made somewhere in the valvetrain.
Although there are several different methods to set the lash, the “base circle” or “Exhaust Opening/Intake Closing” (“EO-IC”) method recommended by the folks from Jesel is very easy (and common too):
“Starting at #1 cylinder, rotate the engine until the #1 exhaust rocker just starts to open the exhaust valve. Set the valve lash on #1 intake rocker at this time. Continue rotating the assembly and stop when #1 intake rocker starts returning from full lift. The lash on #1 exhaust can now be set. Continue this procedure for the remaining cylinders following the engines firing order.”
In contrast is the standard OEM Chevy method of lashing valves (sometimes called the “Chilton Manual or Chevy Shop Manual Method”). It requires a degreed damper of some sort, or at least a timing tape along with a good, easy to see and easy to read timing pointer. The engine must be turned over until number one cylinder is in the firing position (TDC). With this arrangement, valves are set at specific points along the crankshaft rotation. On a V8, you’ll set intake number 2 and 7 as well as exhaust number 4 and 8. The engine is turned over 180-degrees and you’ll set intake number 1 and 8 as well as exhaust number 3 and 6. Turn the engine over 180-degrees to number six firing position and set intake number 3 and 4 as well as exhaust 5 and 7. Finally, turn the engine over 180 degrees and set intake number 5 and 6 as well as exhaust 1 and 2.
The typical Mopar method for small block and big block engines (“A” engines, “B” and “RB” engines as well as “Hemi” power plants) is the same as above. Other vehicle manufacturers use similar procedures, but with different numbering sequences.
If you’re using the OEM method of valve lash, you’ll need a well-marked harmonic damper (balancer). The reason of course, is you’ll need to know where TDC is on the damper along with a half turn (180-degrees). If you don’t have a degreed balancer, Mr. Gasket and others sell timing tapes for various applications. Typically, these tapes fly off with regularity. The fix is a little tedious, but not complex: Remove the paint on the damper face, clean it with metal prep and carefully install the tape. Once dry, coat the surface with clear paint (lacquer if you can find it). With this process, chances are pretty good the tape won’t fly off abruptly.
Next issue, we’ll devote space to the tools that happen to go along with lashing valves. They’re not exotic and for the most part, they’re certainly expensive (there are some exceptions though). For a closer look at valve lash basics, check out the accompanying photos:
Typically, with a fresh cam, you should set the cold lash approximately 0.006-inch tighter than the hot lash figure from the cam manufacturer. 
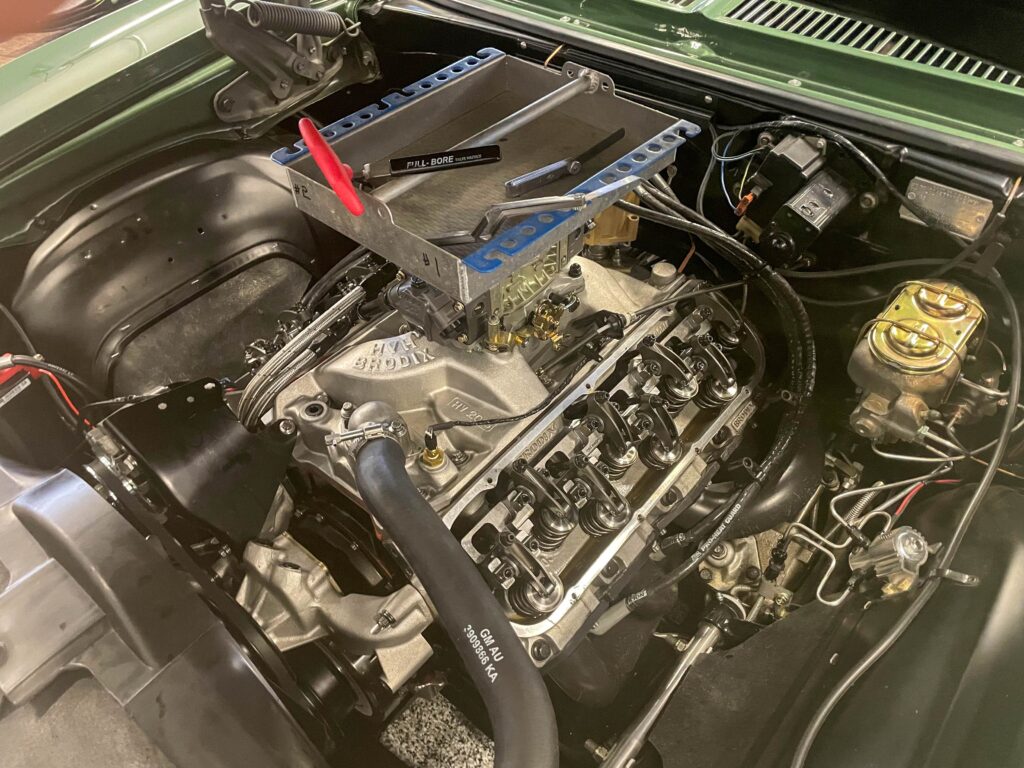
Warm the engine to operating temperature. Set the lash on two easily accessible valves – here we’re using Number One cylinder. Allow the engine to cool and check the lash on those two cylinders. The final numbers you come up with are the cold lash figures. The text offers more details. 
You can now use the lash figures you’ve established to set the cold lash. 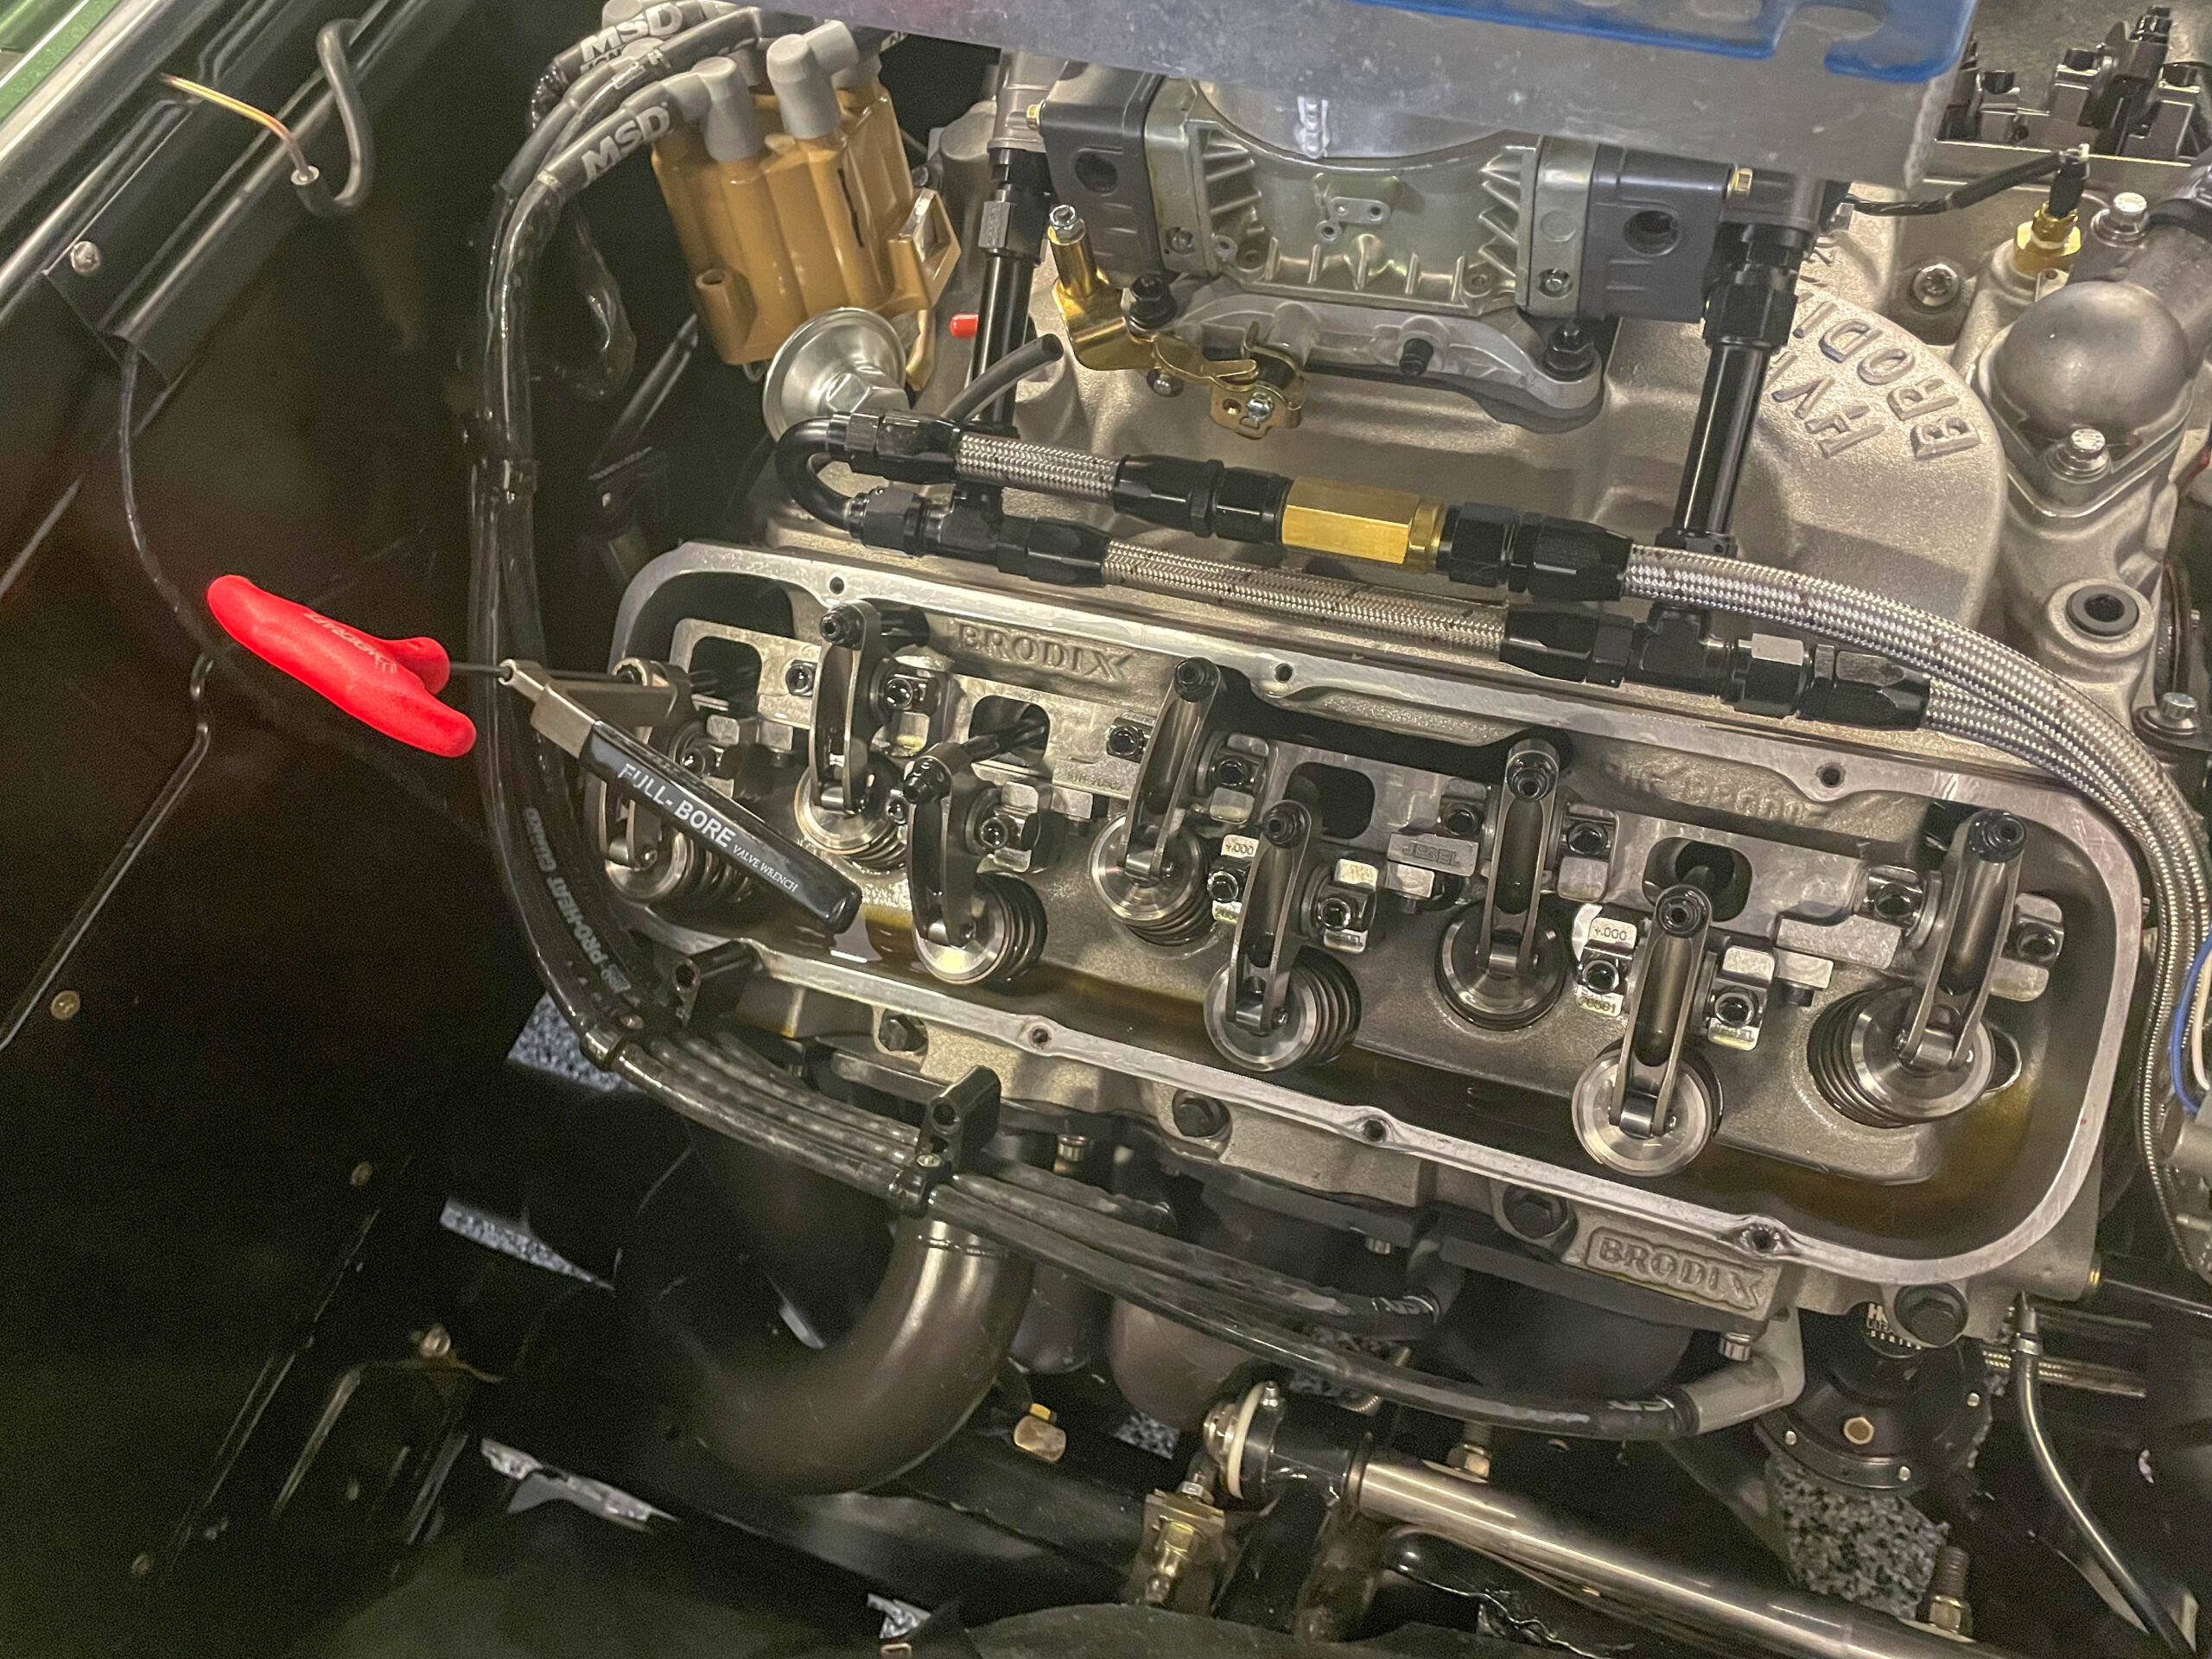
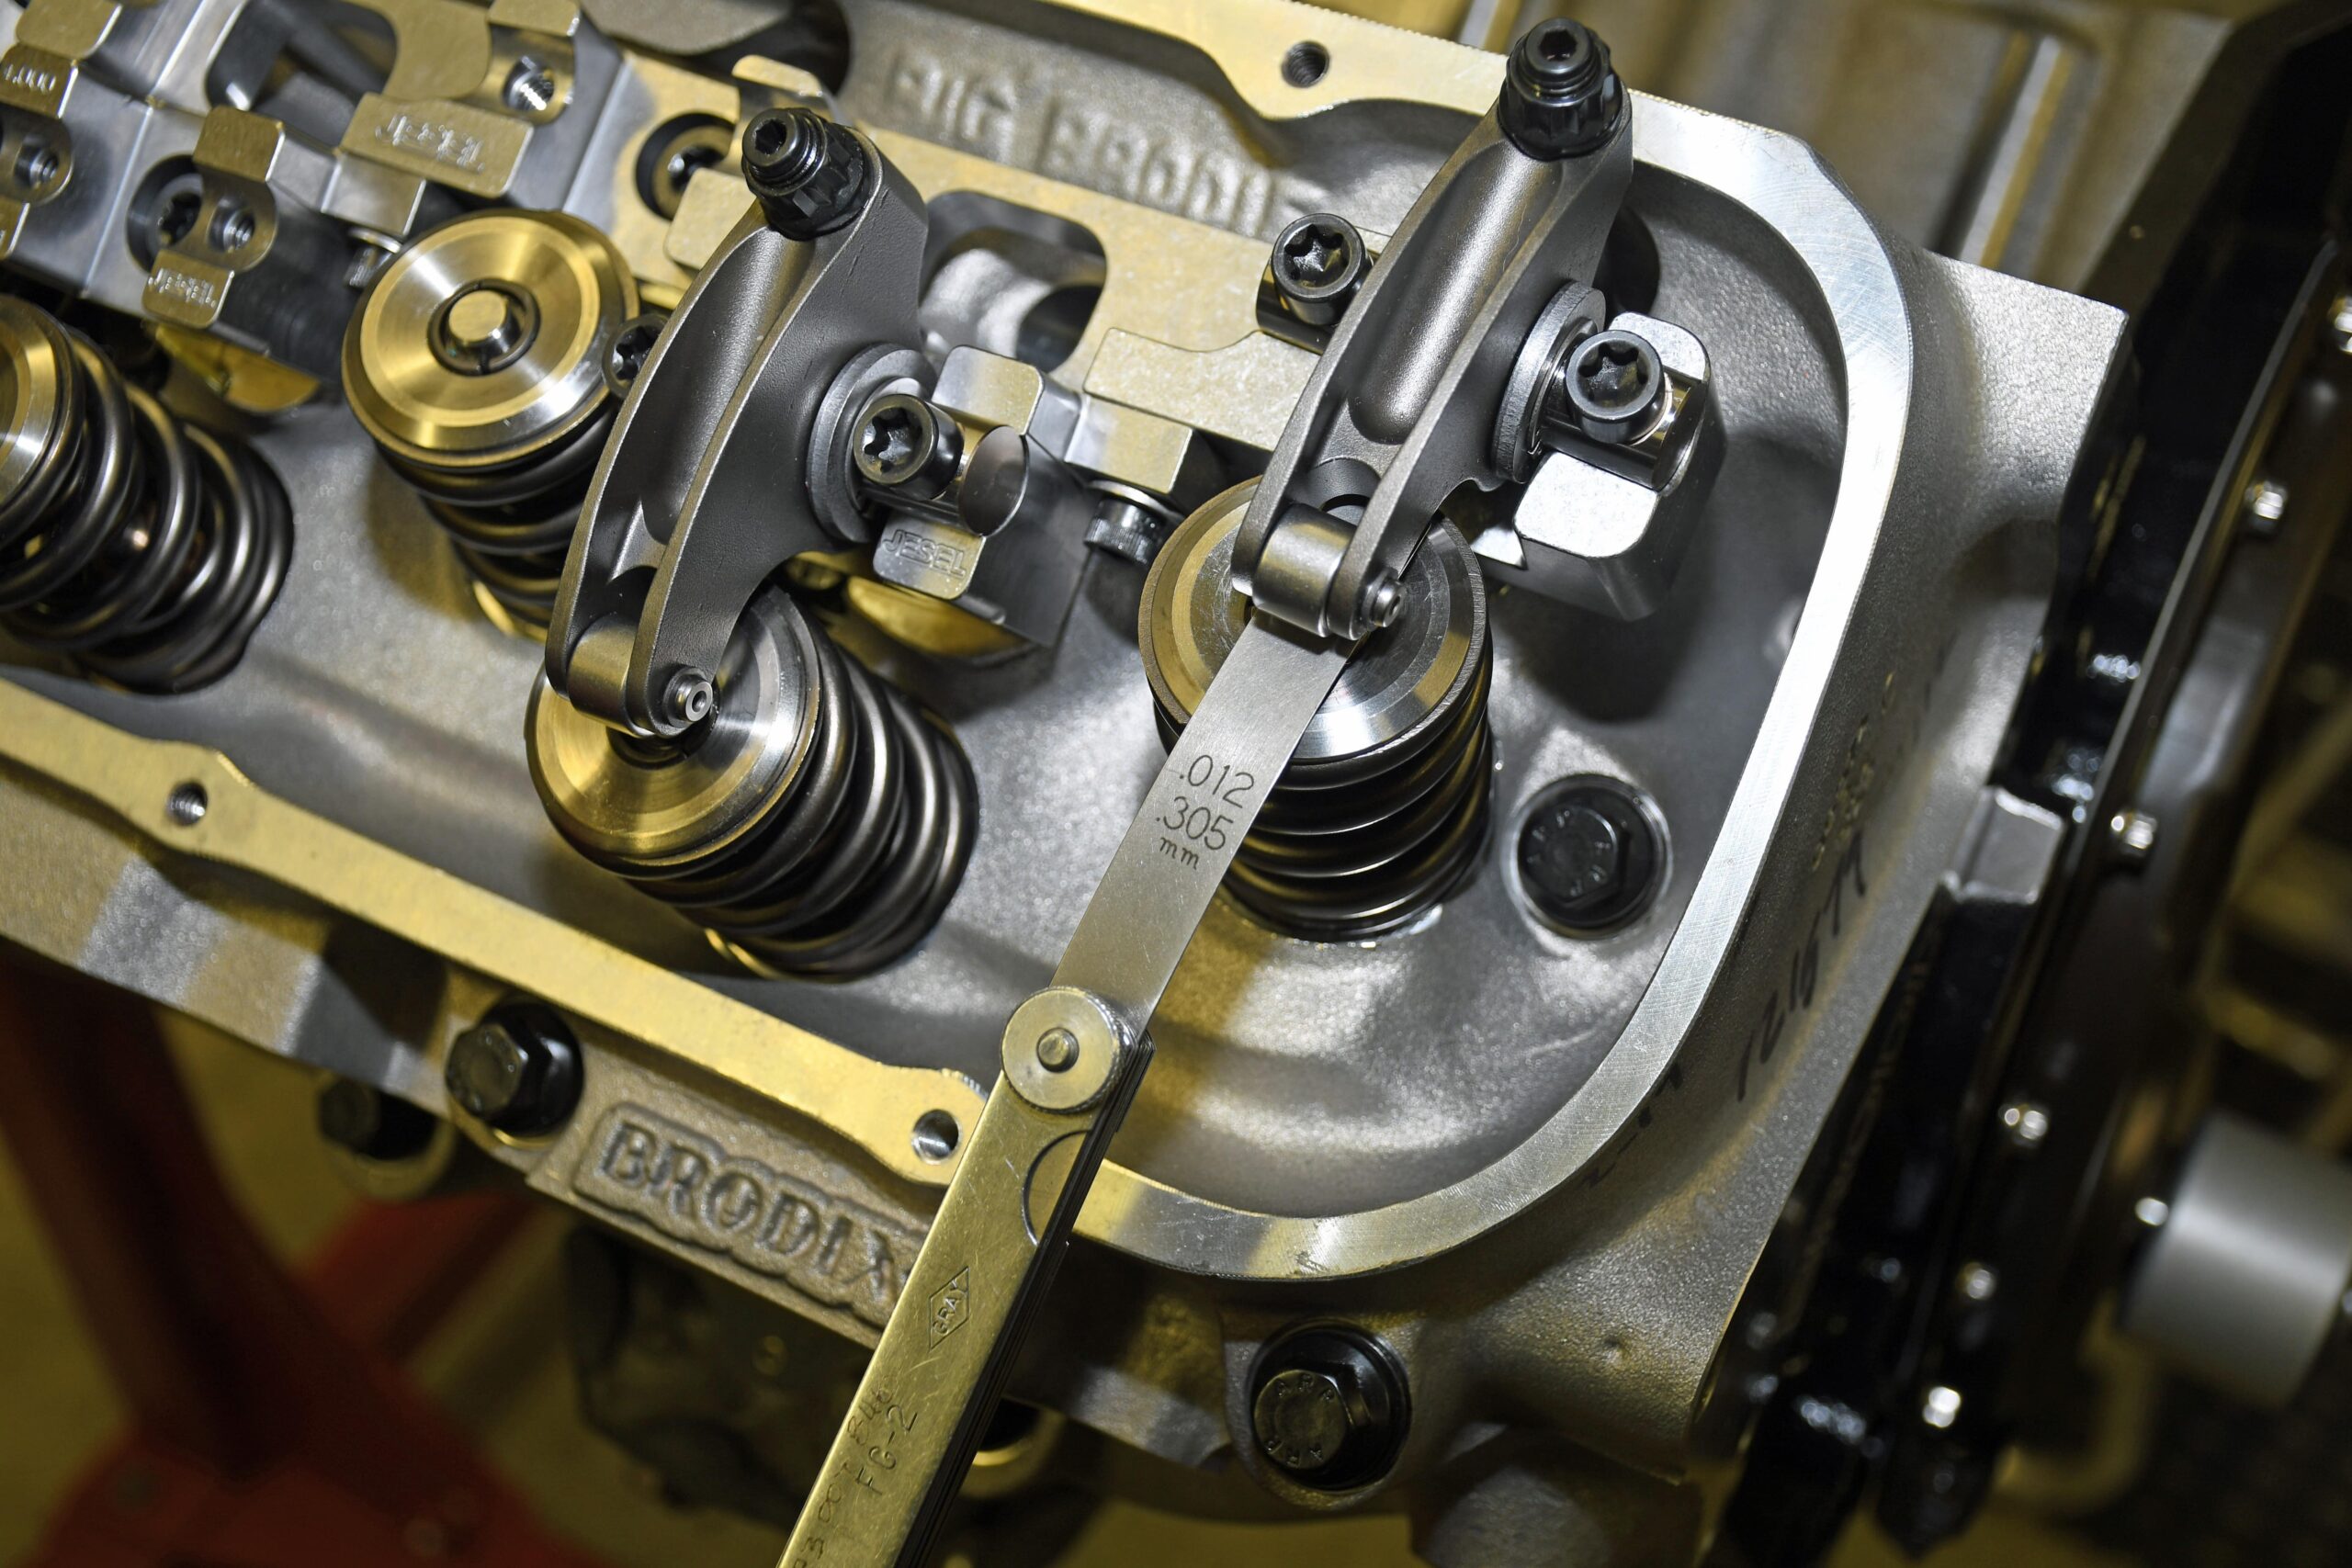
The easy way of setting lash is called the Exhaust Opening/Intake Closing” (“EO-IC”) method. Basically, you spin the engine over until the exhaust opens on a given cylinder. You set the corresponding intake. Spin the engine over until the intake on the cylinder closes, and you set the corresponding exhaust. The text offers more details. 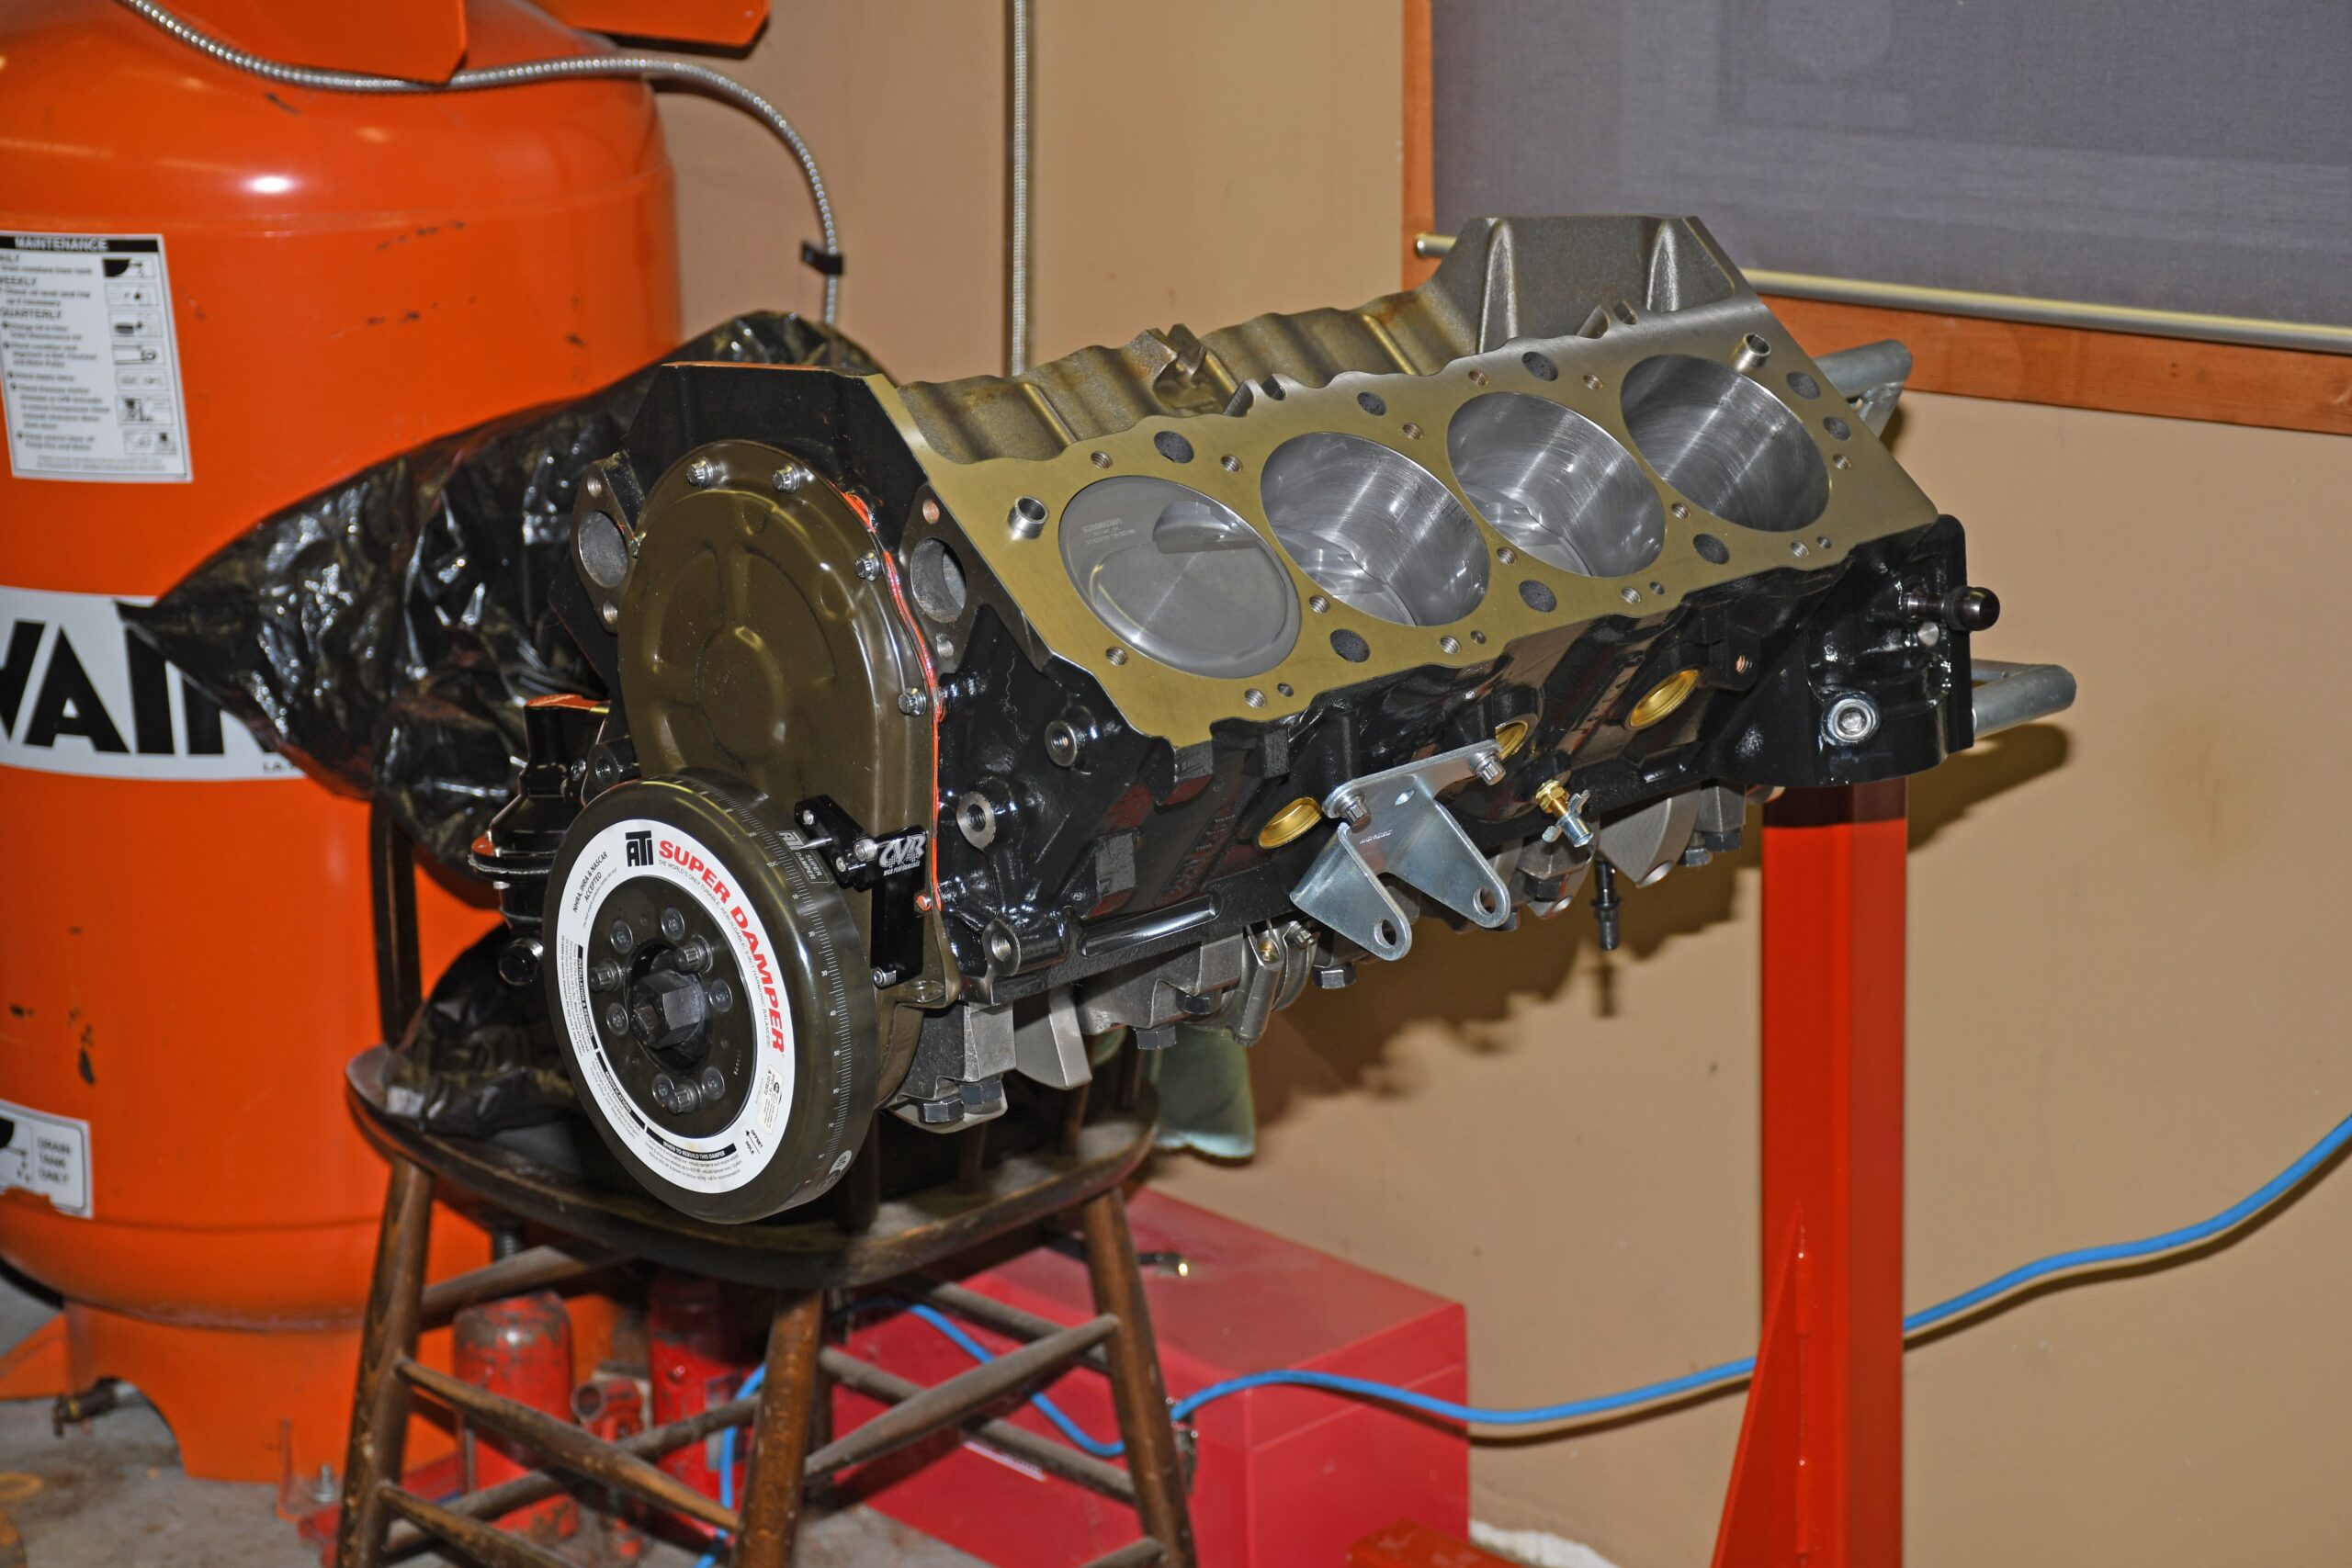
The OEM method of valve lash is a bit more complicated. It also involves spinning the engine over with a remote or bump starter or turning it over by hand (not easy on cars with a big fan shroud). You have to arrive at TDC, set specific valves and spin the engine over 180-degrees and repeat a couple of times. Obviously, a degreed damper (balancer) of some sort is necessary. This ATI damper is fully degreed with a clearly legible timing pointer. The text offers more info on the OEM “system”.
Enjoyed this article. Thanks!
Thanks got it now👍
What is wrong with bringing #1 up on TDC compression –
then adjusting #1 intake AND #1 exhaust ???
Intake closed at 130 crank deg (more or less) BTDC to begin compression stroke.
Exhaust wont start to open for another 120 crank deg (more or less) ATDC.
(i am using opening – closing events @ 0.050″ lift from my cam).
So – both lobes shud certainly be on base circle at TDC compression right ?
Yet I have never seen this method recommended.
What is wrong with it ?