

![[Gallery] 3rd. Annual Father's Day Classic Car Show](https://www.racingjunk.com/news/wp-content/uploads/2026/07/Calistoga-2026-18-scaled-e1783026475349-376x206.jpg)
![[Gallery] Blackhawk Museum Stop Over](https://www.racingjunk.com/news/wp-content/uploads/2026/06/DSC_0918-e1782449621944-376x206.jpg)
Plumbing 101: Part 6
Click Here to Begin Slideshow
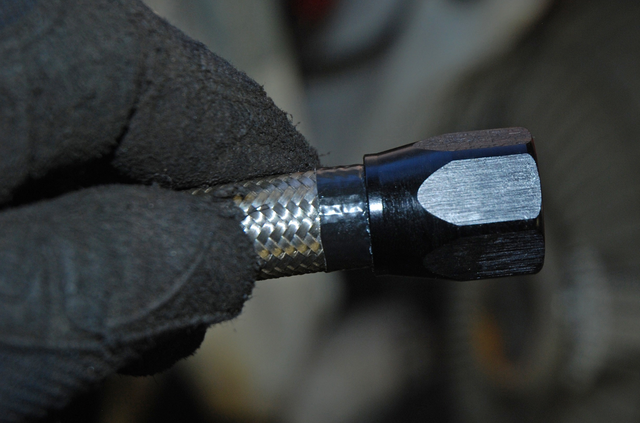
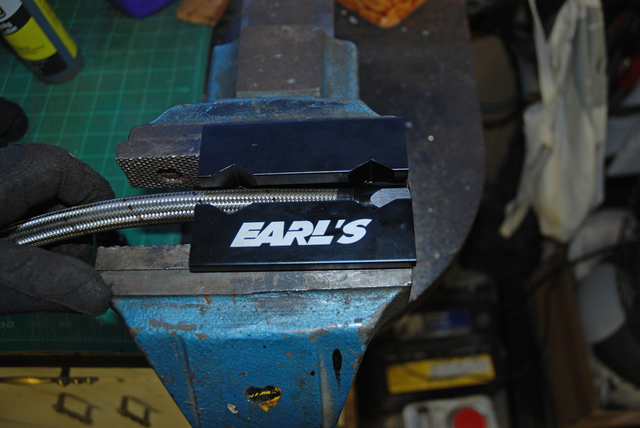
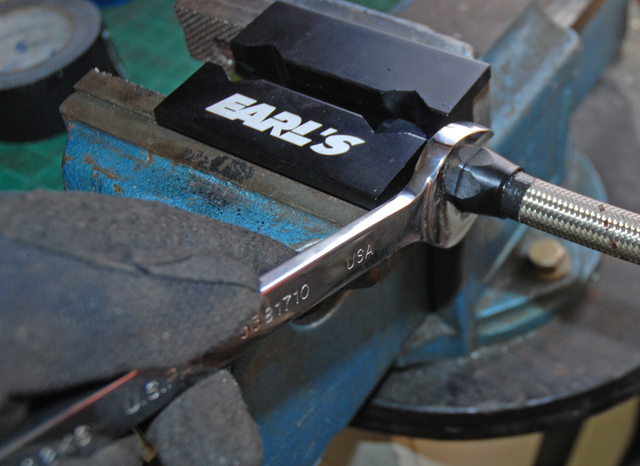
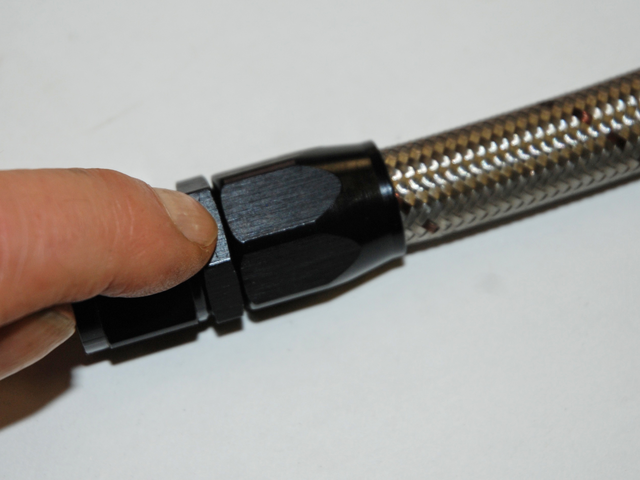
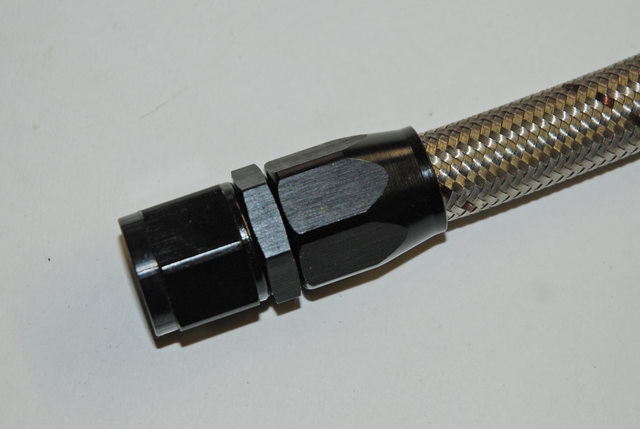
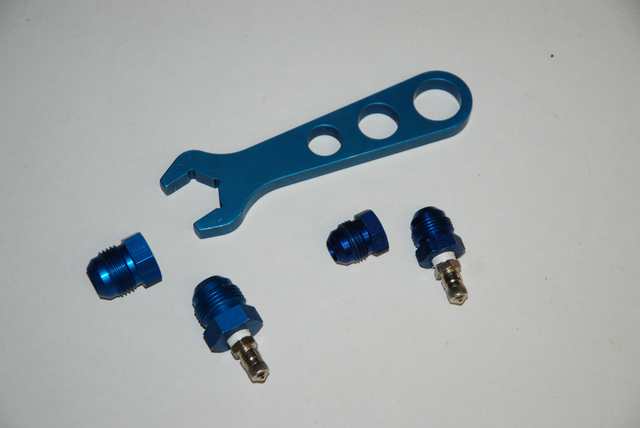
Over the past five issues of this series, we took a detailed look at AN hose and fittings. In the last issue, we began assembling Earl’s Performance Perform-O-Flex hose and Swivel Seal fittings. As we pointed out in that segment, it’s not that difficult a task to make up hoses. You have to take your time and you have to be careful with the process.
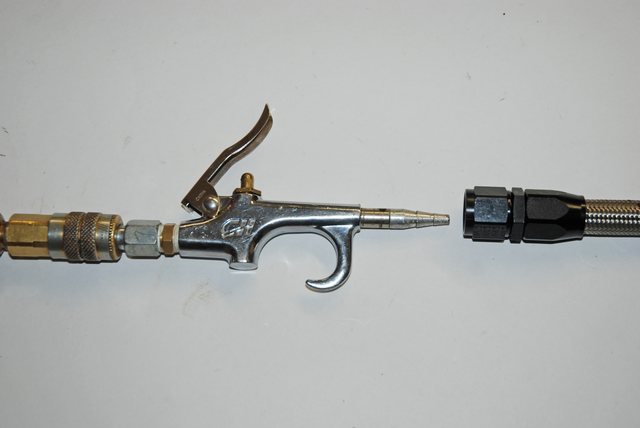
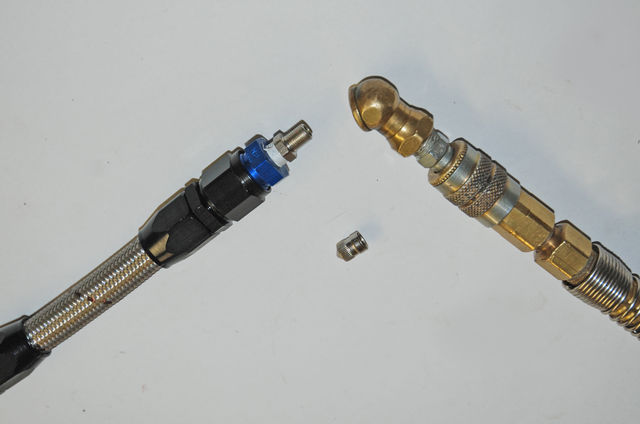
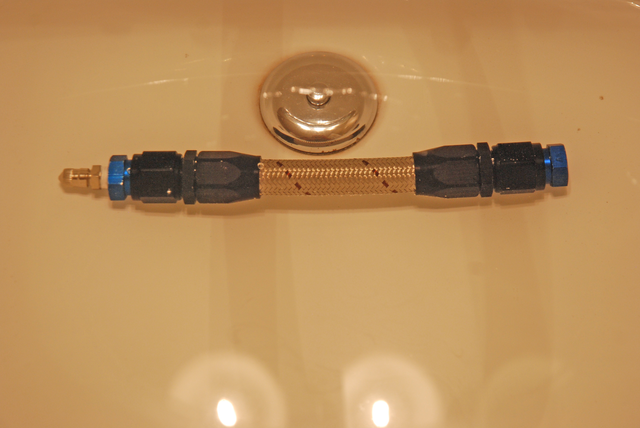
We’ll finish the assembly right here in this segment and we’ll also show you a pretty cool means to pressure test your hose assemblies using nothing more than a few simple tools, an air compressor and a sink of water. It works great!
And by the way, stay tuned. We’re not quite done yet! Upcoming in the next two issues is a detailed look at how to assemble Earl’s Performance latest Ultra Pro hose. We’re using their slick black fabric hose for the example, and it’s high tech (but something anyone can assemble at home). Watch for it!
Over the past five issues of this series, we took a detailed look at AN hose and fittings. In the last issue, we began assembling Earl’s Performance Perform-O-Flex hose and Swivel Seal fittings. As we pointed out in that segment, it’s not that difficult a task to make up hoses. You have to take your time and you have to be careful with the process.
We’ll finish the assembly right here in this segment and we’ll also show you a pretty cool means to pressure test your hose assemblies using nothing more than a few simple tools, an air compressor and a sink of water. It works great!
And by the way, stay tuned. We’re not quite done yet! Upcoming in the next two issues is a detailed look at how to assemble Earl’s Performance latest Ultra Pro hose. We’re using their slick black fabric hose for the example, and it’s high tech (but something anyone can assemble at home). Watch for it!
Leave a Reply