


![[Gallery] The Last Hot Rod Fall Out XX](https://www.racingjunk.com/news/wp-content/uploads/2026/04/DSC_8368-e1776446464704-376x206.jpg)

How to Install a Jesel Belt Drive Part 3
Click Here to Begin Slideshow
We’re back with our third segment of the Jesel camshaft timing belt installation. If you spin the pages back in your browser, you’ll see the first article in the series dealt with clearancing the cylinder block to fit the Jesel timing cover valley plate. In the second installment we fit the camshaft with a special cam adapter, installed the rear thrust bearing and installed the camshaft. This time around we’ll show you how to shim the cam pulley adapter, and we’ll also dig into installing the crank pulley. Here’s how it goes together:
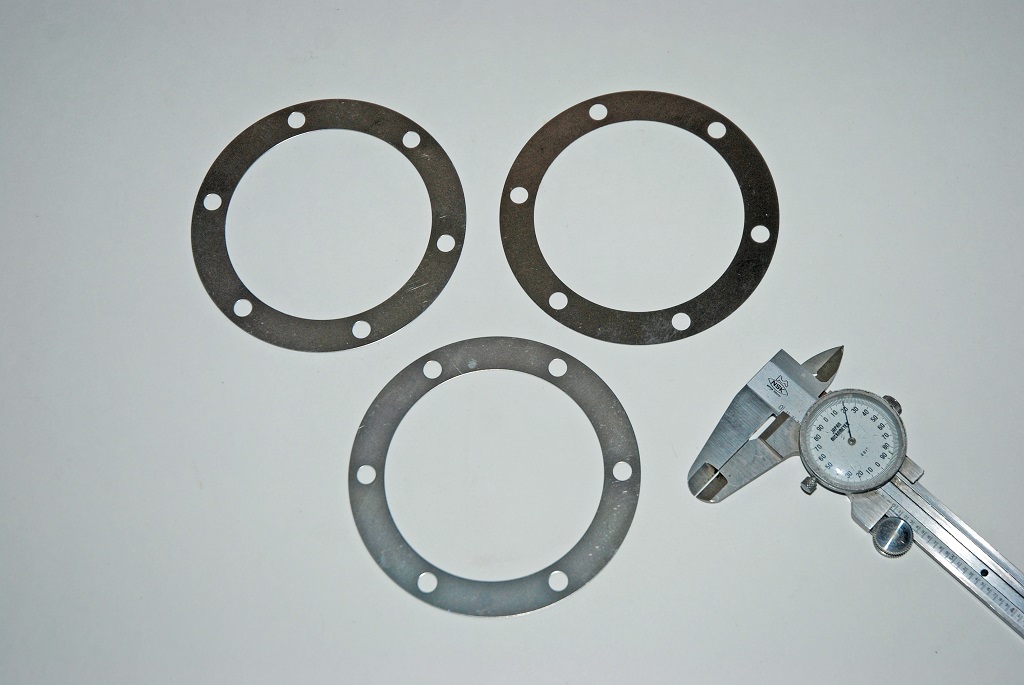
The camshaft pulley adapter has a second thrust washer on the front side. It is held in place by way of a machined thrust plate that fastens to the 6 studs on the timing cover valley plate. Sandwiched between the thrust plate and the timing cover valley plate are a series of thrust shims. Jesel supplies three different thrust shims. You have to juggle these in order to attain a thrust clearance of between 0.008-inch and 0.012-inch. With this arrangement, you might need one shim, a combination of two shims or all three. To check the camshaft thrust, a dial indicator is set up so it reads off the nose of the cam adapter (see the following photos).
Once the camshaft thrust measurement is set, the shims are sealed (by way of a thin coat of silicone sealant) and the thrust plate is reinstalled. The six lock nuts are re-torqued to 96 inch/pounds or 8 foot/pounds. At this point, you can move on to the install of the crankshaft pulley.
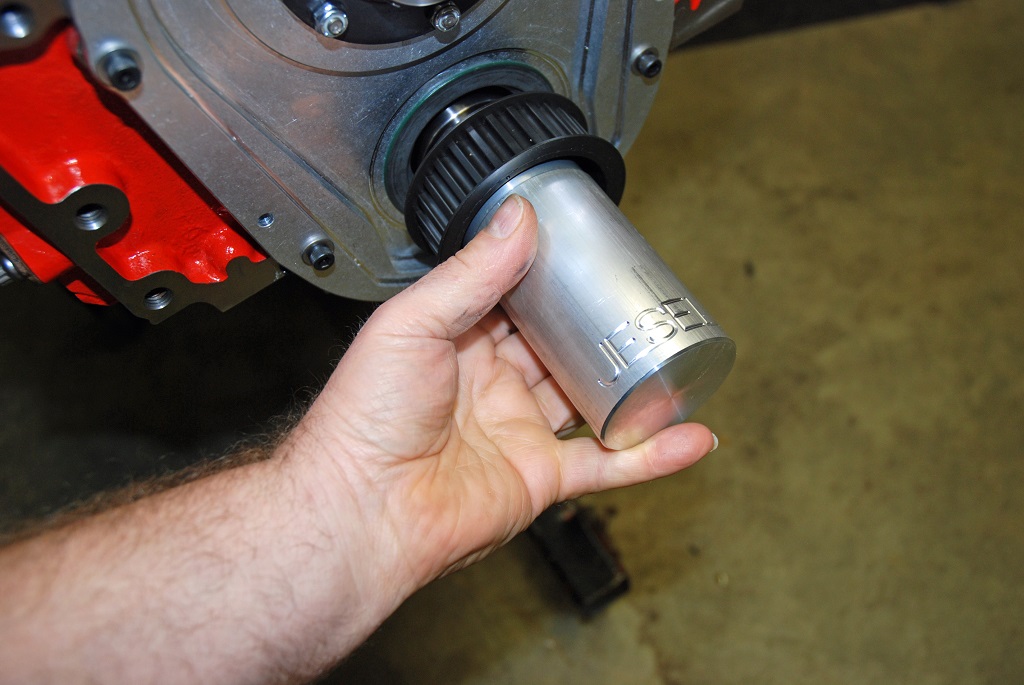
Before the crankshaft pulley is driven on, a crankshaft cam drive sprocket key must be installed and the crank snout should be covered lightly with a quality anti-seize compound. At this point, the lower should be aligned and driven into place. Jesel makes a pretty cool crank pulley driver just for this job (see the following photos). Installation isn’t tough. Just be sure to drive it on until the pulley seats against the crankshaft.
Next issue, we’ll wrap up the installation with info on how to set up and install the cam pulley along with the drive belt. Watch for it.
We’re back with our third segment of the Jesel camshaft timing belt installation. If you spin the pages back in your browser, you’ll see the first article in the series dealt with clearancing the cylinder block to fit the Jesel timing cover valley plate. In the second installment we fit the camshaft with a special cam adapter, installed the rear thrust bearing and installed the camshaft. This time around we’ll show you how to shim the cam pulley adapter, and we’ll also dig into installing the crank pulley. Here’s how it goes together:
The camshaft pulley adapter has a second thrust washer on the front side. It is held in place by way of a machined thrust plate that fastens to the 6 studs on the timing cover valley plate. Sandwiched between the thrust plate and the timing cover valley plate are a series of thrust shims. Jesel supplies three different thrust shims. You have to juggle these in order to attain a thrust clearance of between 0.008-inch and 0.012-inch. With this arrangement, you might need one shim, a combination of two shims or all three. To check the camshaft thrust, a dial indicator is set up so it reads off the nose of the cam adapter (see the following photos).
Once the camshaft thrust measurement is set, the shims are sealed (by way of a thin coat of silicone sealant) and the thrust plate is reinstalled. The six lock nuts are re-torqued to 96 inch/pounds or 8 foot/pounds. At this point, you can move on to the install of the crankshaft pulley.
Before the crankshaft pulley is driven on, a crankshaft cam drive sprocket key must be installed and the crank snout should be covered lightly with a quality anti-seize compound. At this point, the lower should be aligned and driven into place. Jesel makes a pretty cool crank pulley driver just for this job (see the following photos). Installation isn’t tough. Just be sure to drive it on until the pulley seats against the crankshaft.
Next issue, we’ll wrap up the installation with info on how to set up and install the cam pulley along with the drive belt. Watch for it.
Leave a Reply