


![[Gallery] Street Rodders for Life Memorial Day Car Show](https://www.racingjunk.com/news/wp-content/uploads/2026/06/Memorial-day-show_0198-376x206.jpg)
![[Gallery] Townsman Car Show](https://www.racingjunk.com/news/wp-content/uploads/2026/05/916_2843-e1780072552171-376x206.jpg)

Balancing Act: The Right Way To R&R Harmonic Balancers
Click Here to Begin Slideshow
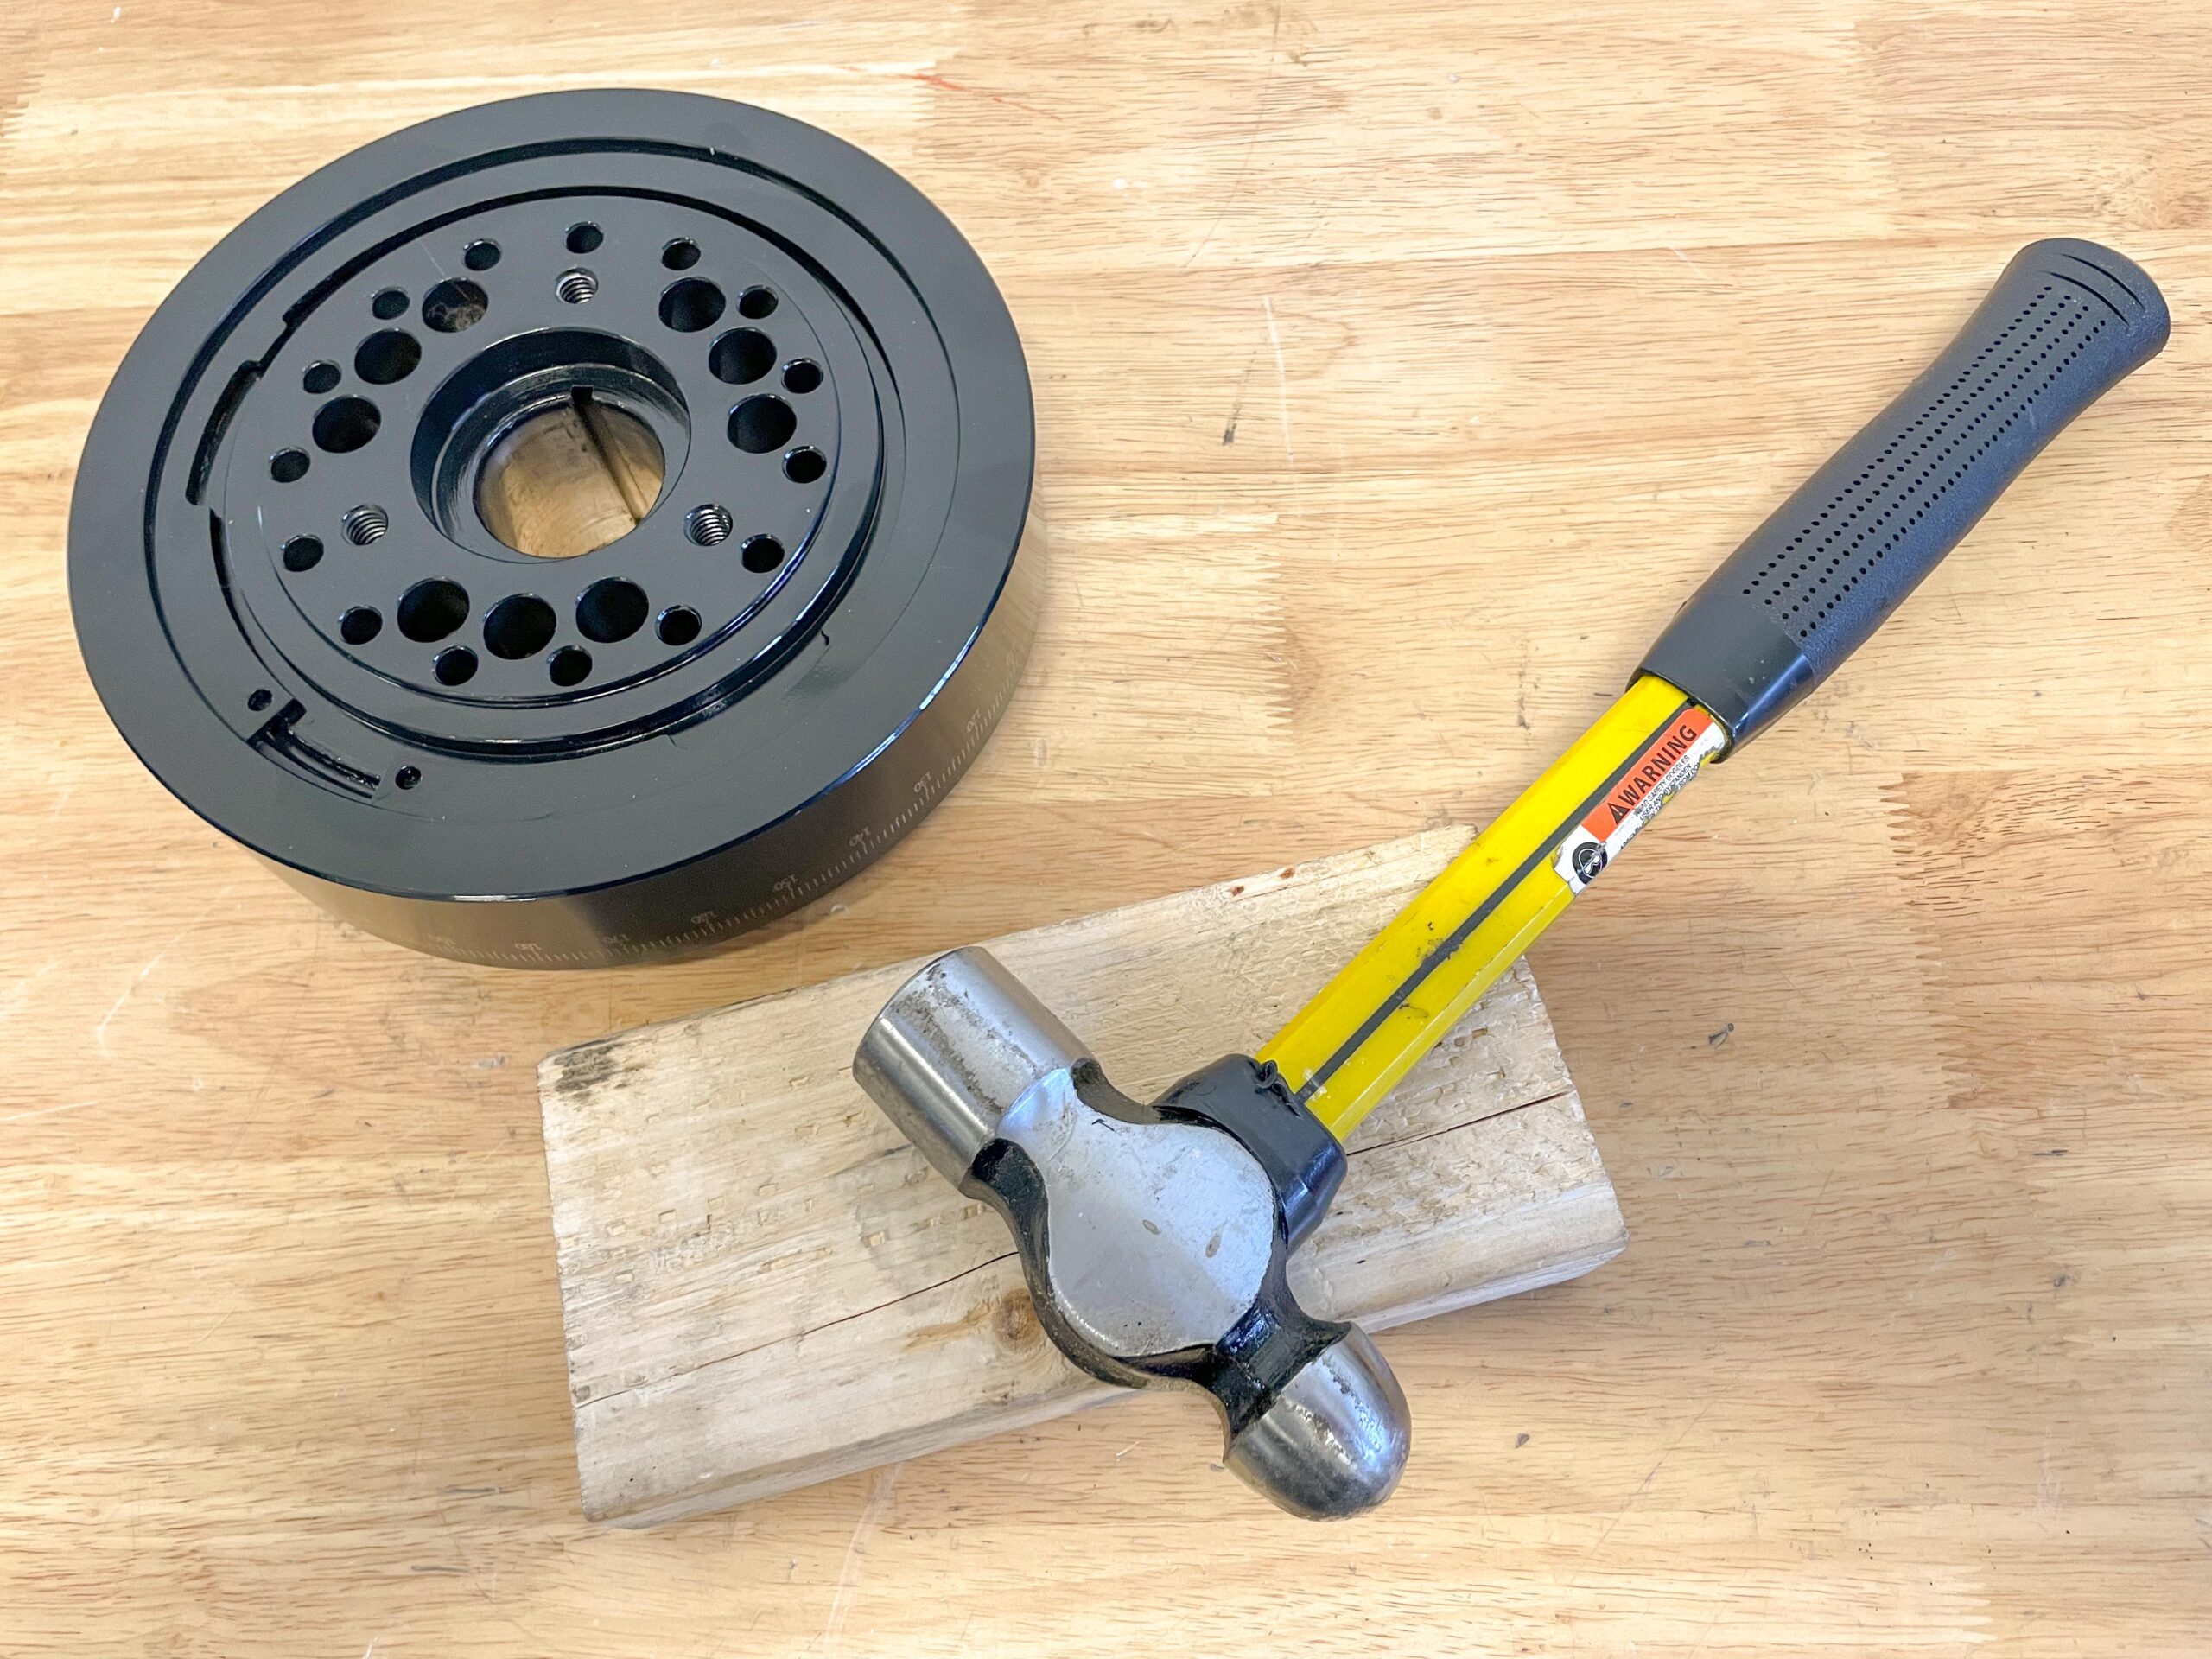
Removing and installing a balancer (harmonic damper) is an exercise fraught with headaches. On one hand you have big honking “device” nailed down to the front of your crank and you need to get it off. In most cases, you need to remove it before the timing cover comes and of course, you need to remove it access the timing chain set. Installing it is another matter. That 8 pound sledge hammer you have in the corner of the shop and a block of wood seem like they could work. But you’d think wrong. You see, dampers (balancers) are actually rather delicate and in many cases, they’re rather sophisticated. Instead of brute force, finesse is your friend here.
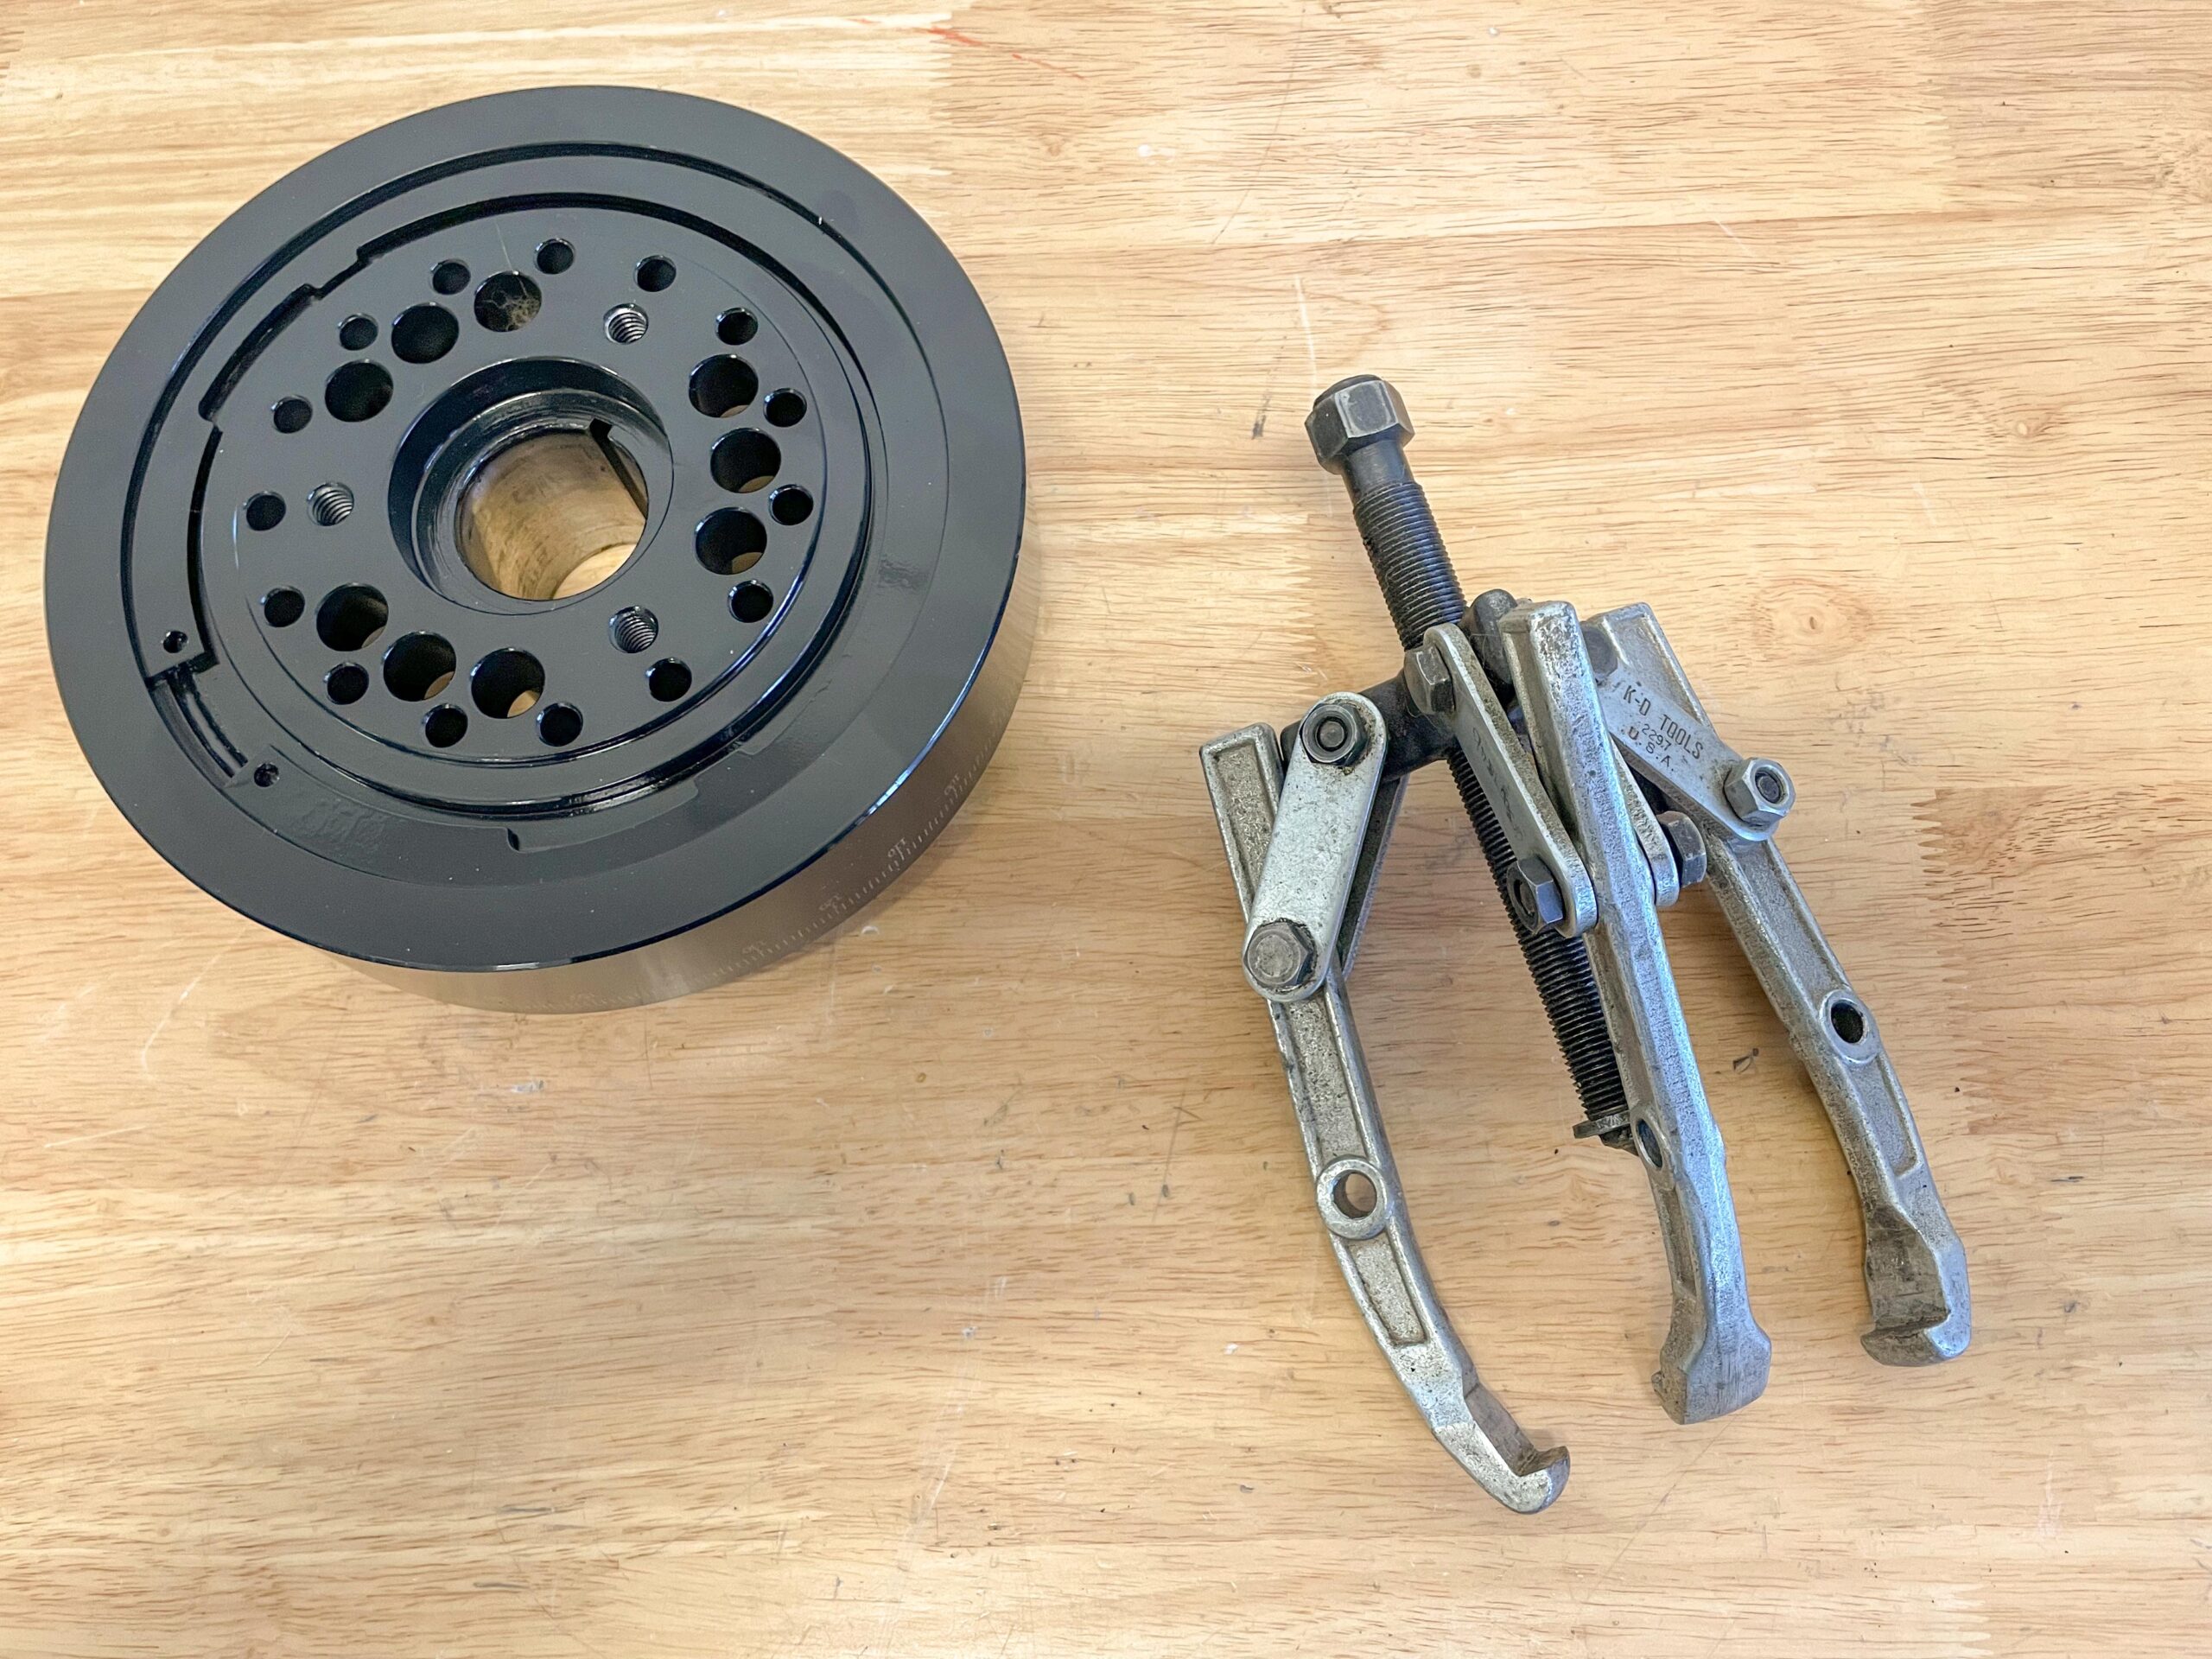
While removing a damper or reinstalling it sounds simple enough the truth is they’re next to impossible to remove and install properly without the right tools. Sure, you might get away with yanking one off with a common three-jaw puller, but you can pretty much be assured the damper will be damaged, if not ruined. In fact, most aftermarket harmonic damper manufacturers explicitly note that the use of a three jaw puller is forbidden with their respective products. Say Adios to your guarantees.
But what about installing one? Honestly, a block of wood coupled with sledge hammer you have in the corner or even a dedicated pulley driver isn’t the right answer either. You can easily damage the balancer. The same applies if you try use a bolt and pull it on by way of the crank threads. That’s a real recipe for disaster because there’s a very (Very!) good chance you can destroy the threads in the crank snout with that practice.
We’re finished with the bad news. The good news is, and the real answer is to use the appropriate tools. I have a couple of different examples including several vintage GM Kent Moore service jobs in my tool box along with a vintage Moroso example. Equally important, there are many other different versions out there too (keeping in mind cheap doesn’t usually equate to quality).
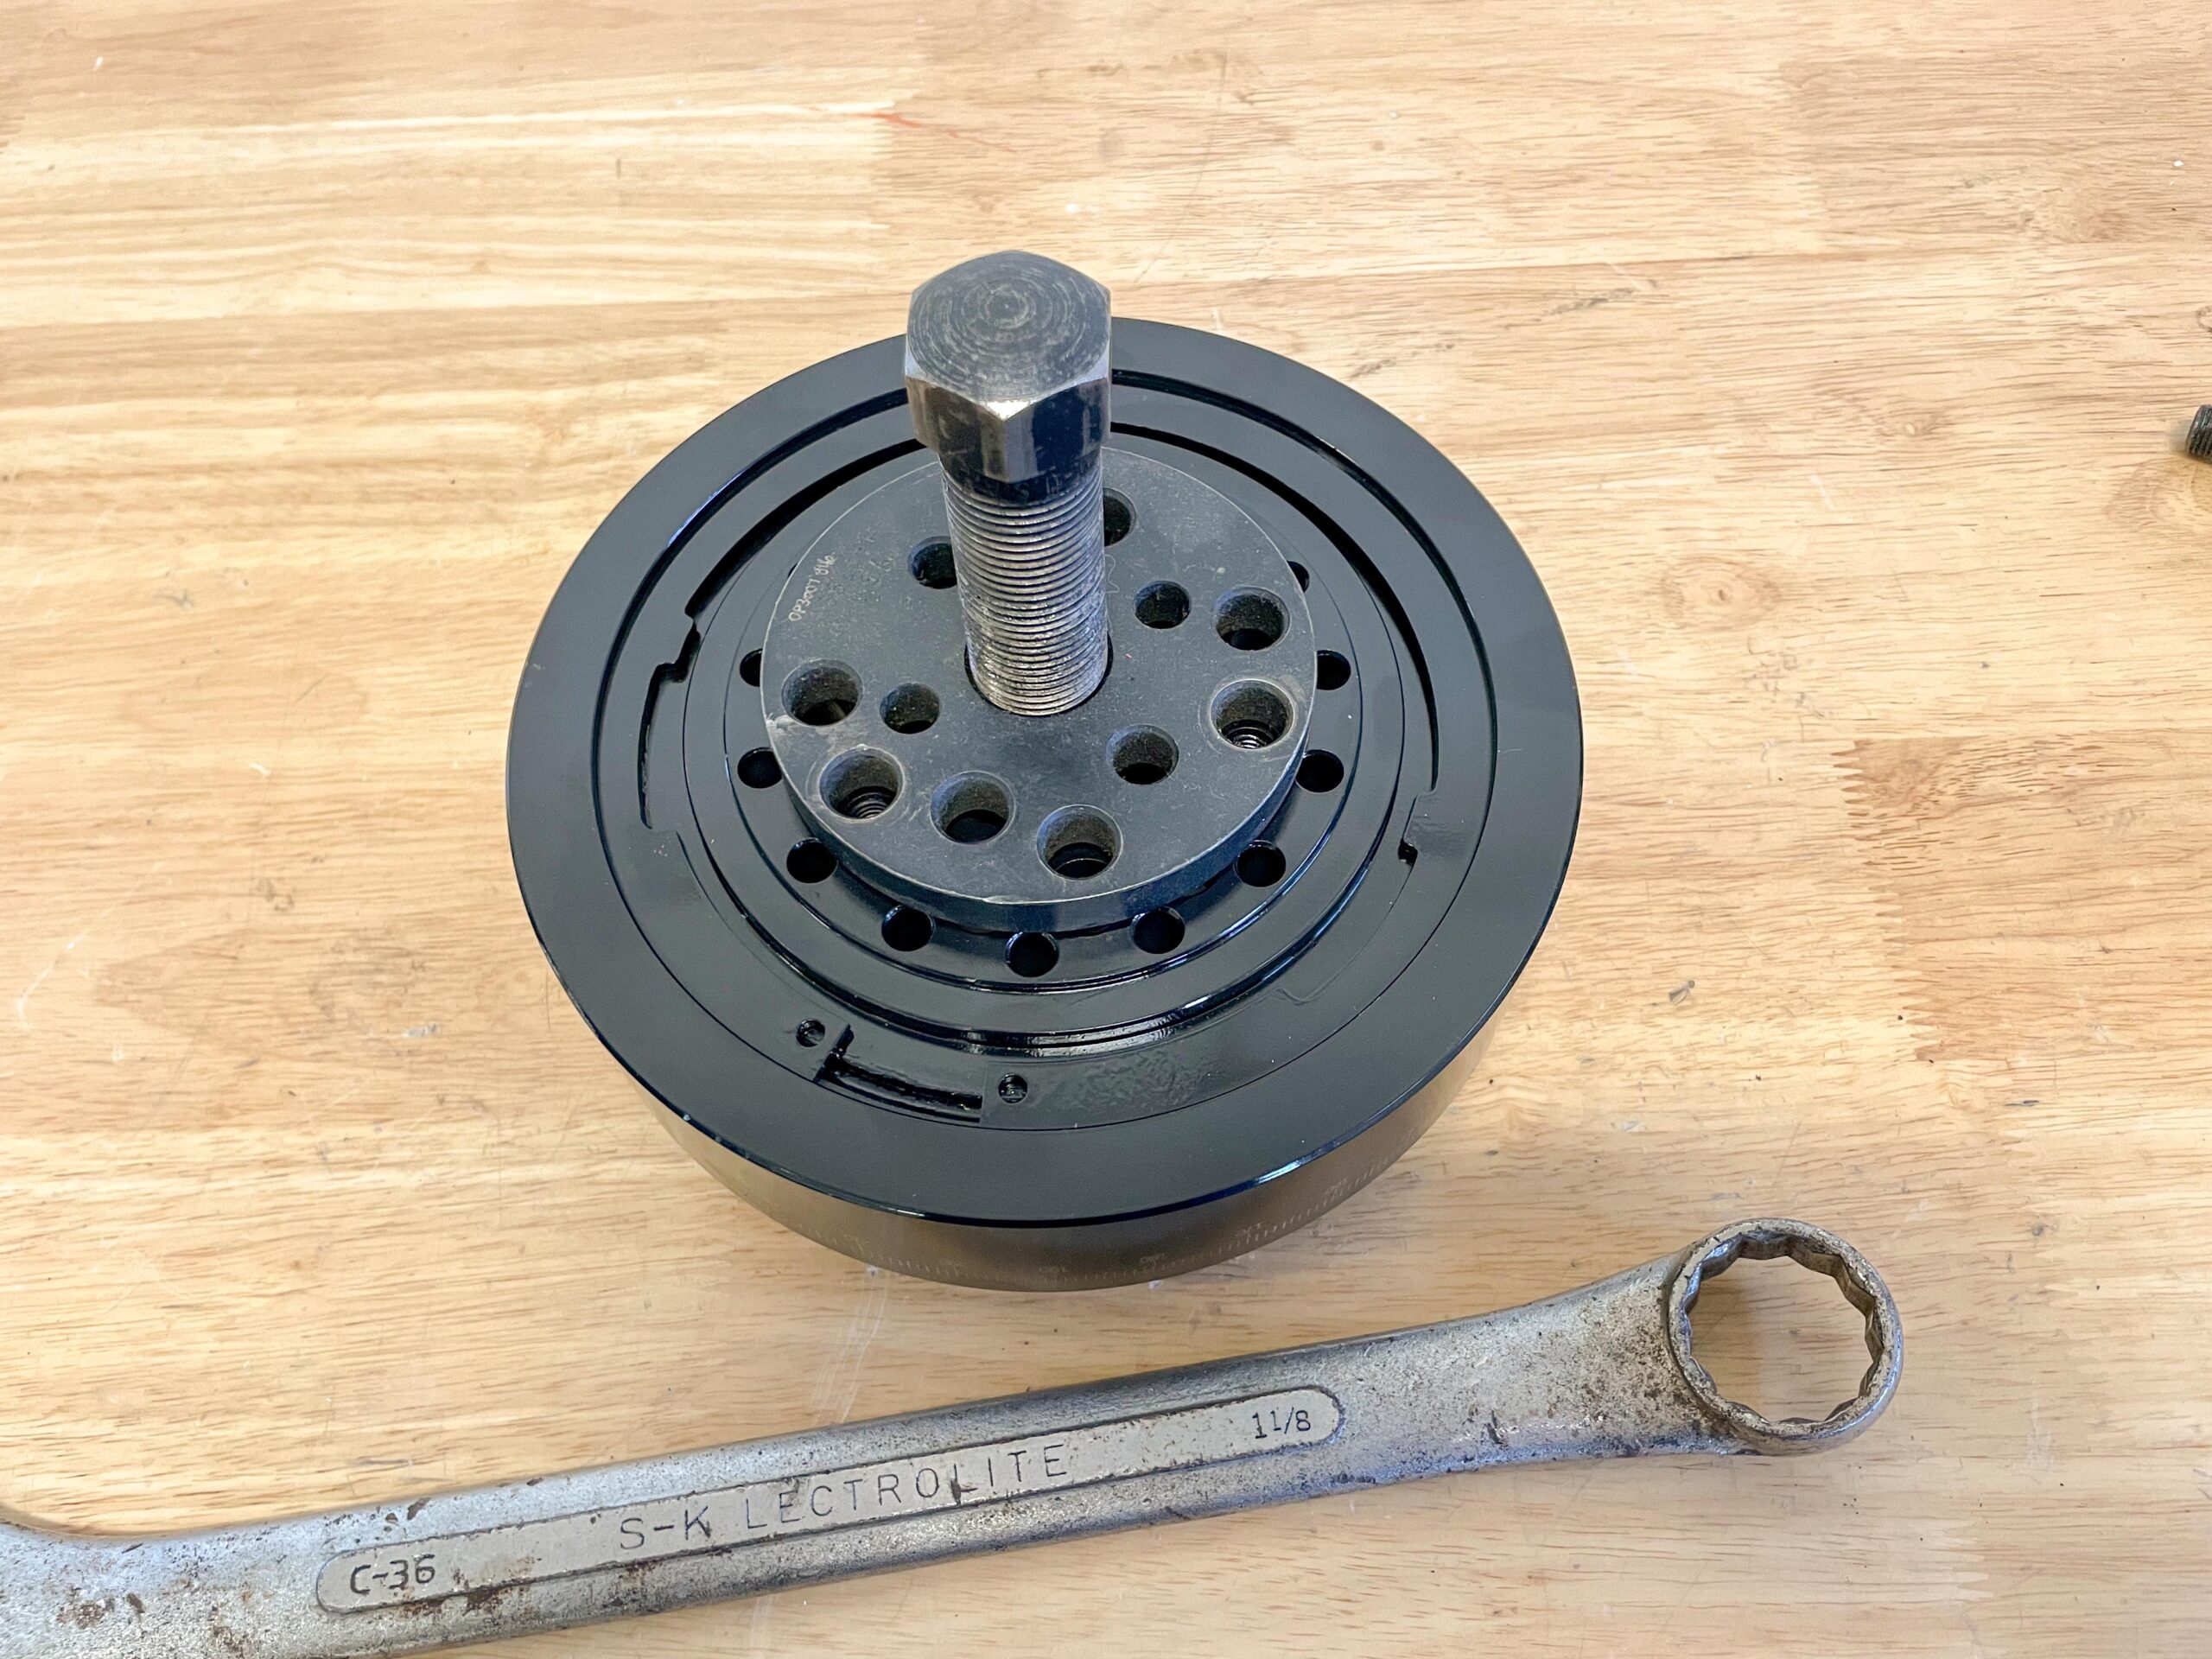
A good damper removal tool is simple to use and extremely effective. For the most part, you simply bolt a plate to the face of the damper. Typically, the plate attaches to the same bolt pattern as the crank pulley. The puller usually includes a large diameter, fine thread “screw” that runs through the center of the plate. Using a 1-1/8-inch socket or wrench (socket size depends upon the tool – I’m referencing my old Kent Moore puller here), you simply tighten the screw. The magic of threads goes to work and the damper eases off the end of the crank. Honestly, it’s all incredibly simple and very effective. The first time you use such a tool, you’ll be amazed at the ease of operation and equally amazed at how quick it works. In addition, it creates zero damage to the damper and zero damage to the crankshaft – all good news!
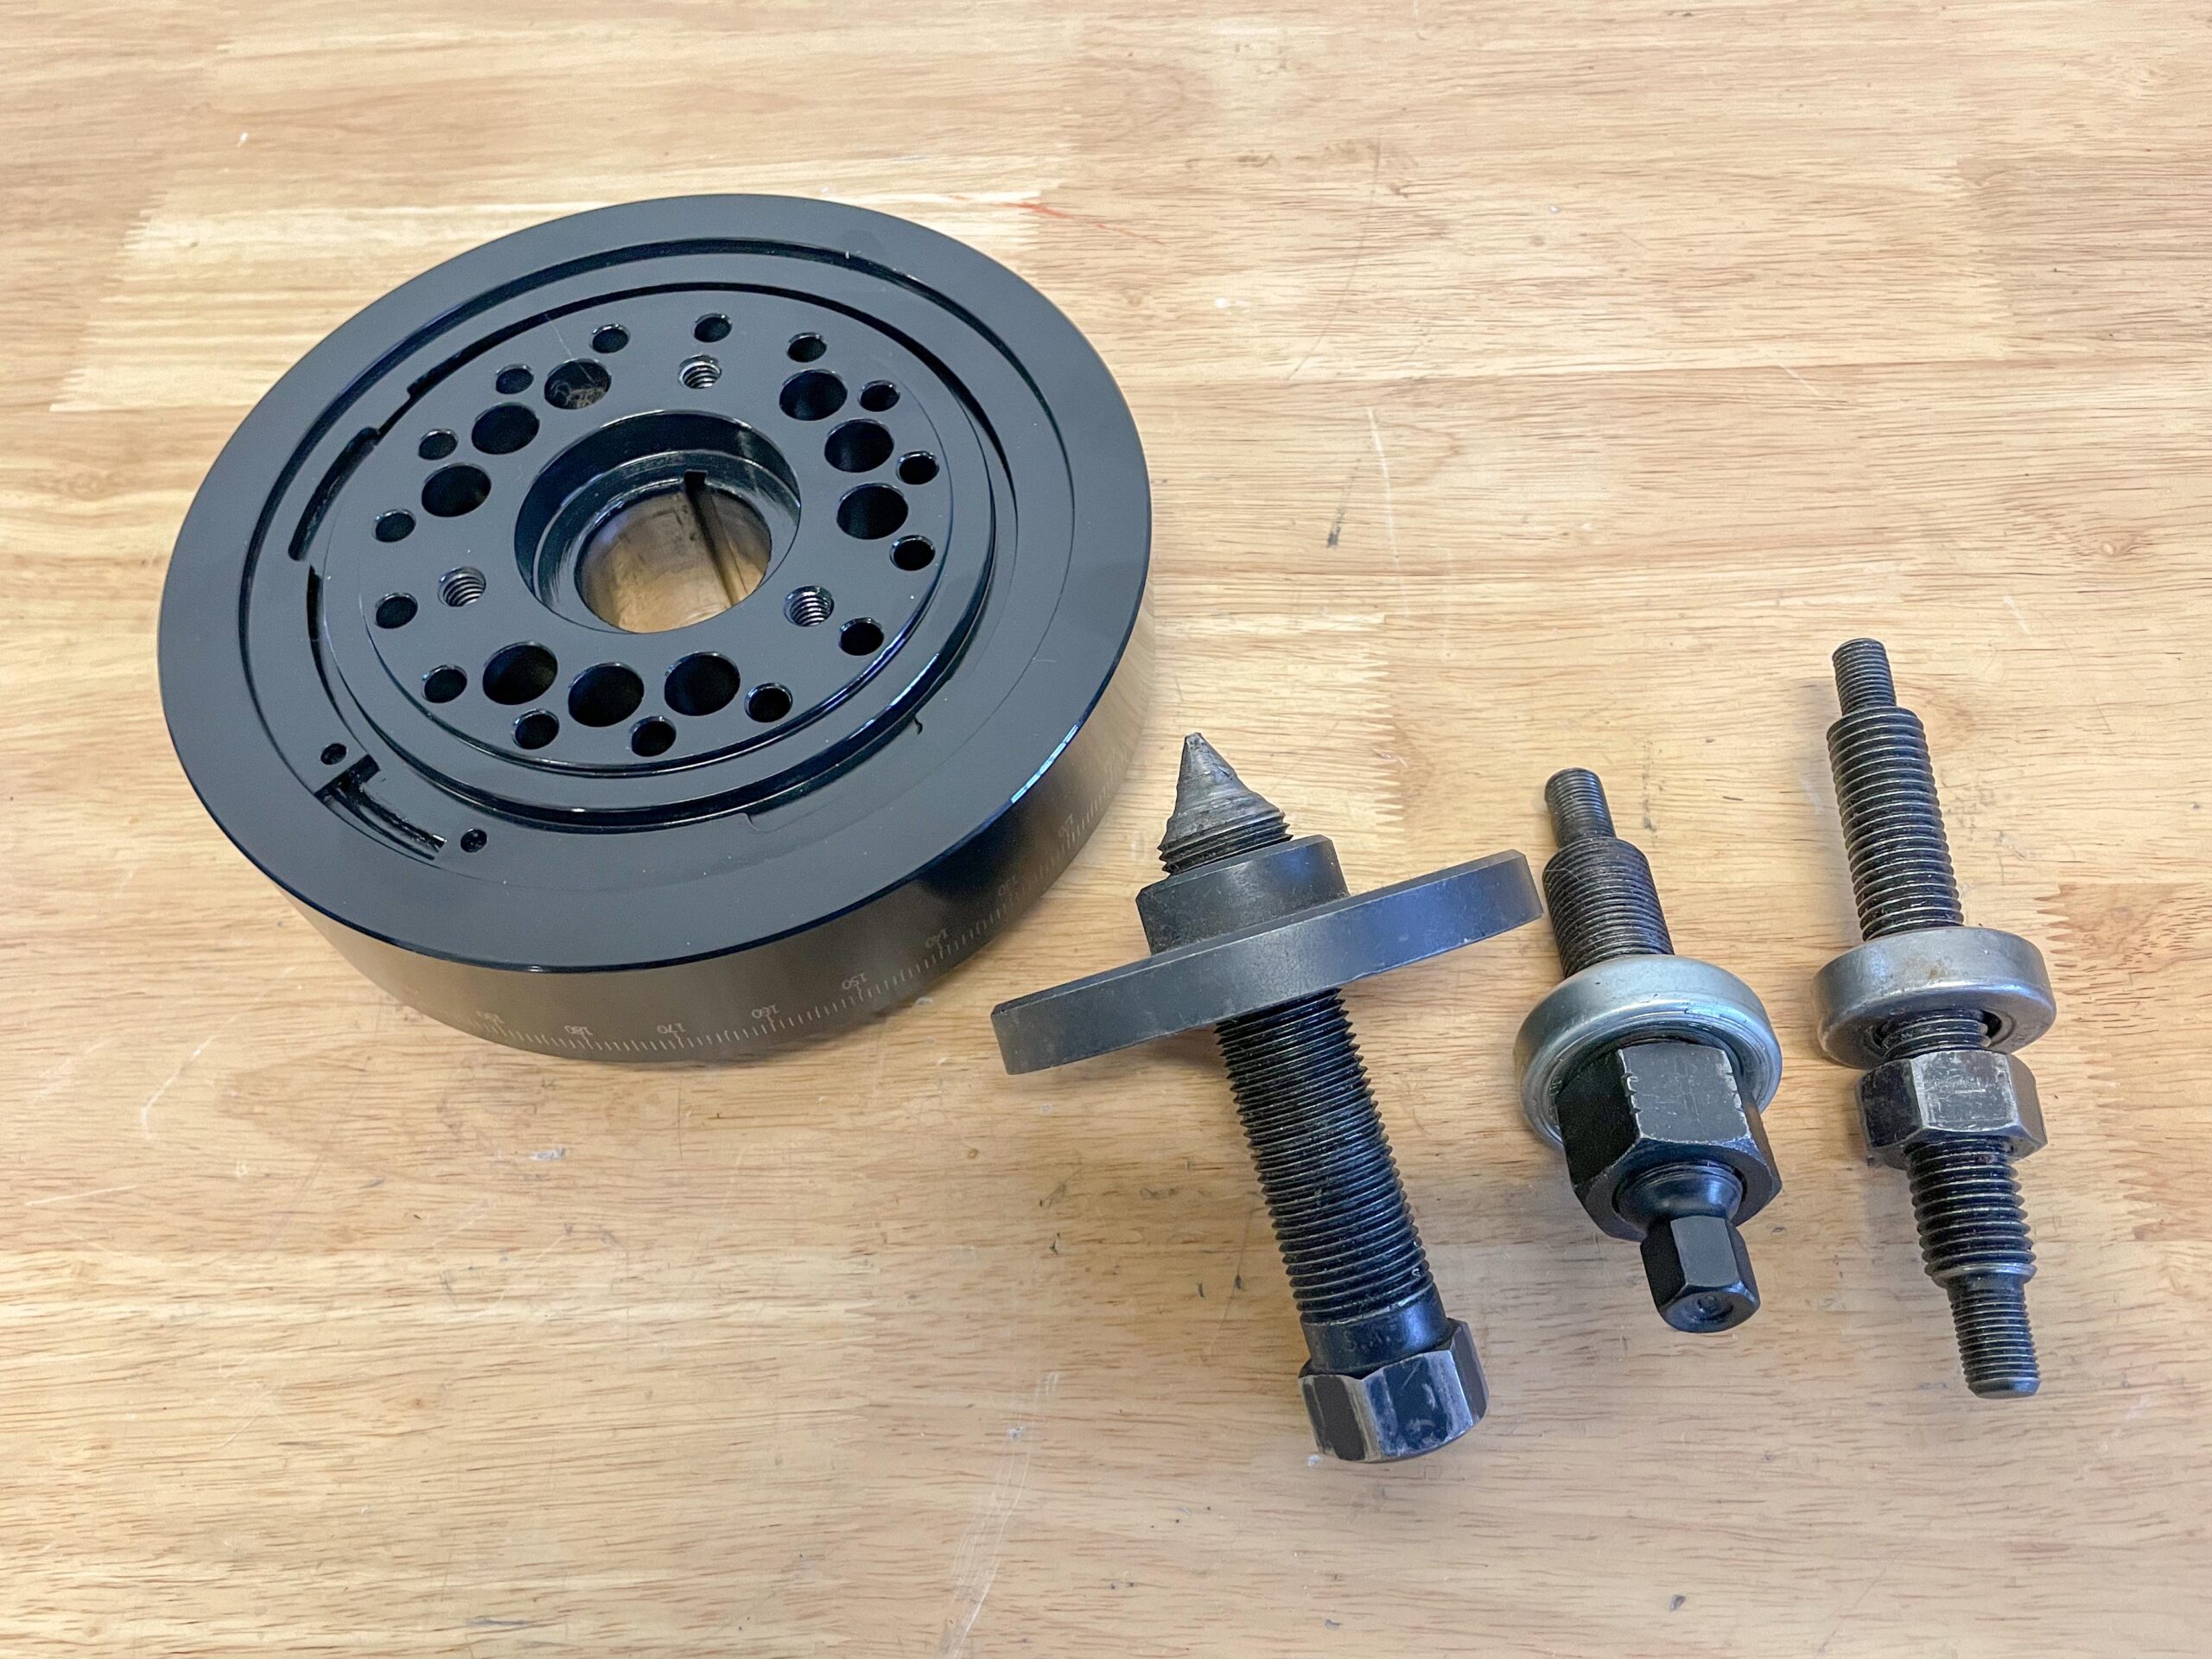
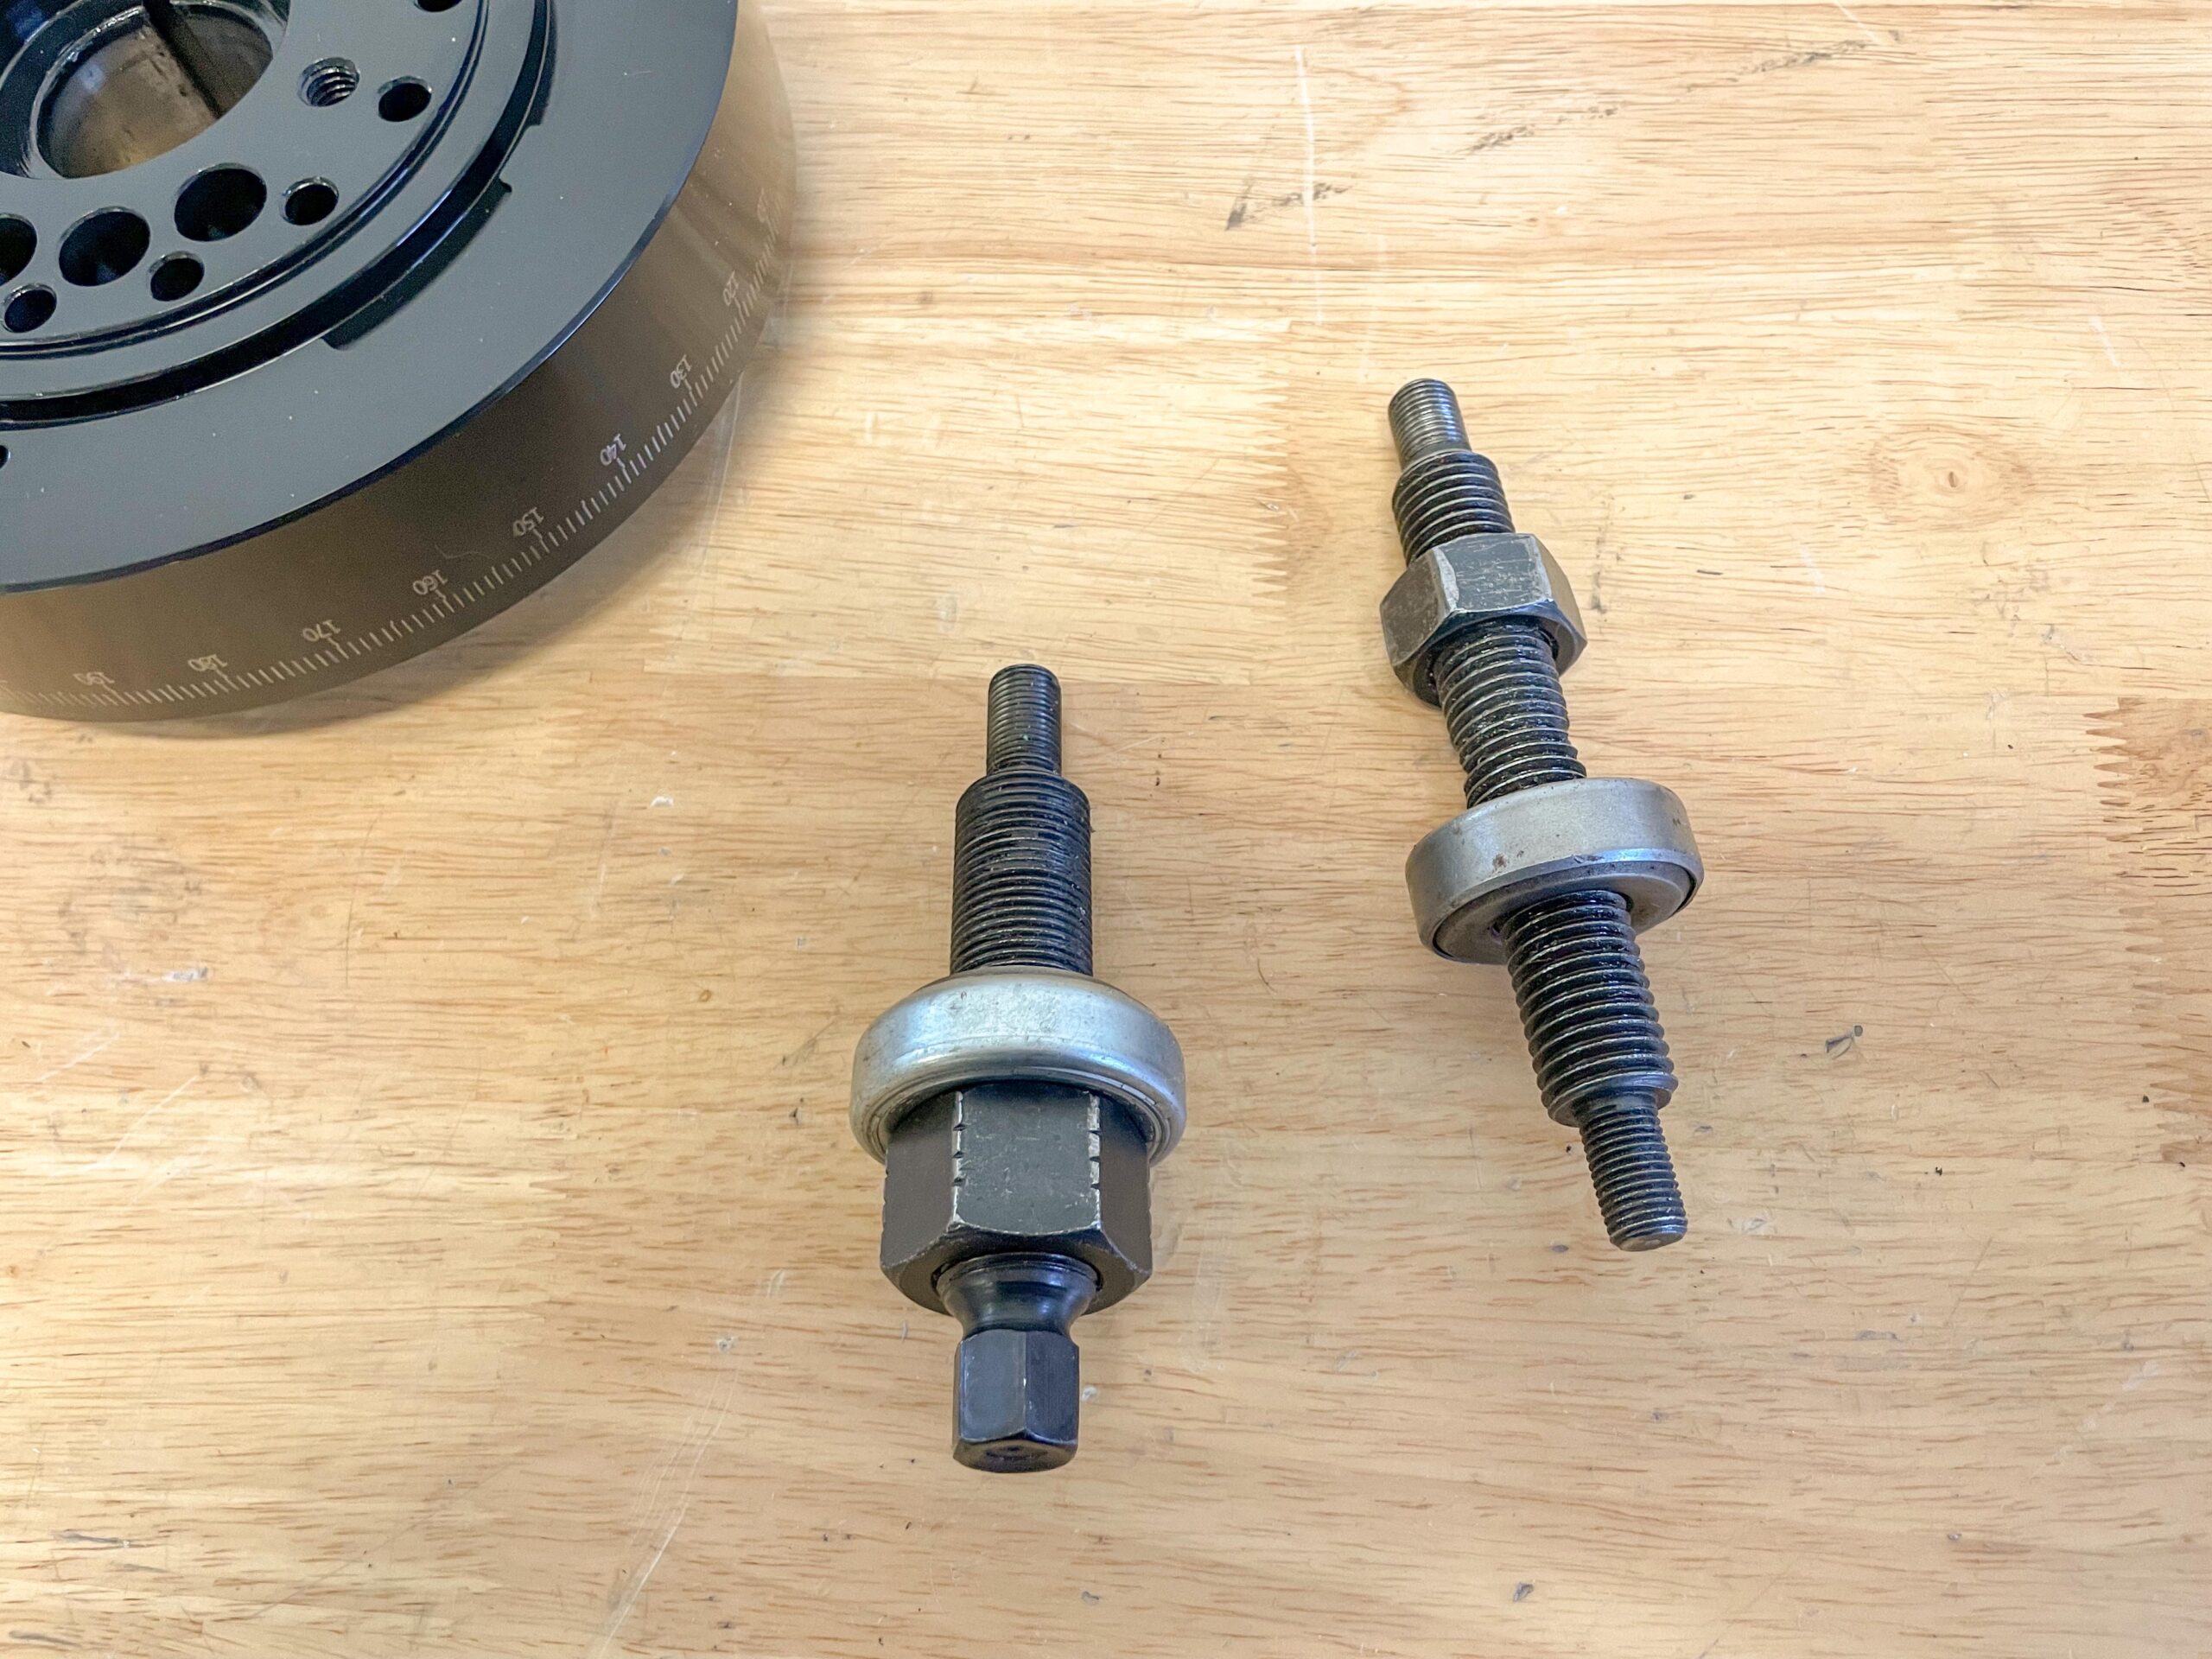
Installation is equally easy with the right tool. Here, the process differs a little bit. Installation tools typically have an end sized to fit the threads in the crankshaft snout. Some tools like my old Kent Moore installation tool are double ended – one size fits a small block Chevy application (7/16-20) and another fits a big block Chevy application (1/2-20). The older Moroso installation tool I have (part number 61741) has a dedicated 1/2-20 thread for the crank snout for big block applications. Honestly, the Moroso installation tool is a step up from the old Kent Moore tool. I prefer it.
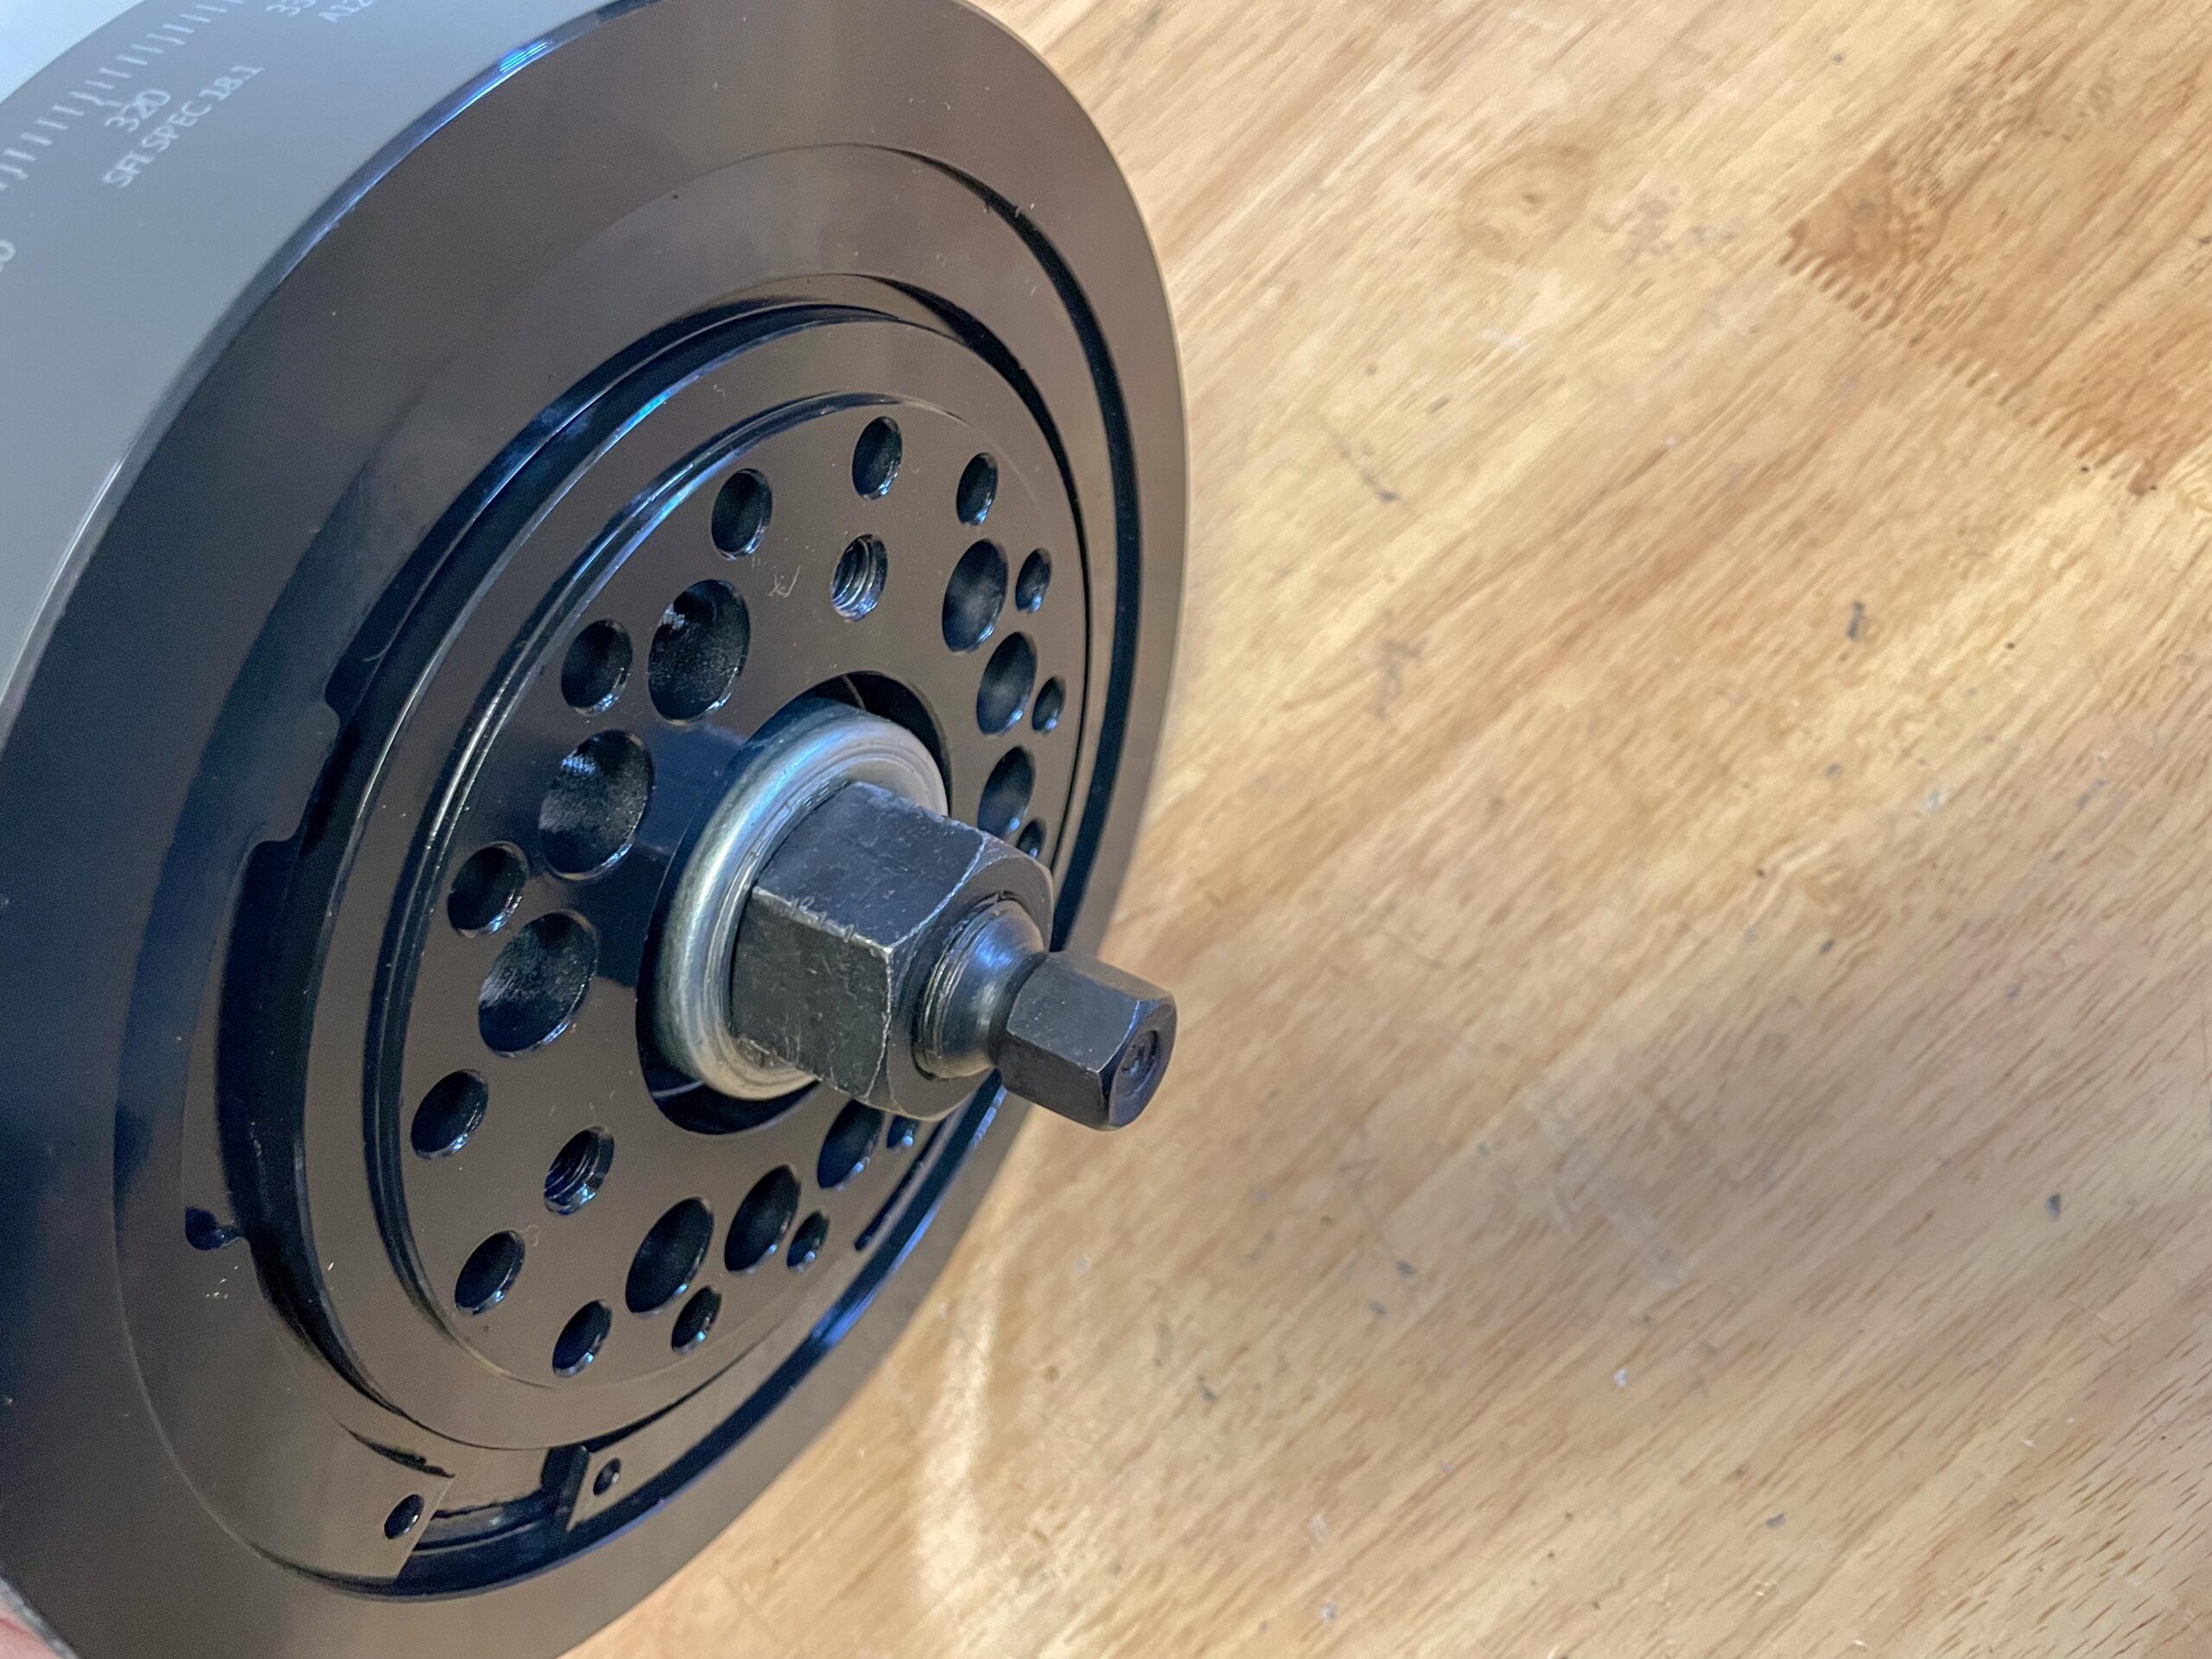
In any case, the idea with the installation tool is to thread it into the crankshaft snout. A word of caution here: There are some situations where the small snout threads on the tool are too long or the crank snout isn’t drilled and threaded sufficiently deep. If the tool bottoms out in the crank, there’s a good chance the thread will snap during the tightening process. Double check it! If it bottoms out, add a washer or two to the end of the tool threads. There’s a huge amount of force applied by the big nut on the tool during the installation process. Next (according to the folks from ATI) apply a light coating of anti-seize to the crank snout, install the key and slide the damper over the snout. It should slide on partially. Some of the tools such as the Moroso version rely upon a large bearing to help distribute the load. Others use a large washer to act as a thrust surface. The bearing and/or the washer are backed by a large nut. The idea here is to tighten the nut with hand tools. Again, like magic, the damper will slide cleanly onto the crankshaft.
Some engines require special tools. Chevy LS engine family is in that group and so are Duramax diesels. ATI offers a slick removal/installation tool for those engines. The part number is ATI918999. With this setup, you’ll have to purchase an additional dedicated installation stud. The principle for use is pretty much like that laid out above.
With any of these tools, harmonic damper removal and installation is a piece of cake. Just be sure to check the threads so that they don’t bottom out, lubricate the tool threads and be sure to use anti-seize on the crank snout when installing them. You’ll find what was once a royal pain and a seemingly impossible task (or at least extremely frustrating) turns out to be easy-peasy. Check out the accompanying photos for more details.
Click Here to Begin Slideshow
Removing and installing a balancer (harmonic damper) is an exercise fraught with headaches. On one hand you have big honking “device” nailed down to the front of your crank and you need to get it off. In most cases, you need to remove it before the timing cover comes and of course, you need to remove it access the timing chain set. Installing it is another matter. That 8 pound sledge hammer you have in the corner of the shop and a block of wood seem like they could work. But you’d think wrong. You see, dampers (balancers) are actually rather delicate and in many cases, they’re rather sophisticated. Instead of brute force, finesse is your friend here.
While removing a damper or reinstalling it sounds simple enough the truth is they’re next to impossible to remove and install properly without the right tools. Sure, you might get away with yanking one off with a common three-jaw puller, but you can pretty much be assured the damper will be damaged, if not ruined. In fact, most aftermarket harmonic damper manufacturers explicitly note that the use of a three jaw puller is forbidden with their respective products. Say Adios to your guarantees.
But what about installing one? Honestly, a block of wood coupled with sledge hammer you have in the corner or even a dedicated pulley driver isn’t the right answer either. You can easily damage the balancer. The same applies if you try use a bolt and pull it on by way of the crank threads. That’s a real recipe for disaster because there’s a very (Very!) good chance you can destroy the threads in the crank snout with that practice.
We’re finished with the bad news. The good news is, and the real answer is to use the appropriate tools. I have a couple of different examples including several vintage GM Kent Moore service jobs in my tool box along with a vintage Moroso example. Equally important, there are many other different versions out there too (keeping in mind cheap doesn’t usually equate to quality).
A good damper removal tool is simple to use and extremely effective. For the most part, you simply bolt a plate to the face of the damper. Typically, the plate attaches to the same bolt pattern as the crank pulley. The puller usually includes a large diameter, fine thread “screw” that runs through the center of the plate. Using a 1-1/8-inch socket or wrench (socket size depends upon the tool – I’m referencing my old Kent Moore puller here), you simply tighten the screw. The magic of threads goes to work and the damper eases off the end of the crank. Honestly, it’s all incredibly simple and very effective. The first time you use such a tool, you’ll be amazed at the ease of operation and equally amazed at how quick it works. In addition, it creates zero damage to the damper and zero damage to the crankshaft – all good news!
Installation is equally easy with the right tool. Here, the process differs a little bit. Installation tools typically have an end sized to fit the threads in the crankshaft snout. Some tools like my old Kent Moore installation tool are double ended – one size fits a small block Chevy application (7/16-20) and another fits a big block Chevy application (1/2-20). The older Moroso installation tool I have (part number 61741) has a dedicated 1/2-20 thread for the crank snout for big block applications. Honestly, the Moroso installation tool is a step up from the old Kent Moore tool. I prefer it.
In any case, the idea with the installation tool is to thread it into the crankshaft snout. A word of caution here: There are some situations where the small snout threads on the tool are too long or the crank snout isn’t drilled and threaded sufficiently deep. If the tool bottoms out in the crank, there’s a good chance the thread will snap during the tightening process. Double check it! If it bottoms out, add a washer or two to the end of the tool threads. There’s a huge amount of force applied by the big nut on the tool during the installation process. Next (according to the folks from ATI) apply a light coating of anti-seize to the crank snout, install the key and slide the damper over the snout. It should slide on partially. Some of the tools such as the Moroso version rely upon a large bearing to help distribute the load. Others use a large washer to act as a thrust surface. The bearing and/or the washer are backed by a large nut. The idea here is to tighten the nut with hand tools. Again, like magic, the damper will slide cleanly onto the crankshaft.
Some engines require special tools. Chevy LS engine family is in that group and so are Duramax diesels. ATI offers a slick removal/installation tool for those engines. The part number is ATI918999. With this setup, you’ll have to purchase an additional dedicated installation stud. The principle for use is pretty much like that laid out above.
With any of these tools, harmonic damper removal and installation is a piece of cake. Just be sure to check the threads so that they don’t bottom out, lubricate the tool threads and be sure to use anti-seize on the crank snout when installing them. You’ll find what was once a royal pain and a seemingly impossible task (or at least extremely frustrating) turns out to be easy-peasy. Check out the accompanying photos for more details.
Click Here to Begin Slideshow
Leave a Reply