

Photo Credits: Wayne Scraba
Over the past several issues, we’ve examined MSD’s various distributors, including crank trigger arrangements. Last issue, we looked at the dedicated MSD crank trigger distributor. That particular model mounted in the stock location (rear in a Chevy). This time around, we’ll zoom in on their top of the heap front mount belt drive setup.

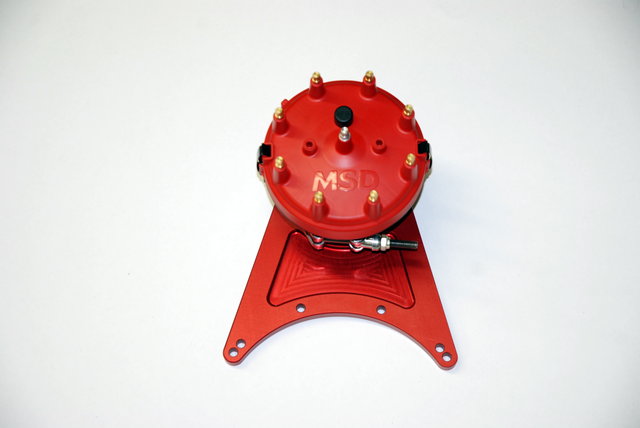
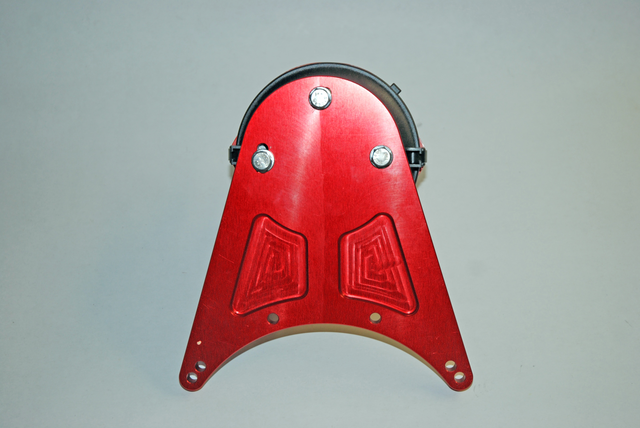
Engineered for use with a cam belt drive such as the Jesel assembly, the distributor runs off the nose of the engine by way of an extra-wide cogged tooth 9-mm belt. MSD supplies the hardware necessary to mount a drive pulley on the external camshaft drive. The distributor head is CNC-machined from billet aluminum and is secured to a precision-machined aluminum bracket. The mount bracket bolts to the belt drive faceplate with four fasteners. In terms of layout, the distributor head fastens to the bracket by way of three bolts. Two of these fastener holes in the bracket are slotted. This allows you to rotate the head slightly in order to set the distributor drive belt tension.
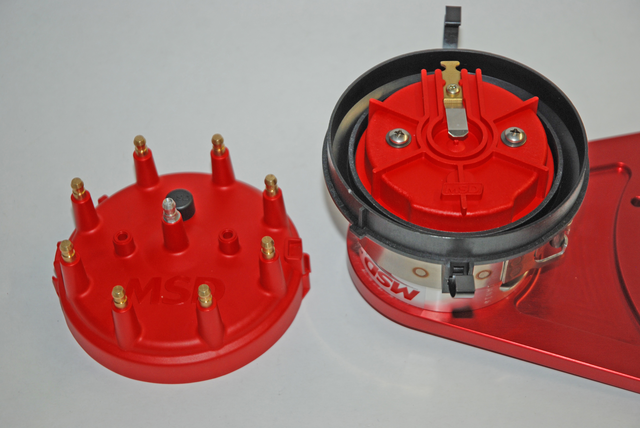
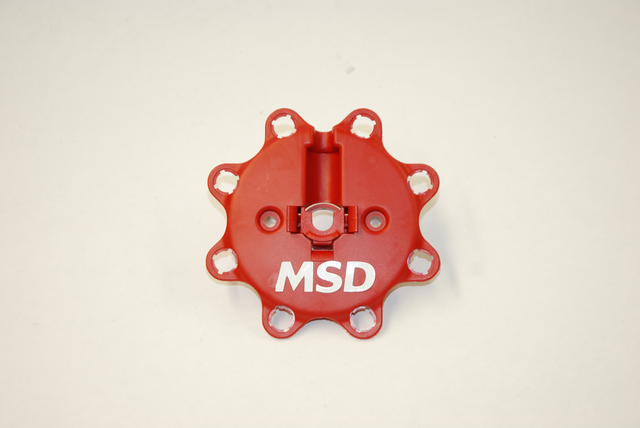
The head of the distributor is fastened by way of a heavy-duty aircraft style t-clamp. The actual cap is a standard large (4-7/8-inch diameter) MSD Ford-style setup. This allows for socket (plug) style spark plug wire connections on the distributor. The rotor is a dedicated large vane configuration MSD job, complete with an oversize blade (which is screwed onto the rotor). Both the cap and the rotor are molded from DuPont Rynite material.
Assembly is simple, but first you should set up the engine so that number one cylinder is ready to fire. The rest of the setup is very straightforward. According to MSD:
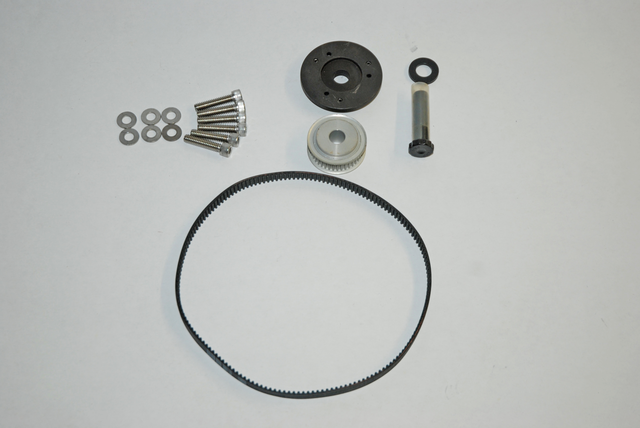
“Install the distributor assembly to the top of the belt drive faceplate using the four supplied socket head cap screws and washers. Next, install the camshaft pulley with the supplied cam adapter, washer and 12-point bolt. It is important to note that the threads are reversed (Left Hand Thread). Coat the threads of the bolt with 30-weight motor oil or ARP moly lube. Torque the fasteners to 90 lb-ft with motor oil or 70 lb-ft with the ARP lube. Loop the belt over the timing belt pulley.

“With number one cylinder at the desired timing, position the rotor so it is aligned with the terminal that will be number one in the ring order. This is recommended in order to get the rotor phasing close enough to start and run the engine. Rotor phasing should be checked and adjusted with the engine running.
“With the rotor tip aligned, adjust the tension of the distributor drive belt. This is adjusted with the three bolts on the back of the housing. Squeeze the belt in the middle until there is about one inch between the belt with light pressure.
“Rotor phasing can be adjusted by loosening the band clamp and rotating the head assembly. It is recommended you modify a distributor cap by drilling a hole near the terminal so you can see exactly where the rotor tip is in relation to the cap terminal when the ignition fires (by way of a timing light).”
Keep in mind if you run a belt drive distributor and you’re maintaining an internal oil pump, you’ll need a driveshaft to hook the pump to the cam gear. For Chevy applications, that drive (plug) falls under MSD part number 8513.
As you can see, the front belt drive distributor is a very clean way to route the spark with a crank trigger. It keeps the distributor away from the firewall and also provides a large diameter cap, which increases the accuracy of spark delivery and limits the possibility of spark crossover at the terminal. For a closer look, check out the accompanying photos:
Leave a Reply