

![[Gallery] 3rd. Annual Father's Day Classic Car Show](https://www.racingjunk.com/news/wp-content/uploads/2026/07/Calistoga-2026-18-scaled-e1783026475349-376x206.jpg)


![[Gallery] Blackhawk Museum Stop Over](https://www.racingjunk.com/news/wp-content/uploads/2026/06/DSC_0918-e1782449621944-376x206.jpg)
Back to Basics: Holley Jet Extensions
Click Here to Begin Slideshow
Click the transbrake button, pin the throttle on the two-step, release the button and hang on. The car hooks and rockets forward. Then, just as you’re watching the tach as it races toward redline, the car noses over. After what seems like an eternity, it picks up again.
What’s up with that? Simple. The car stumbled as it accelerated hard because it experienced a lean condition. It simply ran out of gas.
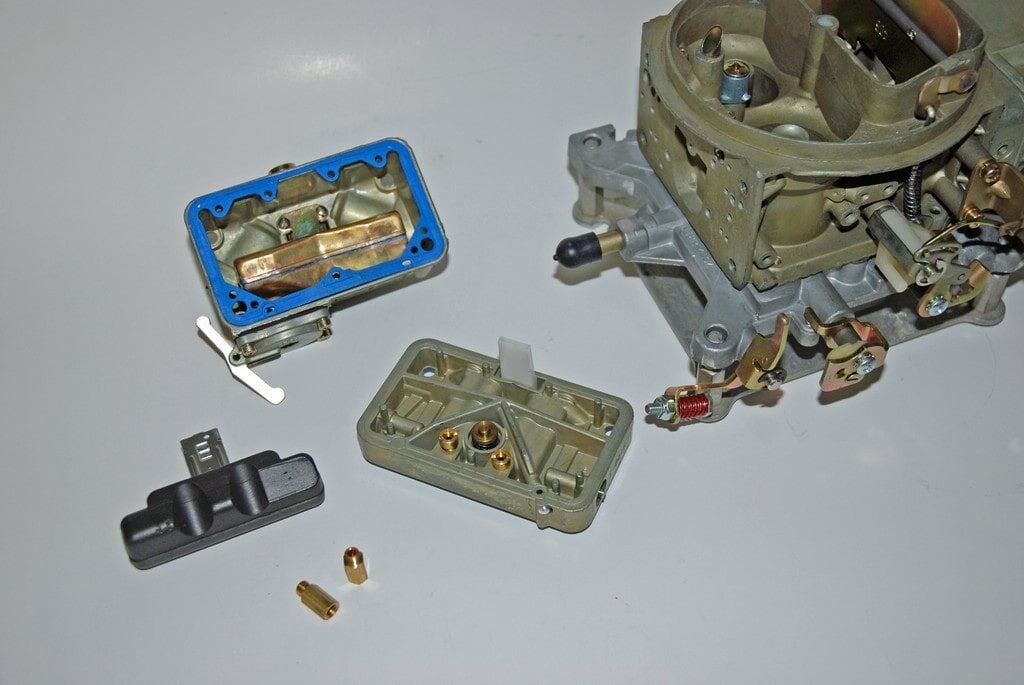
Rewind for just a second: It seems not long ago that racers turned carburetors sideways on tunnel ram intake manifolds. The reasoning was at least twofold: This oriented the carbs so that they’d actually fit better over the respective ports and, equally important, it meant you actually had better control of the fuel within the carb bowls. It more or less cured the potential for fuel starvation.
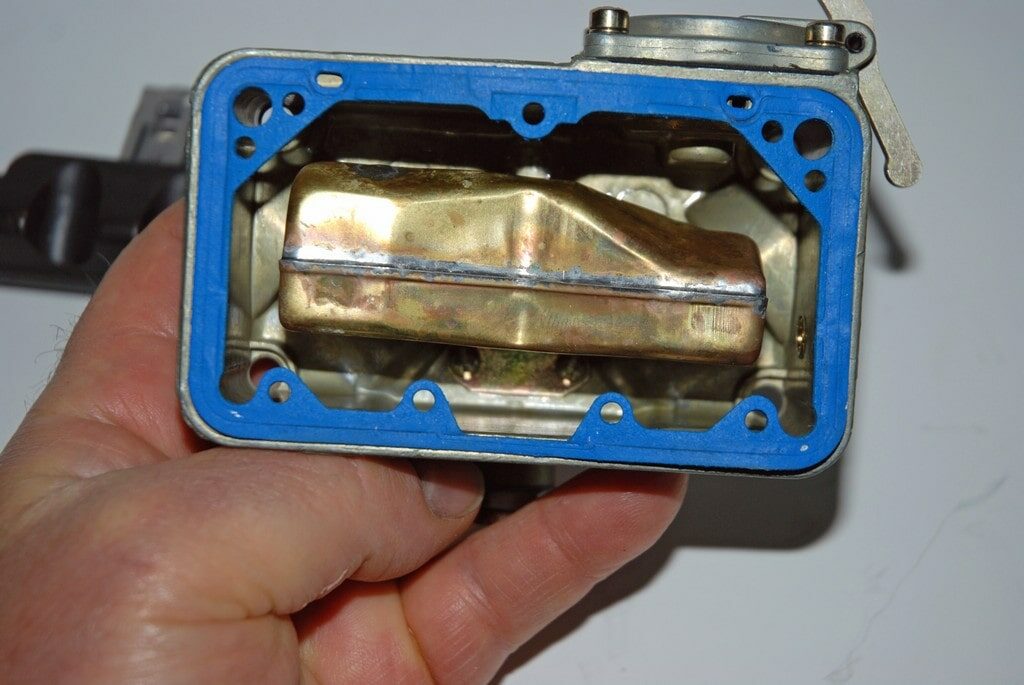
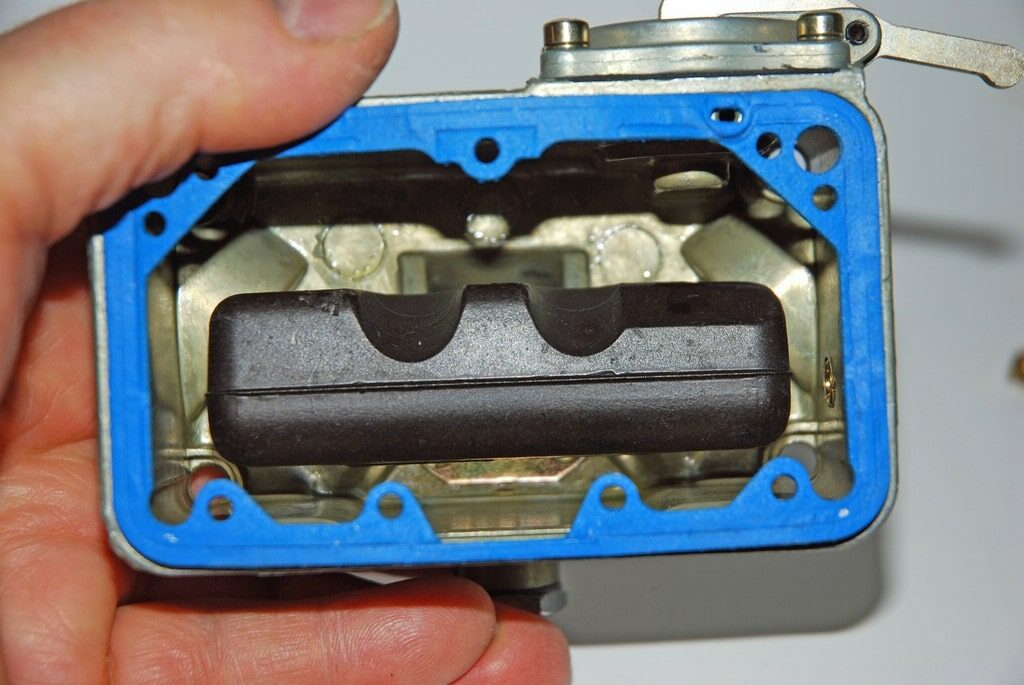
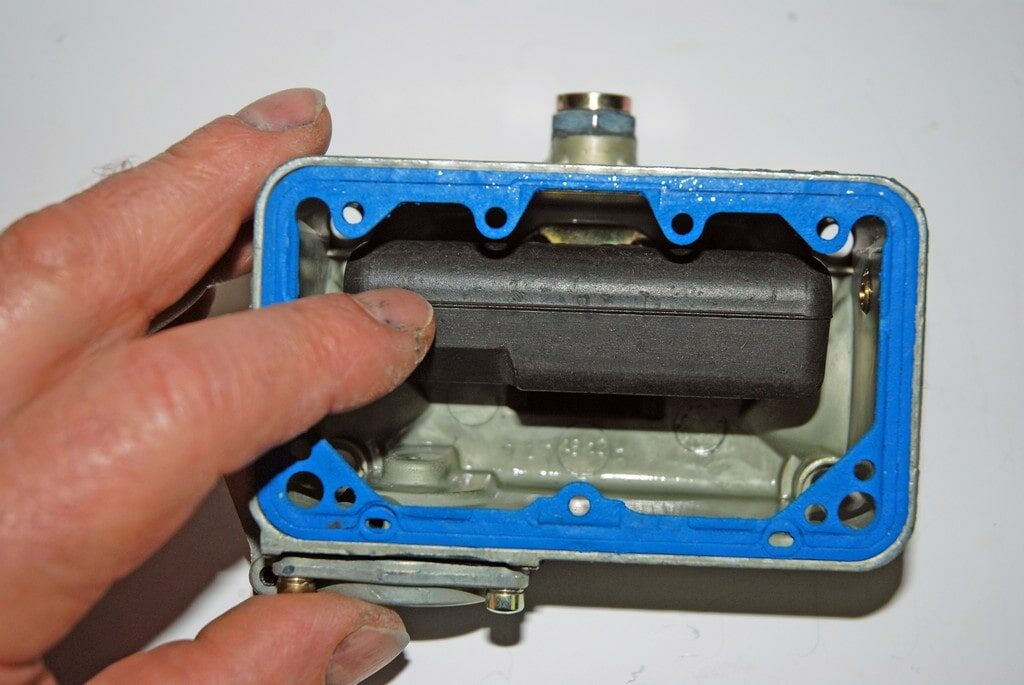
The quandary is this (tunnel ram or otherwise): When a Holley 4150 or 4500-series carb is mounted normally (inline – one bowl facing the front and one bowl facing the back of the engine), fuel rushes toward the primary (front) jets as the car accelerates. It also means fuel runs away from the secondary (rear) jets. Not good.
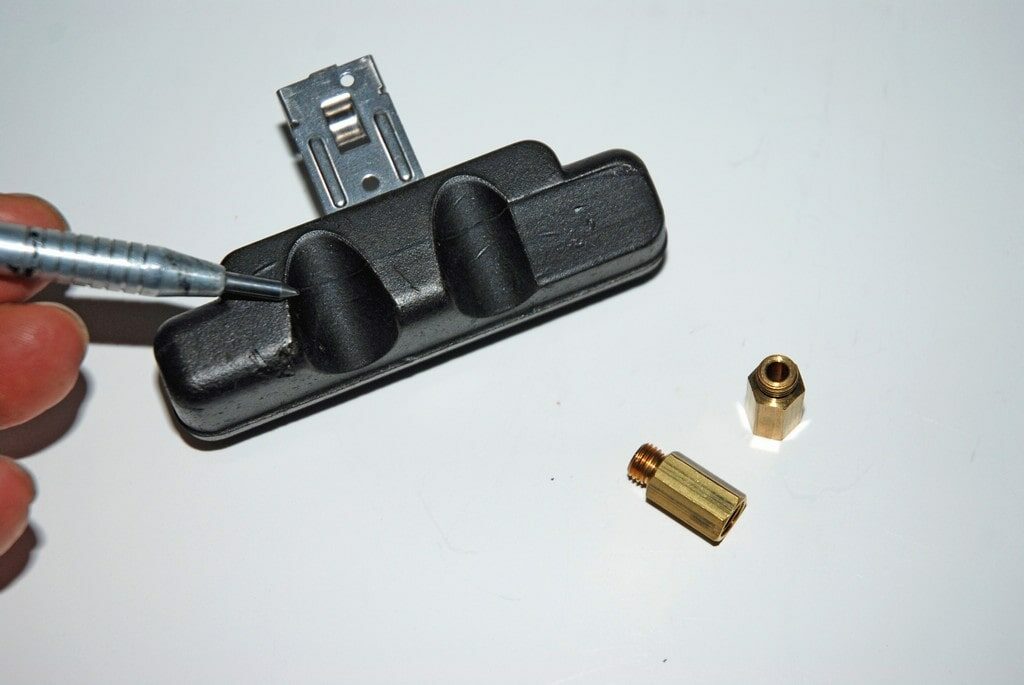
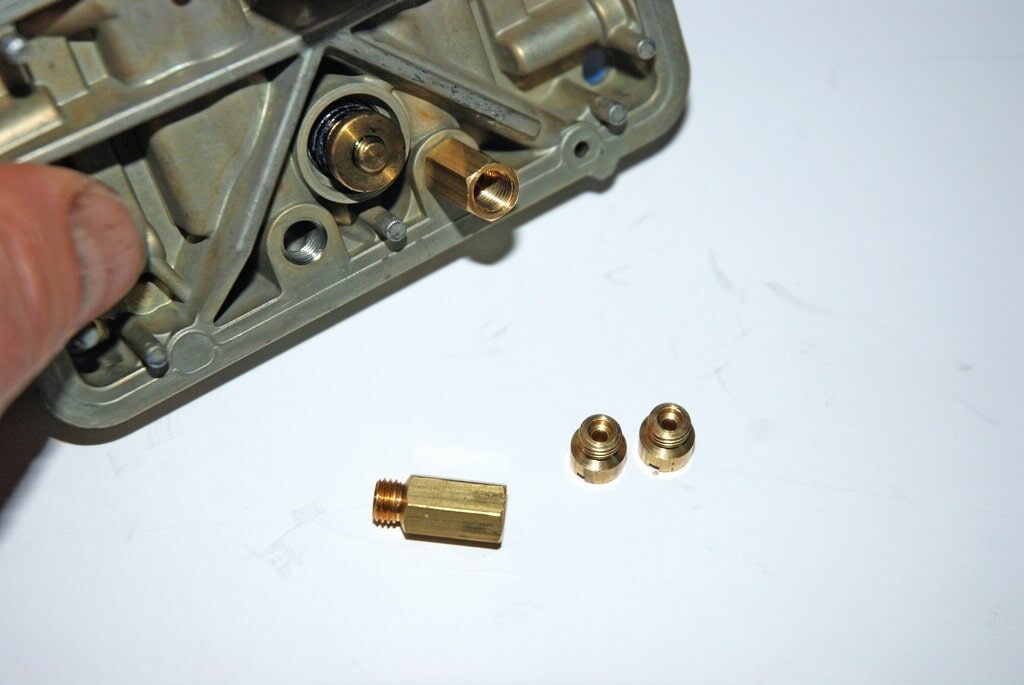
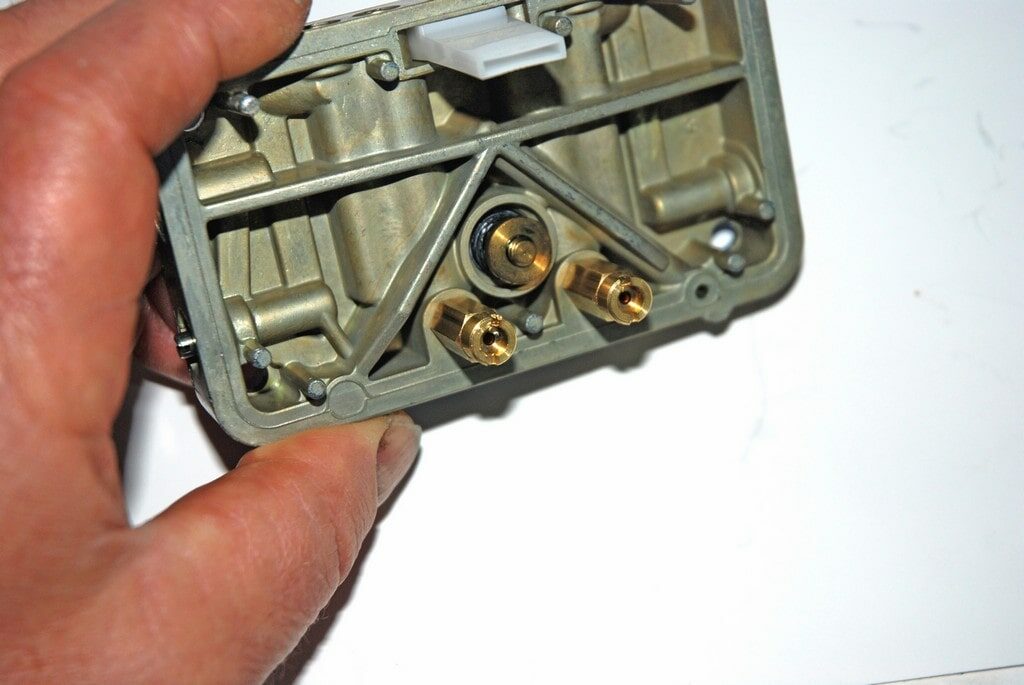
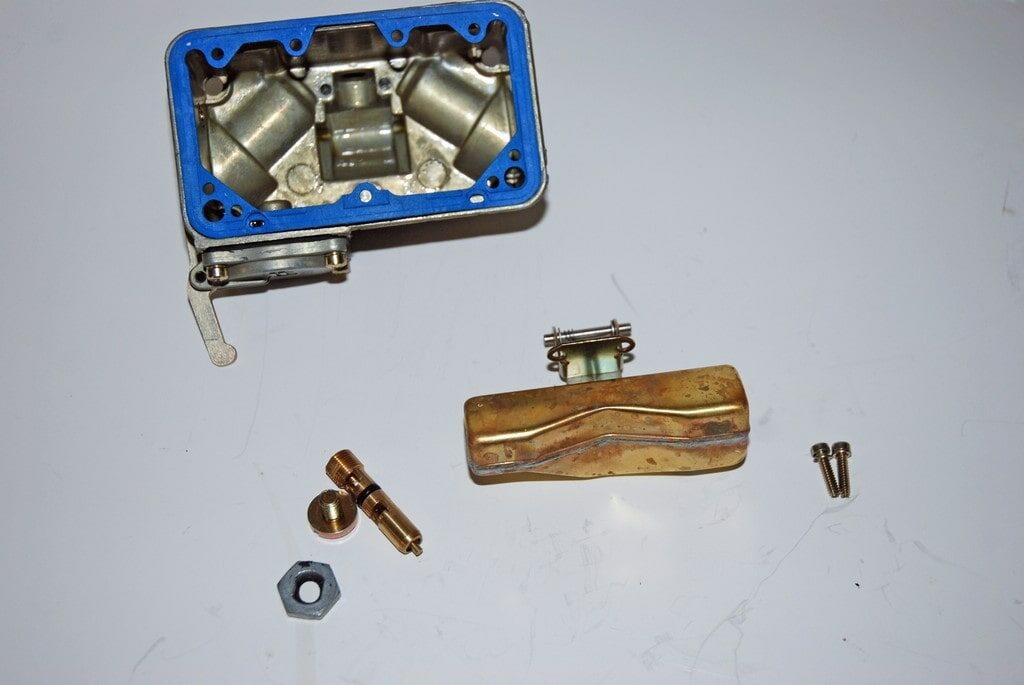
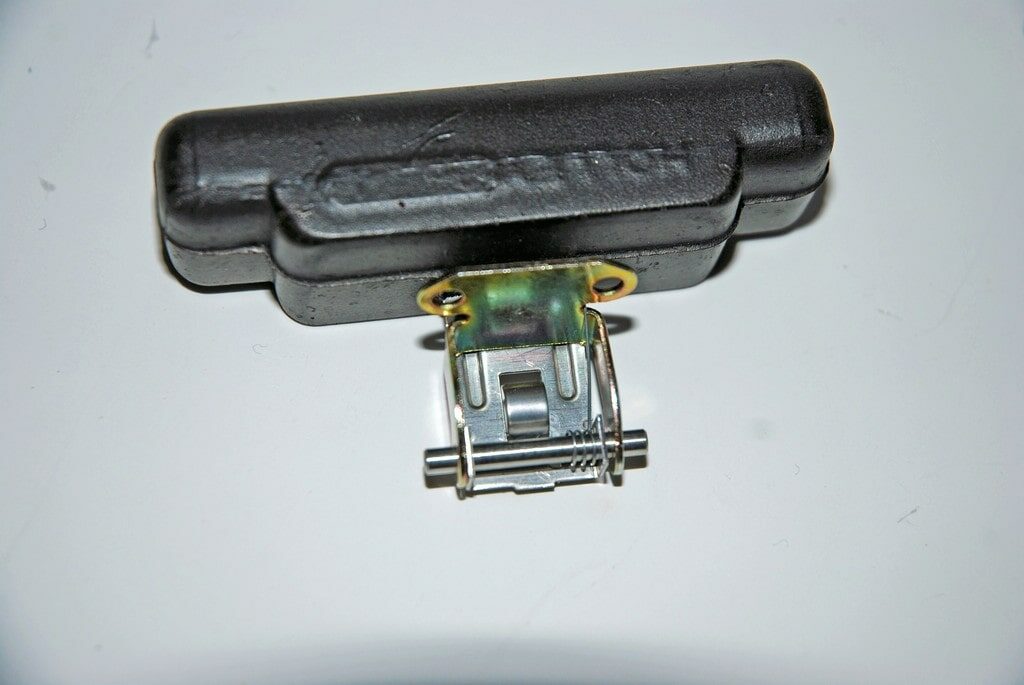
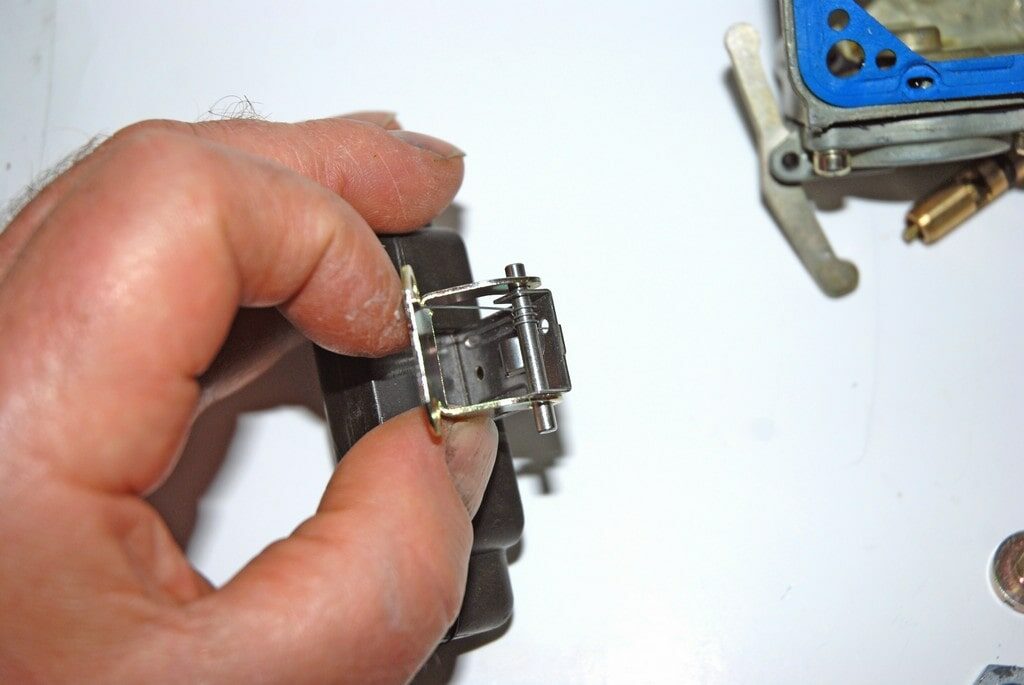
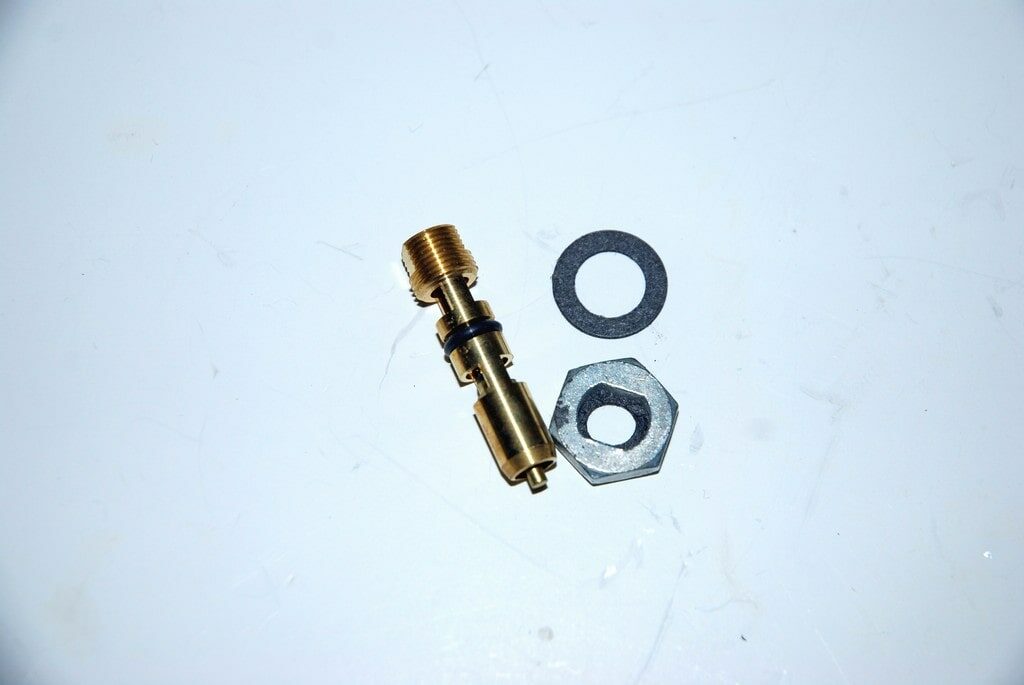
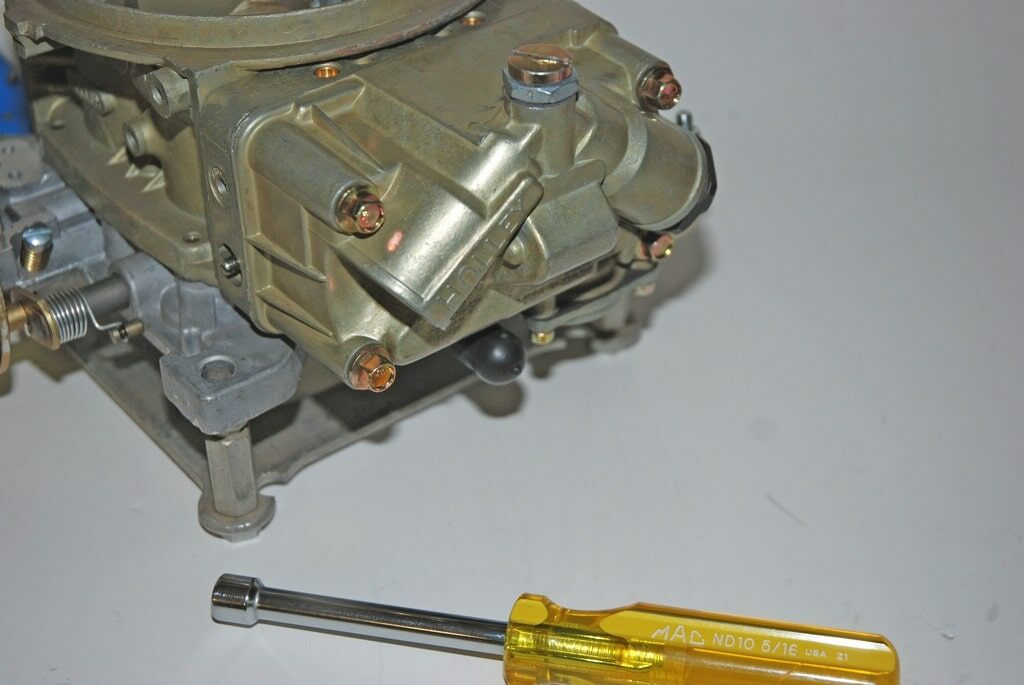
In the old days, there were all sorts of quick (and not-so-quick) fixes. Some worked; some didn’t. Today, the cure is simple. You can simply buy all of the parts you need from Holley (see the last slide for a list). The fix takes an hour or so if you’re leisurely with your time. Here’s how it’s done:
Click the transbrake button, pin the throttle on the two-step, release the button and hang on. The car hooks and rockets forward. Then, just as you’re watching the tach as it races toward redline, the car noses over. After what seems like an eternity, it picks up again.
What’s up with that? Simple. The car stumbled as it accelerated hard because it experienced a lean condition. It simply ran out of gas.
Rewind for just a second: It seems not long ago that racers turned carburetors sideways on tunnel ram intake manifolds. The reasoning was at least twofold: This oriented the carbs so that they’d actually fit better over the respective ports and, equally important, it meant you actually had better control of the fuel within the carb bowls. It more or less cured the potential for fuel starvation.
The quandary is this (tunnel ram or otherwise): When a Holley 4150 or 4500-series carb is mounted normally (inline – one bowl facing the front and one bowl facing the back of the engine), fuel rushes toward the primary (front) jets as the car accelerates. It also means fuel runs away from the secondary (rear) jets. Not good.
In the old days, there were all sorts of quick (and not-so-quick) fixes. Some worked; some didn’t. Today, the cure is simple. You can simply buy all of the parts you need from Holley (see the last slide for a list). The fix takes an hour or so if you’re leisurely with your time. Here’s how it’s done:
great