


![[Gallery] Street Rodders for Life Memorial Day Car Show](https://www.racingjunk.com/news/wp-content/uploads/2026/06/Memorial-day-show_0198-376x206.jpg)
![[Gallery] Townsman Car Show](https://www.racingjunk.com/news/wp-content/uploads/2026/05/916_2843-e1780072552171-376x206.jpg)

How to Replace a Car Thermostat
Click Here to Begin
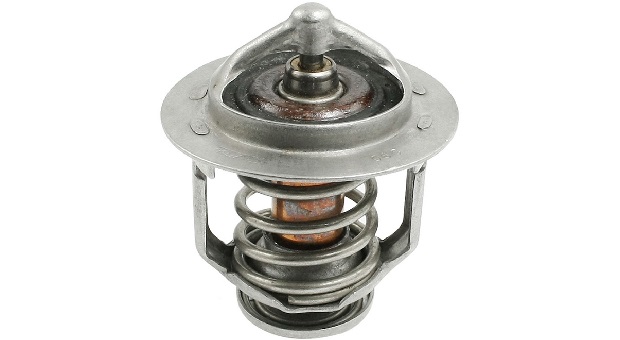
The thermostat is critical to your engine’s health. Although this device is small in size, it plays a huge role in the cooling of your engine. The thermostat works as a gate between the radiator and the engine. When you start the engine, the thermostat stays closed, blocking the coolant that’s trying to flow to the engine, which allows the engine to warm up quickly so it can perform effectively. Once the engine reaches an optimal temperature, which is an average of 200 degrees Fahrenheit, the thermostat opens to let the coolant through, keeping the engine running cool and preventing it from overheating.
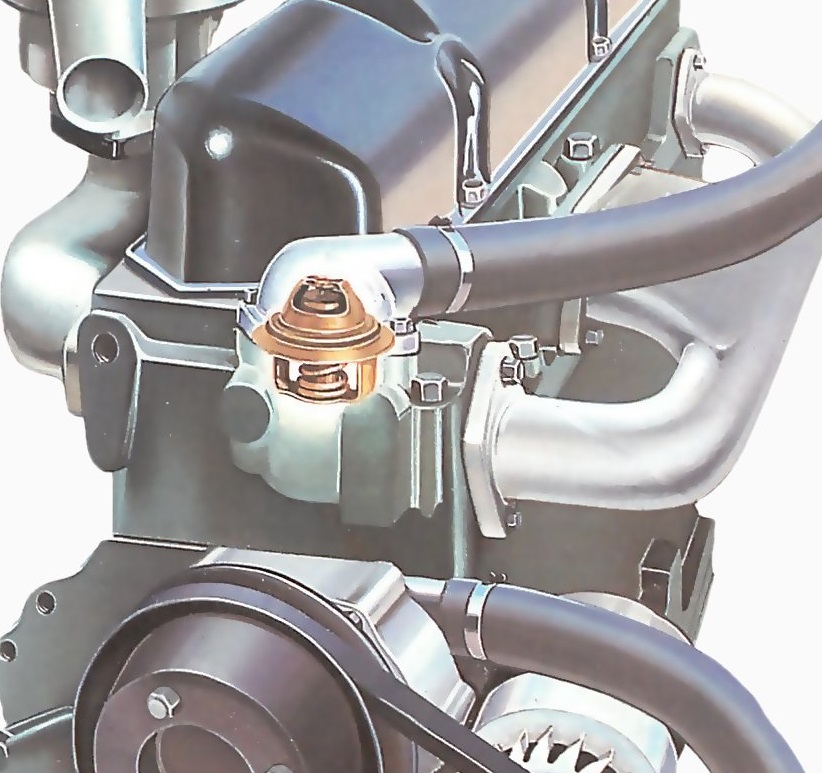
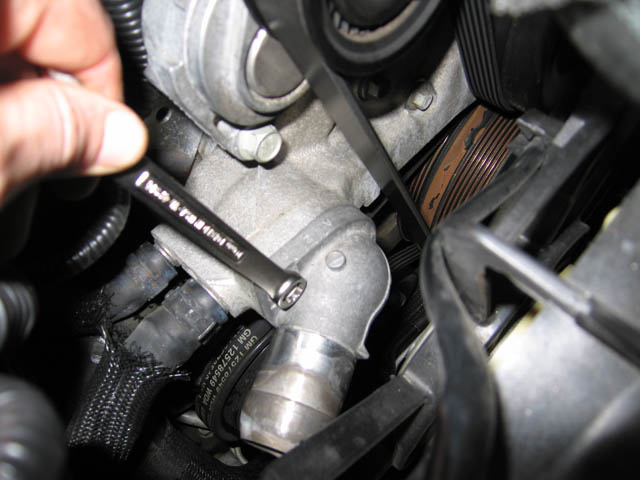
When a thermostat goes bad, it can get stuck closed or open. When it gets stuck closed, the engine can overheat and sustain damage. All cars have thermostats; however, the location can vary slightly. Your thermostat may be located on the top or bottom of your engine. If on the top, then the top radiator hose will be connected to it. If your thermostat is in the lower part of your engine, you can find it by following your lower radiator hose. To test your thermostat, start your engine and grab the hose connected to your thermostat. If the hose stays cool for approximately two minutes, then quickly gets warm, your thermostat is doing its job effectively. If your hose immediately starts gradually getting warm, without staying cool for a few minutes, then it is stuck open. Finally, if the radiator hose stays cool the whole time and doesn’t warm up, then the thermostat is stuck closed, which also means your engine is about to get too hot. The process is the same for most cars; the only thing that can vary is what you will have to remove to reach the thermostat. If your thermostat is indeed faulty, then read on to learn how you can replace it yourself.
Tools Required:
Flathead screwdriver
Pliers
Drain pan
Socket set
Wrench
New thermostat
The thermostat is critical to your engine’s health. Although this device is small in size, it plays a huge role in the cooling of your engine. The thermostat works as a gate between the radiator and the engine. When you start the engine, the thermostat stays closed, blocking the coolant that’s trying to flow to the engine, which allows the engine to warm up quickly so it can perform effectively. Once the engine reaches an optimal temperature, which is an average of 200 degrees Fahrenheit, the thermostat opens to let the coolant through, keeping the engine running cool and preventing it from overheating.
When a thermostat goes bad, it can get stuck closed or open. When it gets stuck closed, the engine can overheat and sustain damage. All cars have thermostats; however, the location can vary slightly. Your thermostat may be located on the top or bottom of your engine. If on the top, then the top radiator hose will be connected to it. If your thermostat is in the lower part of your engine, you can find it by following your lower radiator hose. To test your thermostat, start your engine and grab the hose connected to your thermostat. If the hose stays cool for approximately two minutes, then quickly gets warm, your thermostat is doing its job effectively. If your hose immediately starts gradually getting warm, without staying cool for a few minutes, then it is stuck open. Finally, if the radiator hose stays cool the whole time and doesn’t warm up, then the thermostat is stuck closed, which also means your engine is about to get too hot. The process is the same for most cars; the only thing that can vary is what you will have to remove to reach the thermostat. If your thermostat is indeed faulty, then read on to learn how you can replace it yourself.
Tools Required:
Flathead screwdriver
Pliers
Drain pan
Socket set
Wrench
New thermostat
Leave a Reply