SLOPPY JOINTS: If you suspect a ball joint in your car is worn, how do you check it? Grab a tie rod end closest to the ball joint and try to move it back and forth. It shouldn’t move (it should feel tight) and you shouldn’t be able to twist it easily. On the other hand, if it feels a wee bit loose or sloppy, the ball joint is likely worn. Keep in mind that many cars have grease fittings on the ball joints. That means they require regular maintenance. No regular greasing usually means early ball joint failure.
Front End Short Cuts Part Two – Tip 2
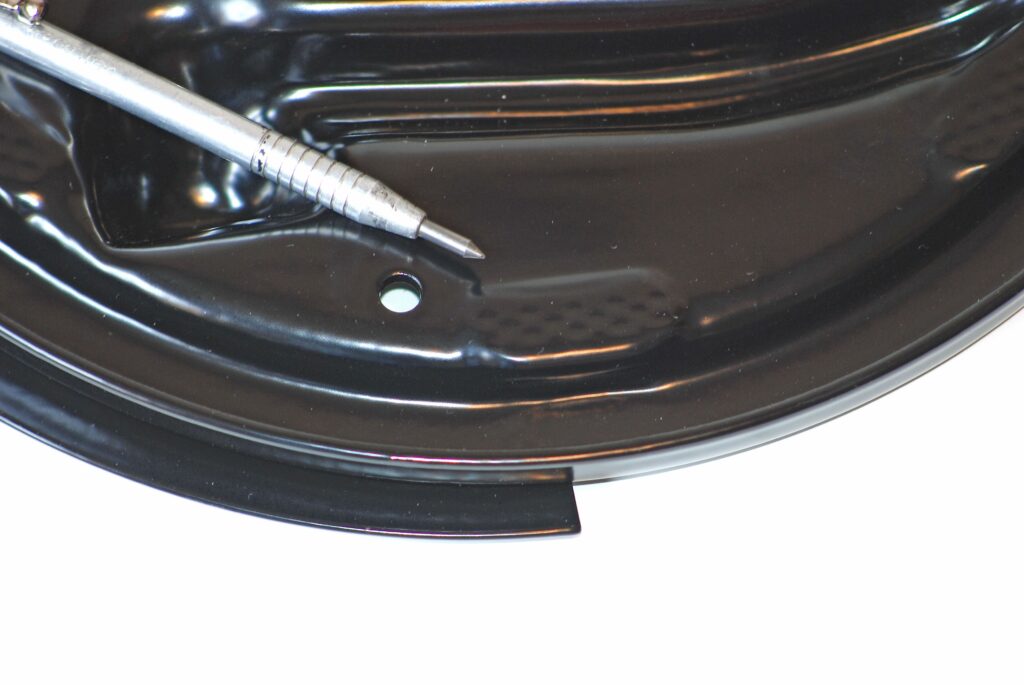
. THE DULDRUMS: Plenty of cars have drum brakes (most often on the rear axle, but there were plenty of vintage cars manufactured with drums on the nose). Servicing drum brakes is pretty easy, but one thing to remember when replacing shoes is to clean the contact points on the backing plates. A quick scrub with a Scotchbrite pad will remove the surface rust. Lube the contact points (very, very lightly) with white grease. This allows for smooth shoe action. Just be careful not to drop any grease on the shoes (that will contaminate them). And if you do, clean immediately with brake cleaner.
Front End Short Cuts Part Two – Tip 3
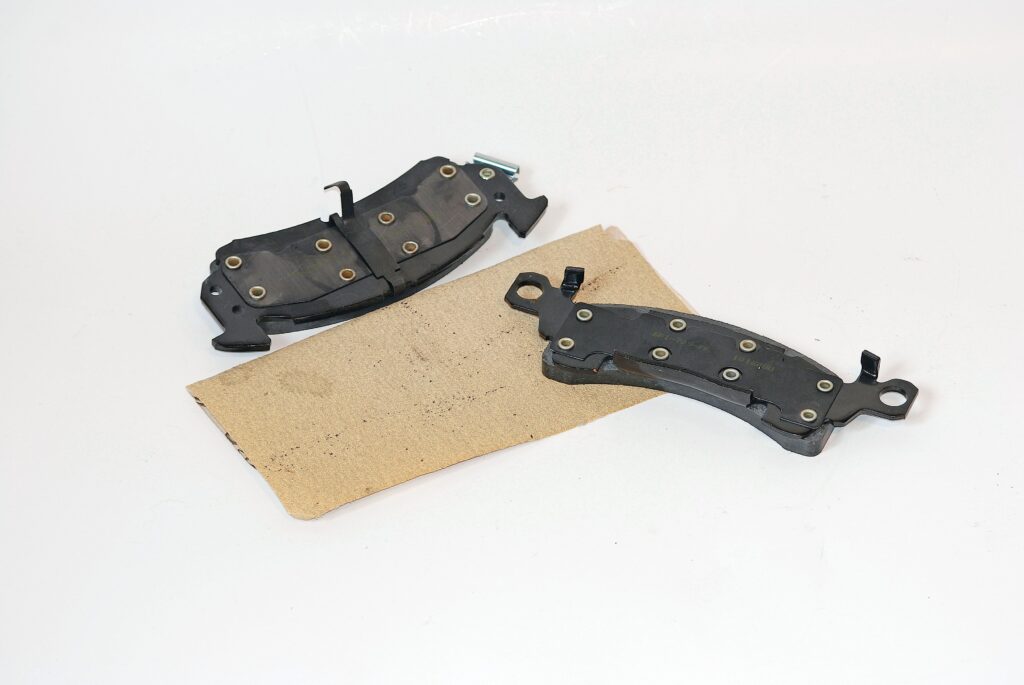
GLAZE MASTER: If you have a good set of brake pads, but they’re glazed, the fix is simple: Just sand it off. But be sure to wear protective gear (don’t breath the dust!). On a similar note, it’s a good idea to lightly sand the brake rotor (or drum surface) too. It helps to prevent glazing.
Front End Short Cuts Part Two – Tip 4
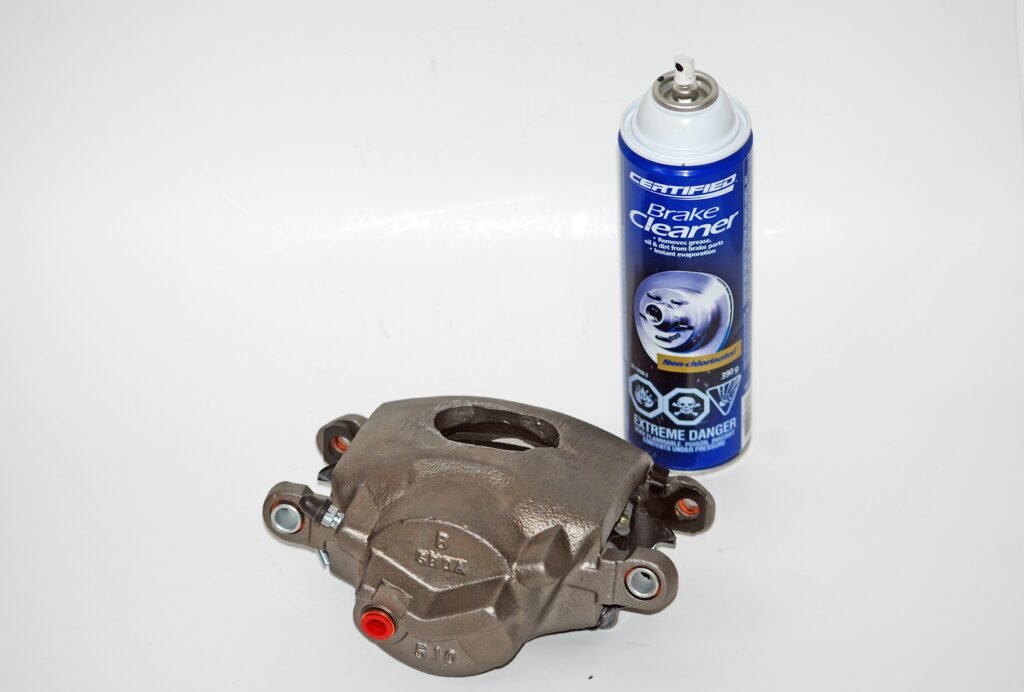
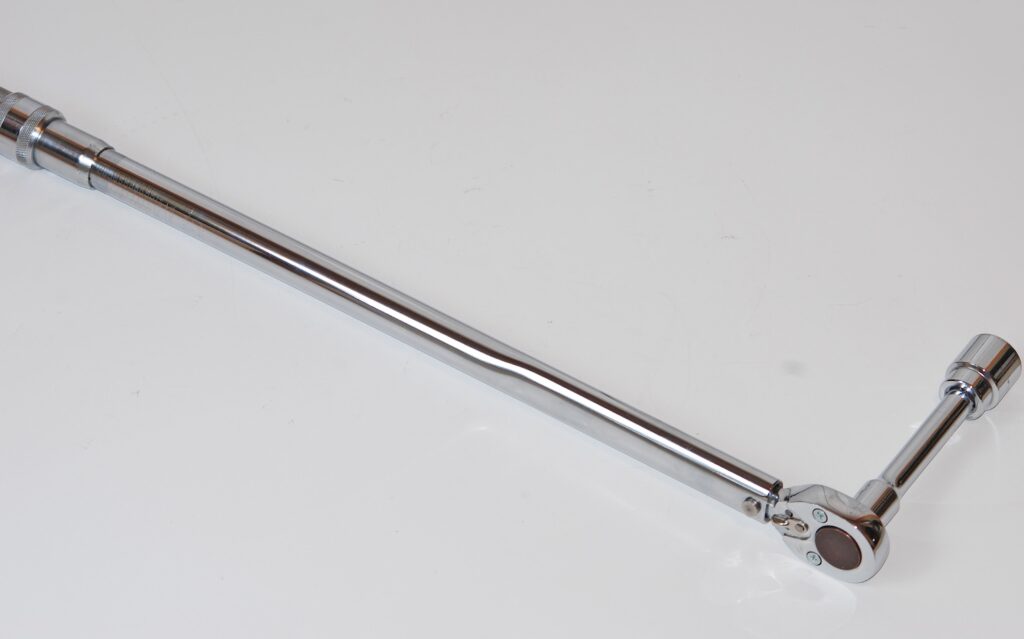
CLEAN & MEAN: When replacing brake pads, always clean the calipers thoroughly and lubricate all sliders and sliding edges of the brake pads. Similarly when tightening lug nuts, always torque to spec with a torque wrench (don’t use an impact wrench to tighten). This avoids damage to the rotors (floating rotors are the most susceptible).
Front End Short Cuts Part Two – Tip 5
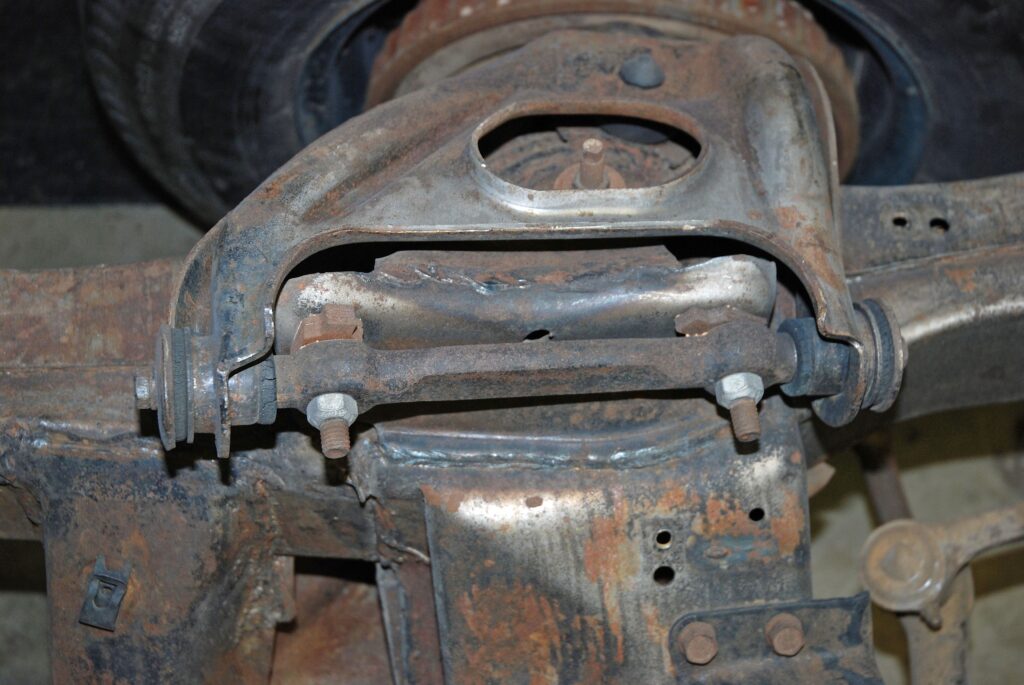
SHIM COUNTER: When disassembling steering and suspension components, mark and label all shims with regard to their location (for example, passenger side control arm – upper, bolt at nose = 3-shims). It’s not going to preclude a wheel alignment, but you won’t smoke the rubber off the tires on the way to the alignment shop.
Front End Short Cuts Part Two – Tip 6
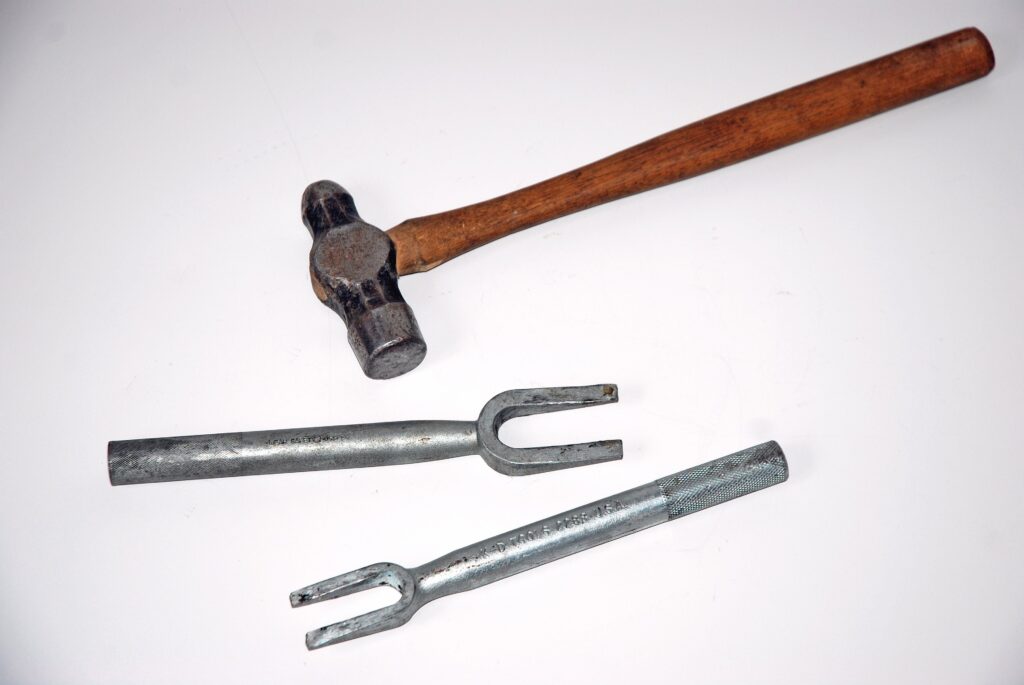
STICK A FORK IN IT: You know the old trick about adding a nut to the tire rod threads and then using a hammer to pound it off? It sometimes works, but it sure does a number on the nuts and threads. Instead, use a pickle fork (and your favorite big hammer). It’s designed for the job but it will tend to tear rubber boots. And it is possible to buy replacement boots for some cars today.
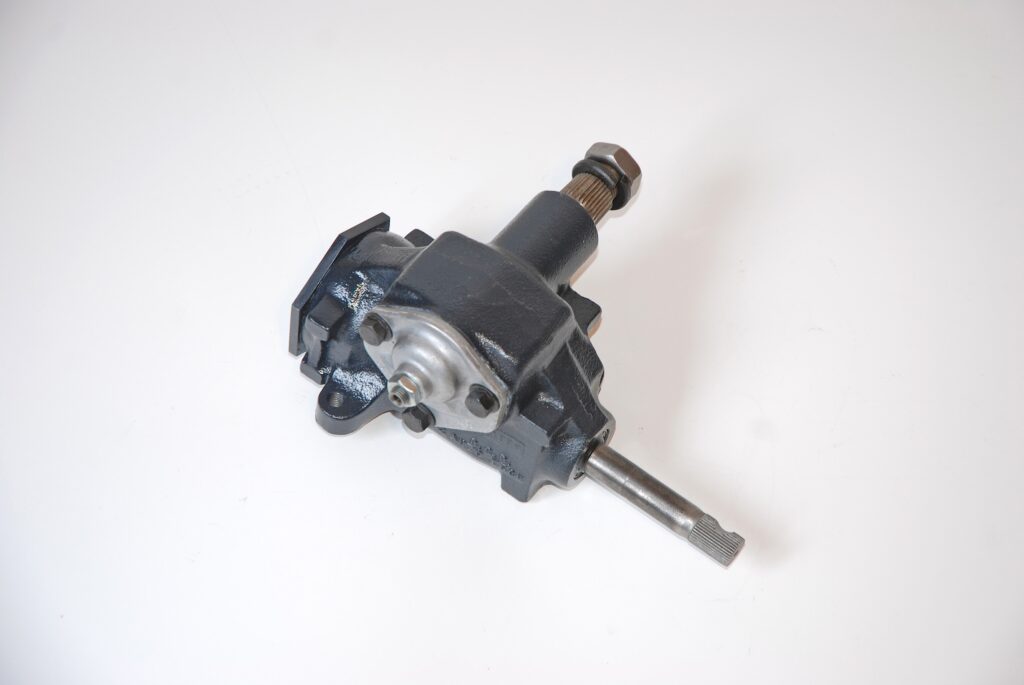
Front End Short Cuts Part Two – Tip 7
LESSON LEARNED: I once had a perfectly good steering box in a mint low mileage 1969 Camaro. Unfortunately it was heavily painted in a sort of shiny black. Under that was a heavy coat of what looked like metal flake silver (remember, these cars were all the rage with the street machine crowd back then). To remove the paint, I simply glass beaded the steering box assembly. What a mistake. It sprang a leak at the pitman shaft. The glass beading job tore up the seals. In the end, I had to dissemble the whole works and reseal it.
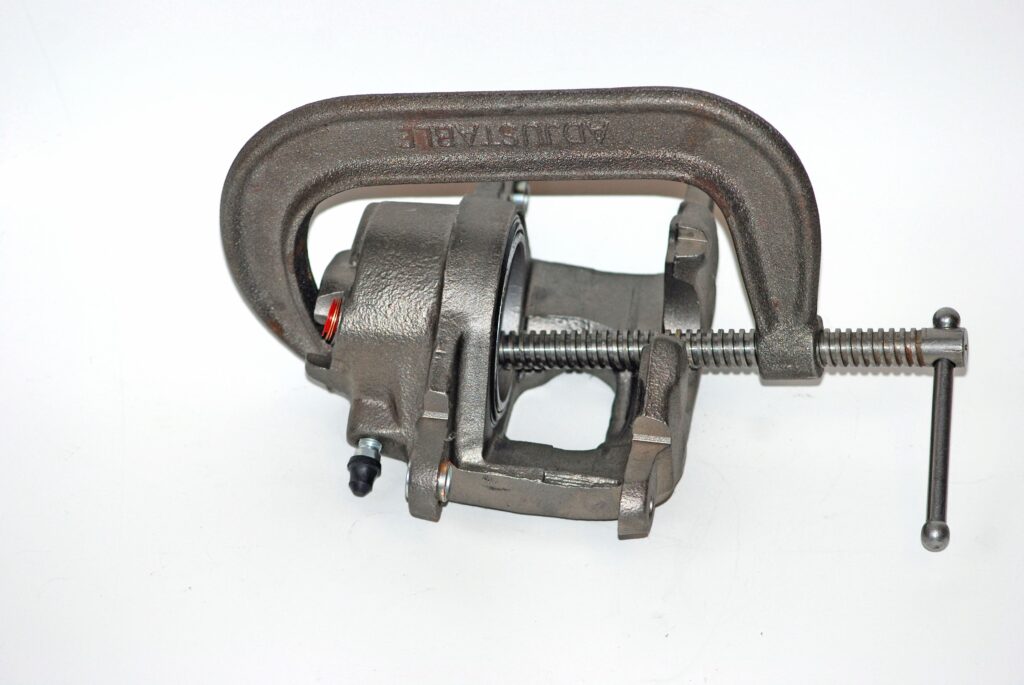
Front End Short Cuts Part Two – Tip 8
FROZEN FIX: If you’re in the midst of a brake pad change, and you encounter a caliper piston that refuses to release (stuck “out”), frustration can set in pretty quickly. While there are special (expensive) tools for the job, it’s hard to beat a big c-clamp. By affixing it over the caliper body, it’s possible to push the piston back into the bore (retract). You can now install the pads easily.
Front End Short Cuts Part Two – Tip 9
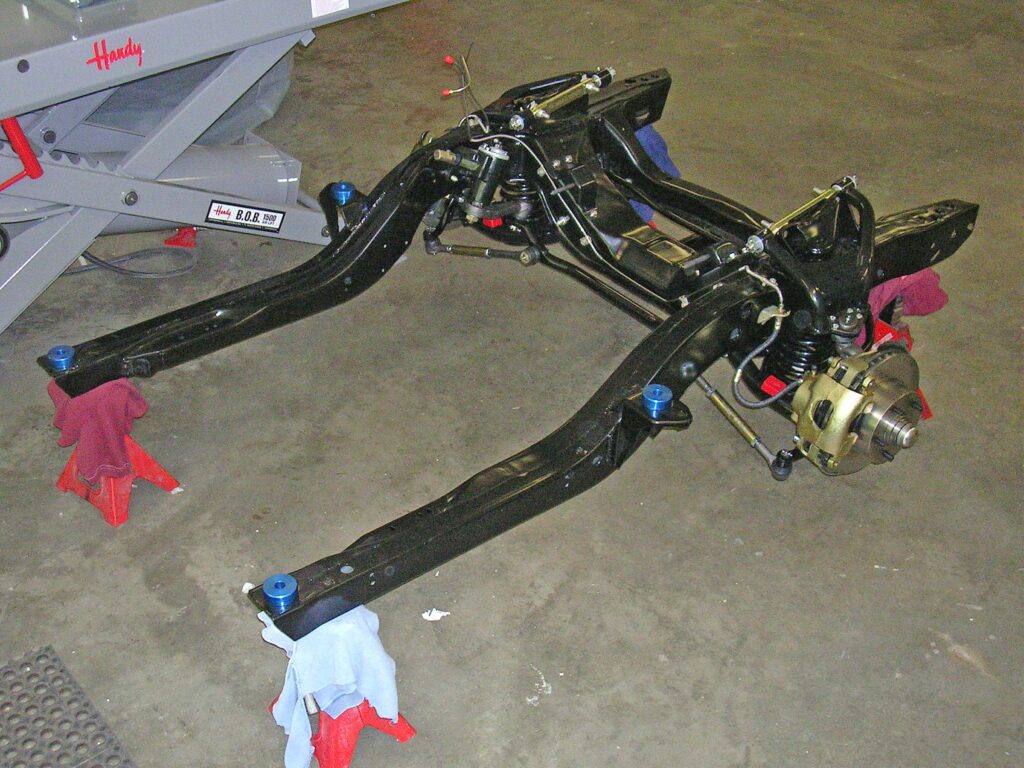
TORQUE OF THE TOWN: Once you’ve installed a new set of control arm bushings, don’t be tempted to torque the hardware in place while the car is suspended on axle stands. If you do, then the bushings will be preloaded when the car is returned to the shop floor. The correct method is to drop the car to the ground first, then tighten the bushings to specs. The car will handle better and the life of the bushing will be extended.
Front End Short Cuts Part Two – Tip 10
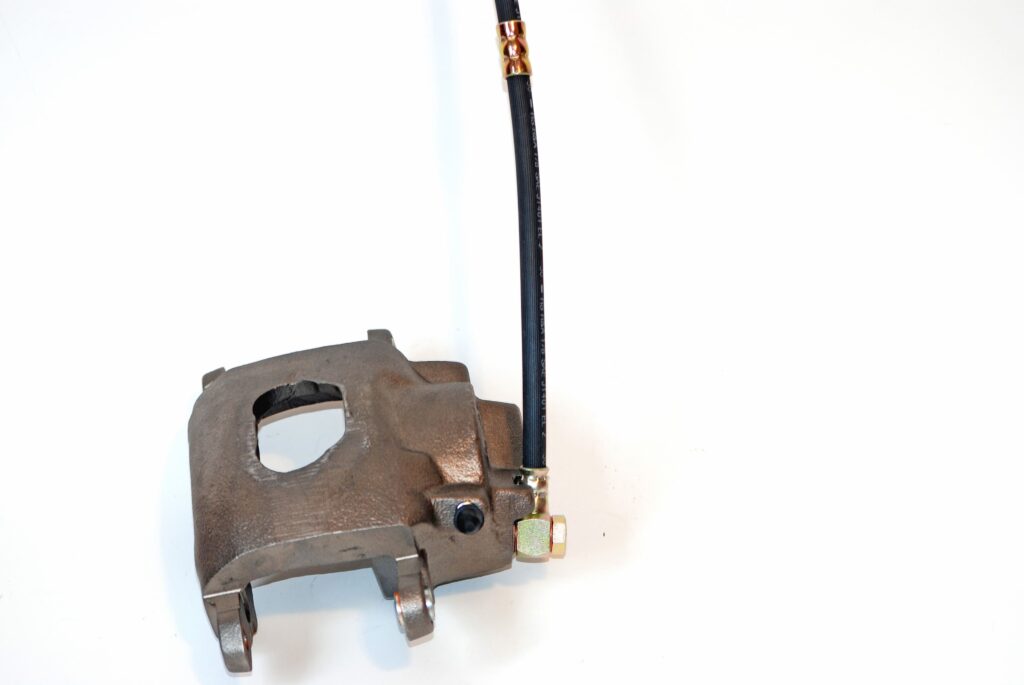
HANG BY A THREAD: When working on the front end of your car, and you have to remove a brake caliper, do not allow it to hang by the brake hose. This can (and will) stretch the hose. Eventually, the hose will crack and as you know, that’s not good news. Instead, use a piece of wire to support the loose caliper.
Front End Short Cuts Part Two – Tip 11
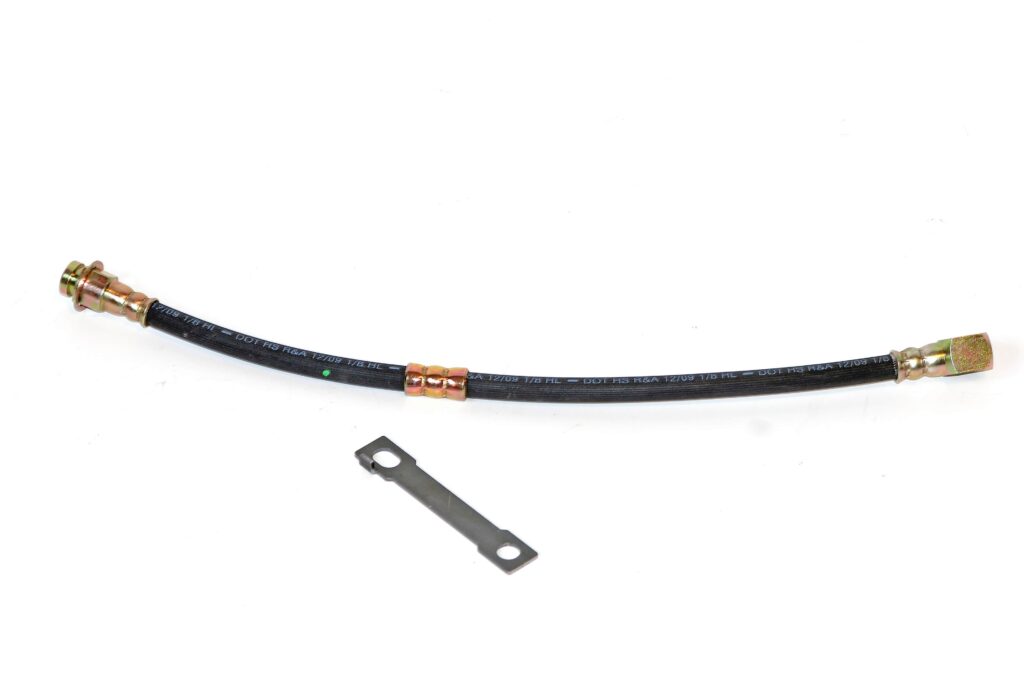
MIA: A component that is often removed, misplaced or missing in action on many cars is the little clip that holds the brake hose to the control arm. It might be more important than you think too. You see it protects the hose by securing it to the control arm. That’s why a front brake hose has a metal sleeve. The clamp goes over it. If the clip is missing, there’s a pretty good chance the hose will rub or get pinched as the suspension goes through its travel. FYI, the strap shown here is from Classic Industries. During installation, it must be rolled over the hose to fit.
Front End Short Cuts Part Two – Tip 12
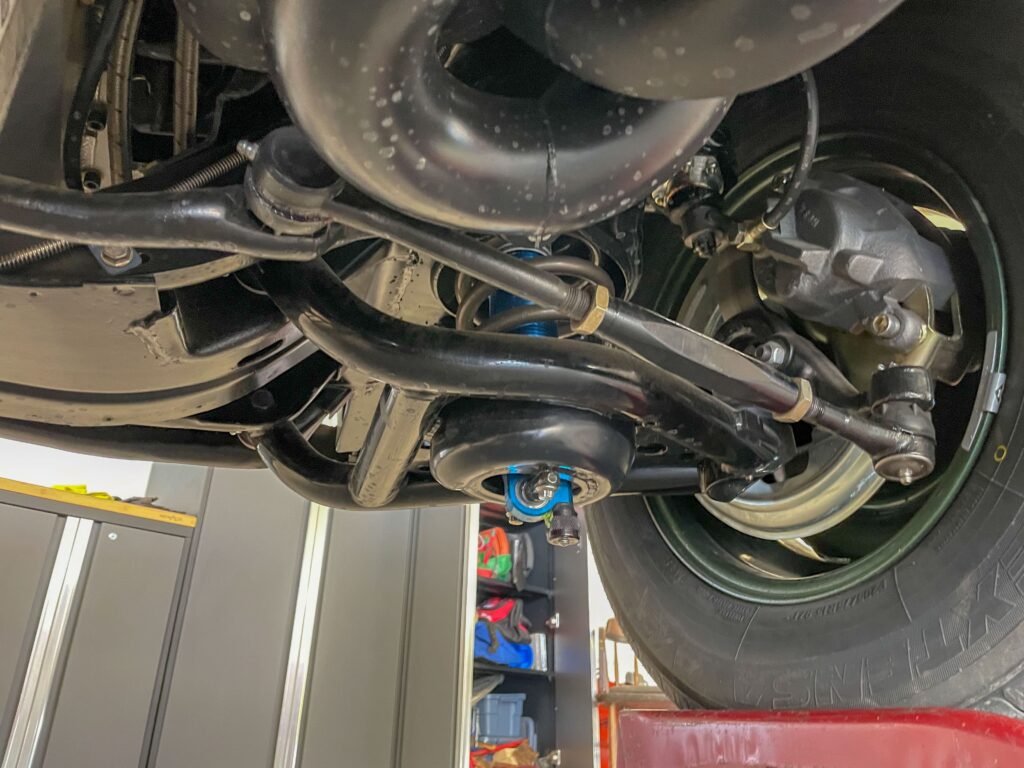
LIFTED OR LOWERED: If you have a truck with a lifted body or conversely, a car with shaved (thinner than stock) body or sub frame mounts, give some consideration to the steering rag joint. In some cases, the geometry changes when the body-to-frame dimensions are juggled. Sure there might some fudge-factor at the rag joint, but you might be surprised to find some steering bind. Check it. It’s better to be safe than sorry.


![[Gallery] 3rd. Annual Father's Day Classic Car Show](https://www.racingjunk.com/news/wp-content/uploads/2026/07/Calistoga-2026-18-scaled-e1783026475349-376x206.jpg)

![[Gallery] Blackhawk Museum Stop Over](https://www.racingjunk.com/news/wp-content/uploads/2026/06/DSC_0918-e1782449621944-376x206.jpg)
Leave a Reply