


![[Gallery] Mecum Kissimmee Auction 2026](https://www.racingjunk.com/news/wp-content/uploads/2026/03/DSC_0717-e1774629242515-376x206.jpg)
![[Gallery] Cruisin’ One Daytona](https://www.racingjunk.com/news/wp-content/uploads/2026/03/DSC_0538-e1774027057404-376x206.jpg)

Van Steel Shares Their ‘63 to ’79 Corvette Rear End Build Secrets: Part 2
Click Here to Begin Slideshow
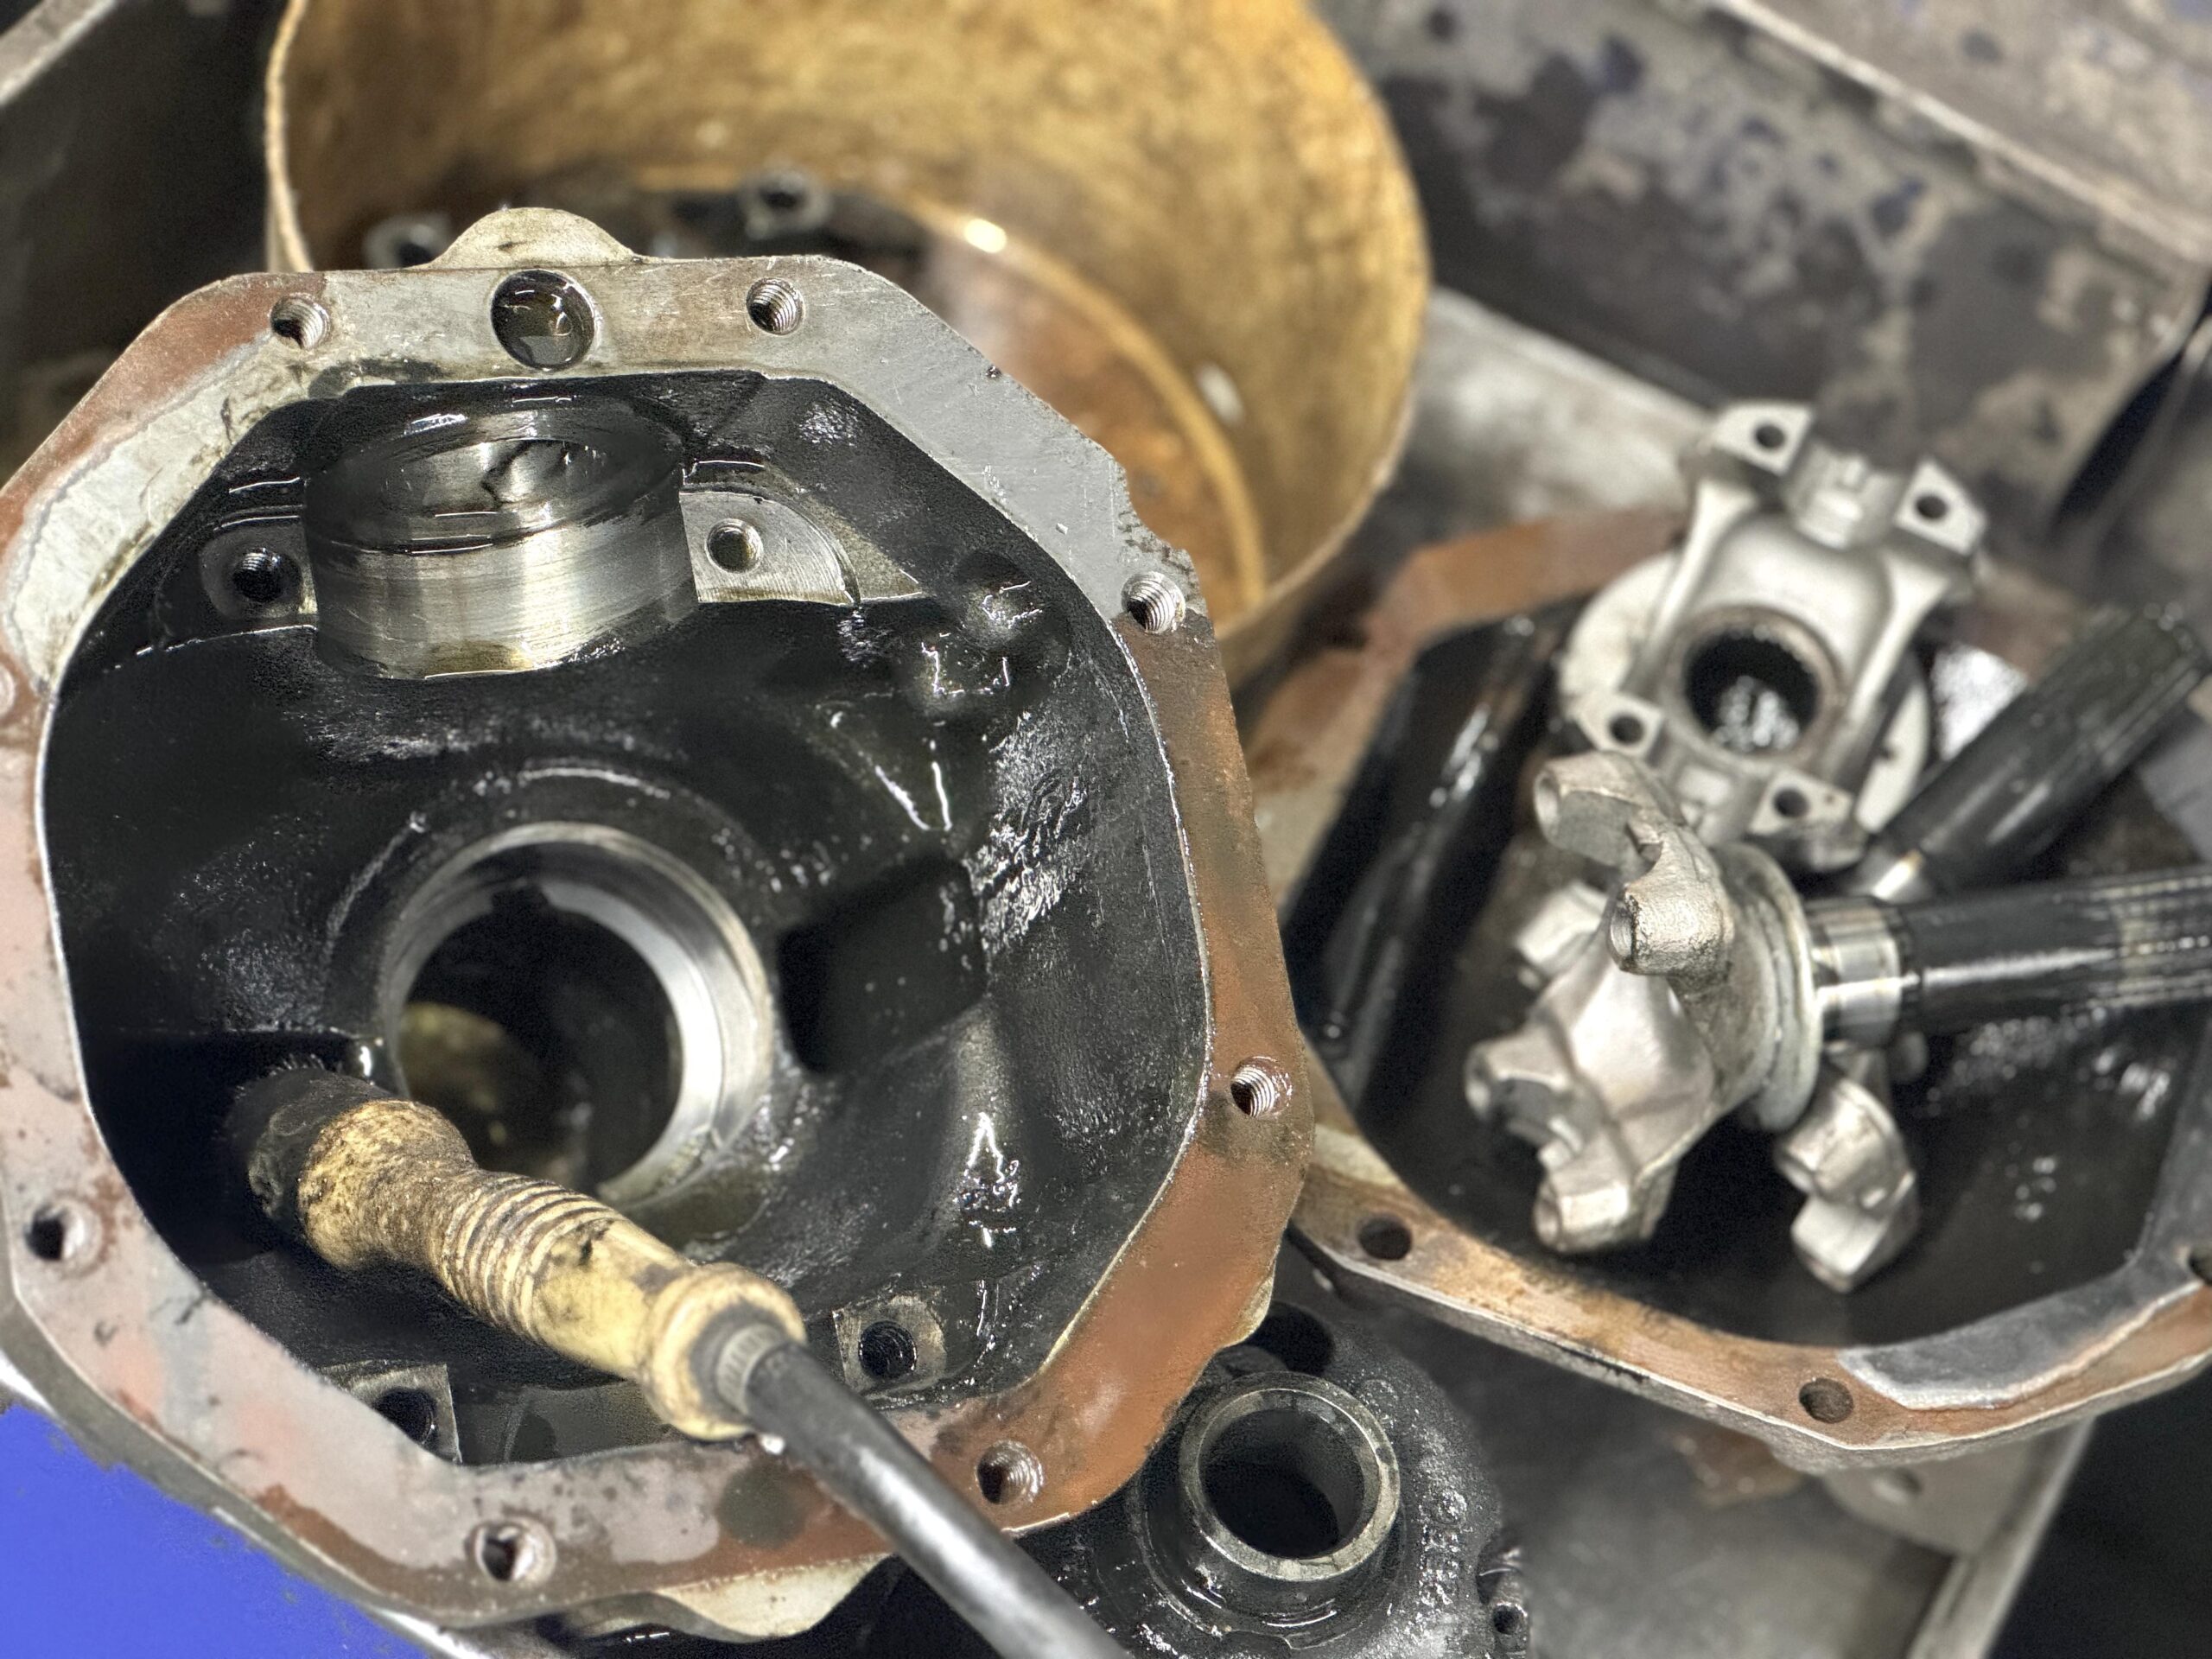
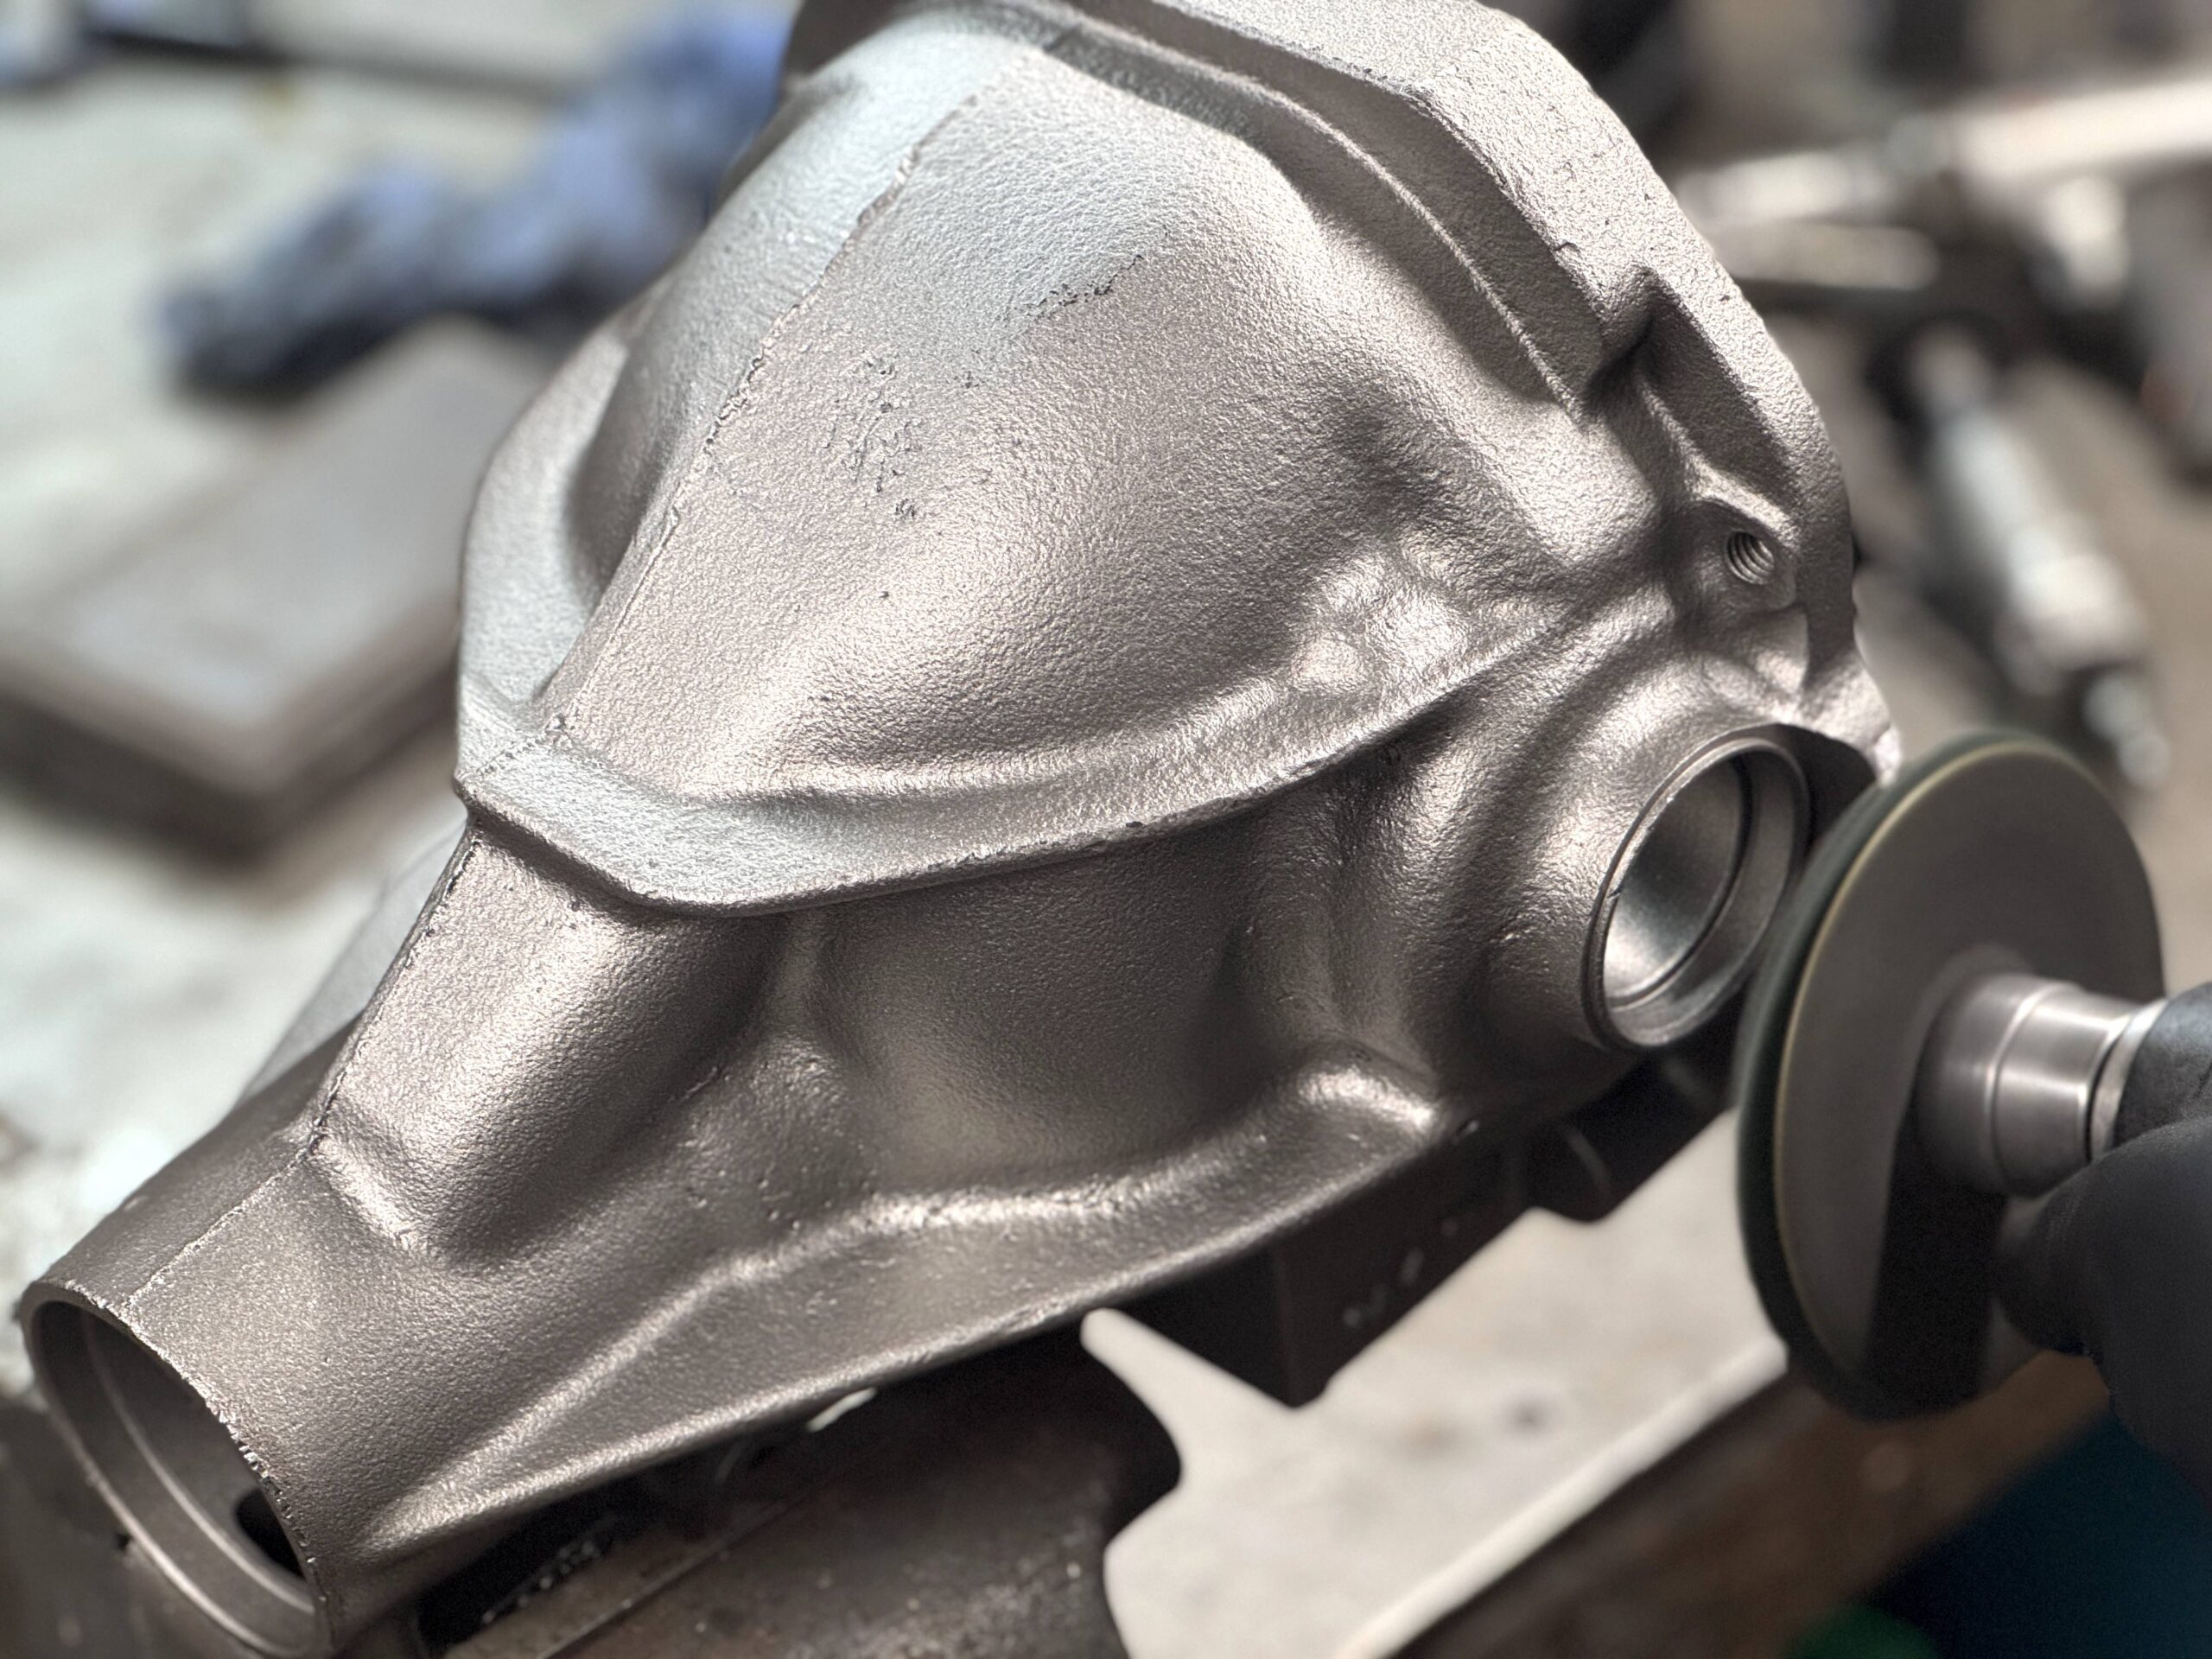
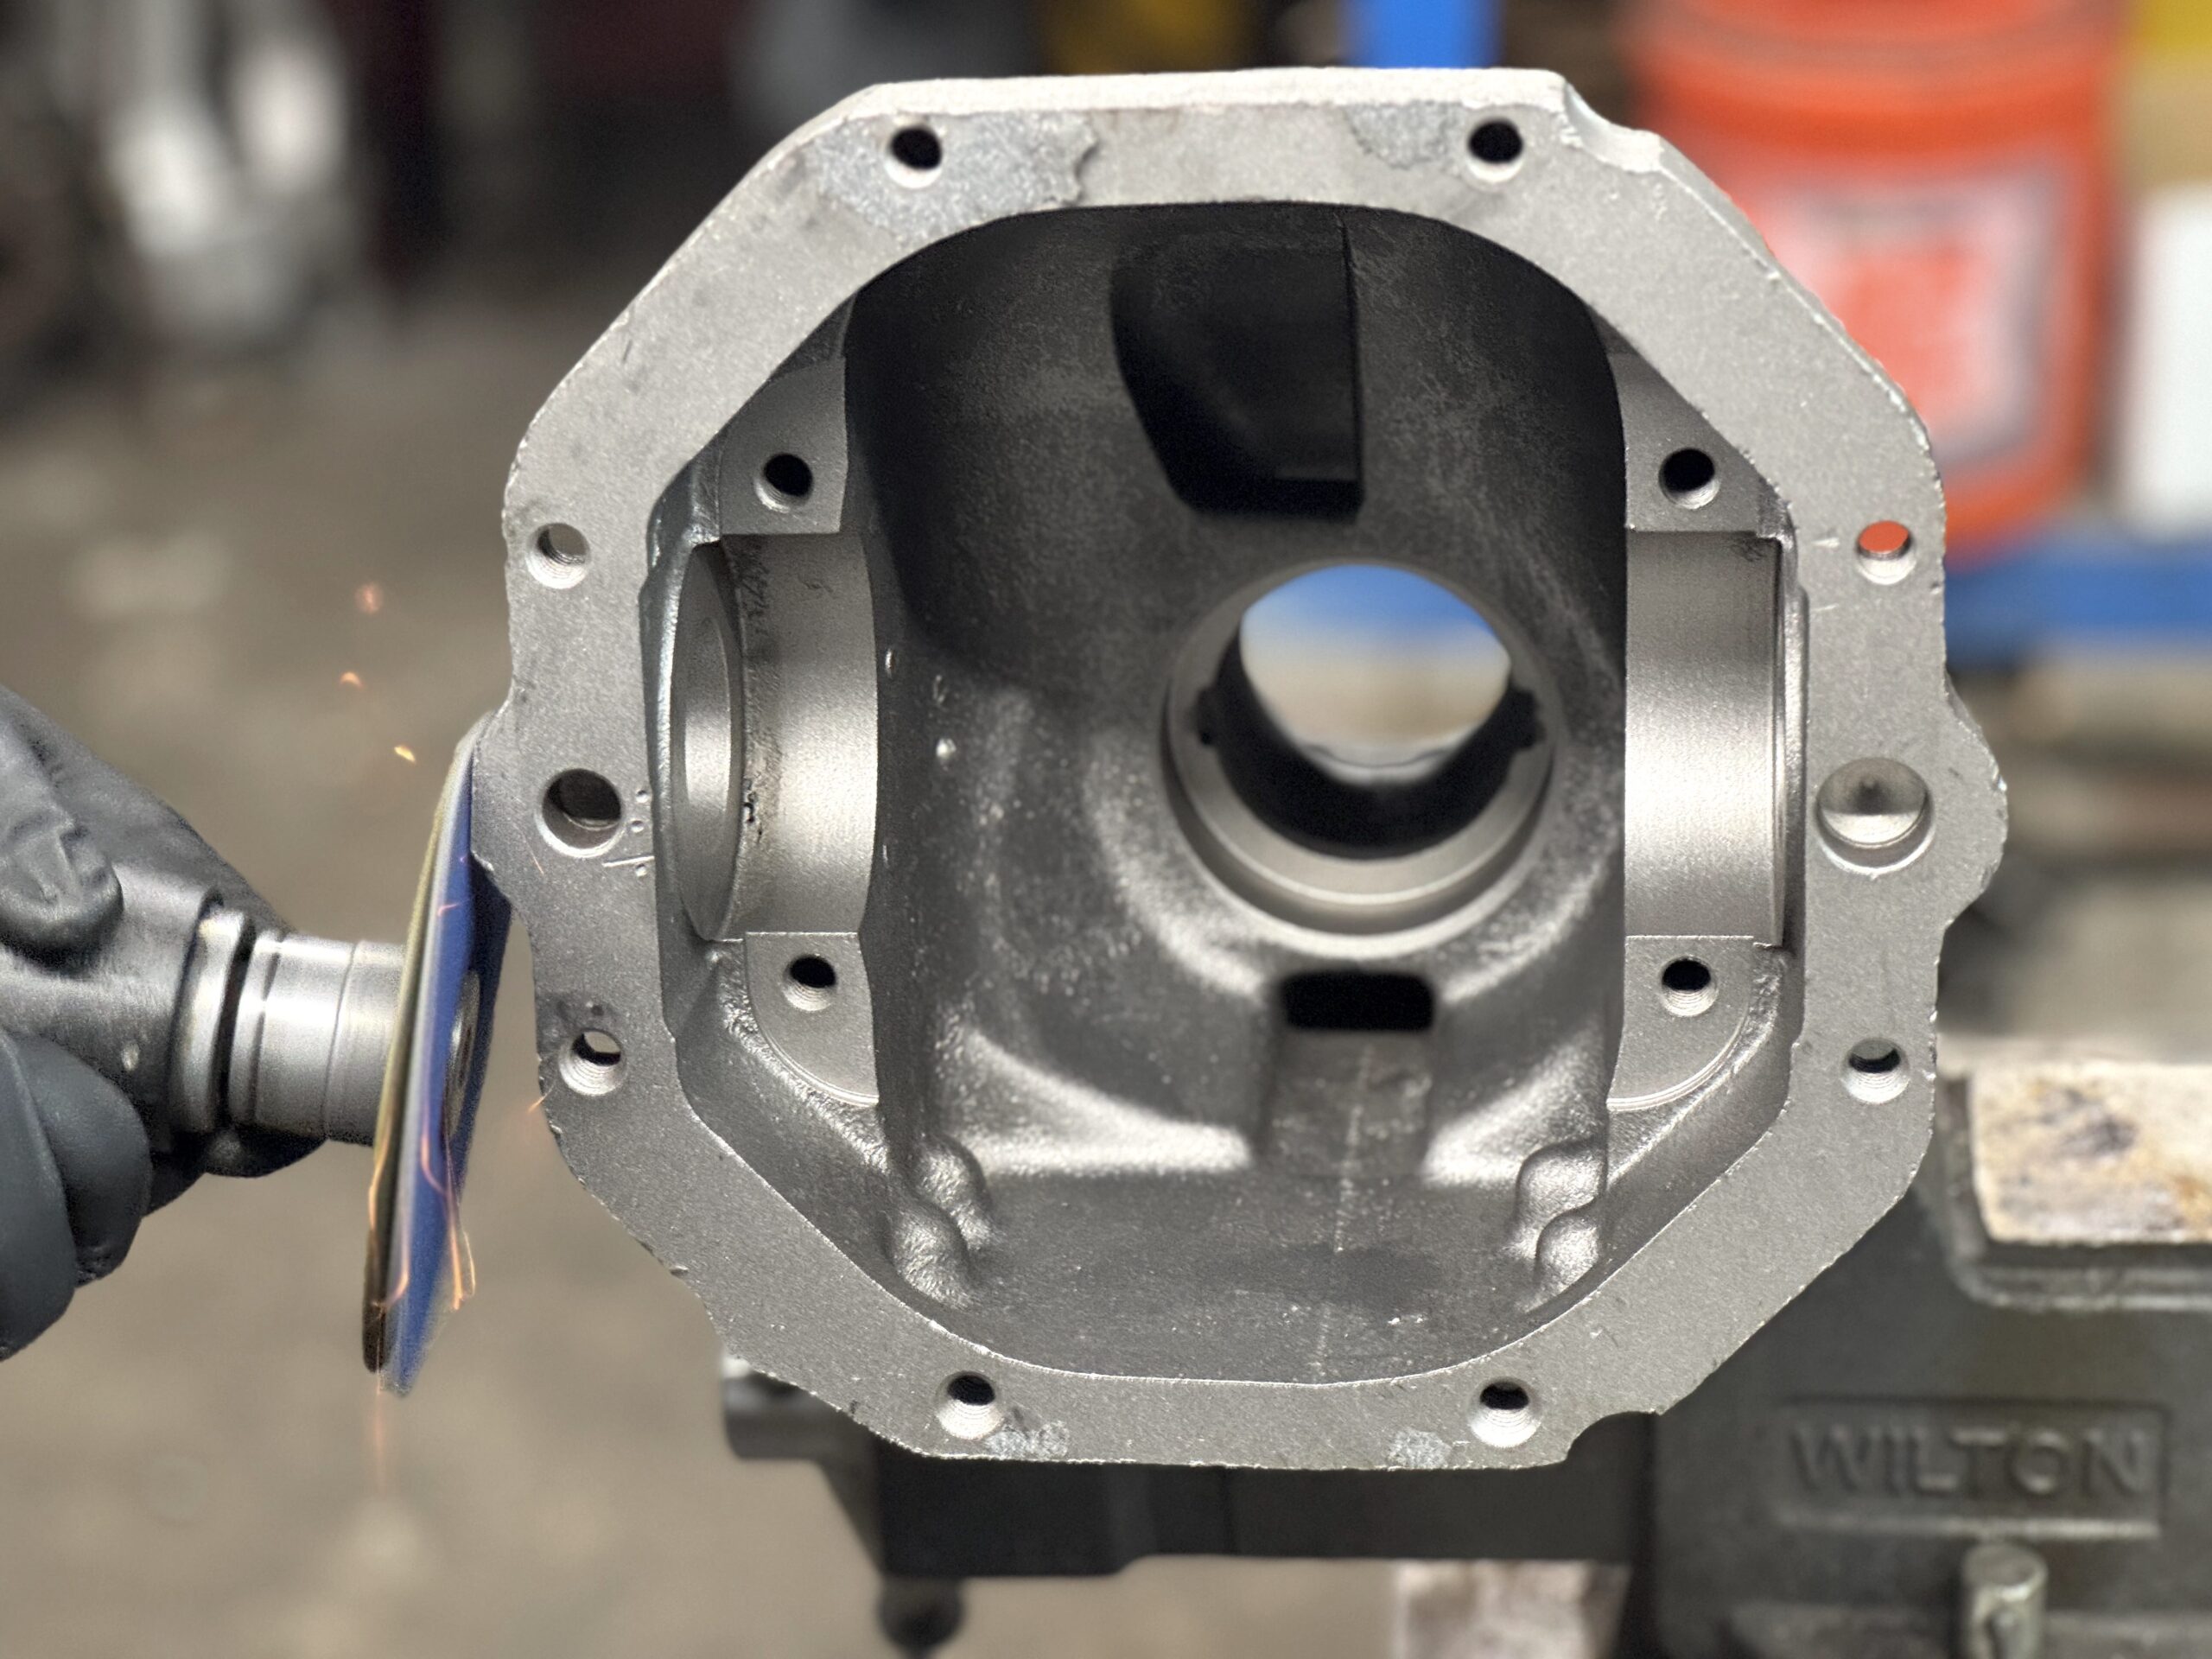
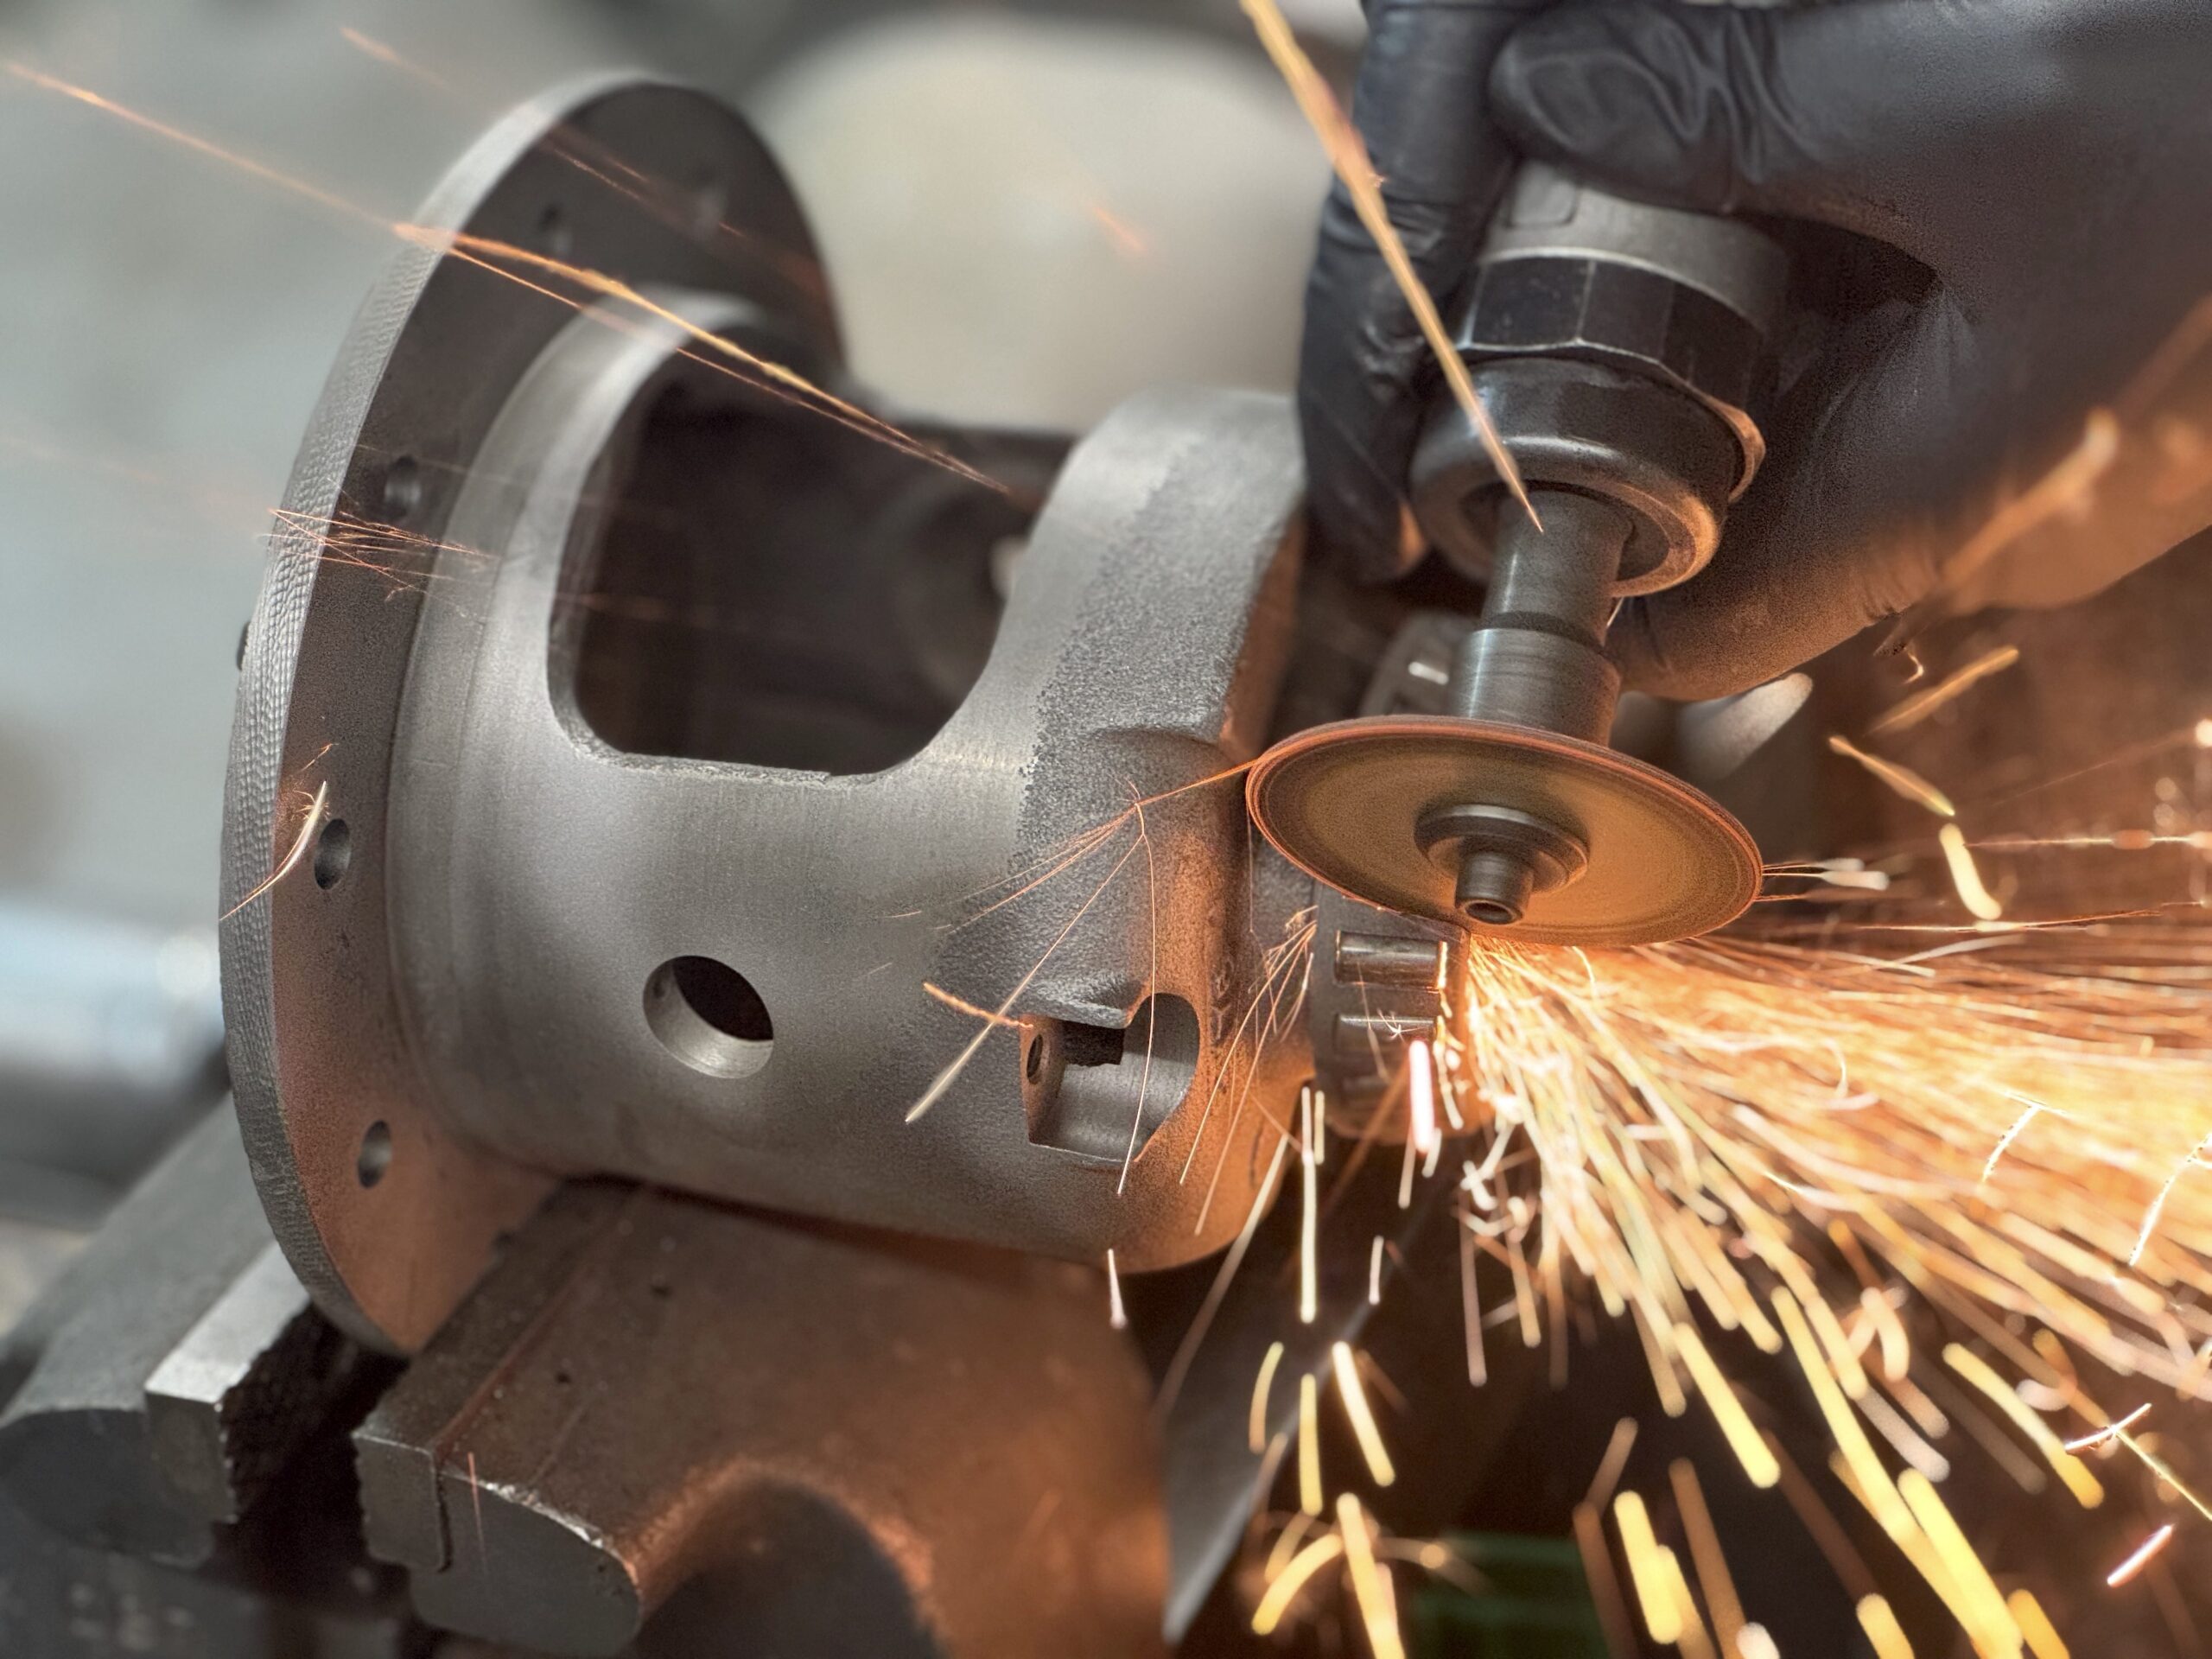
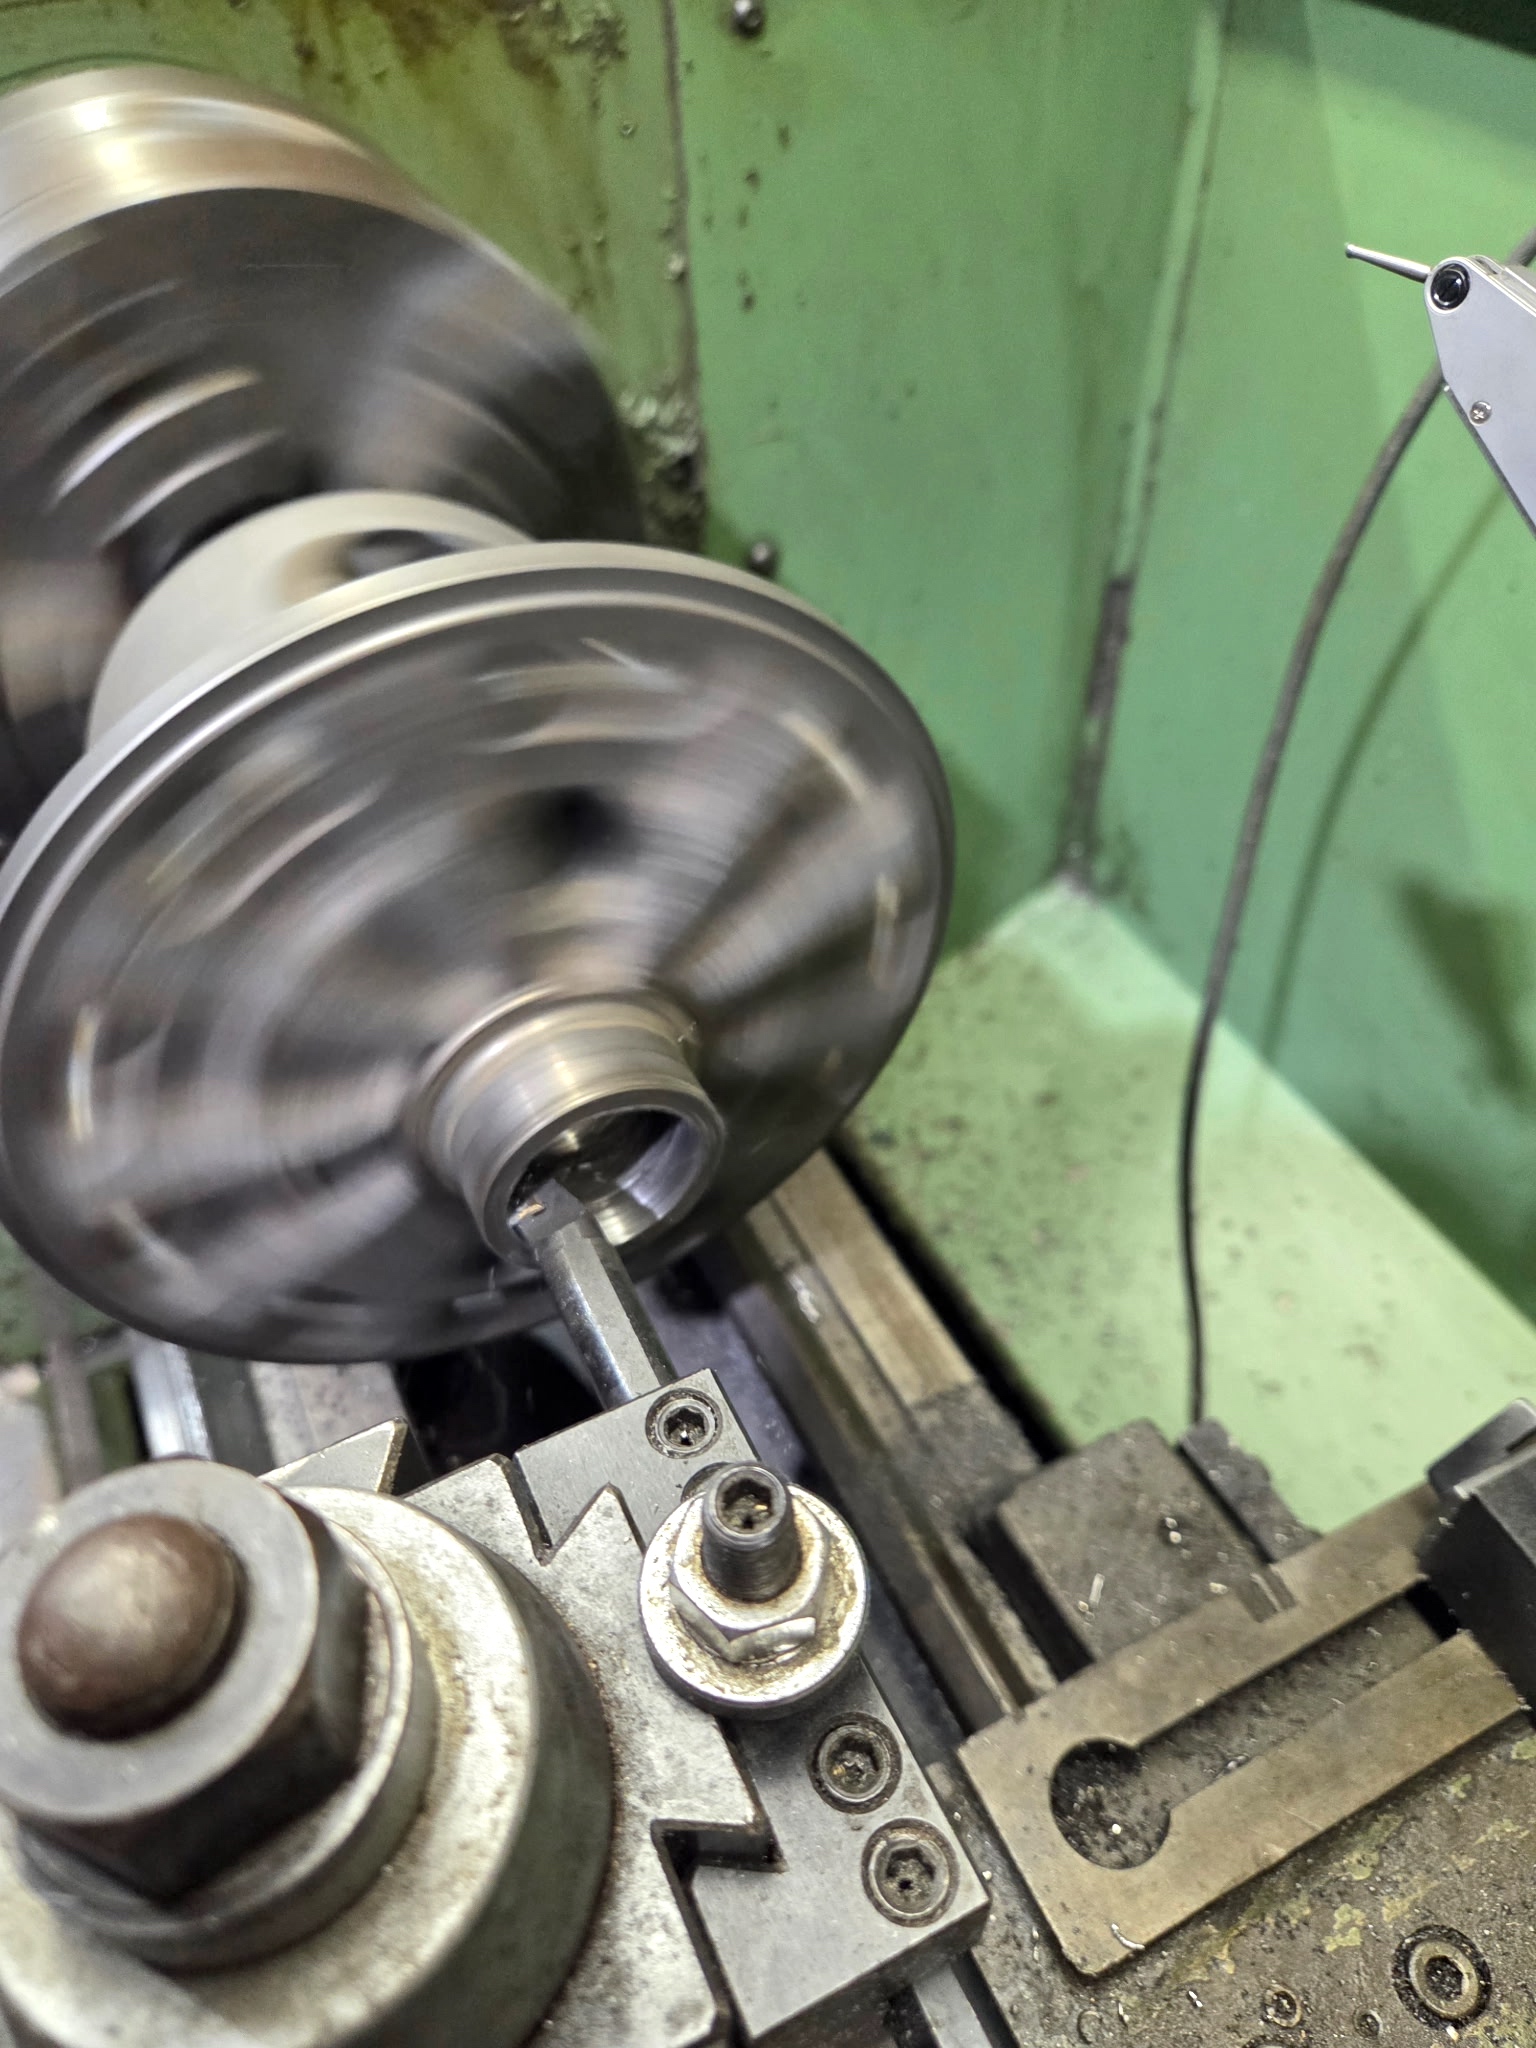
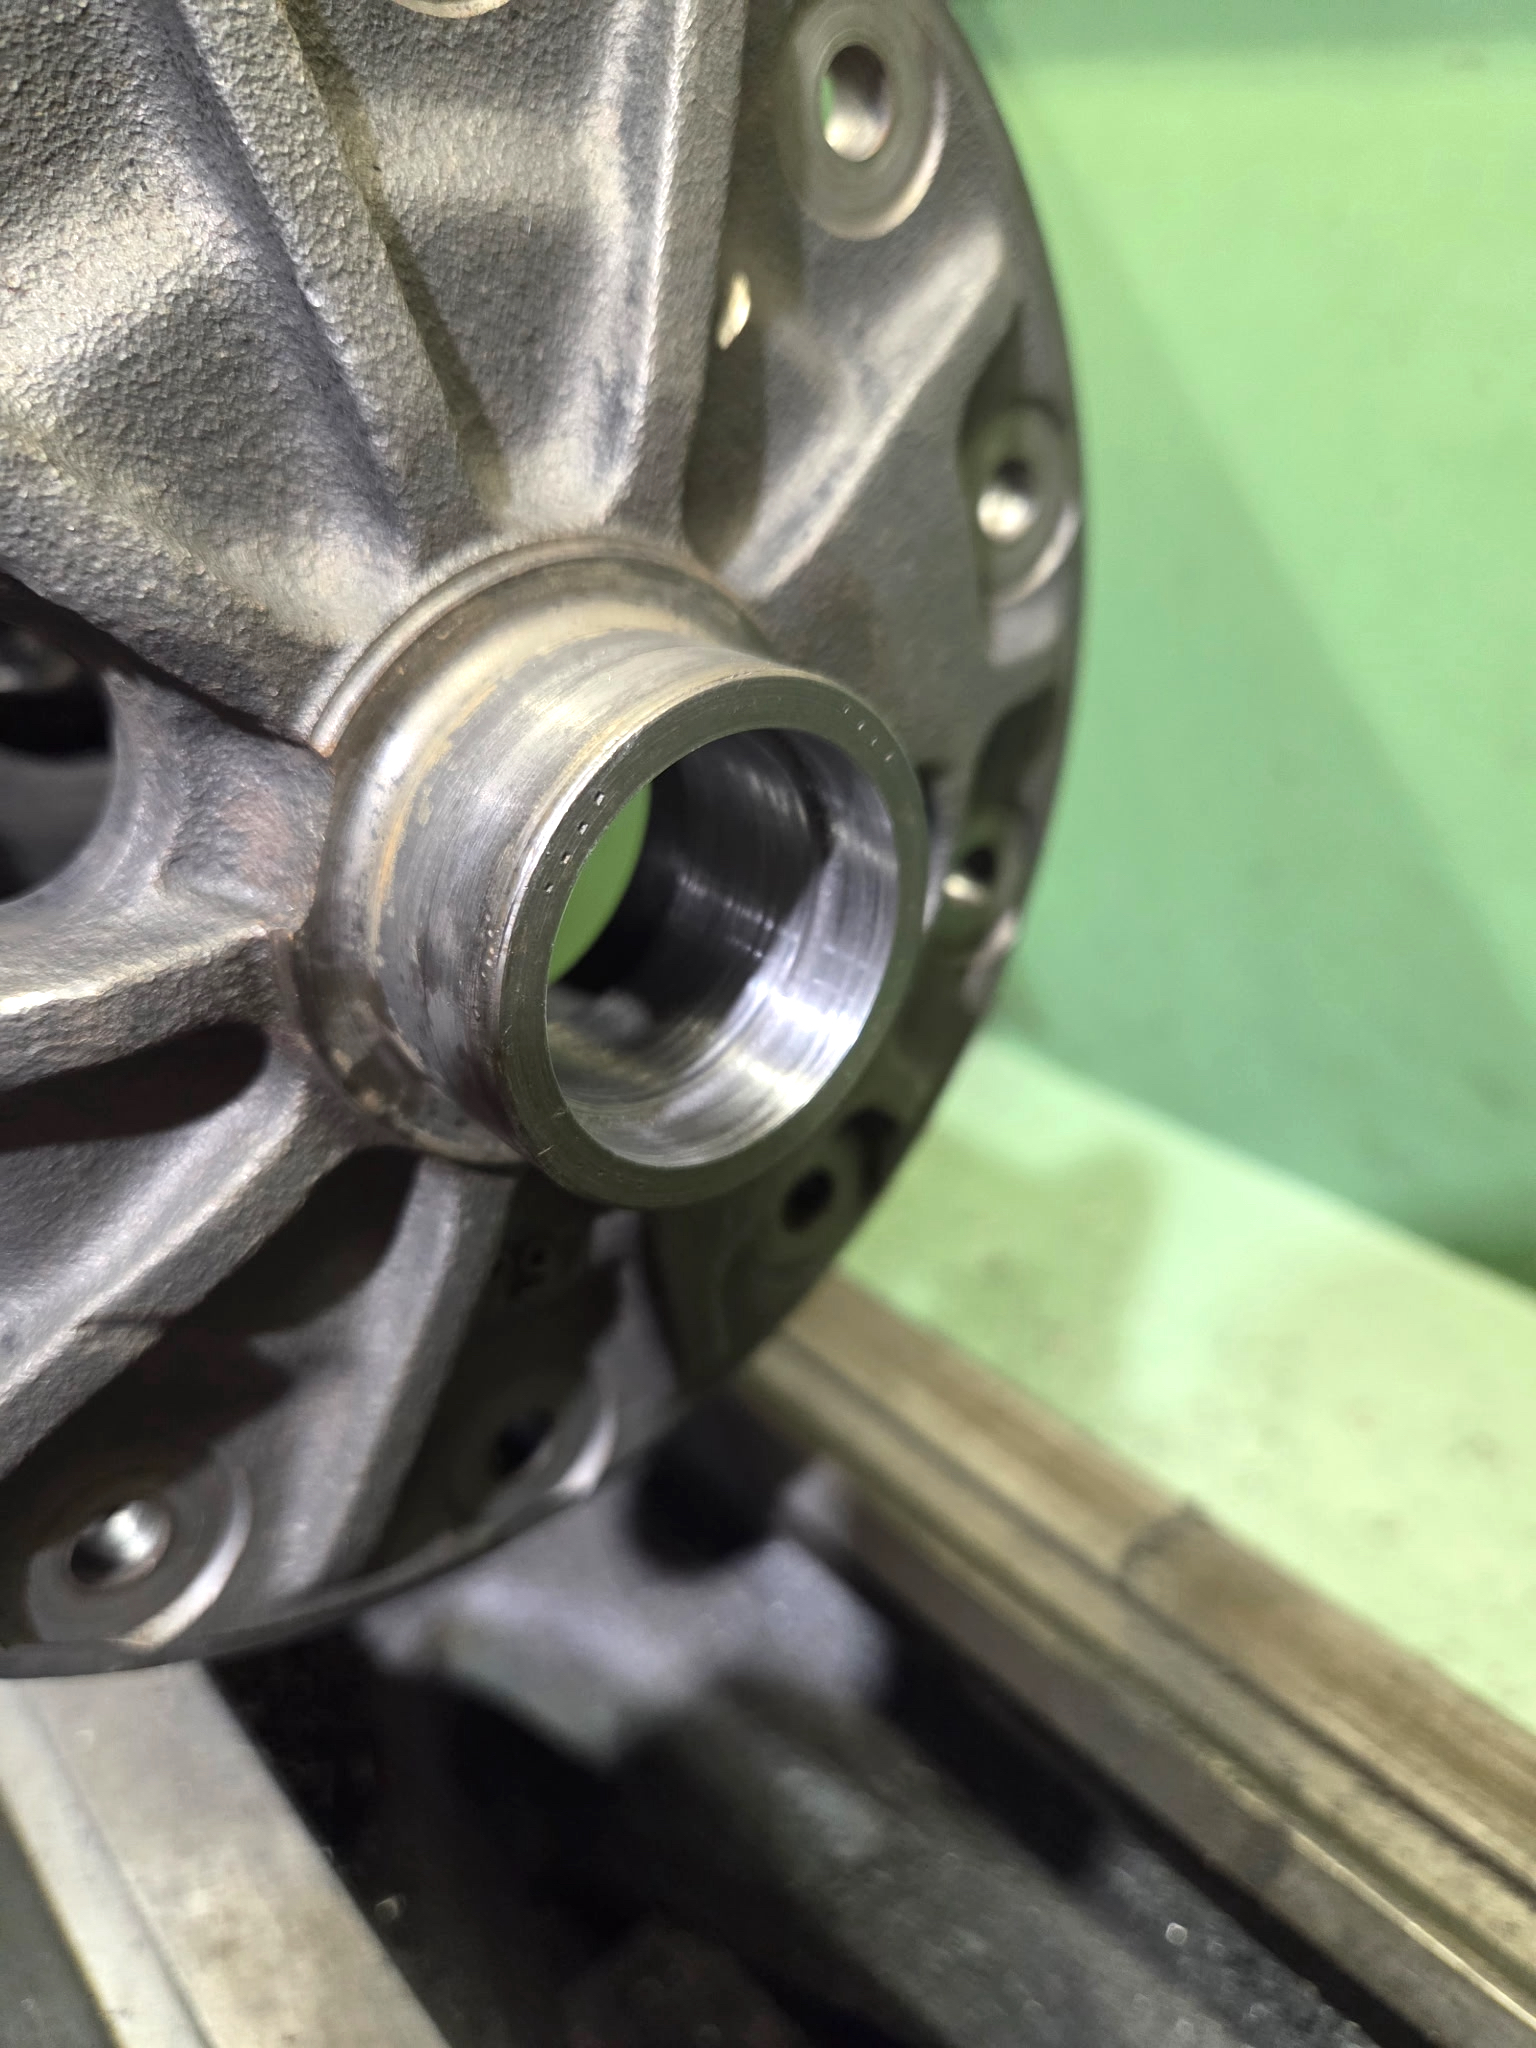
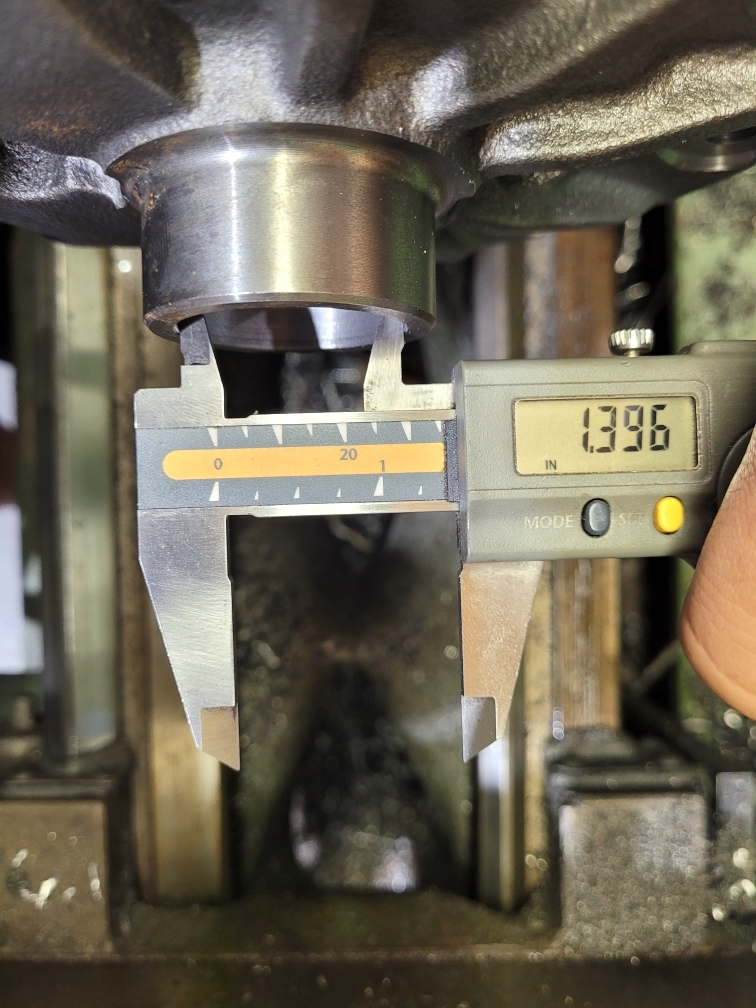
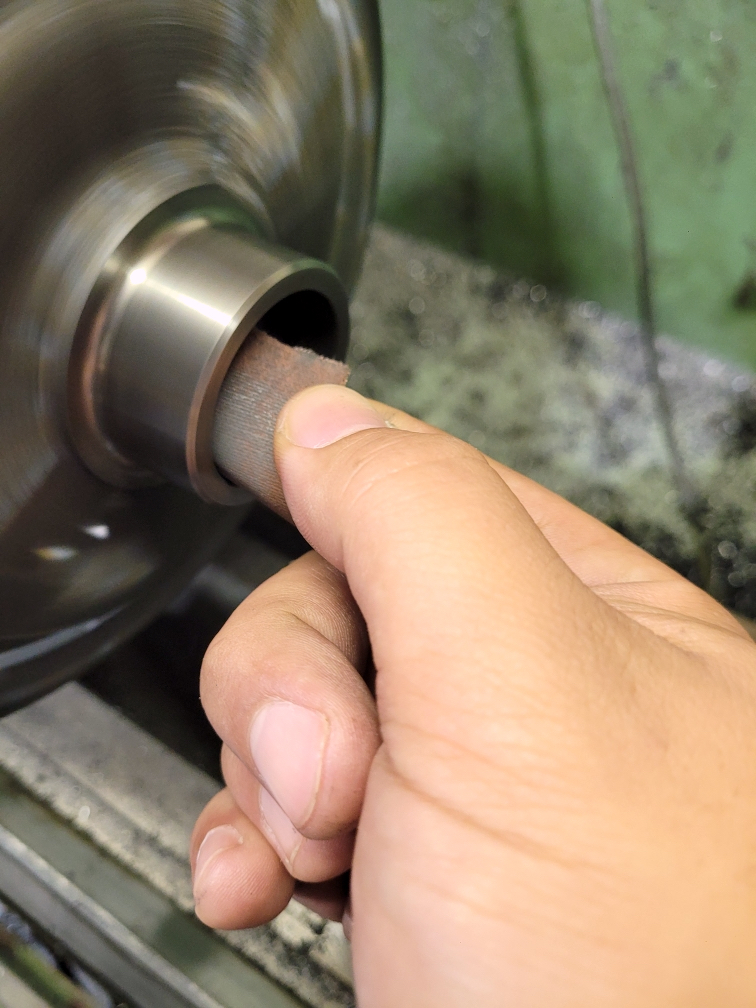
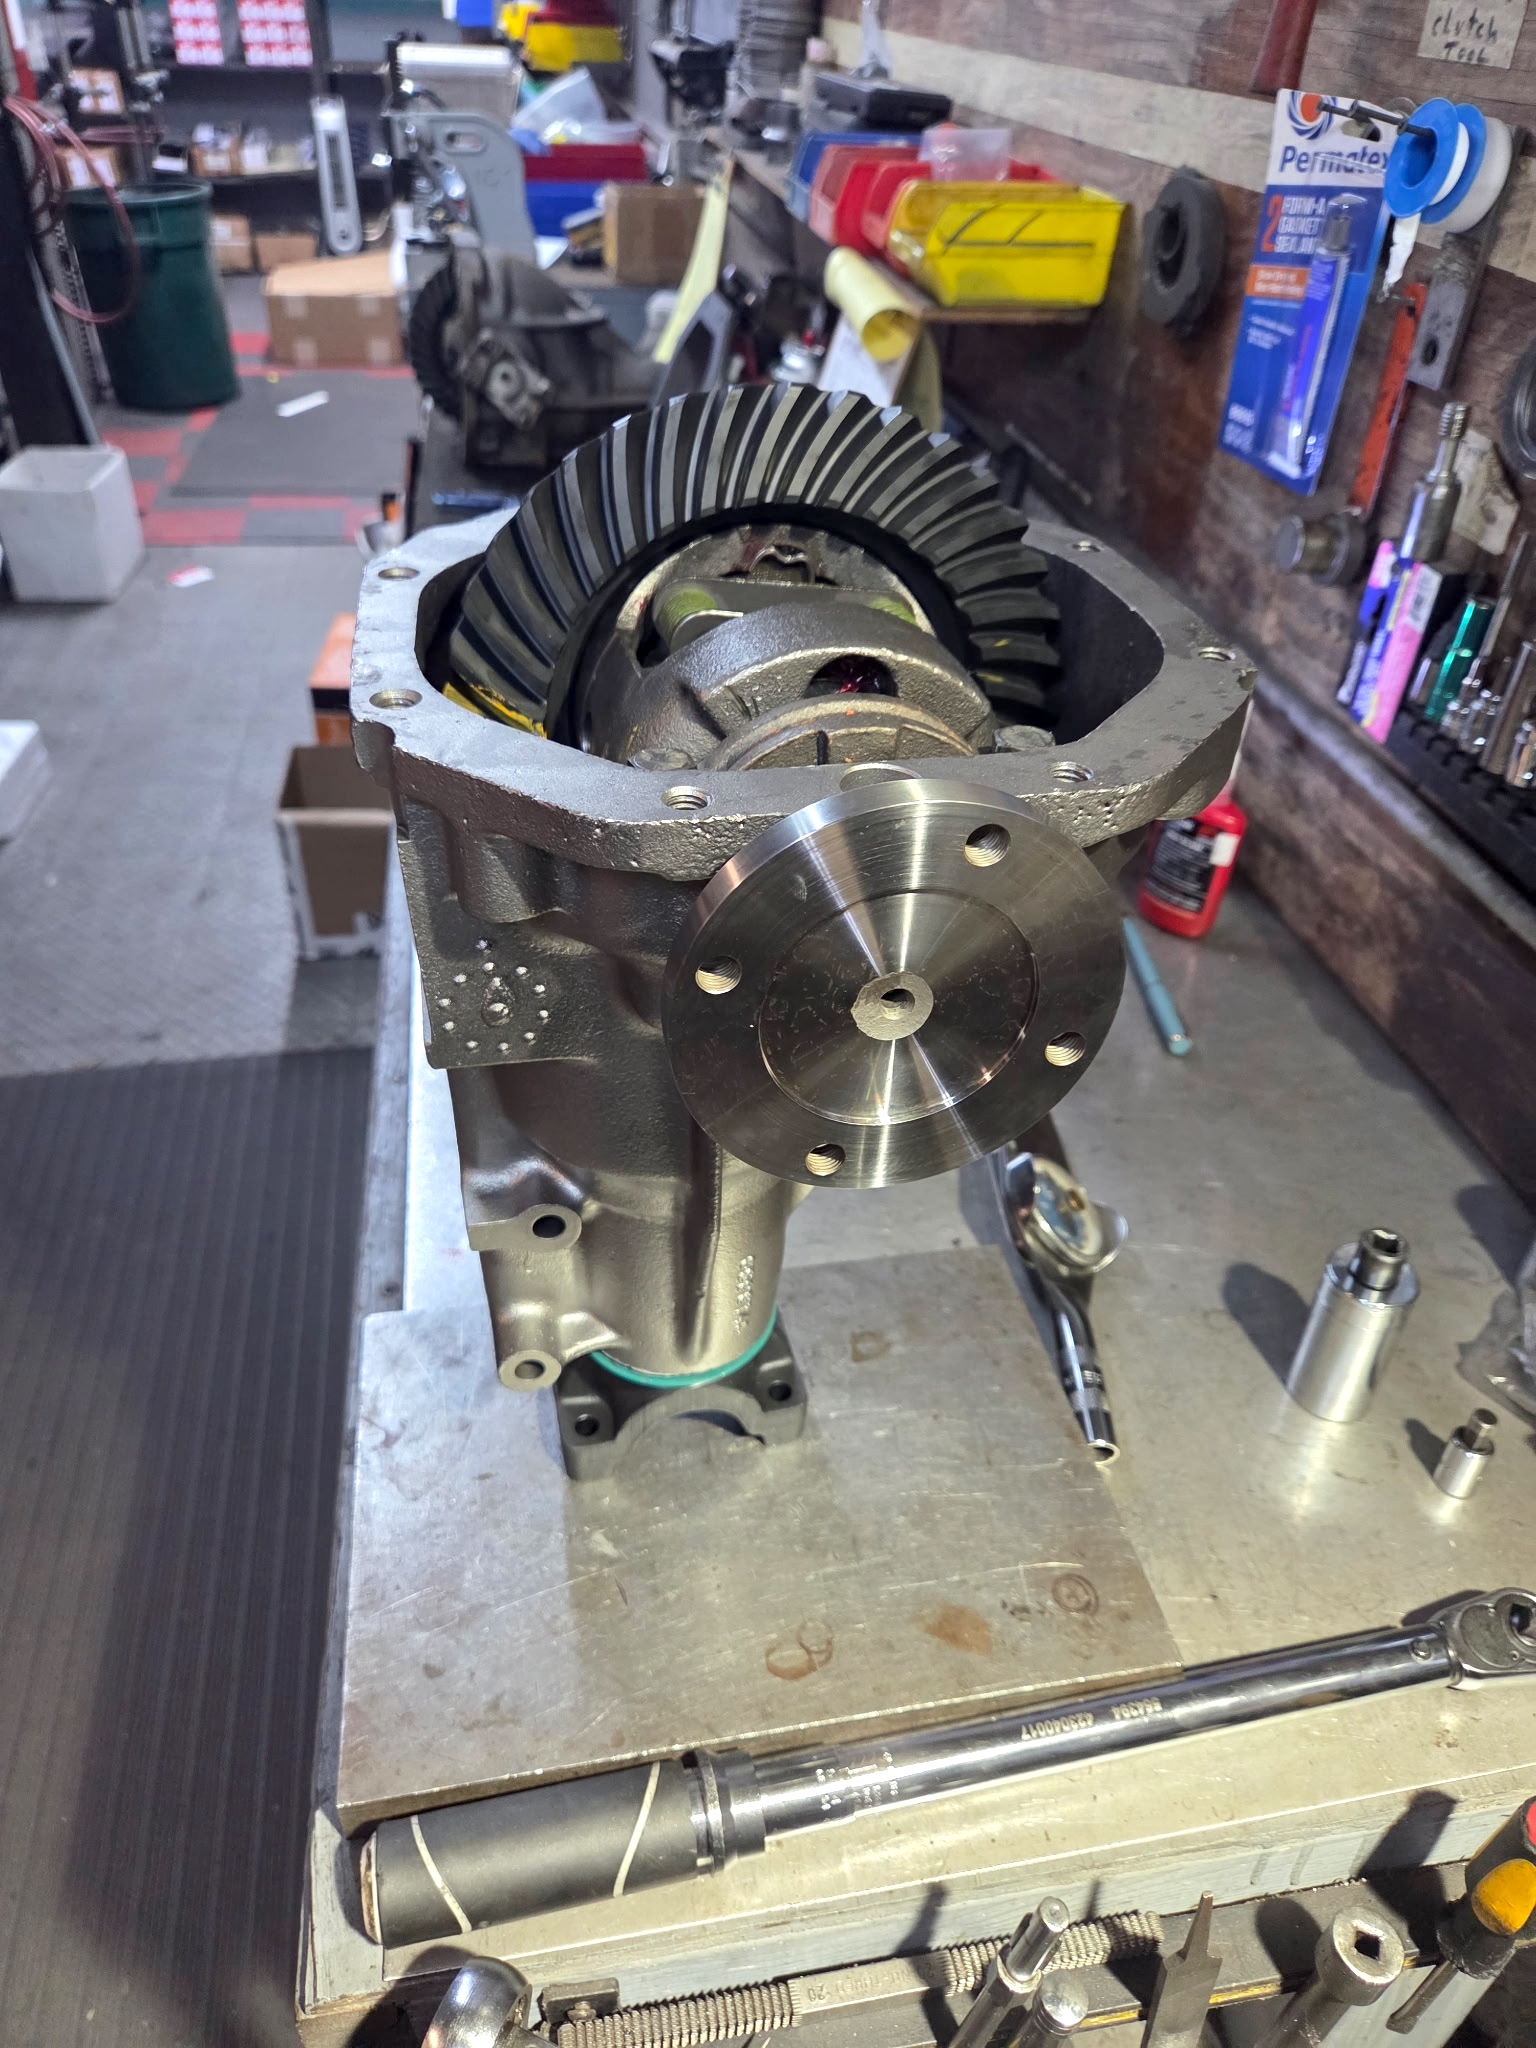
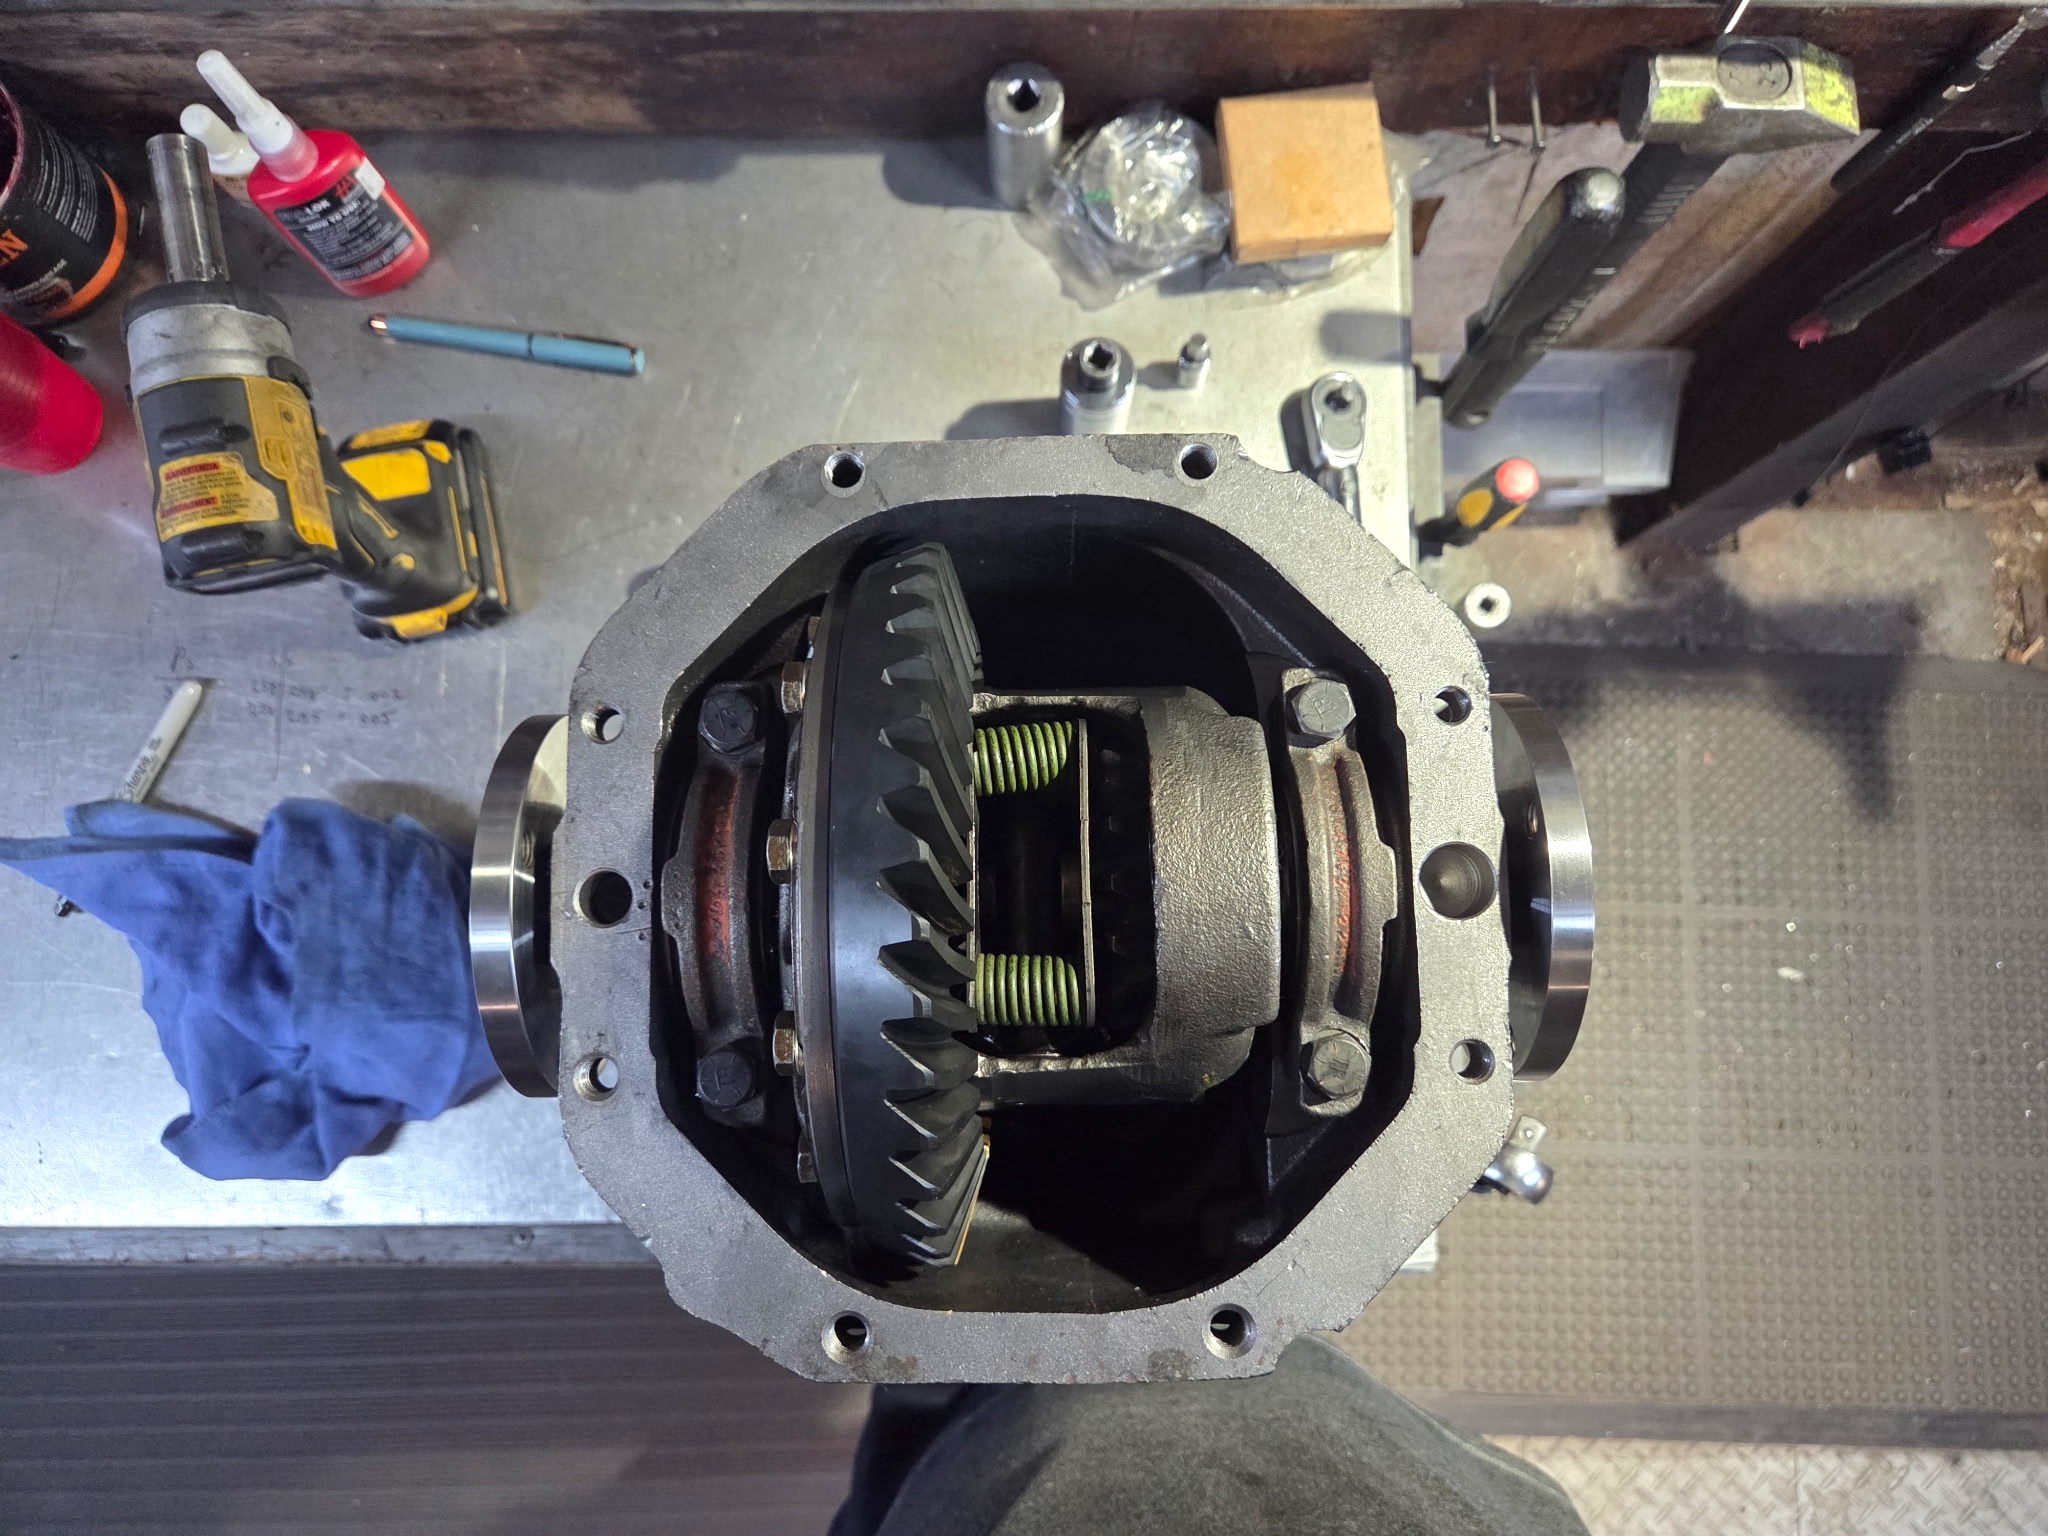
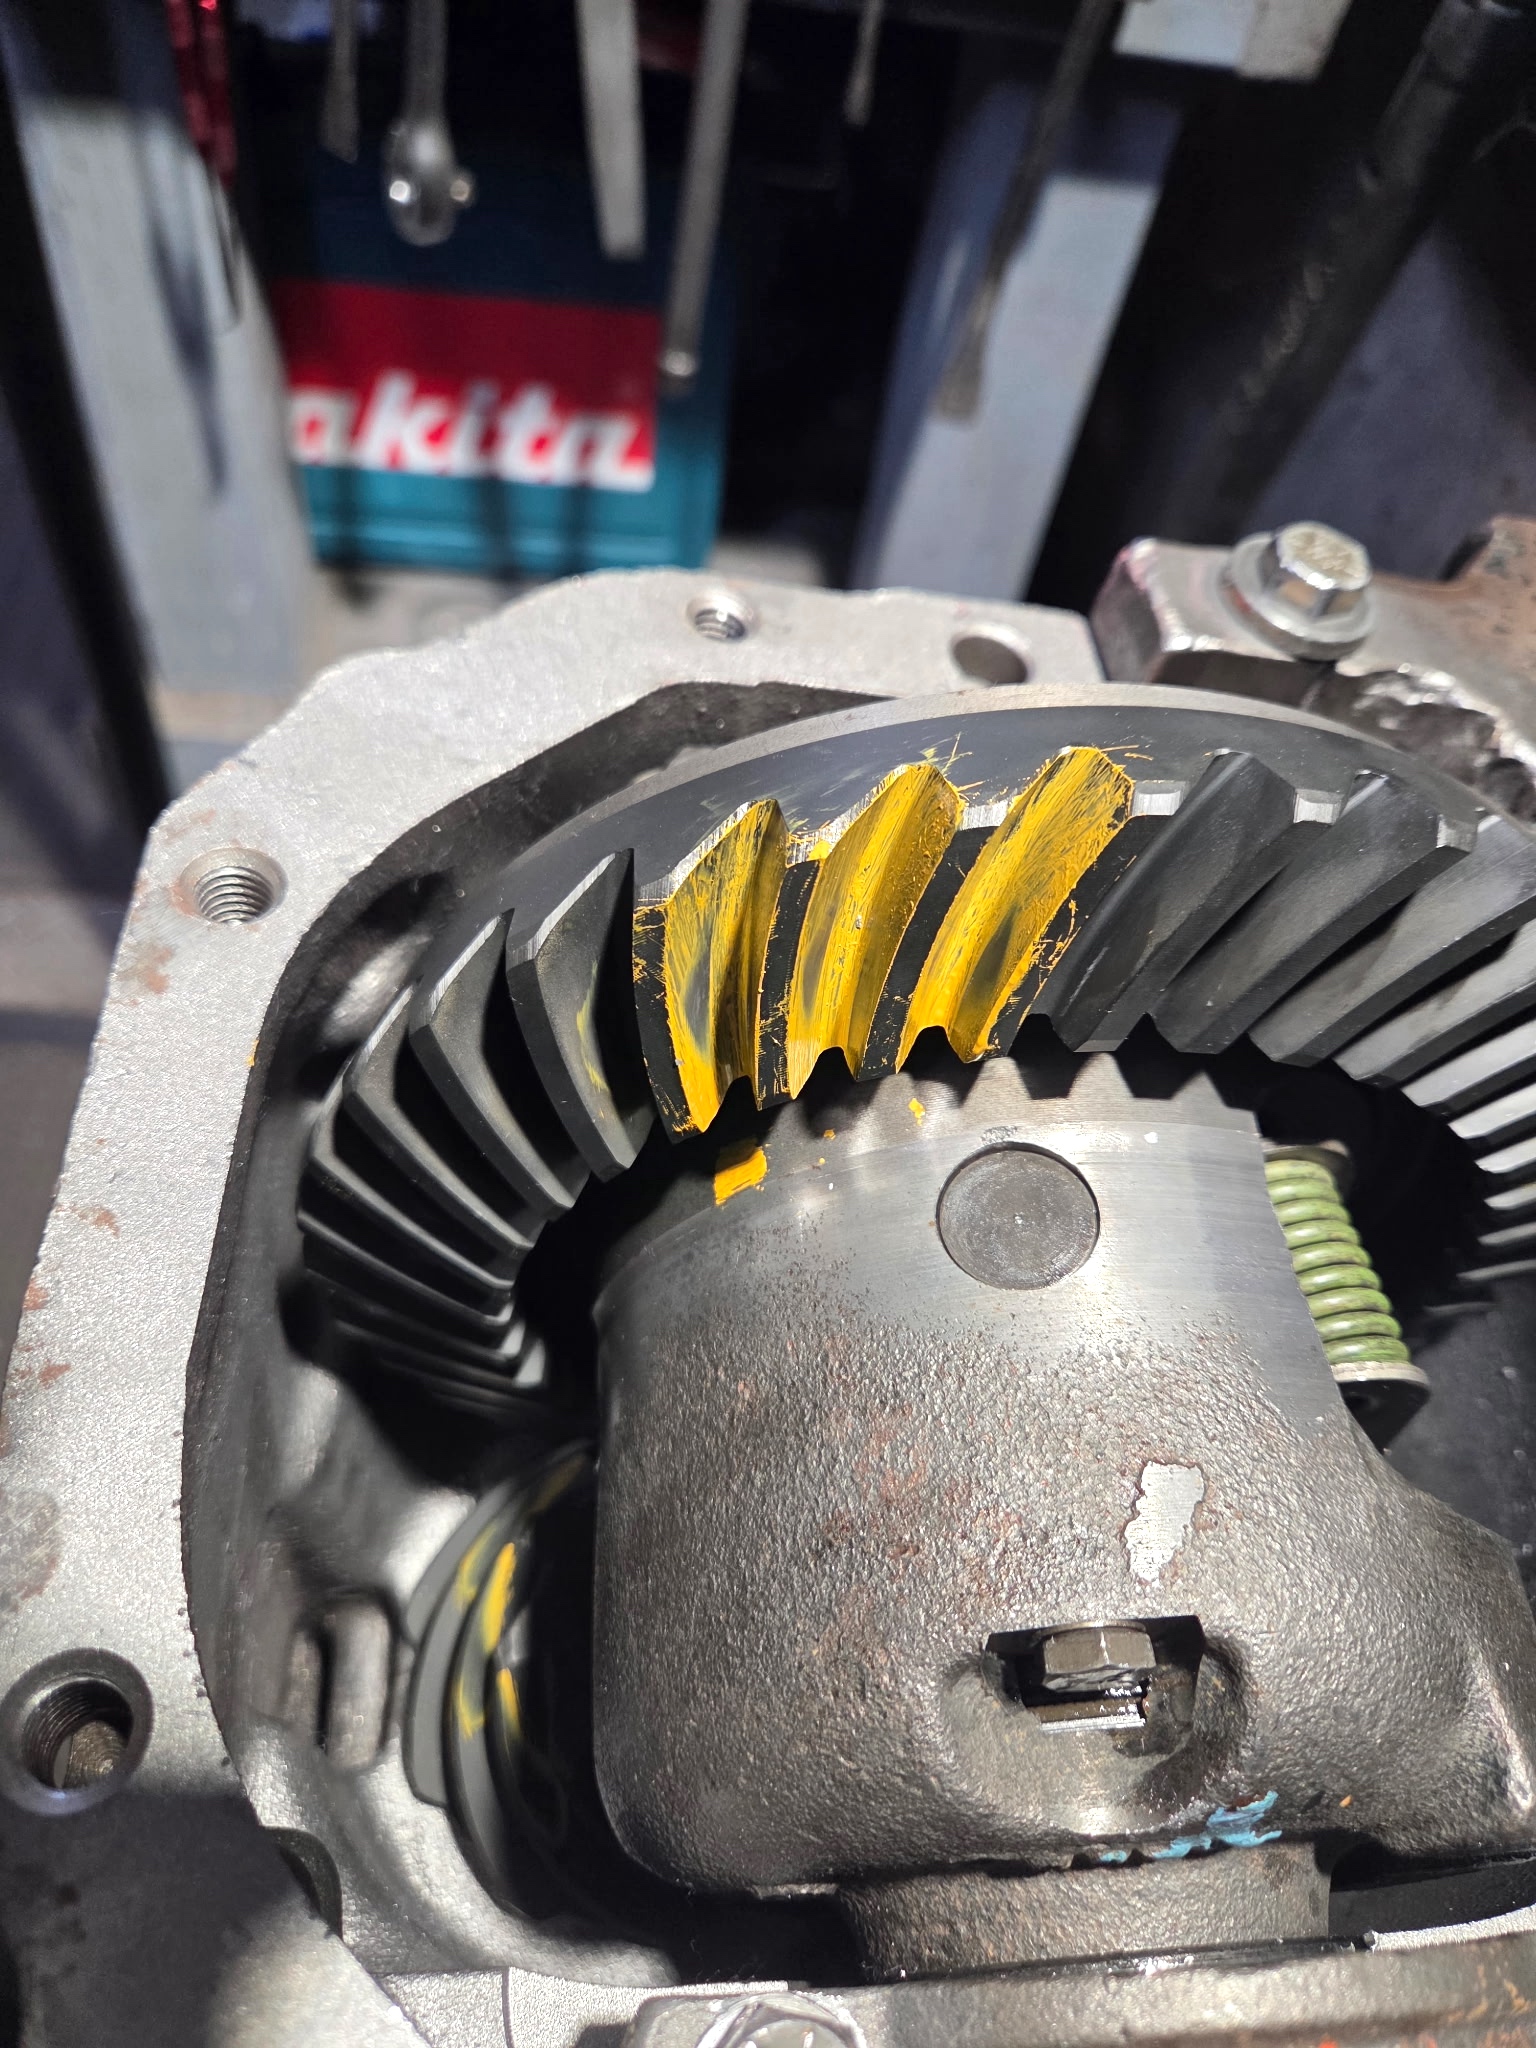
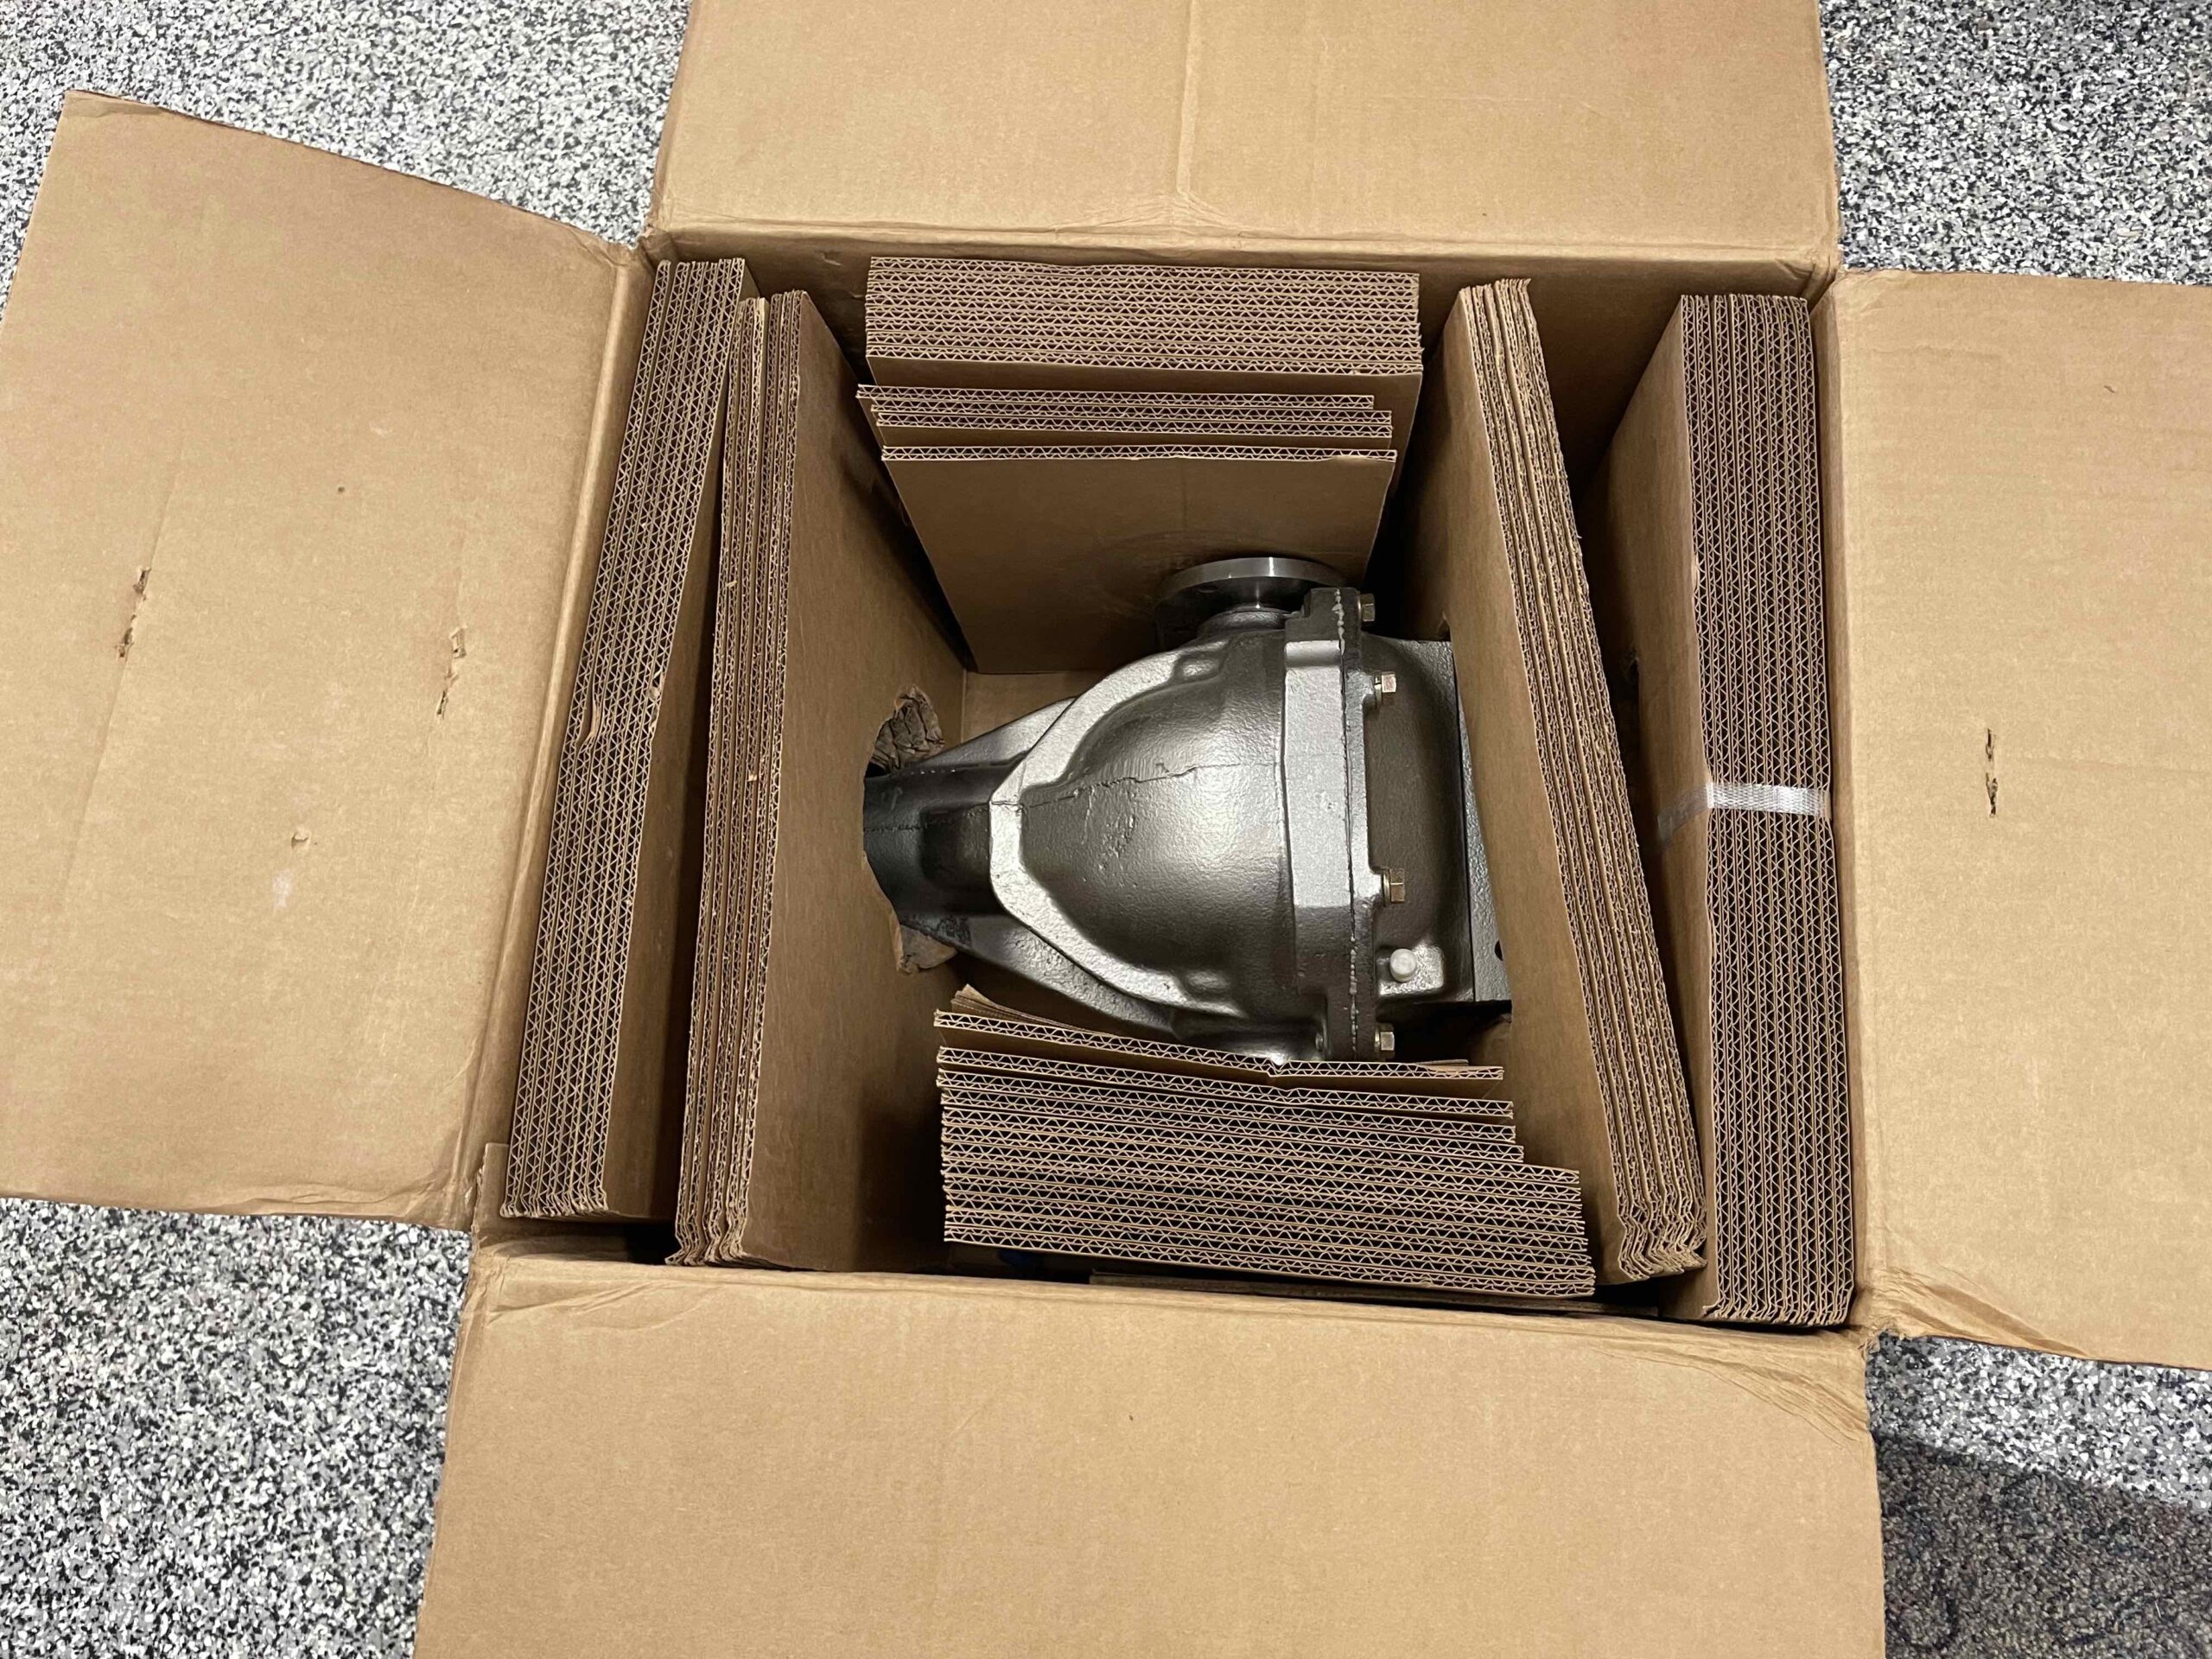
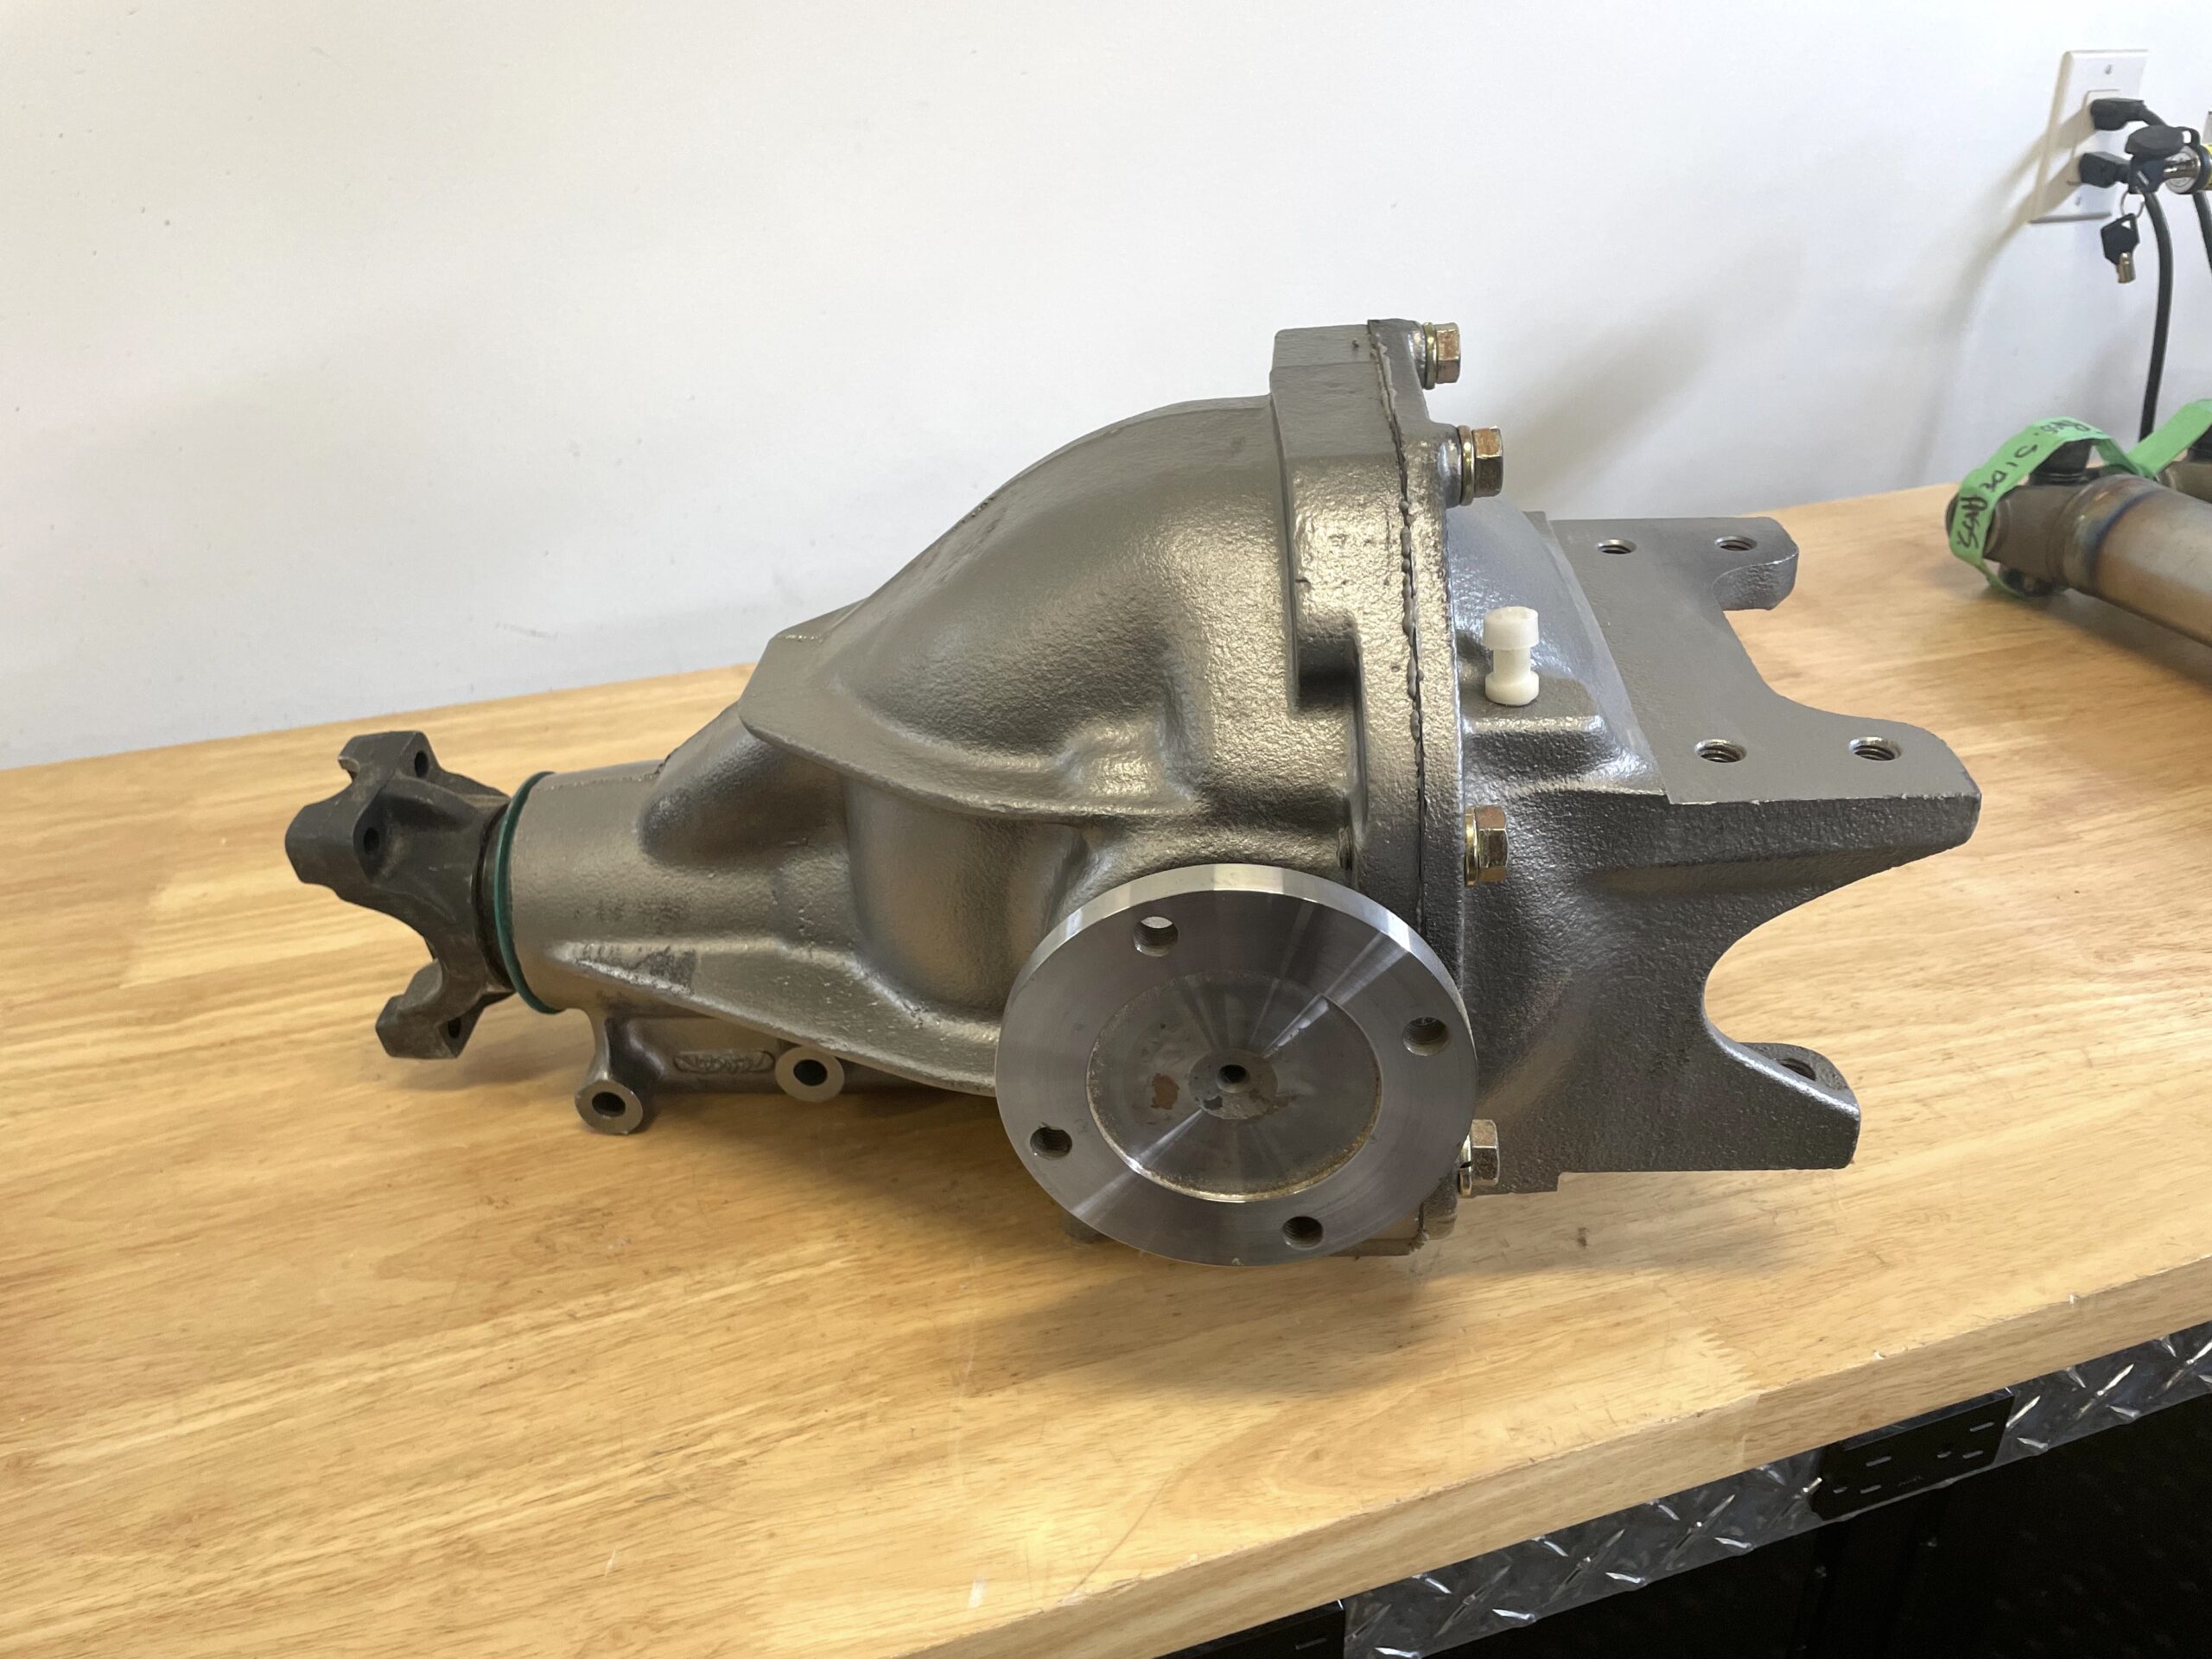
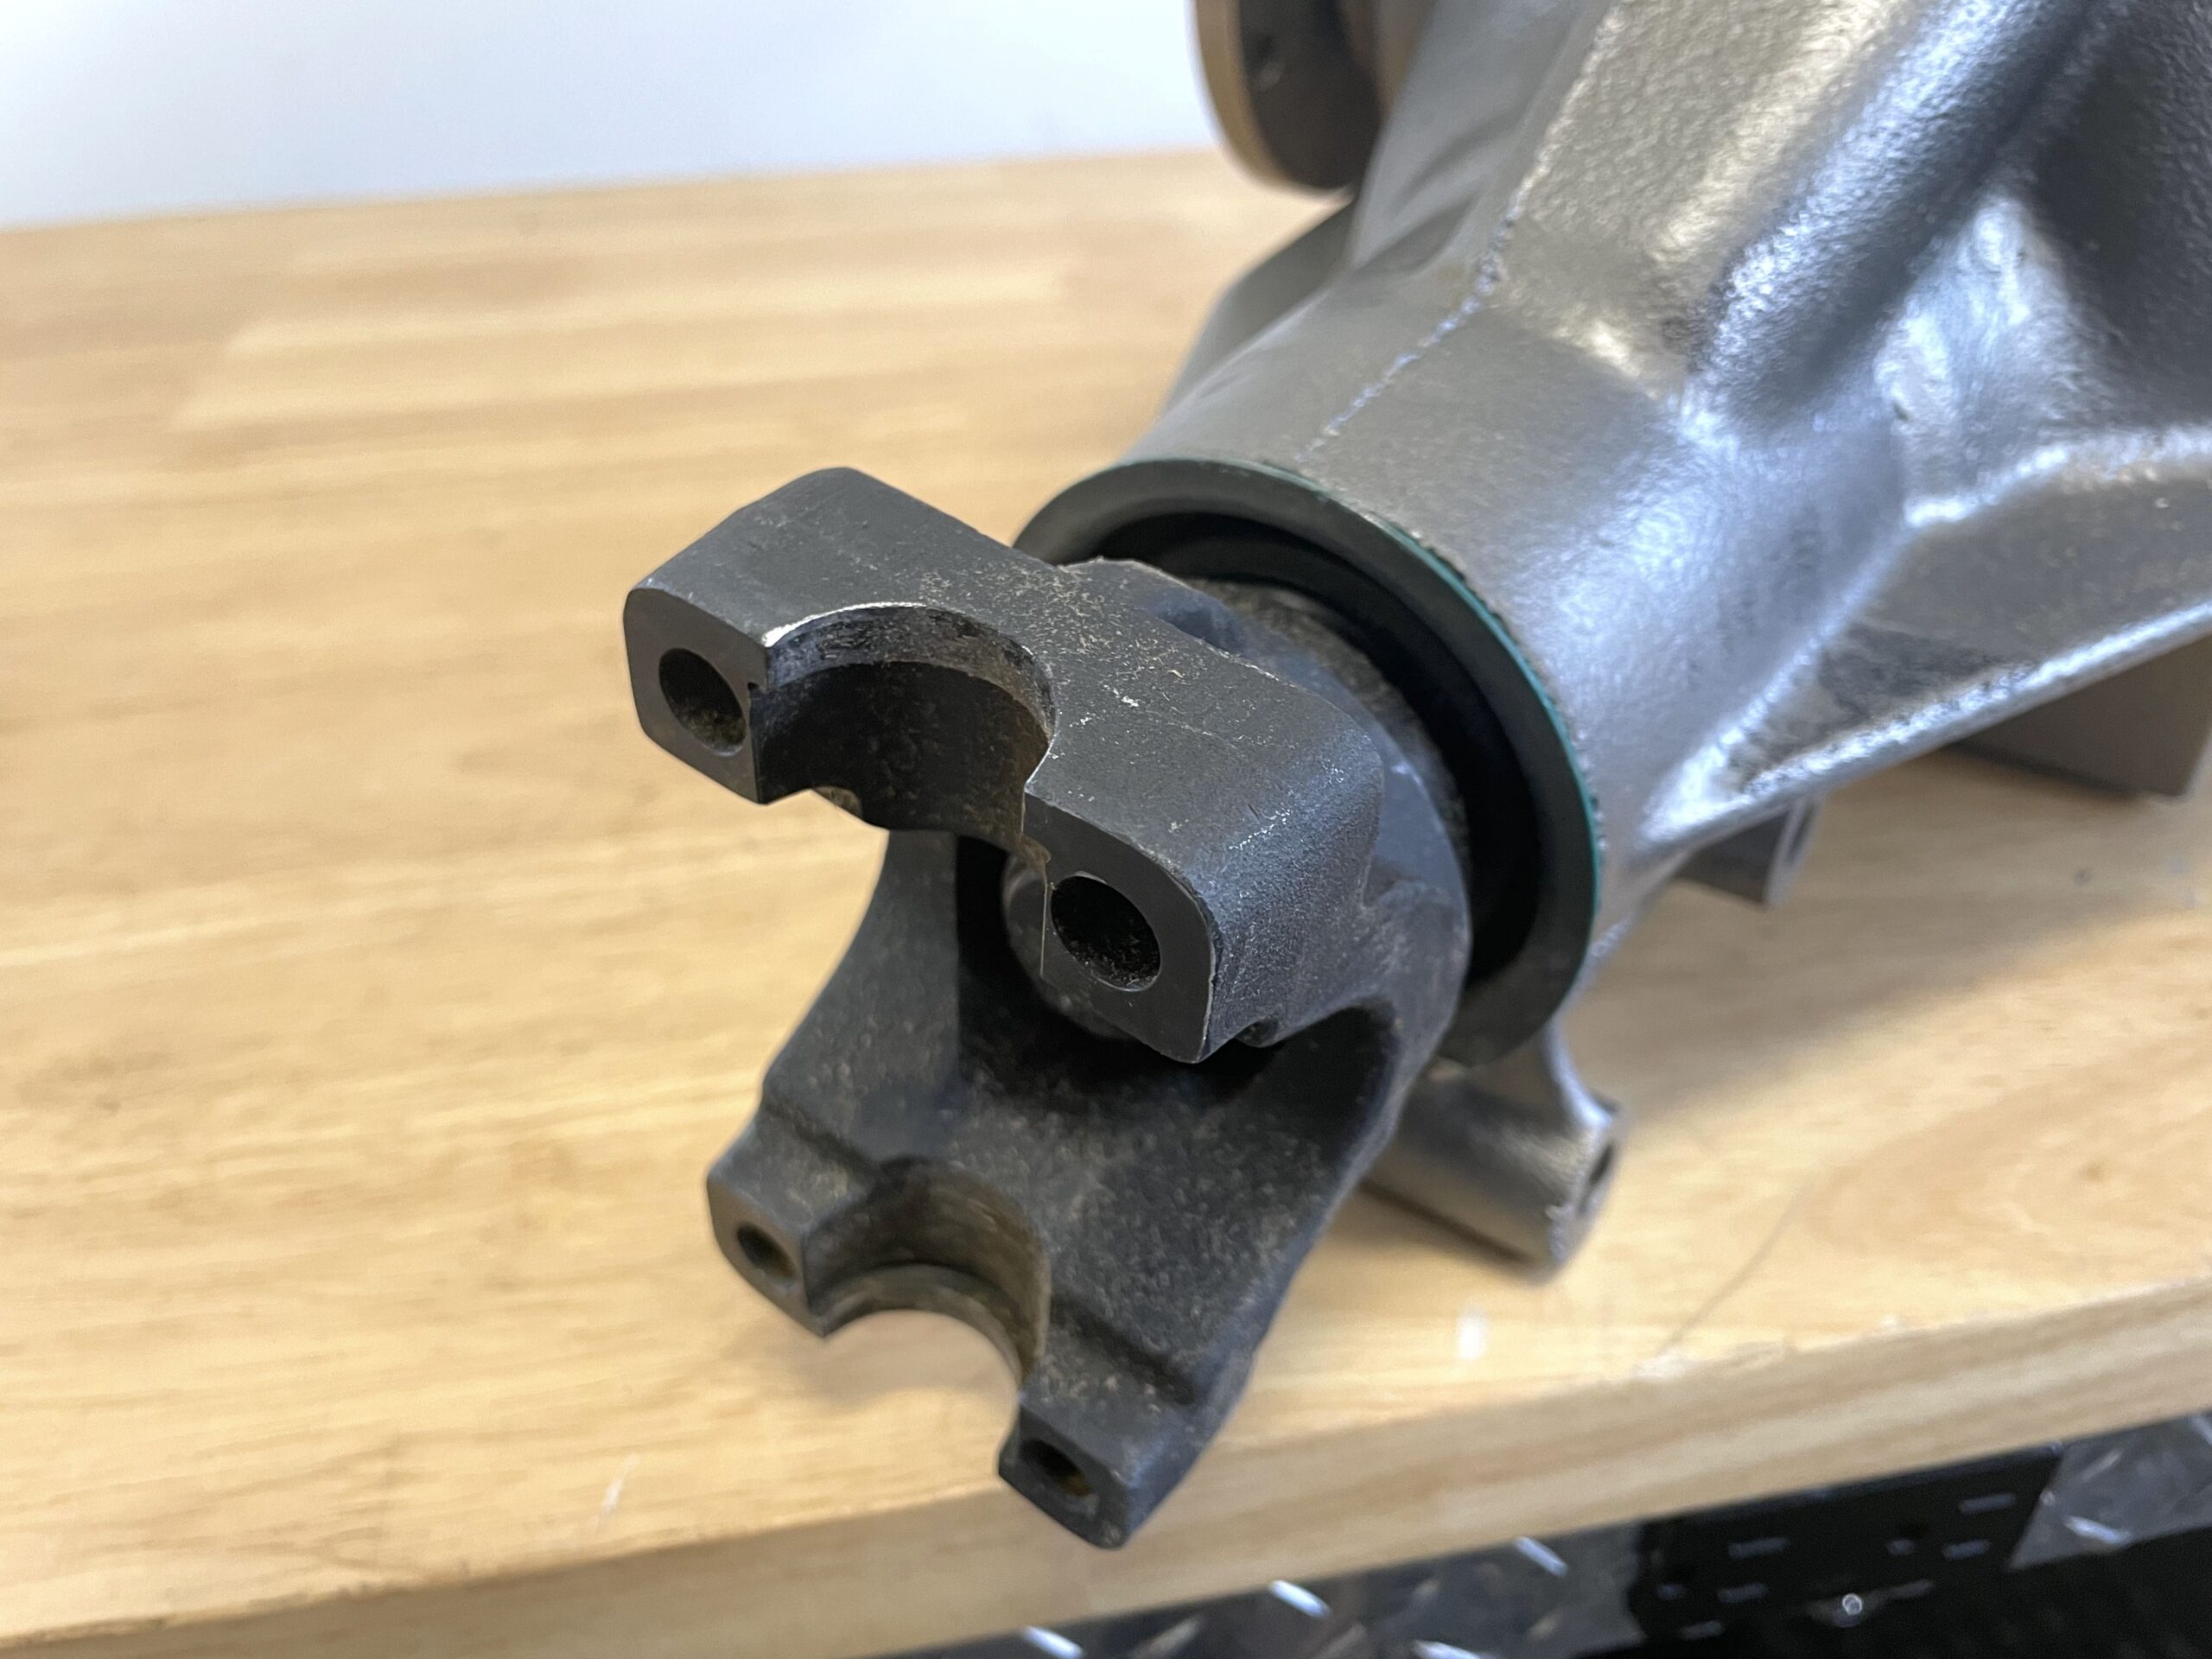
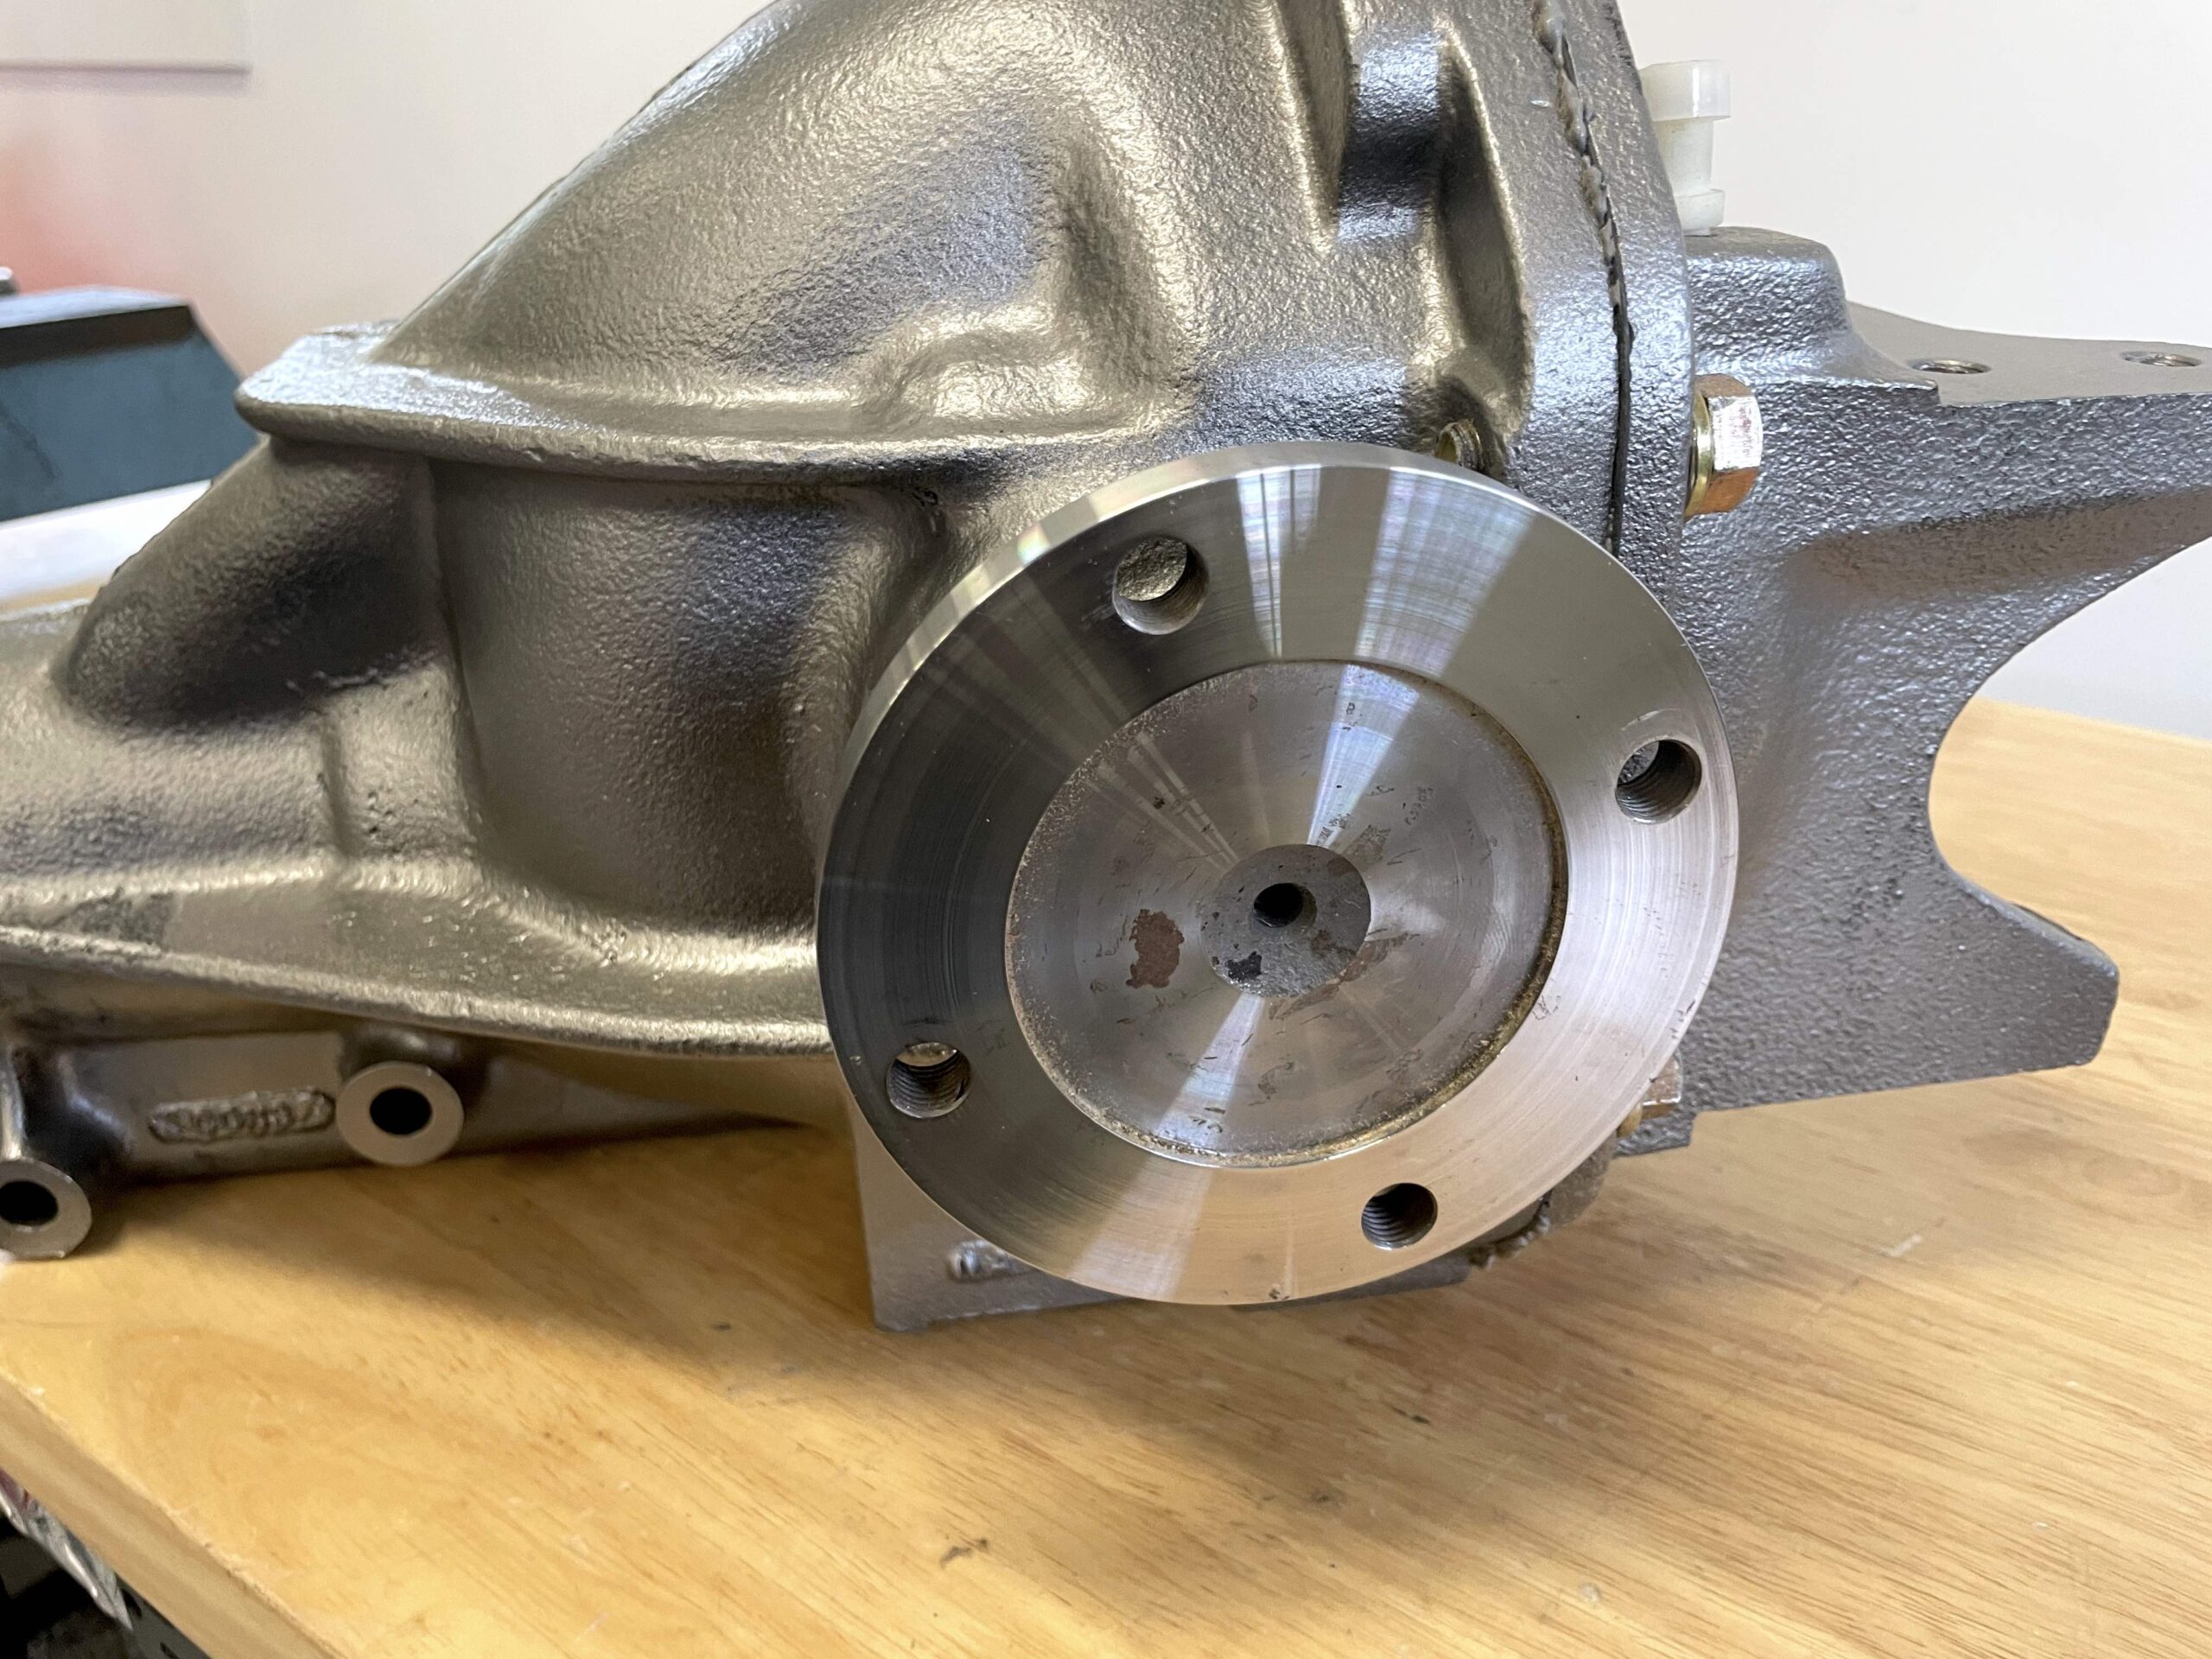
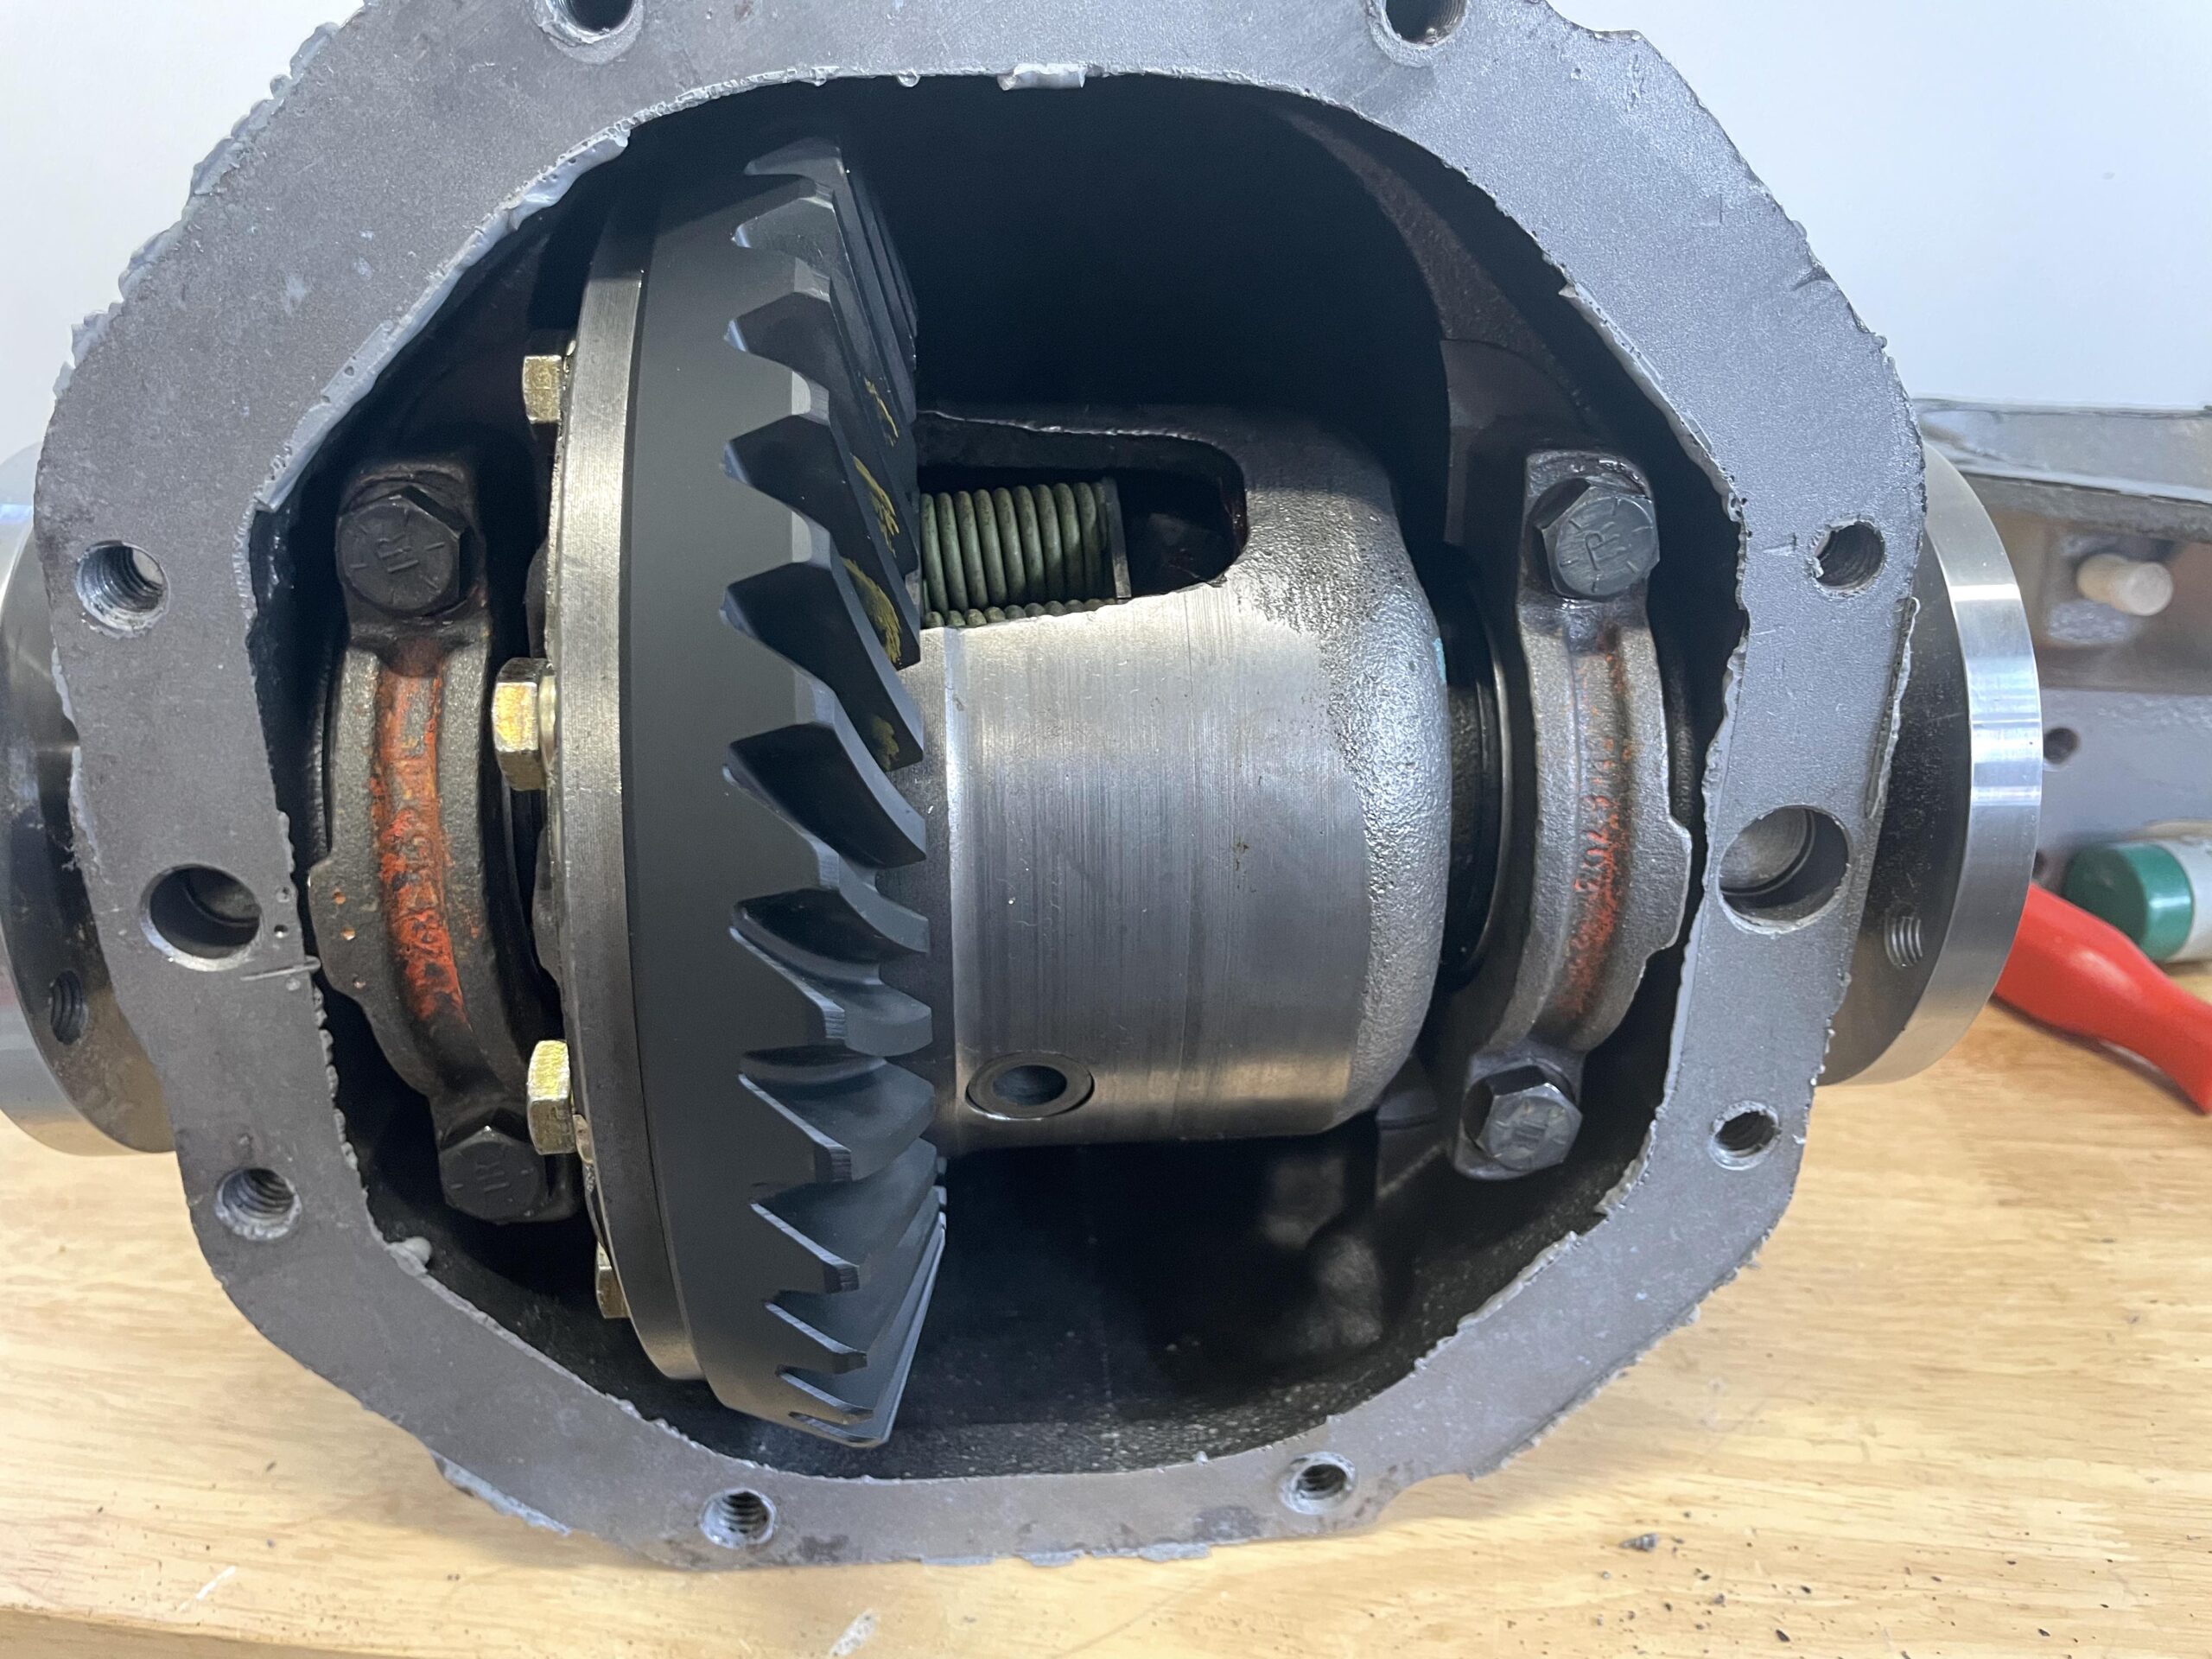
When left you in the last article in the series, we showed how Van Steel (website: www.vansteel.com) stripped the C3 Corvette rear end center section, in preparation for blueprinting along with the install of 30-spline stub axles (Chevy calls them “Side Gear Yokes”). The original stub axles are smaller in overall diameter and make use of 17 splines. Disassembly was pretty much a text book example of how it’s done. Van Steel does, however have some in-house processes that save some time and effort. This time around we’ll look at the extensive clean up and we’ll also look at the machining modifications necessary to install those big flange style stub axles. Here goes: Cleanup of the center section (as well as the positraction assembly) is extensive. These things are often well over fifty years old. Some have never been apart. The first step is a bath in a solvent tank. Next, various pieces are media blasted. The positraction has to be stripped for modifications. And that means the side bearings have to come out. They can be pulled, but Van Steel typically cuts them off using a die grinder and cut off wheel. It’s faster and easier. The new stub axles Van Steel uses (made-in-the-USA) are built with a flange, much the same as the trailing arm side of the rear end. Because of this, two ears on the side of the center section must be removed. There’s a couple of ways to accomplish this, but a small grinding disc on a die grinder makes short work of the job. The housing is cleaned, deburred and detailed. Meanwhile, the empty positraction case must also be modified to accept the much larger 30-spline stub axles. It’s a two-step process (on each side) at a machine shop. But first, the ring gear, carrier bearings, plates, springs and finally clutches must be removed. The bare posi is cleaned and is then chucked in a lathe and centered, using a dial indicator to ensure it is running true prior to any machining operations. Van Steel points out the standard inside diameter of the posi case is approximately 1.247-inches. This must be opened to a diameter of 1.295-inches for the new larger diameter axles, followed by a step cut. The step cut is 0.325-inches deep. Van Steel removing metal at 0.020-inch increments until 0.100-inch of material has been removed. What this means is the positraction case will have a bore size of 1.295-inches and an 0.325-inch step on the outside with a bore size of 1.395-inches. This allows the new side yokes to be pushed in far enough in order to install a set of 12-bolt c-clips during assembly. The final process is to sand or file (deburr) the hard edges from the machining process, followed by another complete cleaning of the posi case. Next up, the positraction unit is assembled, using new friction materials. From there on, the process involves installing the posi along with the setup of the new ring and pinion. Its all pretty standard rear end setup and this point, so we’ll leave it at that. For a closer look, check out the accompanying photos and captions. There’s more to it than you might first think:
Click Here to Begin Slideshow
Leave a Reply