


![[Gallery] Street Rodders for Life Memorial Day Car Show](https://www.racingjunk.com/news/wp-content/uploads/2026/06/Memorial-day-show_0198-376x206.jpg)
![[Gallery] Townsman Car Show](https://www.racingjunk.com/news/wp-content/uploads/2026/05/916_2843-e1780072552171-376x206.jpg)

Bomb Proof Clutch Part 1
Click Here to Begin Slideshow
Talk about clutch linkages in decades past and all of the old guys will nod and smile. When we had pressure plates with ratings that could exceed 3,400 pounds of static pressure (in fact, if you dig around, you might even be able to find pressure plates with that kind of static pressure today), everything would bend. Stock factory clutch linkage would bend by looking at it. As you can well imagine, once the linkage bent (sometimes along with the firewall), grabbing the next gear would become a challenge. Fair enough, but that was then. Today, there are all sorts of multiple disc clutches with low static pressure plates, but there’s still a problem with many mechanical clutch linkage setups.
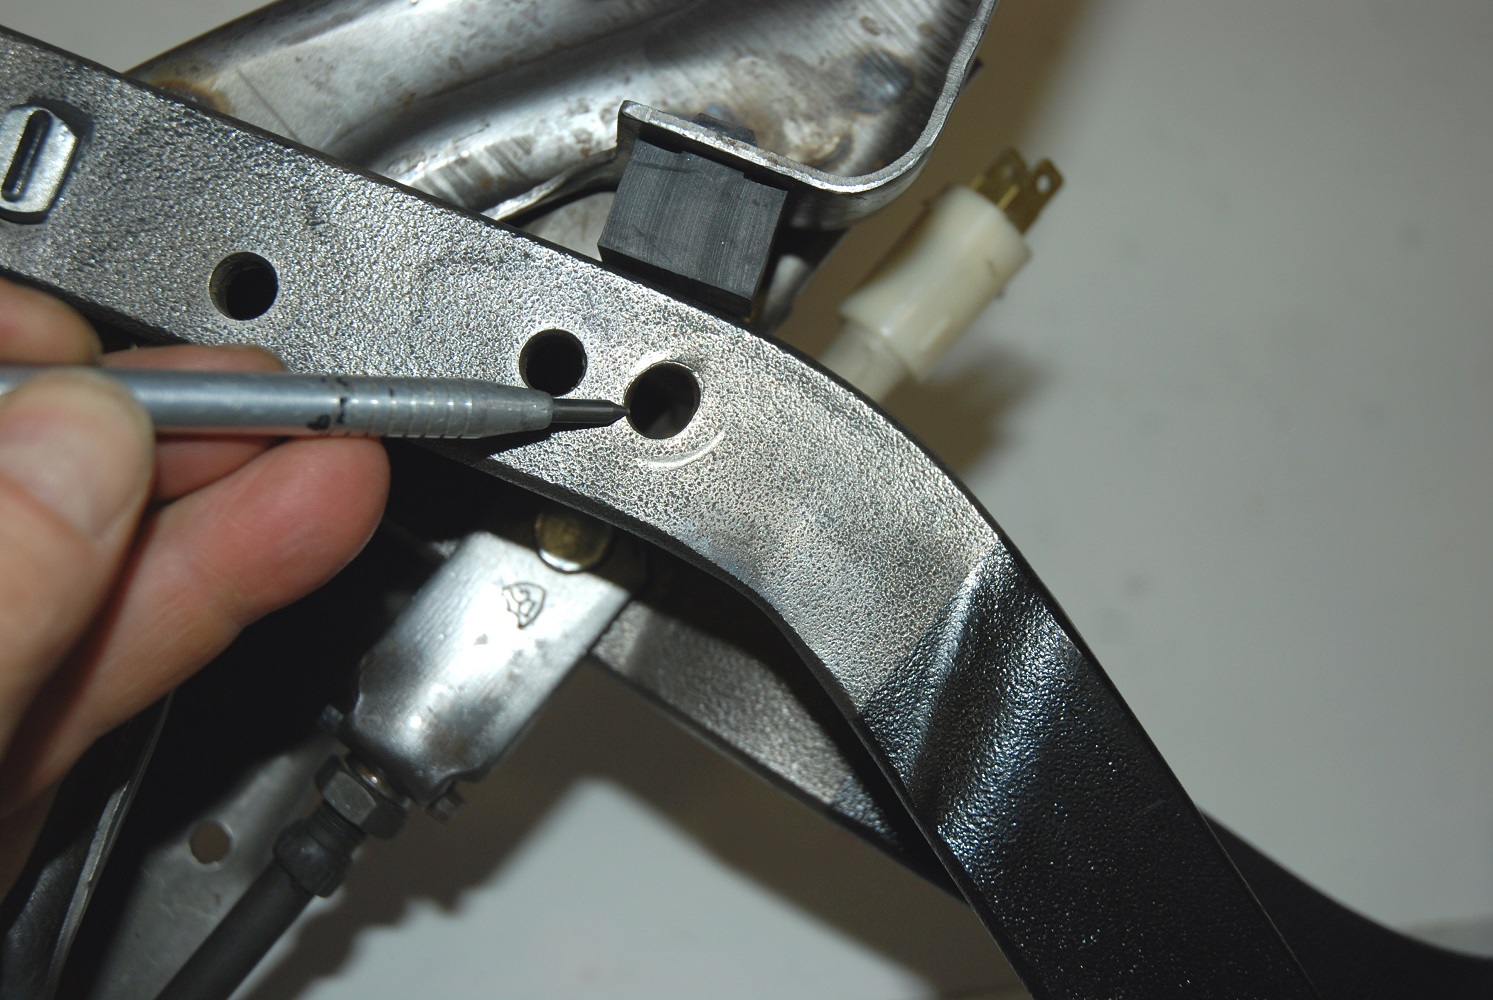
If you examine the mechanical clutch linkage in many cars, you’ll soon discover that the linkage rods are well worn at the pin ends and most (if not all) of the mounting holes in the z-bar and the pedal will be ovaled. The reason is that many of these cars are old and well used. The clutch linkages are beyond their best-before date. Now what?
You can replace the parts. No secret to anyone, we’re sure. Most reproduction parts houses offer a wide array of replacement hardware. There are bits out there to replace z-bars and linkage parts on anything from a ’57 Chevy to a Hemi Cuda. However, simply replacing parts isn’t exactly the ultimate solution. Some of those reproductions really don’t have paramount build quality. If you want a slick action clutch linkage, a better option is to build a heavy-duty linkage setup incorporating rod ends and chrome moly tubing.
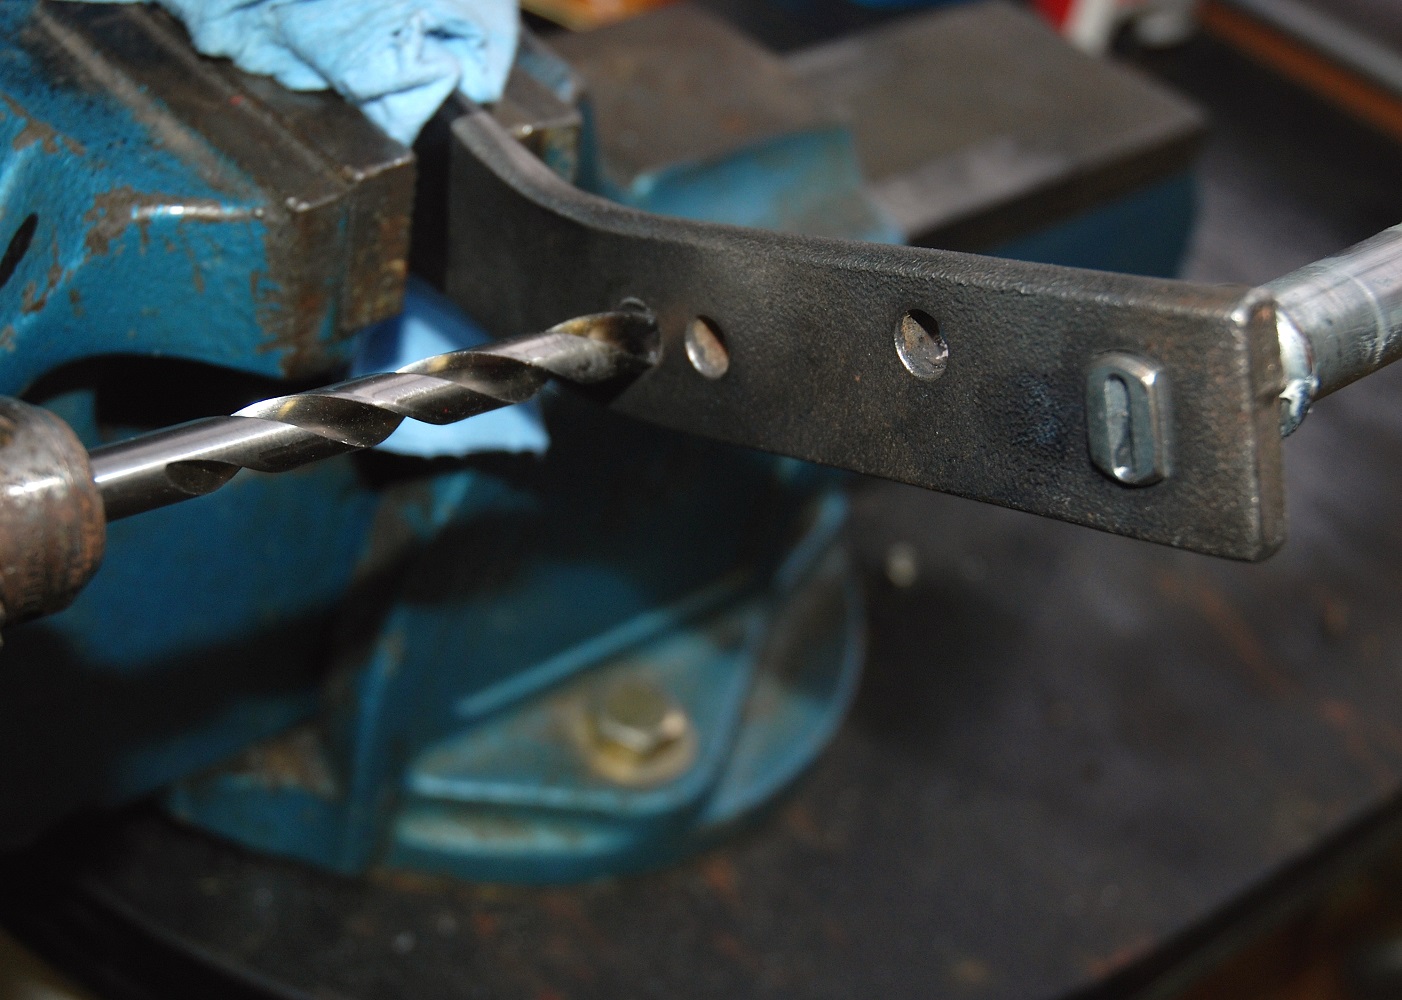
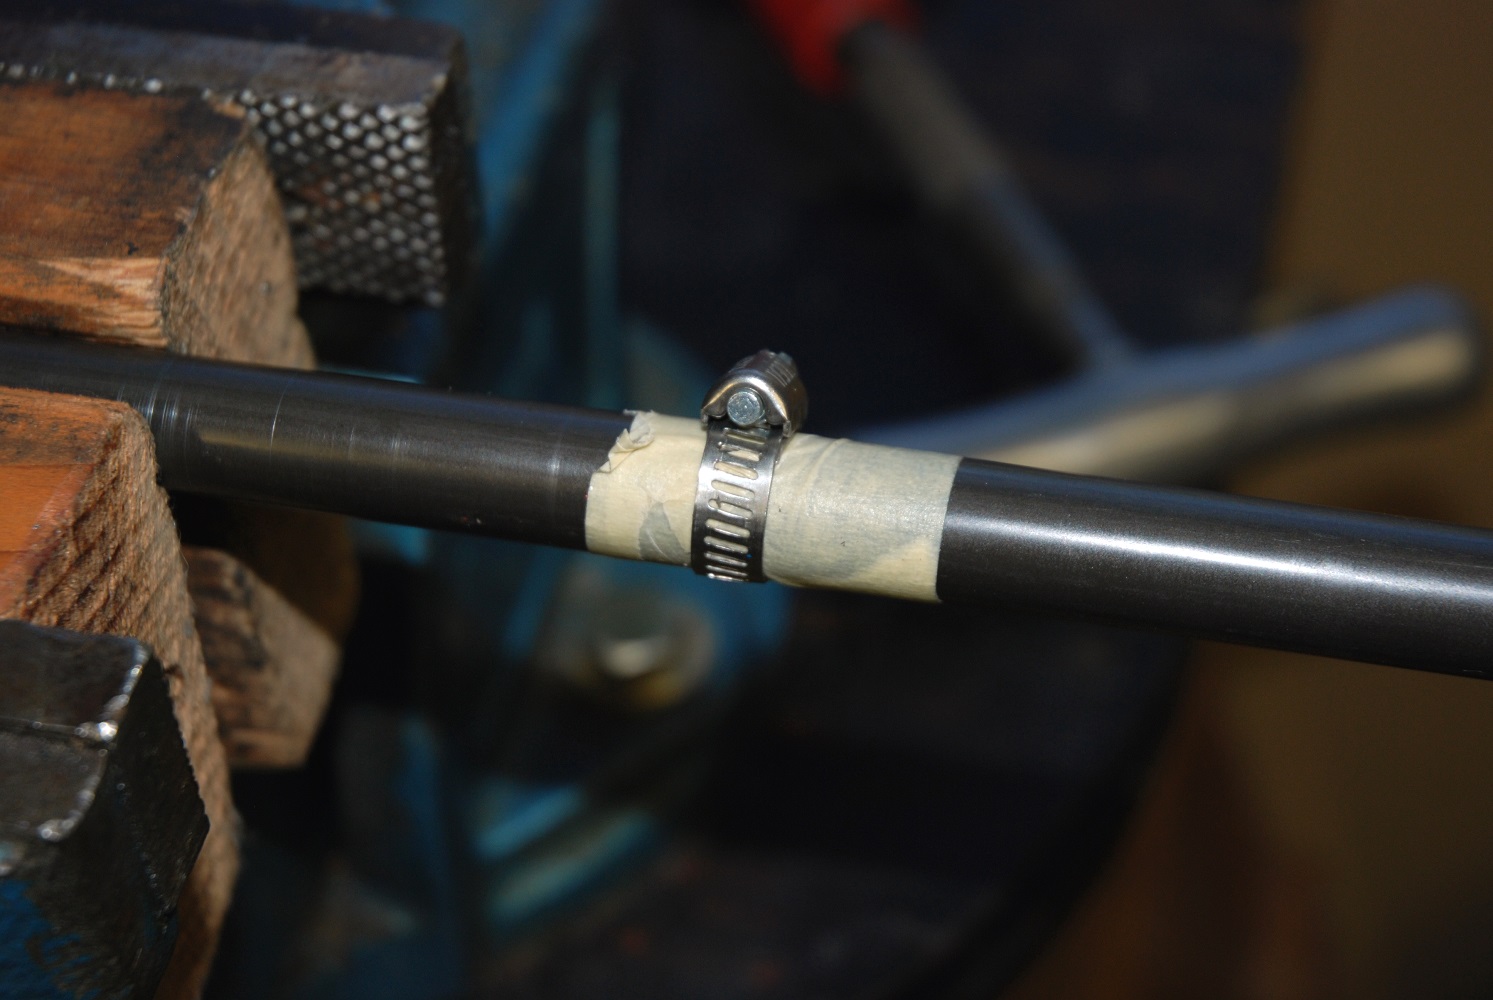
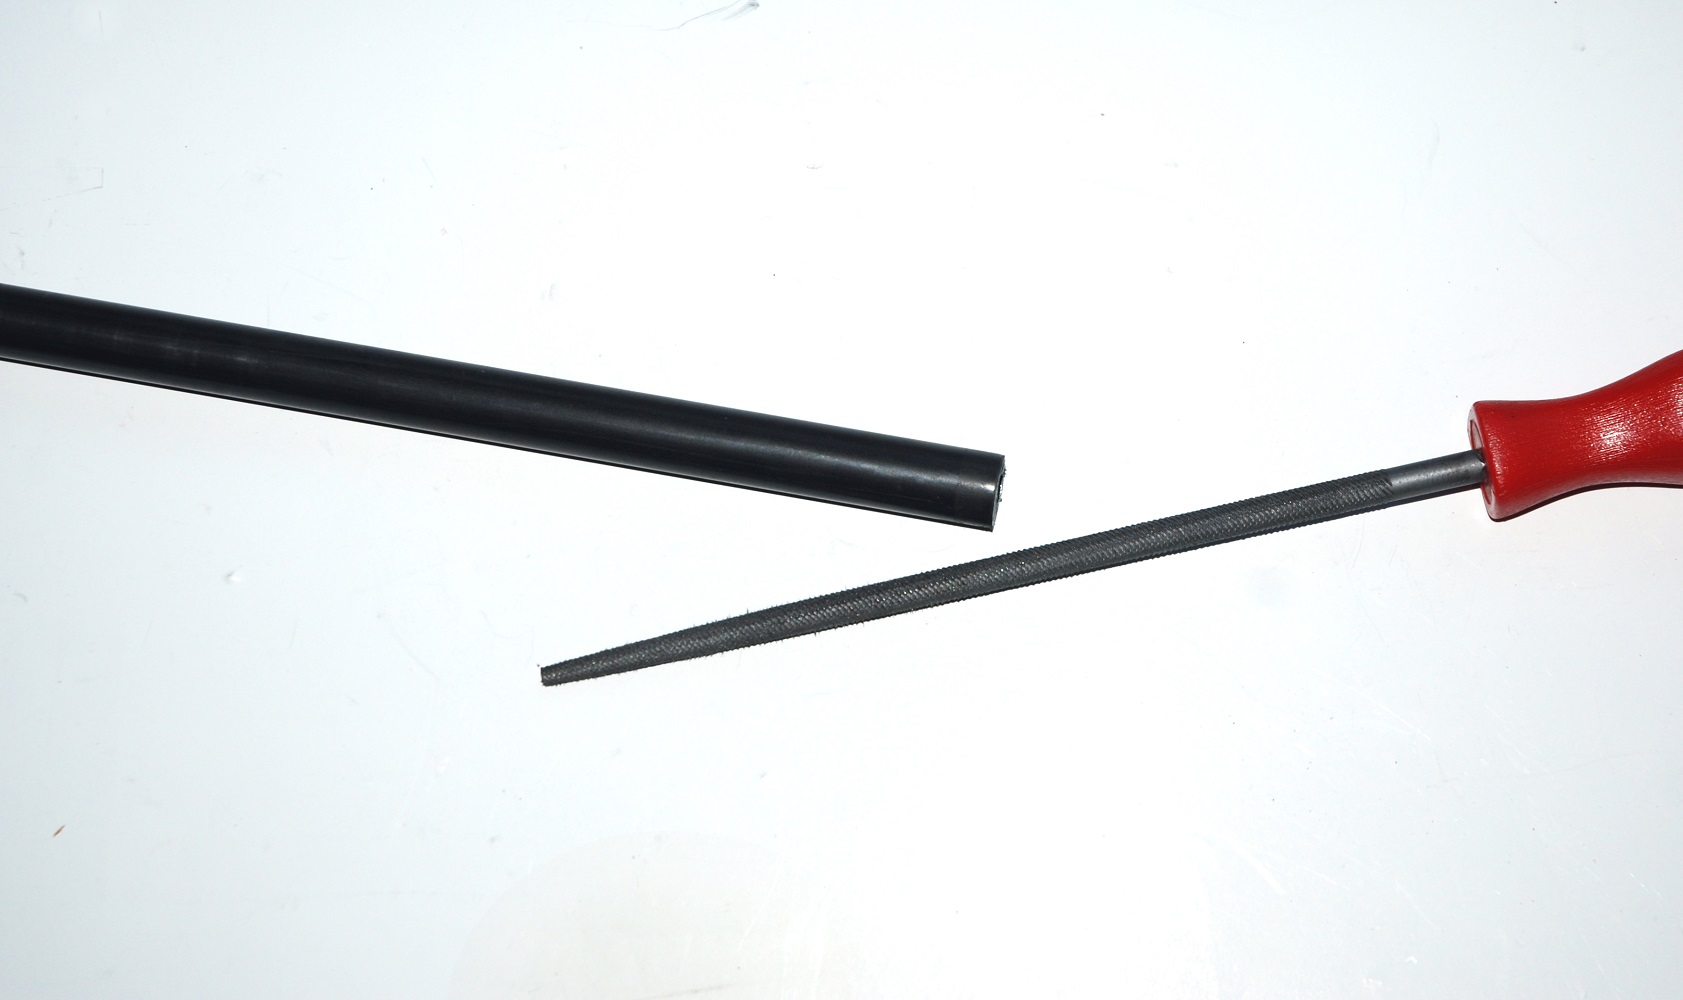
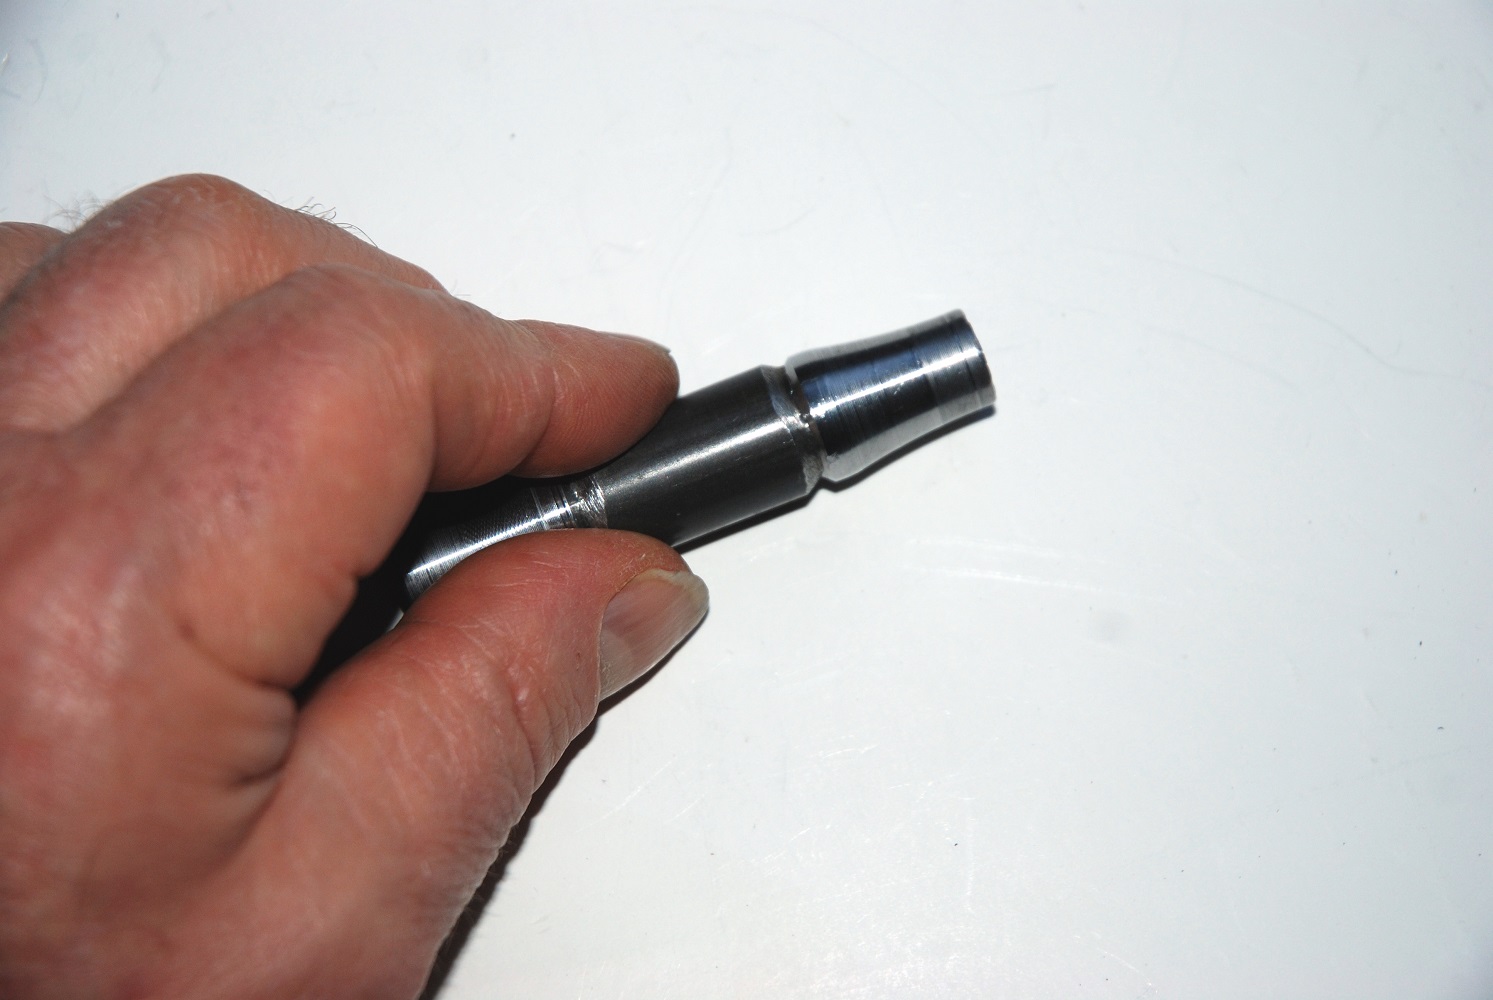
“Old news?” No secret. Plenty of people wrote about this stuff decades ago (us included), but a bunch of important details seem to have gone missing in the translation. For example, the pinholes in a typical GM clutch linkage measure 5/16-inch in diameter. Given some time, that hole diameter becomes oval. Building a clutch linkage with 5/16-inch rod ends won’t help much because the holes the bolts pass through (in the pedal as well as the z-bar) will be sloppy. You’re pretty much forced to move up a size in rod ends. That means you should use a 3/8-inch diameter rod end (not a 5/16-inch job). Drilling out the respective holes in a z-bar or a clutch pedal to 3/8-inch will take out the ovaling. Besides, a 3/8-inch rod end fits the same diameter tubing you’d use for a 5/16-inch rod end (just the tubing adapters are different).
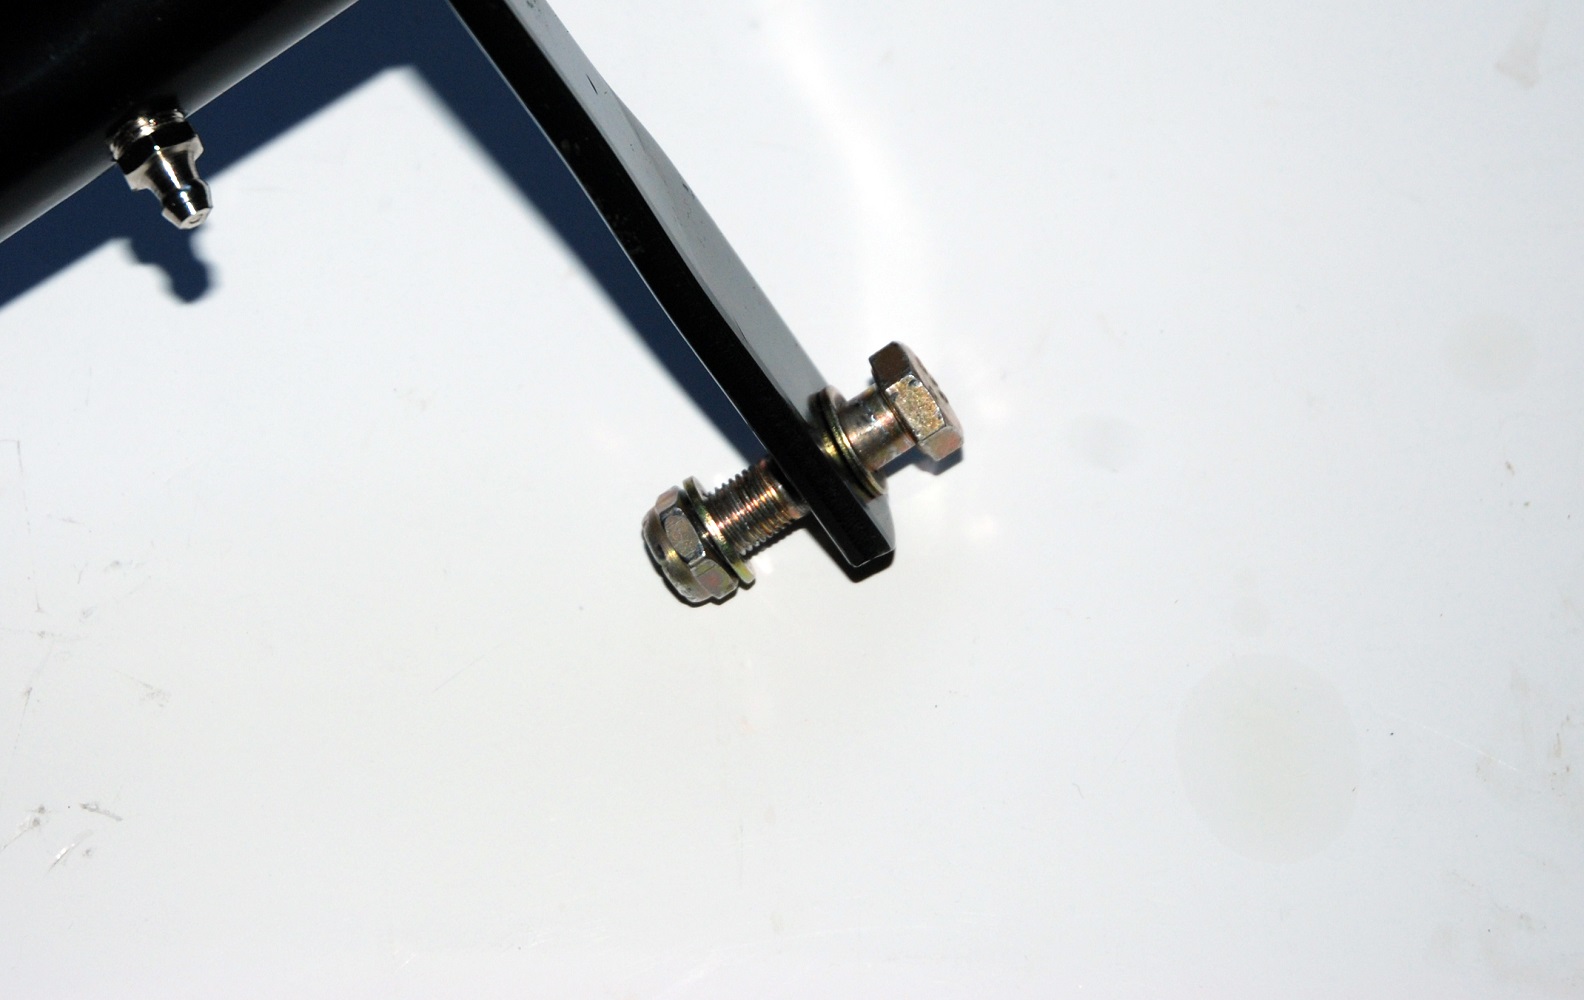
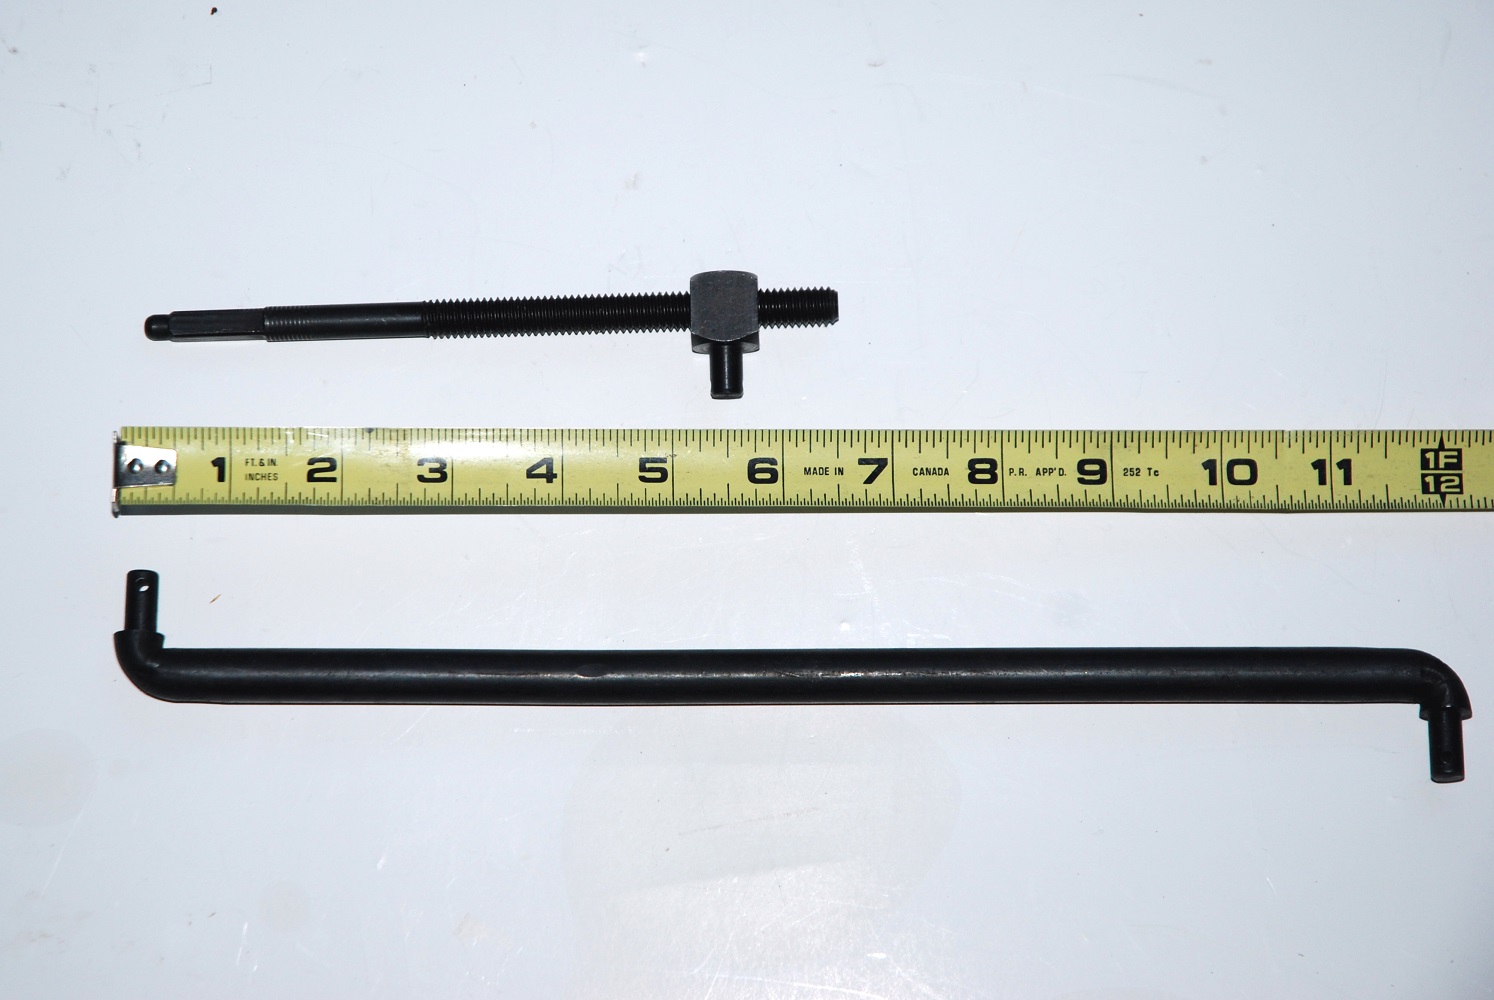
That’s not all: If you go to all of the trouble to fab a linkage (which is also used to adjust the clutch), why not make it easy to work on? If the linkage has all right hand threads, you have to go through the trouble of removing the bolts holding the rod ends in place, turning the linkage in or out, buttoning it back up and checking the gap. If you’re wrong, you have to start all over again. That’s way too much trouble as far as we’re concerned. The solution is to use a left and a right hand thread tubing adapter on each side of the respective linkage pieces instead of using all standard right hand rod ends. With this setup, to adjust the clutch, you simply have to back off the jam nuts on the rod ends and turn the linkage rod one way or another to lengthen or loosen the respective link.
Is it tough to build? Hardly. Here’s the first segment on how to get it done (we’ll finish it up next week).
Talk about clutch linkages in decades past and all of the old guys will nod and smile. When we had pressure plates with ratings that could exceed 3,400 pounds of static pressure (in fact, if you dig around, you might even be able to find pressure plates with that kind of static pressure today), everything would bend. Stock factory clutch linkage would bend by looking at it. As you can well imagine, once the linkage bent (sometimes along with the firewall), grabbing the next gear would become a challenge. Fair enough, but that was then. Today, there are all sorts of multiple disc clutches with low static pressure plates, but there’s still a problem with many mechanical clutch linkage setups.
If you examine the mechanical clutch linkage in many cars, you’ll soon discover that the linkage rods are well worn at the pin ends and most (if not all) of the mounting holes in the z-bar and the pedal will be ovaled. The reason is that many of these cars are old and well used. The clutch linkages are beyond their best-before date. Now what?
You can replace the parts. No secret to anyone, we’re sure. Most reproduction parts houses offer a wide array of replacement hardware. There are bits out there to replace z-bars and linkage parts on anything from a ’57 Chevy to a Hemi Cuda. However, simply replacing parts isn’t exactly the ultimate solution. Some of those reproductions really don’t have paramount build quality. If you want a slick action clutch linkage, a better option is to build a heavy-duty linkage setup incorporating rod ends and chrome moly tubing.
“Old news?” No secret. Plenty of people wrote about this stuff decades ago (us included), but a bunch of important details seem to have gone missing in the translation. For example, the pinholes in a typical GM clutch linkage measure 5/16-inch in diameter. Given some time, that hole diameter becomes oval. Building a clutch linkage with 5/16-inch rod ends won’t help much because the holes the bolts pass through (in the pedal as well as the z-bar) will be sloppy. You’re pretty much forced to move up a size in rod ends. That means you should use a 3/8-inch diameter rod end (not a 5/16-inch job). Drilling out the respective holes in a z-bar or a clutch pedal to 3/8-inch will take out the ovaling. Besides, a 3/8-inch rod end fits the same diameter tubing you’d use for a 5/16-inch rod end (just the tubing adapters are different).
That’s not all: If you go to all of the trouble to fab a linkage (which is also used to adjust the clutch), why not make it easy to work on? If the linkage has all right hand threads, you have to go through the trouble of removing the bolts holding the rod ends in place, turning the linkage in or out, buttoning it back up and checking the gap. If you’re wrong, you have to start all over again. That’s way too much trouble as far as we’re concerned. The solution is to use a left and a right hand thread tubing adapter on each side of the respective linkage pieces instead of using all standard right hand rod ends. With this setup, to adjust the clutch, you simply have to back off the jam nuts on the rod ends and turn the linkage rod one way or another to lengthen or loosen the respective link.
Is it tough to build? Hardly. Here’s the first segment on how to get it done (we’ll finish it up next week).
It’s called an explosion proof clutch, not a bomb proof clutch. There is a huge difference between those two words.