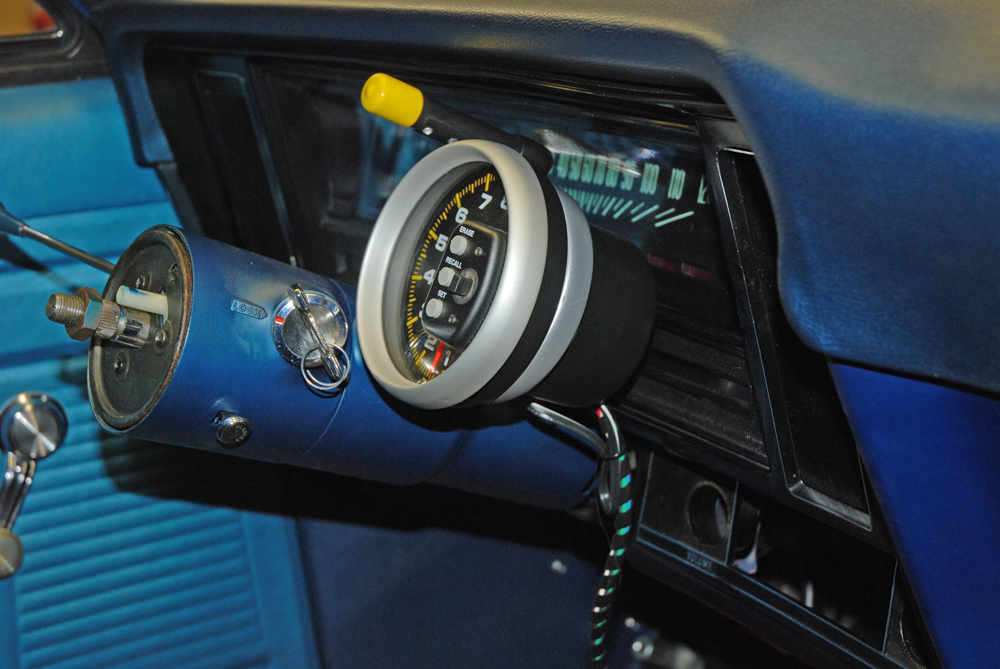
In the last couple of issues (Part I and Part II), we looked at different tachometers- vintage and modern. Both actually come with one major dilemma: Where do you mount it in your car?
Of course, just like real estate, location (of the tach) is everything. The old “on the column” arrangement might be bad news to some, but with a tach such as an AutoMeter Monster with a huge five-inch face (and a shift light), it’s hard to miss. Another location option is right on the dash. You certainly can’t miss it! We’ve even had cars where the tach mount was integrated into the roll cage (one where the tach mount was on the left front down tube and another where a bracket was mounted to the forward firewall brace – here the bracket came up through the OEM defroster vent). Depending upon the car, any of these locations will work. But the real dilemma is your view of the Christmas tree with you plugged into the driver’s seat. You have to remember that the car can be in either lane. In some mount situations. it’s likely impossible to see the tree with the tach mounted to the right. In others, it’s impossible to see the tree with the tach mounted to the left. What you have to do is to try different mount locations with your tach in your car with you sitting in the pilot’s seat.
In our case, we checked multiple locations for an AutoMeter Monster tach in our 1970 Nova, finally settling on a spot on the steering column. It looked right and we couldn’t miss it (or the shift light staring us in the face). Fair enough. But fitting it on the column wasn’t quite as easy as it might look. You see, the clearance between the back of the Monster and the ignition switch was tight (actually very tight). The car was originally a three-on-the-tree job. As a result, it was fitted with a shifter boss on the column. It had to clear the shifter boss or we’d have to scrounge up a steering column collar without the boss. Or did we?
A light bulb went off: Why not convert the old shifter boss into a mount for the tach. Yet another “more difficult than it looks” scenario. Here’s how we did it:


Leave a Reply