


If you peel back the electronic pages of this series thus far, you’ll find we’ve taken a good hard look at both the split mono leaf springs as well as the actual traction bars found in the Cal Tracs’ suspension “system”. Obviously, shock absorbers are a big part of any drag race suspension. And there is a simple truth in making a fast street car or any other small tire car work: shock absorbers are the key. The reason for this is equally simple: If you can control the wheel motion, then you can control the dynamics of the car. The better the control of the wheel motion, then the better the control of the dynamics of the entire car. Interpretation? In the world of the drag racer, this boils down to refined “hook”. It also means your tuning capabilities are amplified many fold.
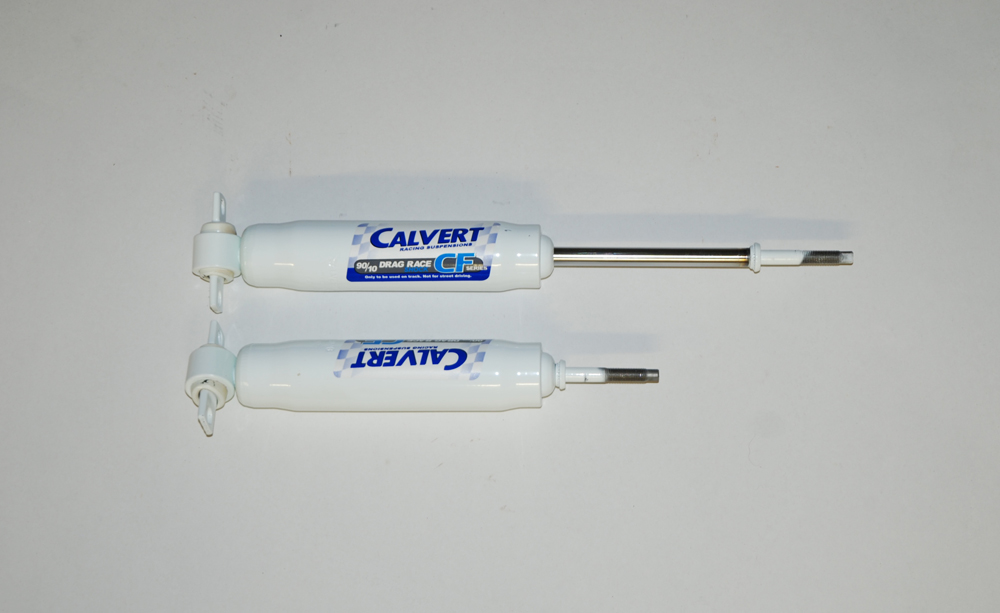
Fair enough, but what shocks do you need? We queried our friends at Classic Industries and they suggested we continue with the Cal Trac system. Fair enough, but where the Cal Trac shocks differ from most is in the front end. Today, multiple adjustable shock absorbers are pretty much the norm, but the Cal Tracs setup is a throwback to the old days of drag racing: They use a non-adjustable 90-10 shock on the nose. But these aren’t exactly your father’s old 90-10’s. Classic Industries points out these shock absorbers were specifically designed to work with the Cal Tracs suspension package. The separation of the shock is extremely quick. That allows the nose to rise rapidly. The front shock makes use of dual stage valving on the compression side, which, unlike 90-10’s of old, allow the nose of the car to settle on the top end of the track. The body of the shock is slightly larger than stock, and in some cases, the opening in the lower control arm might need some trimming. Also, you might have to open the bottom tie bar up with a slot rather than a hole for each side of the mount. It’s no big deal and only consumes a few minutes of time. Other than that, these shock absorbers are bolt in, and obviously, no adjustment is needed (or available).
On the back end of the car, things are a bit different. Here, the Cal Tracs shock package recommended by Classic Industries is a 9-way single adjustable package. The adjustment dial, located on the lower shock body primarily adjusts the shock rebound. Let’s stop for a minute: What’s rebound? A shock absorber travels in two directions: It gets shorter (compresses) and it gets longer (extends). Some shock absorber manufacturers call this “bump” and “rebound”, but that can get confusing. To get a grasp of what this is all about, pretend that you drive your car over a good old-fashioned speed bump. The speed bump “bumps” the shock, which in turn compresses it. After you drive over the speed bump, the shock rebounds and extends. As mentioned above, since the Cal Tracs shock is a single adjustable job, it is only (primarily) adjustable on the rebound. There is no compression adjuster.
So where do you begin with adjustment? In the next issue, we’ll dig deep into adjusting the entire Cal Tracs setup, but in the meantime, Classic Industries offers these baseline-setting suggestions for the rear shocks:
First, turn the adjustment knob fully counter clockwise until it reaches the 1/9 setting on this indicator. This is setting #1. FYI, Clockwise is firmer. Counter clockwise is softer. The firmest setting is one full clockwise revolution of the adjuster from the softest setting.
For street use, the knob should be set in the range of #2 to #5 on the dial. If you have an automatic transmission application, and you foot brake the car at the track, you’ll need a firmer setting. The setting here should be in the range of #6 to #9. If you use a transmission brake (or have a stick), it’s best to start with softer settings. The recommended range here is usually between #1 and #3 on the adjuster.
Essentially, the above should provide you with a baseline for performance. You’ll have to experiment with the shocks to get the setting you need, simply because each car, each tire combination, and each track will be different.
Next issue, we’ll look at how to tune the entire package. Watch for it.


Leave a Reply