

![[Gallery] 3rd. Annual Father's Day Classic Car Show](https://www.racingjunk.com/news/wp-content/uploads/2026/07/Calistoga-2026-18-scaled-e1783026475349-376x206.jpg)

![[Gallery] Blackhawk Museum Stop Over](https://www.racingjunk.com/news/wp-content/uploads/2026/06/DSC_0918-e1782449621944-376x206.jpg)
Body Piercing Part 1: Removing Some Of The Pain
Click Here to Begin Slideshow
Piercing body panels for trim (emblems, moldings, etc.) – how can hard can it be? That’s something that a person in my station in life doesn’t really look forward to (or relish). I’m allergic to pain. And hey, I’m not talking about flesh here. I’m referring to sheet metal. You see, in the course of a restoration (or actually, any different sort of car build), either you or your body and fender man is often faced with the dilemma of drilling holes in pristine sheetmetal. Make a mistake and you’ll be figuring out ways to fill and finish holes (personally, I’d rather go to the dentist).
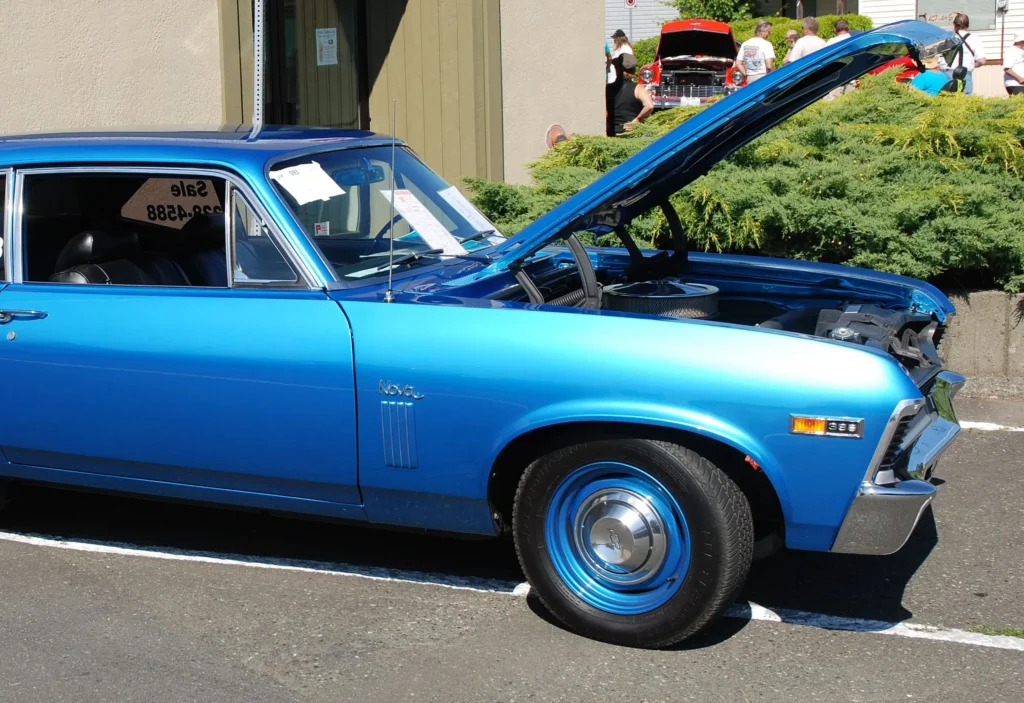
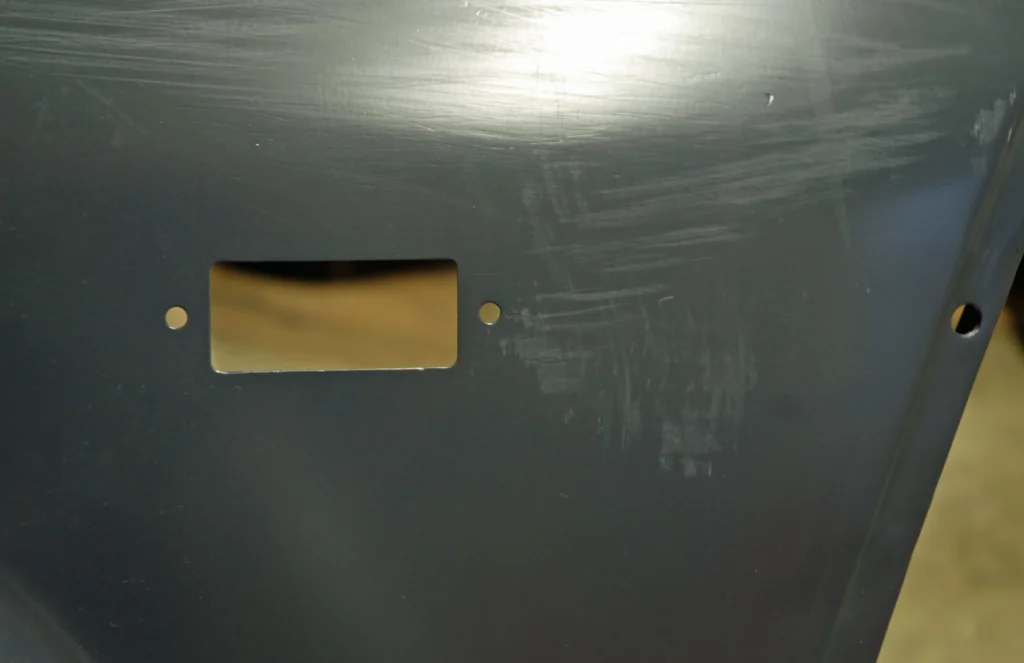
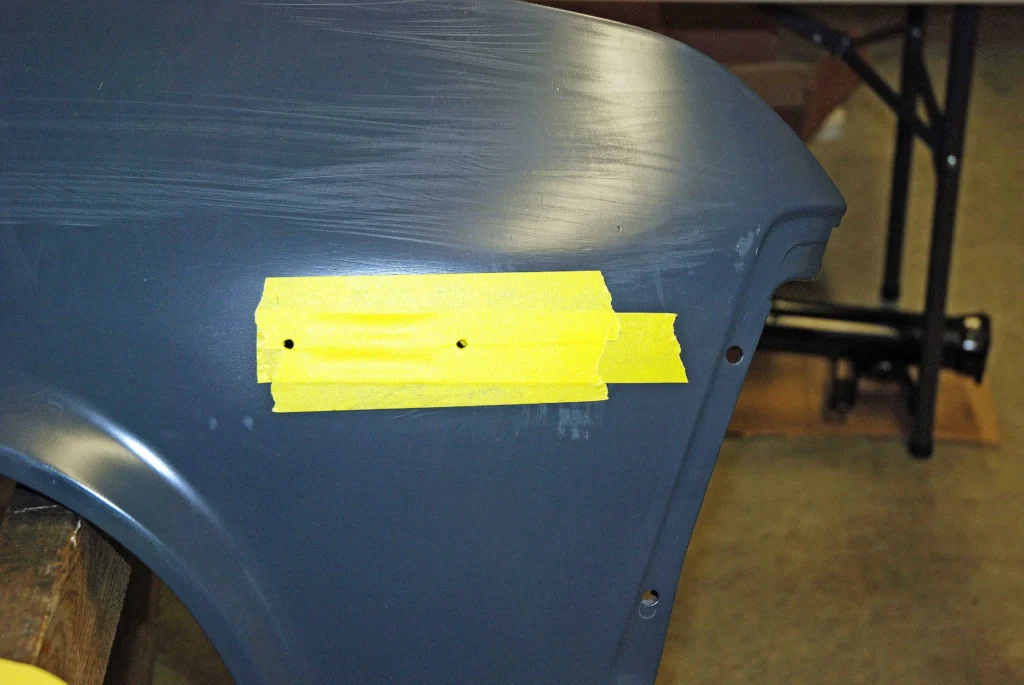
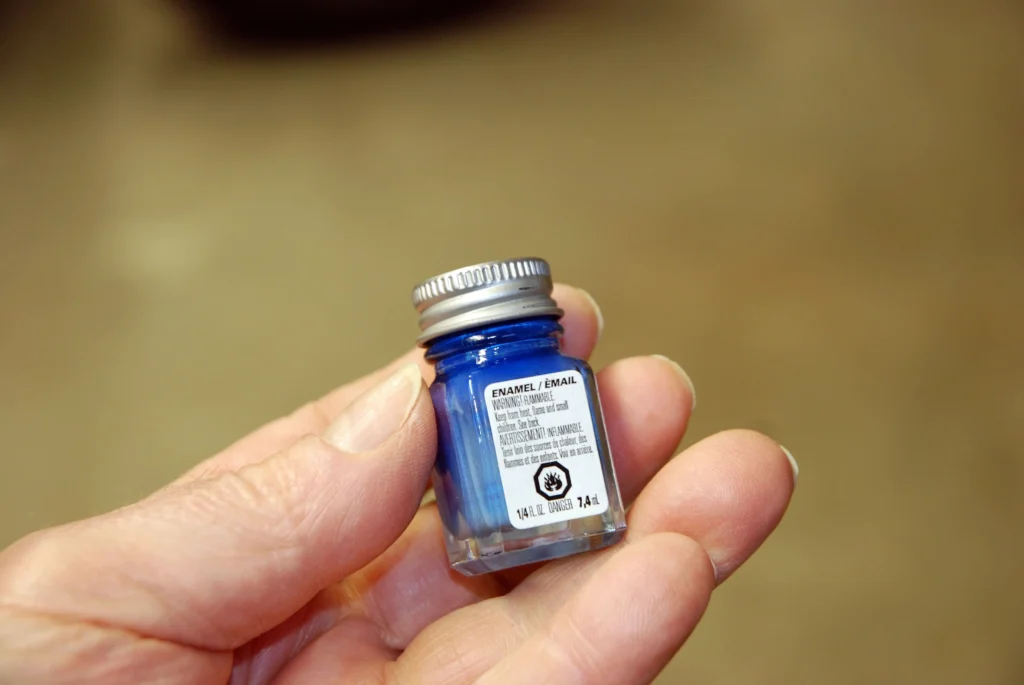
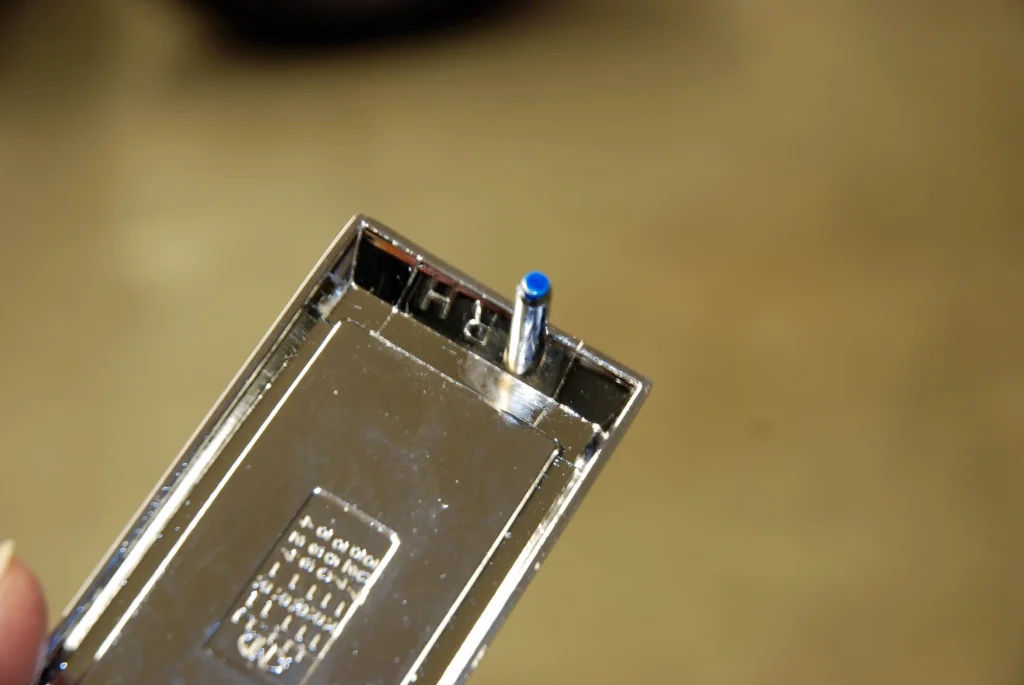
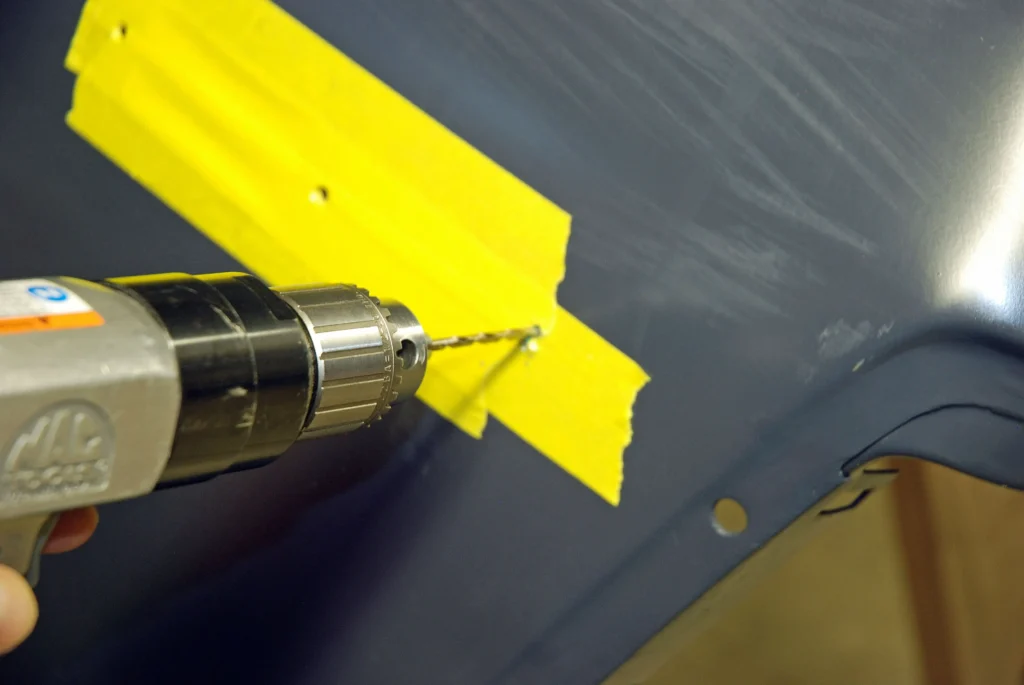
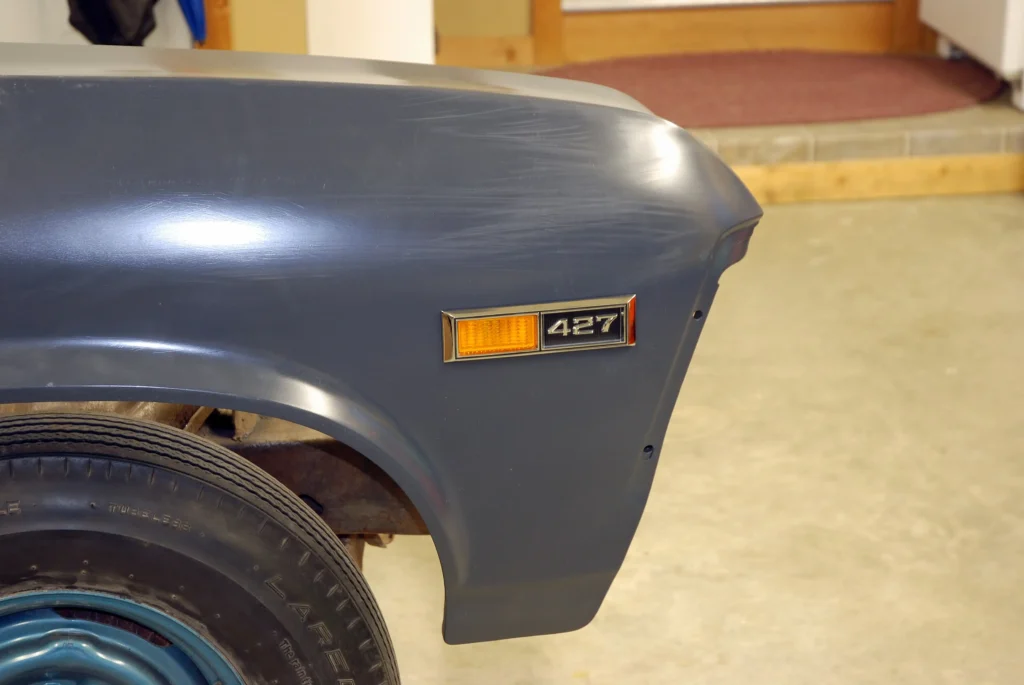
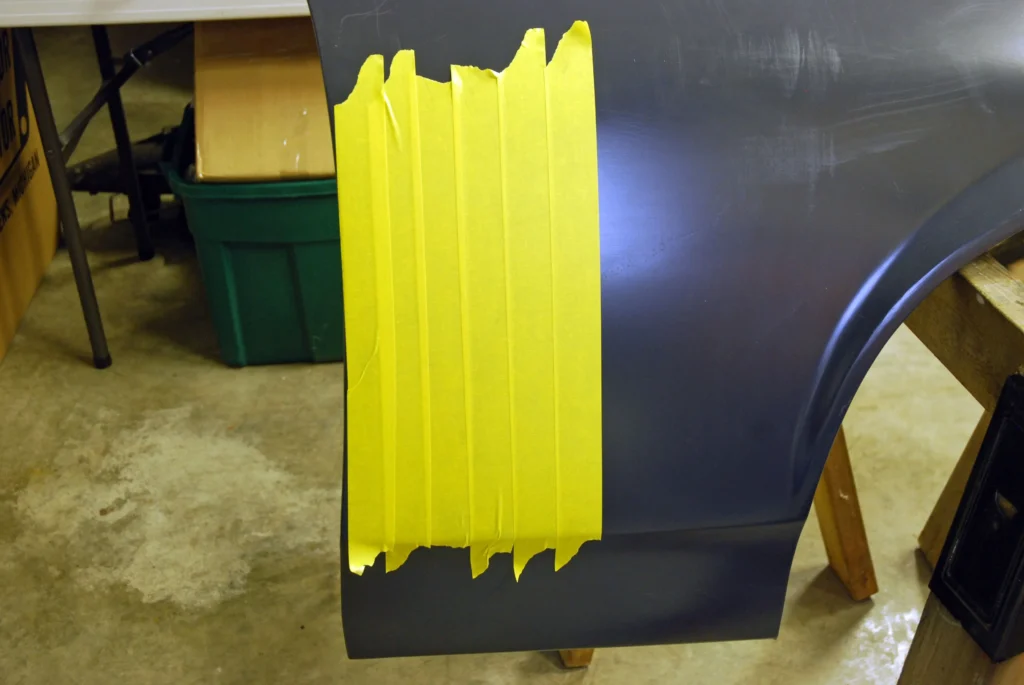
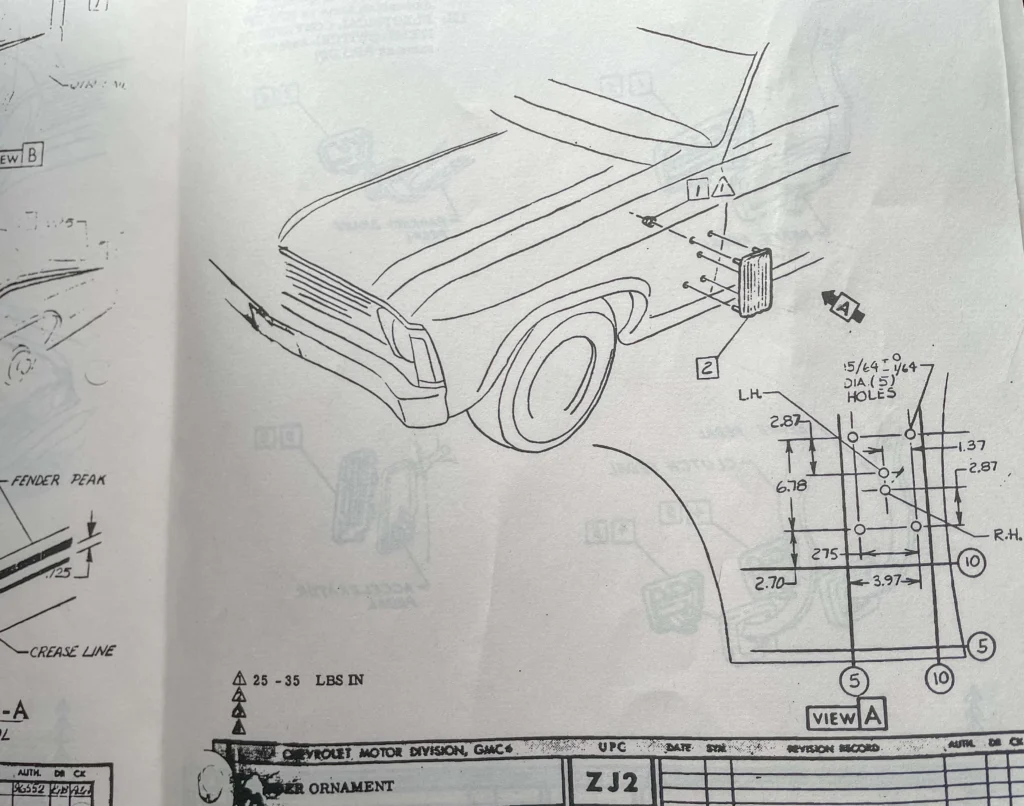
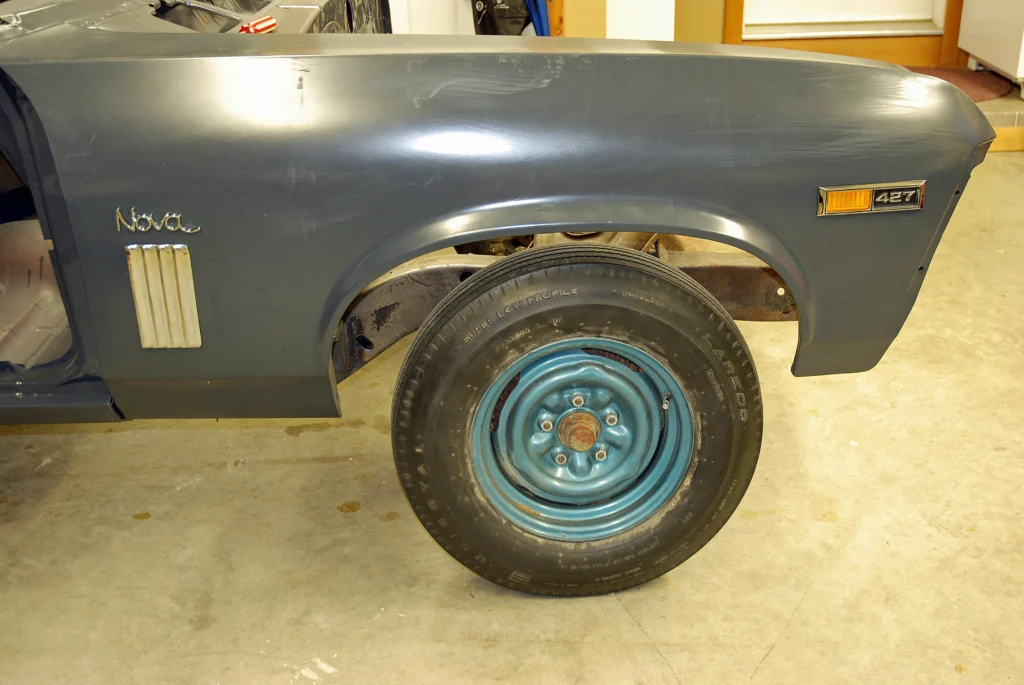
Compounding the problem is the fact replacement sheetmetal usually doesn’t have all of the holes drilled. The same applies to OEM (NOS or vintage) tin. Case in point is the Nova shown in the accompanying photos. The right front fender was an original Chevy piece, but it was from another Nova. It didn’t have the appropriate holes necessary to install the complete side marker lamp bezel. Further back on the fender, the idea was to convert the flanks to accept SS louvers. The holes weren’t drilled for those either. And out back, the plan was to install an SS tail panel (the rear “grille” beneath the decklid). Each of those pieces needed holes drilled. I wasn’t exactly anxious to drag out the air drill but at the same moment paying body shop rates to have holes drilled didn’t seem too appealing either. The solution? Bite the bullet and figure out how to do it myself. Here’s how it went down (and honestly, the pain sure could have been worse). By the way, this article is split into two parts. We’ll show part two down the road:
Click Here to Begin Slideshow
Piercing body panels for trim (emblems, moldings, etc.) – how can hard can it be? That’s something that a person in my station in life doesn’t really look forward to (or relish). I’m allergic to pain. And hey, I’m not talking about flesh here. I’m referring to sheet metal. You see, in the course of a restoration (or actually, any different sort of car build), either you or your body and fender man is often faced with the dilemma of drilling holes in pristine sheetmetal. Make a mistake and you’ll be figuring out ways to fill and finish holes (personally, I’d rather go to the dentist).
Compounding the problem is the fact replacement sheetmetal usually doesn’t have all of the holes drilled. The same applies to OEM (NOS or vintage) tin. Case in point is the Nova shown in the accompanying photos. The right front fender was an original Chevy piece, but it was from another Nova. It didn’t have the appropriate holes necessary to install the complete side marker lamp bezel. Further back on the fender, the idea was to convert the flanks to accept SS louvers. The holes weren’t drilled for those either. And out back, the plan was to install an SS tail panel (the rear “grille” beneath the decklid). Each of those pieces needed holes drilled. I wasn’t exactly anxious to drag out the air drill but at the same moment paying body shop rates to have holes drilled didn’t seem too appealing either. The solution? Bite the bullet and figure out how to do it myself. Here’s how it went down (and honestly, the pain sure could have been worse). By the way, this article is split into two parts. We’ll show part two down the road:
Click Here to Begin Slideshow
Leave a Reply