


![[Gallery] The Last Hot Rod Fall Out XX](https://www.racingjunk.com/news/wp-content/uploads/2026/04/DSC_8368-e1776446464704-376x206.jpg)

Tech Tips: Shop Floor Wisdom for Your GM Muscle Car Part 1
Click Here to Begin Slideshow
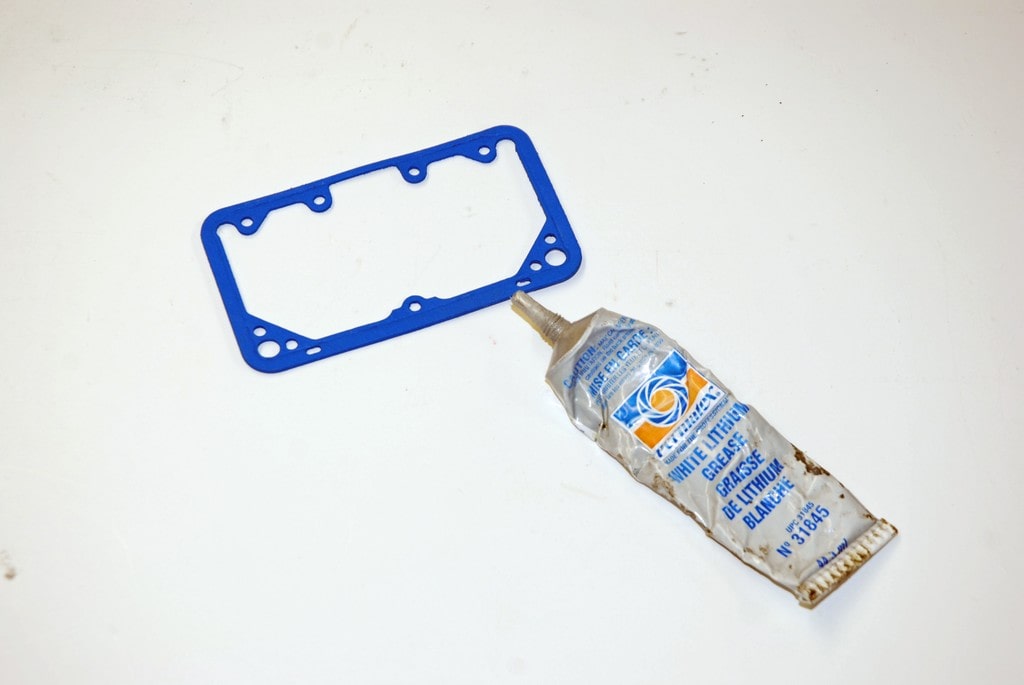
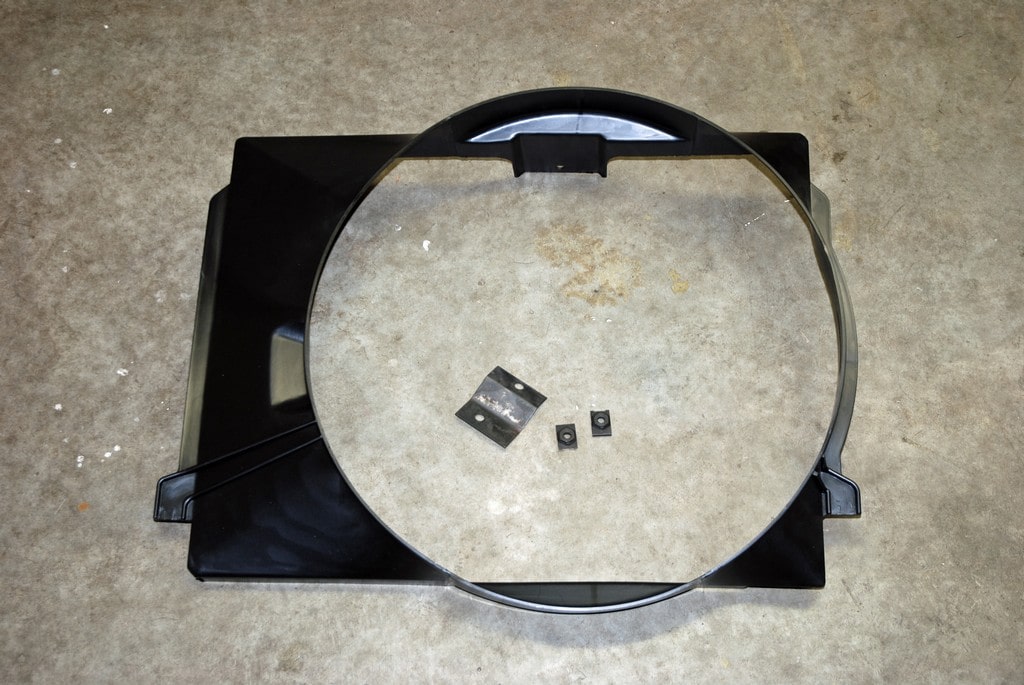
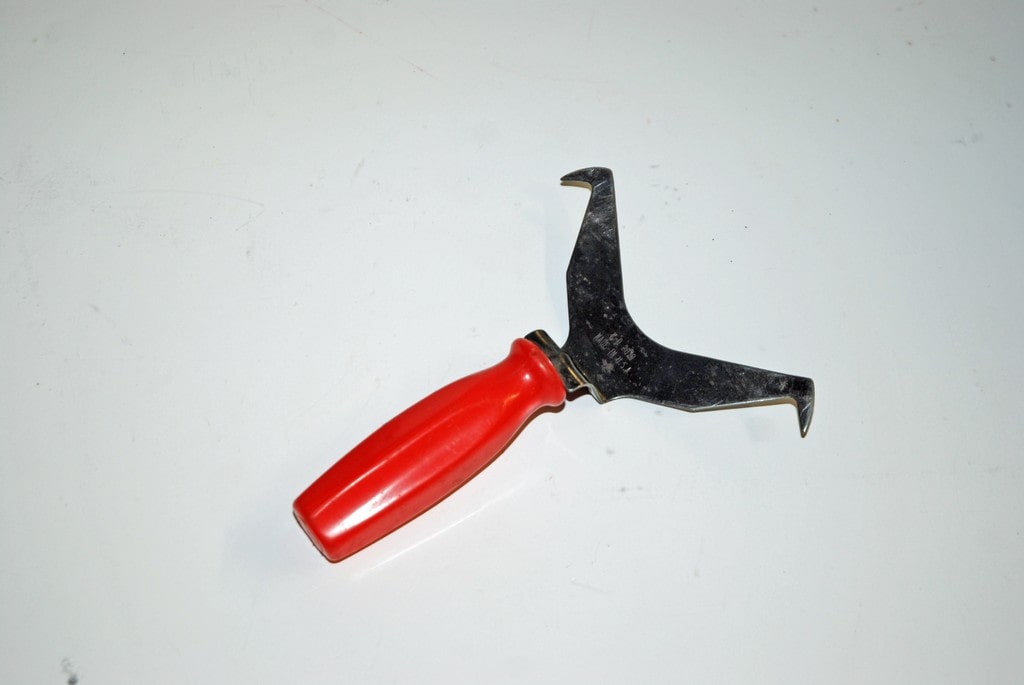
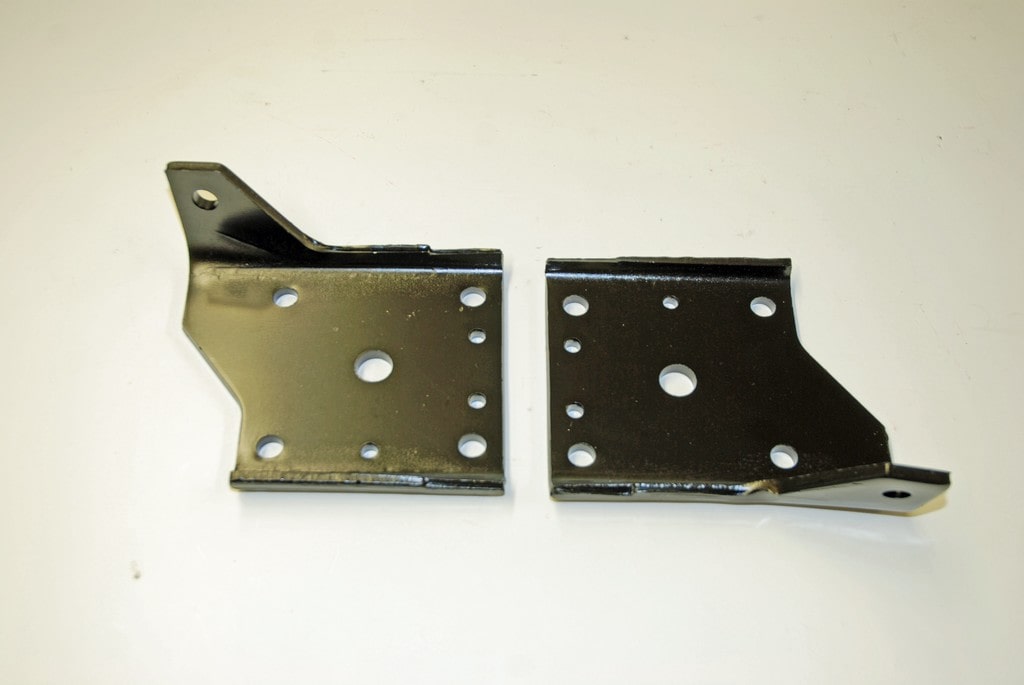
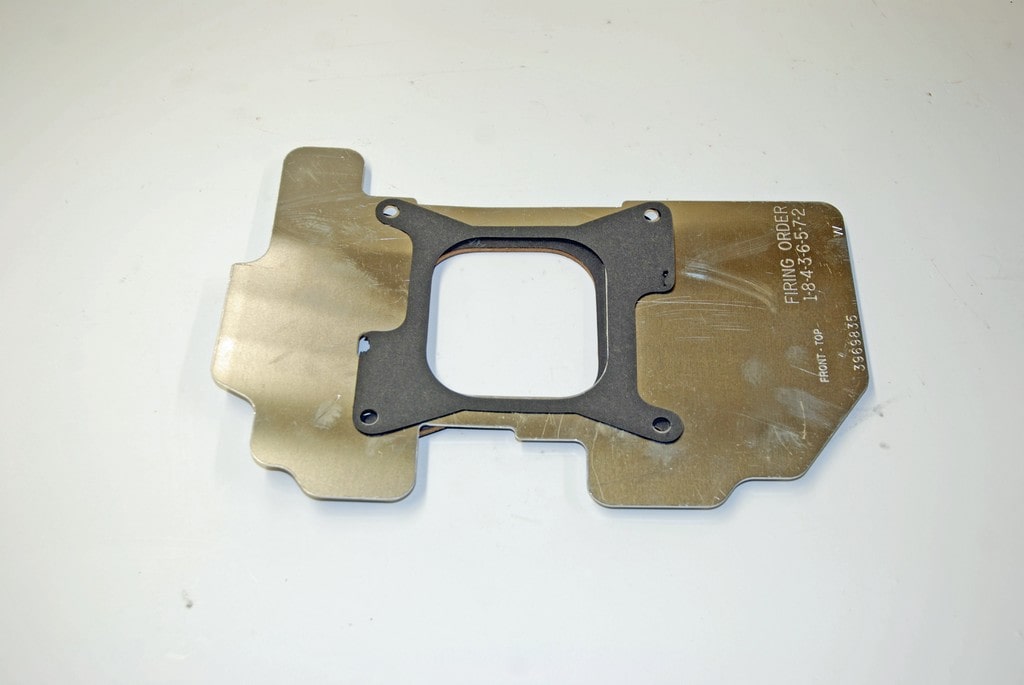
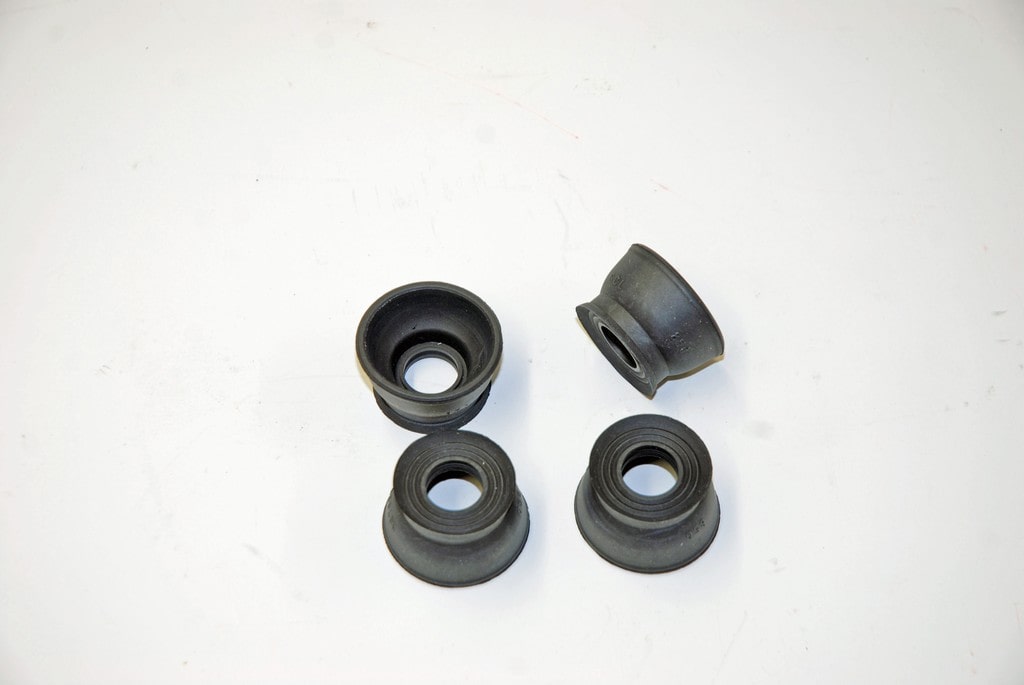
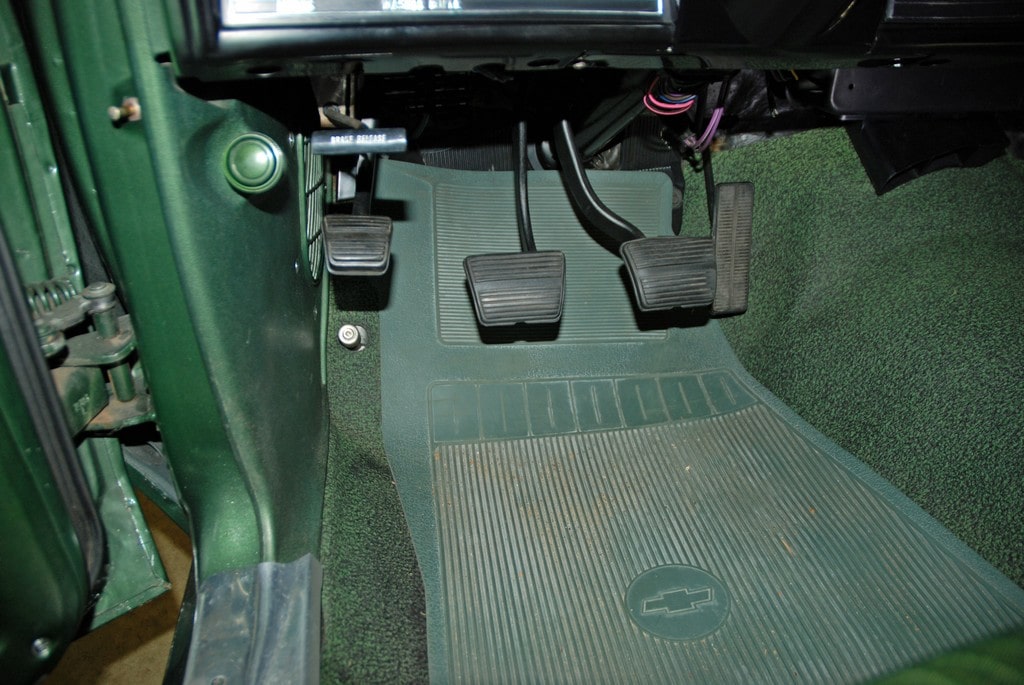
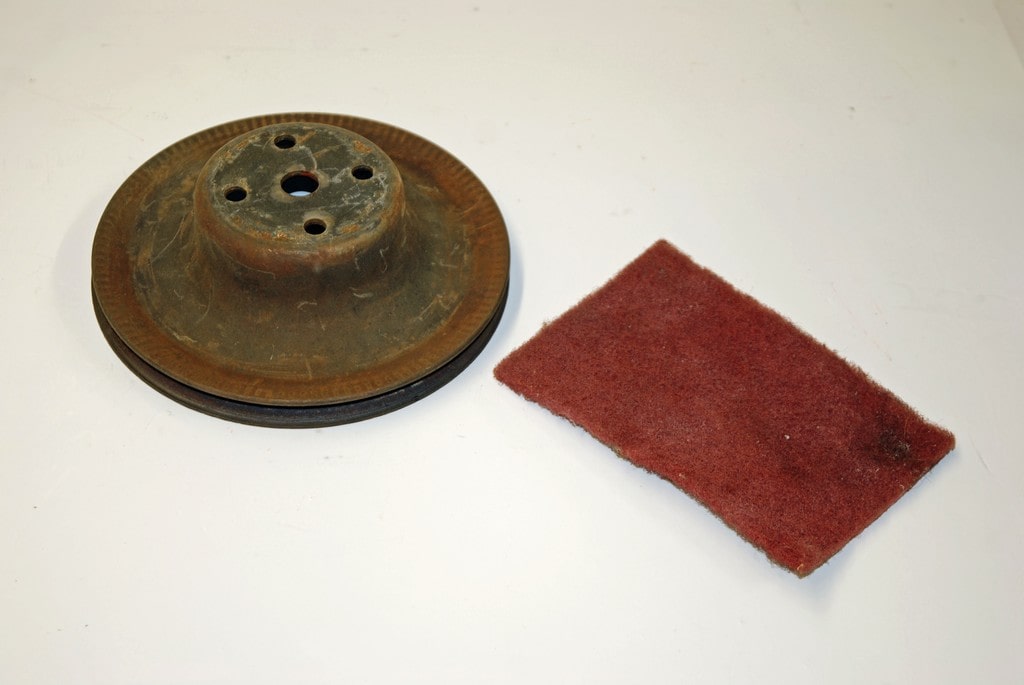
Working on a vintage musclecar project (restoration, performance or street-strip) can become downright trying - particularly if you’re forced to do something several times over just to get it right or if you have to eventually pay someone big dollars to get it right for you. On the other hand, finishing a task properly without any accompanying aggravation provides a feeling of fulfillment and satisfaction that’s almost always tough to beat. Sometimes, it's not a case of actually doing something wrong; it's just a matter of finding a better (and easier) way to accomplish the job. Yours truly has done it both ways (fixed something successfully and, on other occasions, accomplished the task with plenty of trepidation). And with a little help from our friends at Classic Industries (18460 Gothard Street, Huntington Beach, CA 92647; PH: 800-854-1280; Website: www.classicindustries.com) - they manufacture and/or sell many of the products shown in the accompanying tip series - we’ll share many of those successes and failures with you, along with the countless shortcuts to success. What follows over the next few issues are a whopping eighty-eight of those mechanical shortcuts. Here are the first of them. Check them out.
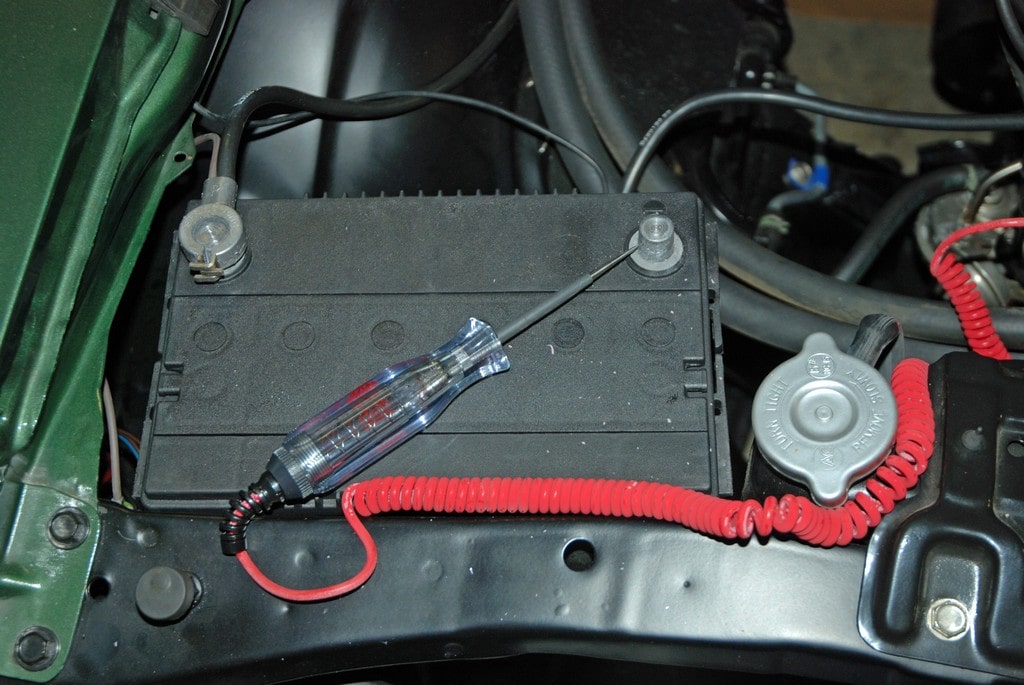
1. BOILED BATTERIES: One of the first things to go bad on a vintage car of any sort is the battery box or tray. Many of those old cars never came with sealed batteries and it was a matter of time before there was an acid spill or battery boil over. Of course, the pieces that took the brunt of the damage included the battery tray, the battery clamp and the battery bolt. Classic Industries offers replacements for many applications in their catalogs. The setup shown is for a vintage Nova.
After you've perused these tips, check out our next installments: 2, 3, 4, 5 and 6.
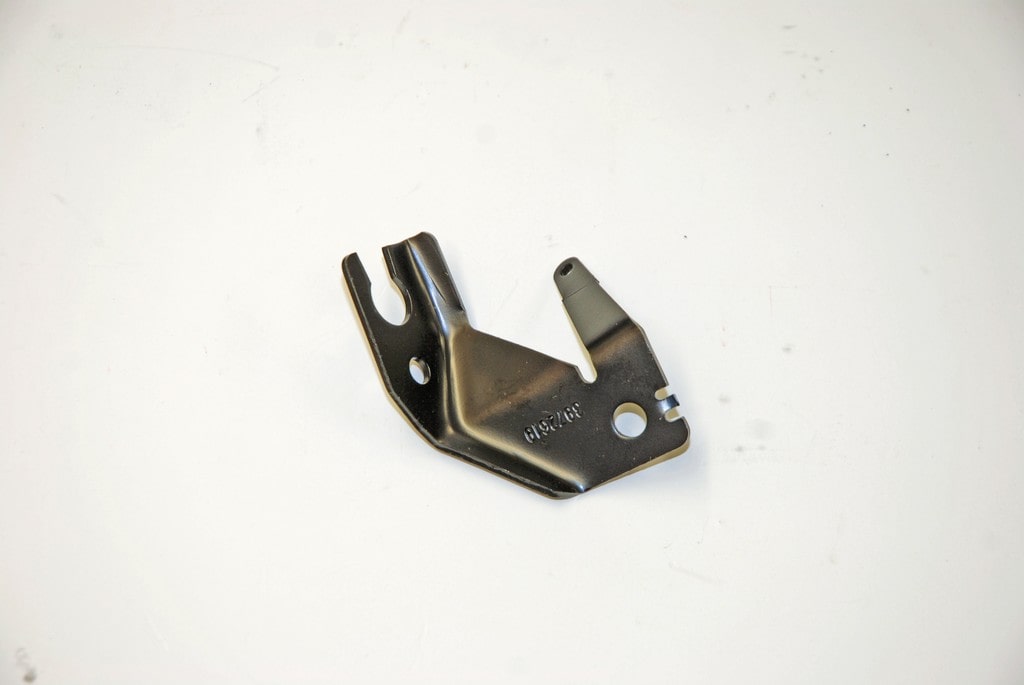
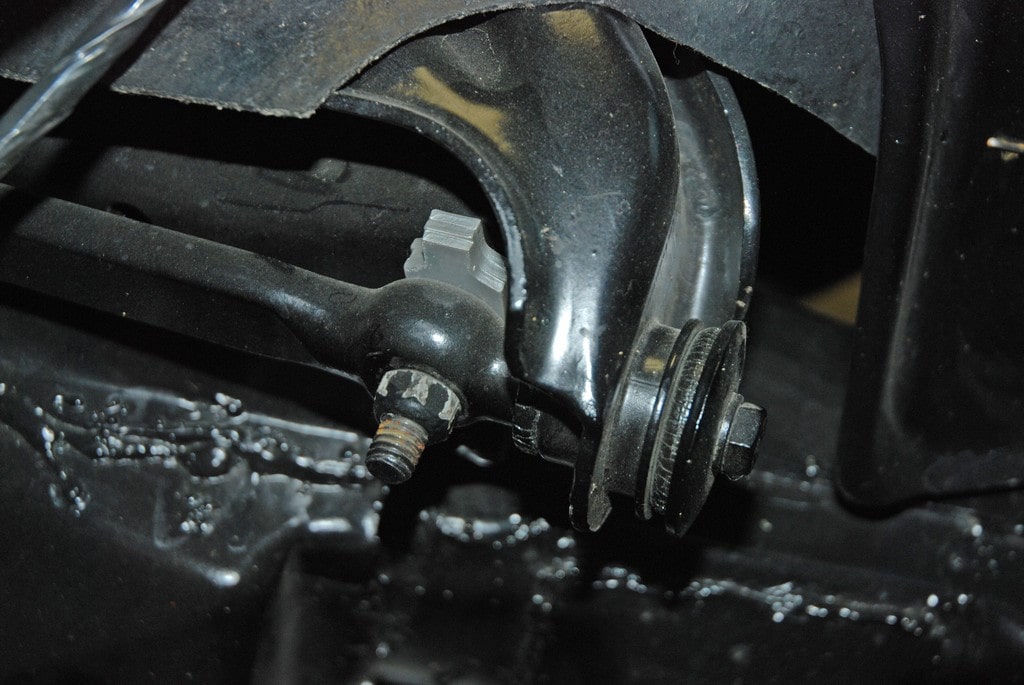
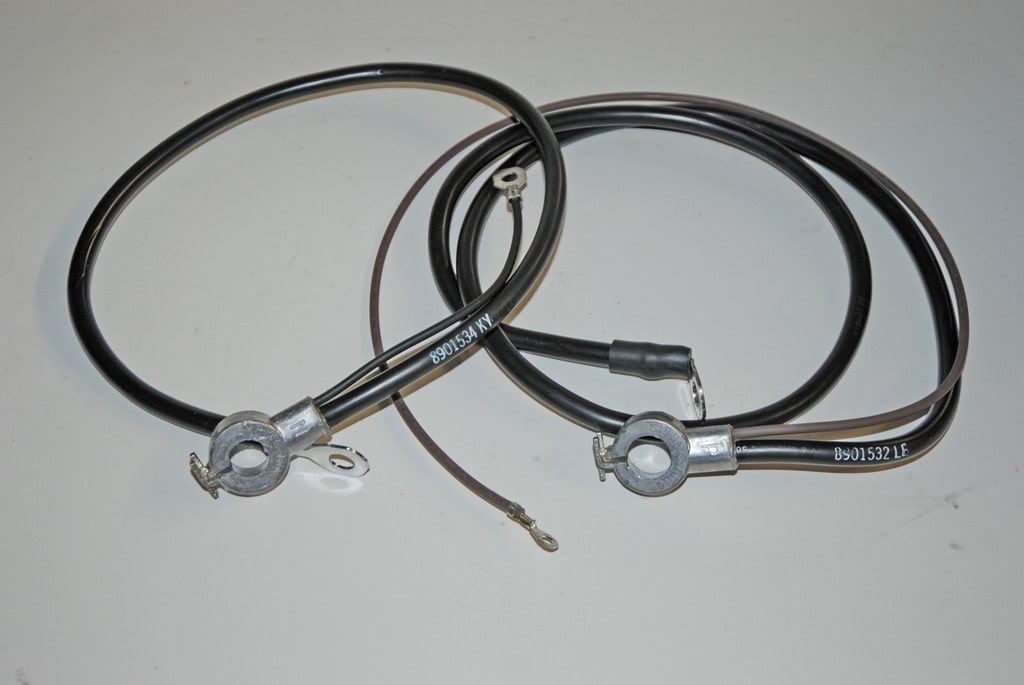
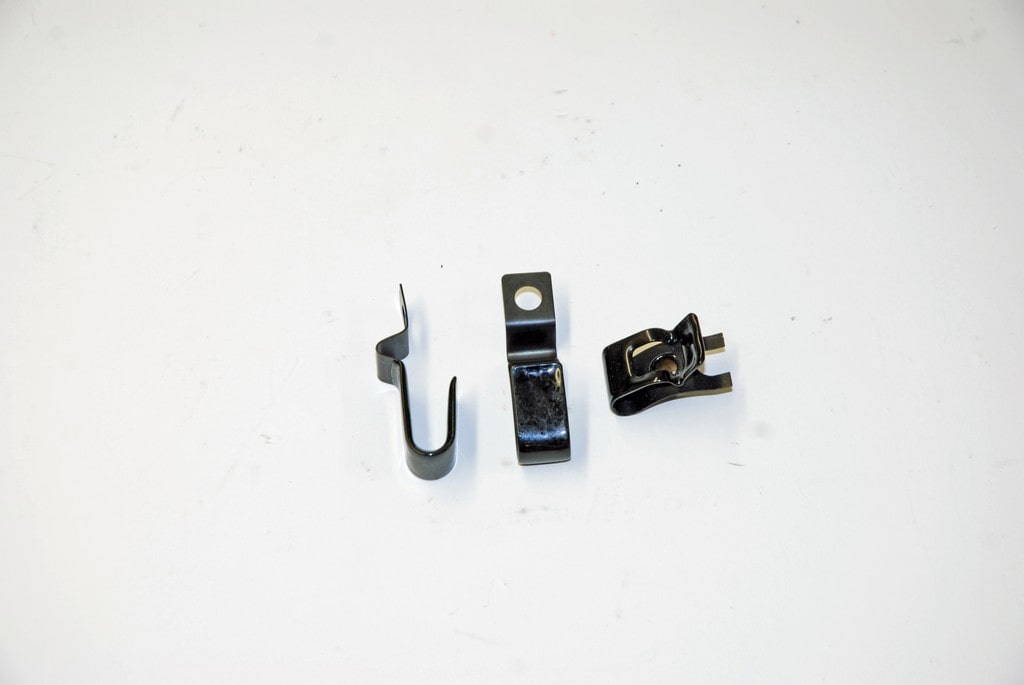
Working on a vintage musclecar project (restoration, performance or street-strip) can become downright trying - particularly if you’re forced to do something several times over just to get it right or if you have to eventually pay someone big dollars to get it right for you. On the other hand, finishing a task properly without any accompanying aggravation provides a feeling of fulfillment and satisfaction that’s almost always tough to beat. Sometimes, it's not a case of actually doing something wrong; it's just a matter of finding a better (and easier) way to accomplish the job. Yours truly has done it both ways (fixed something successfully and, on other occasions, accomplished the task with plenty of trepidation). And with a little help from our friends at Classic Industries (18460 Gothard Street, Huntington Beach, CA 92647; PH: 800-854-1280; Website: www.classicindustries.com) - they manufacture and/or sell many of the products shown in the accompanying tip series - we’ll share many of those successes and failures with you, along with the countless shortcuts to success. What follows over the next few issues are a whopping eighty-eight of those mechanical shortcuts. Here are the first of them. Check them out.
1. BOILED BATTERIES: One of the first things to go bad on a vintage car of any sort is the battery box or tray. Many of those old cars never came with sealed batteries and it was a matter of time before there was an acid spill or battery boil over. Of course, the pieces that took the brunt of the damage included the battery tray, the battery clamp and the battery bolt. Classic Industries offers replacements for many applications in their catalogs. The setup shown is for a vintage Nova.
After you've perused these tips, check out our next installments: 2, 3, 4, 5 and 6.
Leave a Reply