

![[Gallery] 3rd. Annual Father's Day Classic Car Show](https://www.racingjunk.com/news/wp-content/uploads/2026/07/Calistoga-2026-18-scaled-e1783026475349-376x206.jpg)

![[Gallery] Blackhawk Museum Stop Over](https://www.racingjunk.com/news/wp-content/uploads/2026/06/DSC_0918-e1782449621944-376x206.jpg)
Pre-Fitting Parts Part 1
Click Here to Begin Slideshow
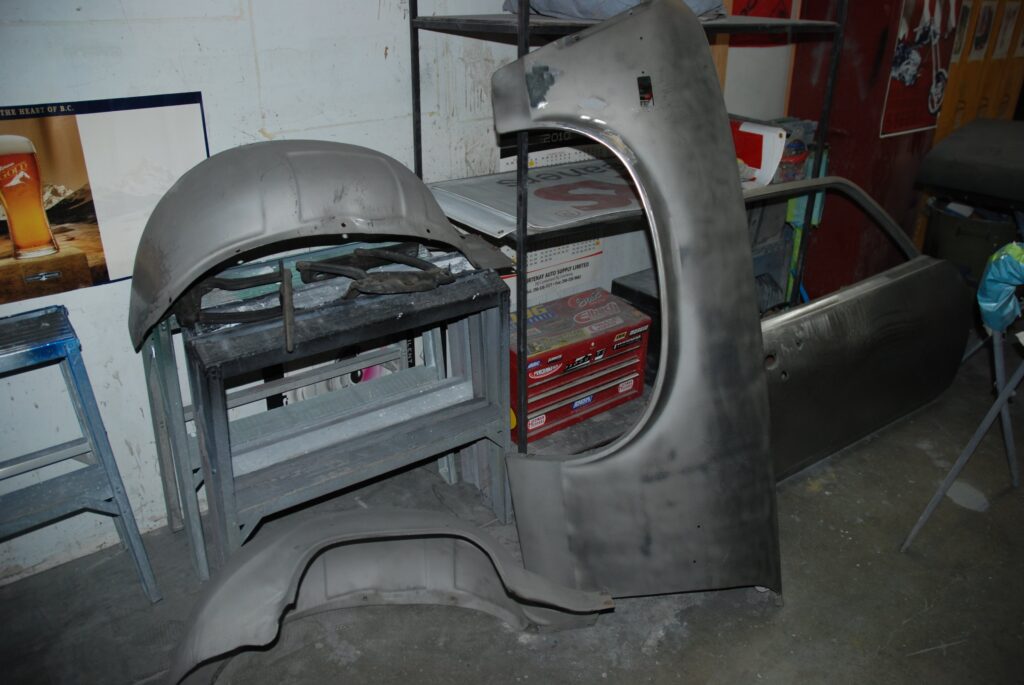
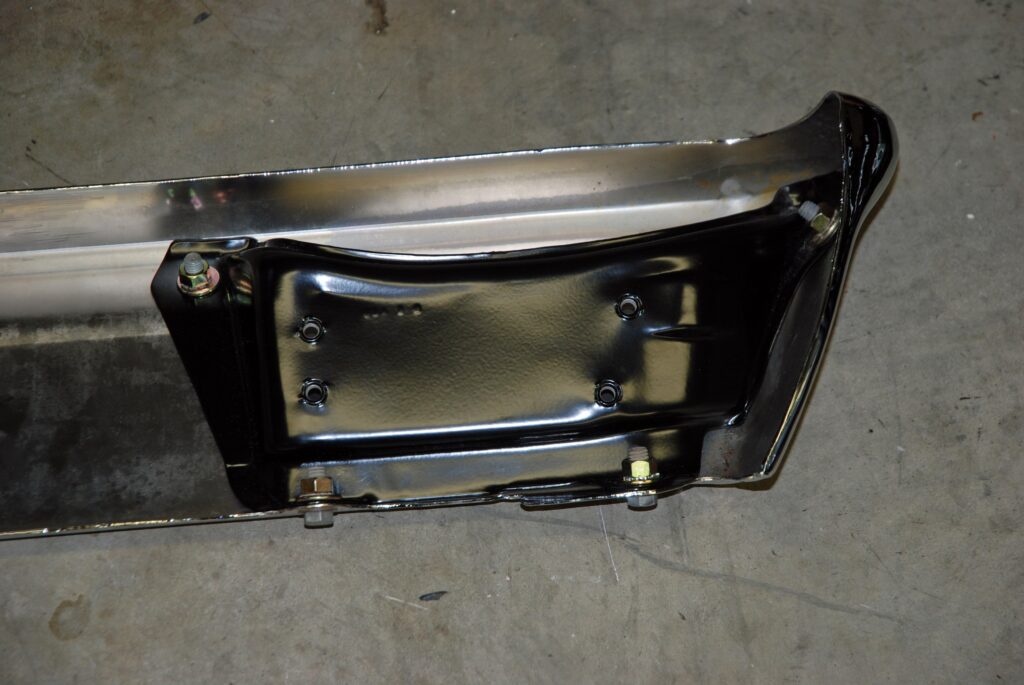
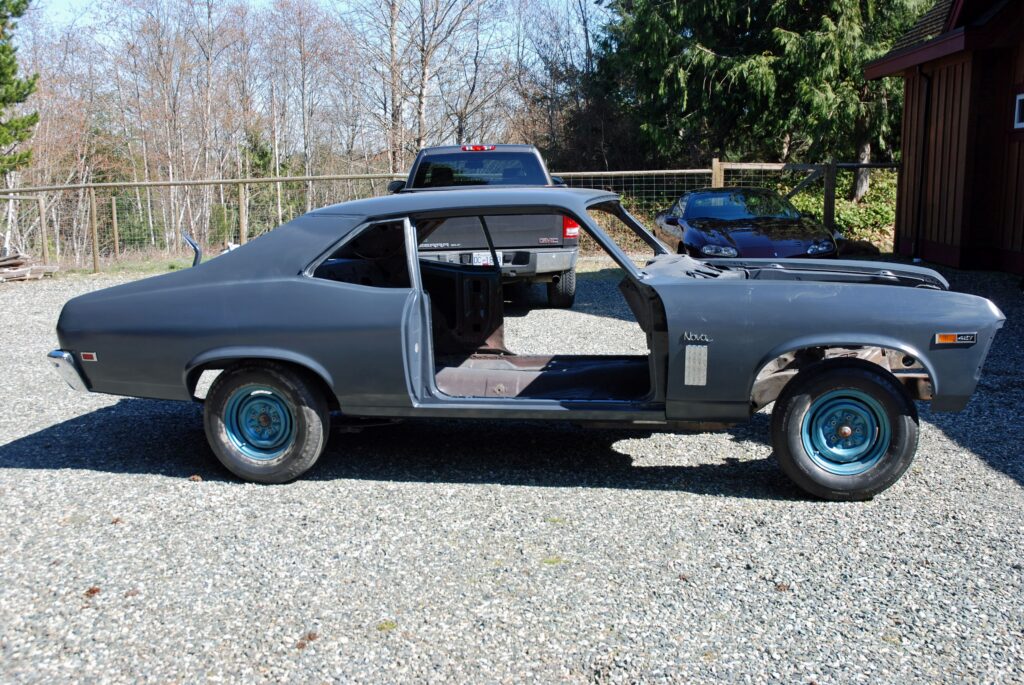
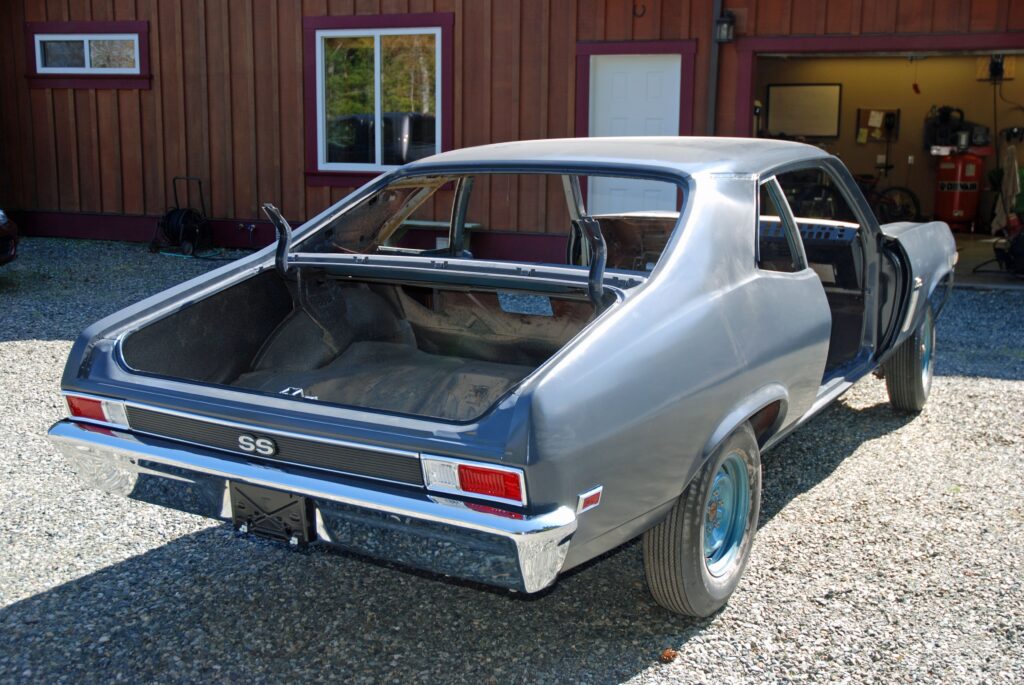
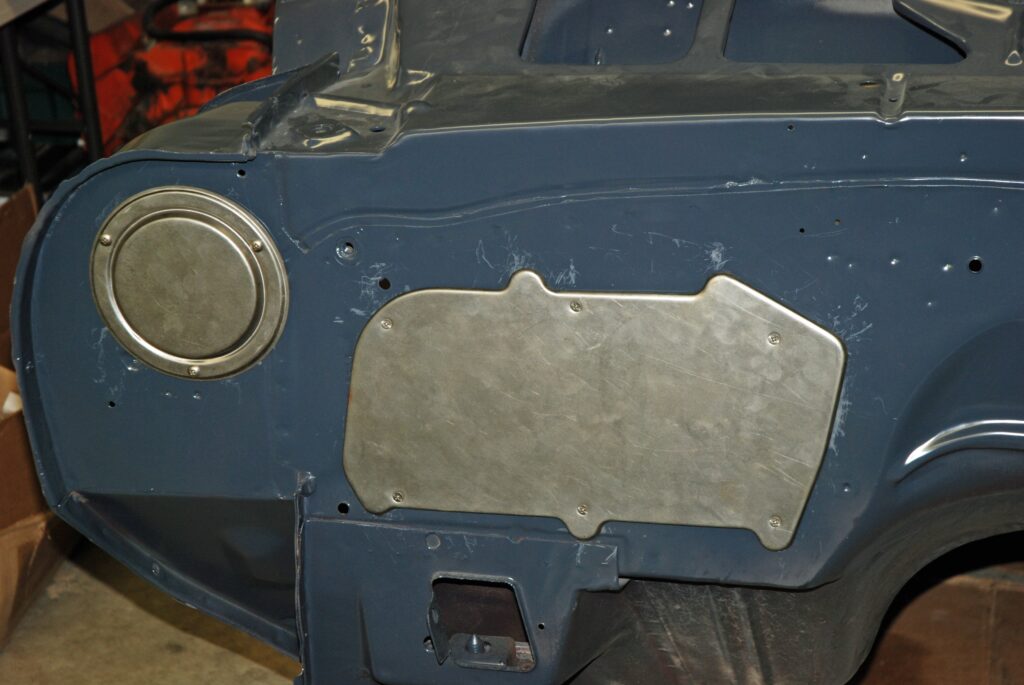
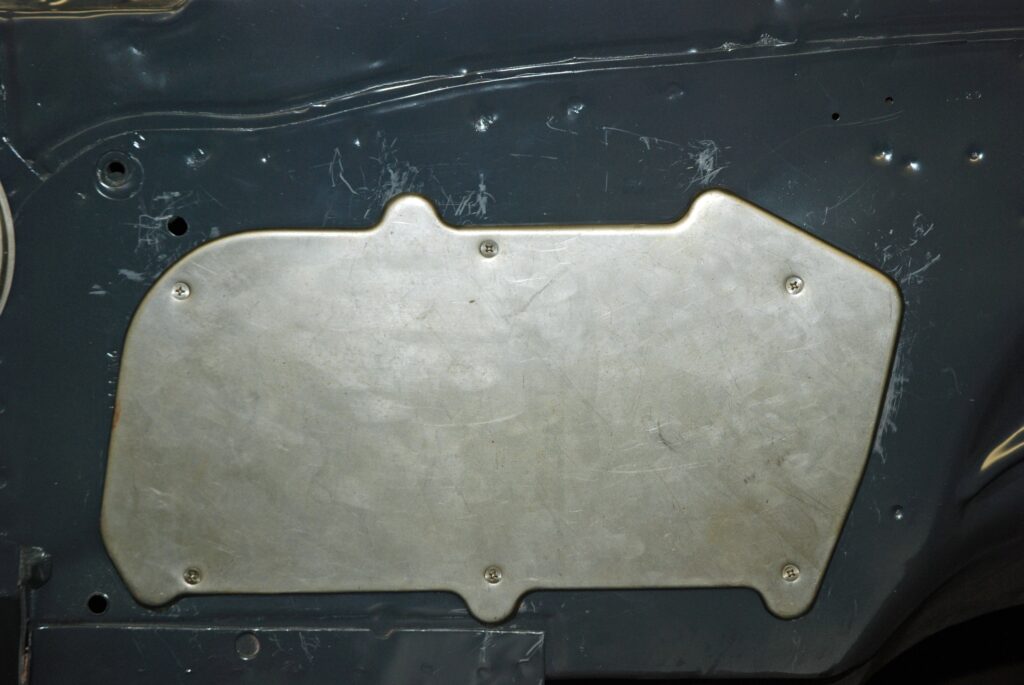
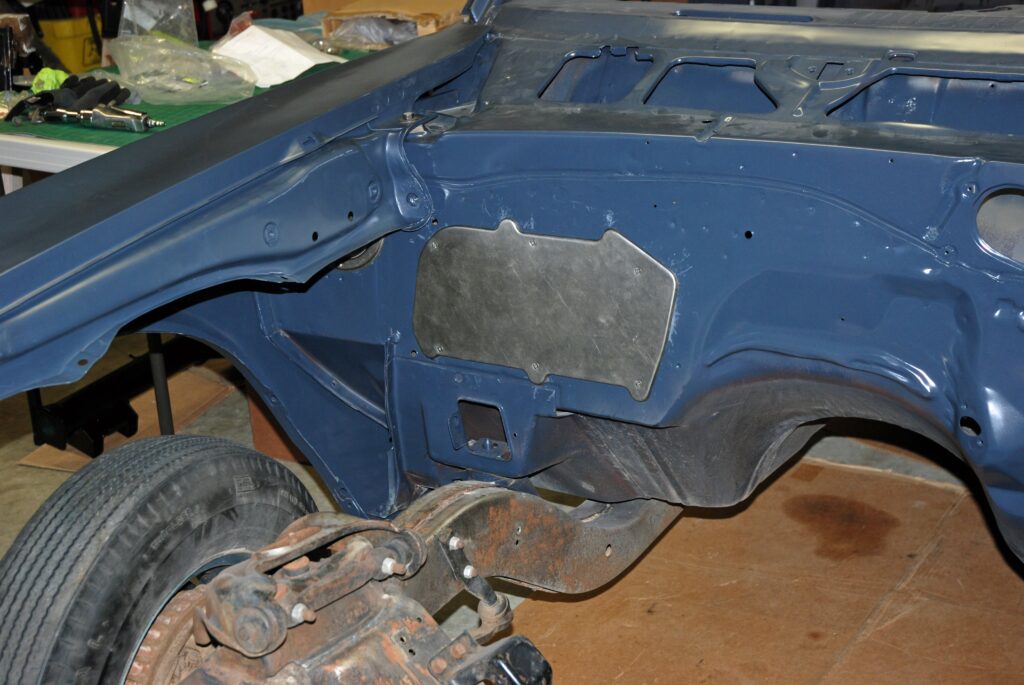
When building a car (or having a car built), one thing you never hear about is the mock-up stage, or pre-fitting of parts. The truth is, most high-end cars (for example, well built street rods or full-blown customs or even high-end restorations) are built this way. Essentially, the various bits and pieces are tediously hand fitted to the car while it’s either in bare metal or covered in initial epoxy primer. Then the range of components are massaged to fit and when everything is perfect, the thing is blown apart for final body and paint. That’s why, when you examine these cars carefully, gaps are close to symmetrical and the panels fit nicely. They look great. But honestly, Detroit never fit their stuff this well.
Fair enough. It looks fabulous. But if you pay a shop to do this work, you might be a wee bit shell-shocked when you see the final bill. The reason is there’s just a lot of going back and forth fitting pieces until it’s right. It simply takes time. But you can do much of the tedium at home, without special equipment.
Mocking up components doesn’t have to be painful. But you might have to move some pieces around and fiddle with them in order to make them fit precisely. Trust us, it’s a whole bunch easier (and less painful) to do it now rather than when the car is painted. And while we don’t have room to lay out each and every detail, what follows is a look at some of the basics.
Click Here to Begin Slideshow
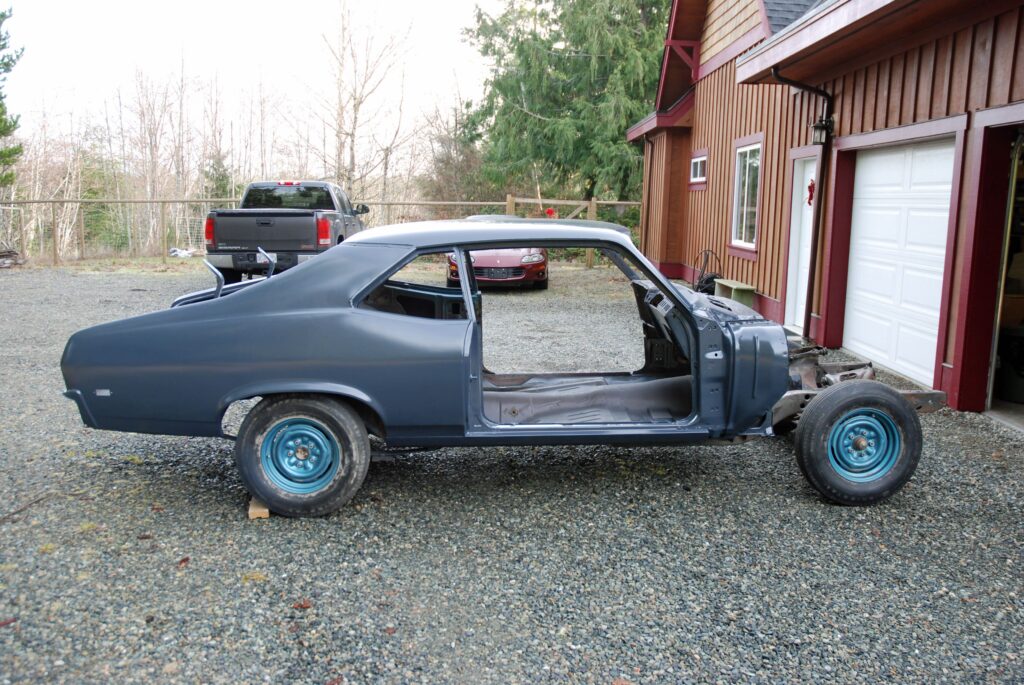
AND you picked a 3rd generation Nova JUST for ME with a ’68 SS!
Thank you much! 🙂
Is this the green chevy nova you have benn workong on ? Ted