


Part 2 of Wayne Scraba’s series on instrument technology continues to examine the stepper motor options, using Speed Hut as an example.
When we last left you, we discussed the differences between mechanical, electric and stepper motor gauges. There are positives and negatives for all of them, but in today’s world, it’s really hard to ignore modern stepper motor examples. Some companies such as Speed Hut make use of stepper motor technology in all of their instruments. The layout allows for full 270-degree gauge sweep along with a much thinner gauge case. Speed Hut also has a unique threaded gauge body. A large ring simply threads on the backside providing a simple and effective means for mounting gauges.
Building a panel for a large number of instruments can sometimes prove perplexing. Running out of room in the panel and between the panel and the dash structure is always an issue. That’s where the thin gauge case and unique mounting arrangement of the Speed Hut gauges came into play for one of our projects (a Buick Turbo T). And as it turns out, Speed Hut’s very latest LED lit gauges are even thinner than the originals we used.
In this segment, we’ll examine voltmeters and fuel pressure gauges along with installation and wiring. By making use of a “piggyback” layout, gauge wiring can be simplified. You can also see how we laid out the gauges and wired them in a Buick GN-style dash. For a closer look, check out the accompanying photos:
###

Another instrument that’s very important is a voltmeter. Why use a voltmeter instead of an ammeter? Technically speaking an ammeter is actually a “flow meter” of sorts that measures current flow to the battery (under normal conditions) or discharge from the battery (in the case of alternator system failure). With an ammeter that means the entire alternator output used to recharge the battery must first be routed through the ammeter under the dash (which translates into large, potentially hazardous wiring). On the other hand, a voltmeter works like a fuel pressure gauge-but instead of measuring fluid in PSI, the voltmeter measures electrical system “pressure” in volts. A voltmeter only needs to tap into a circuit. Voltmeter installation is easy, quick, and safe: It hooks up to a fused, ignition-switched “off/on” source. 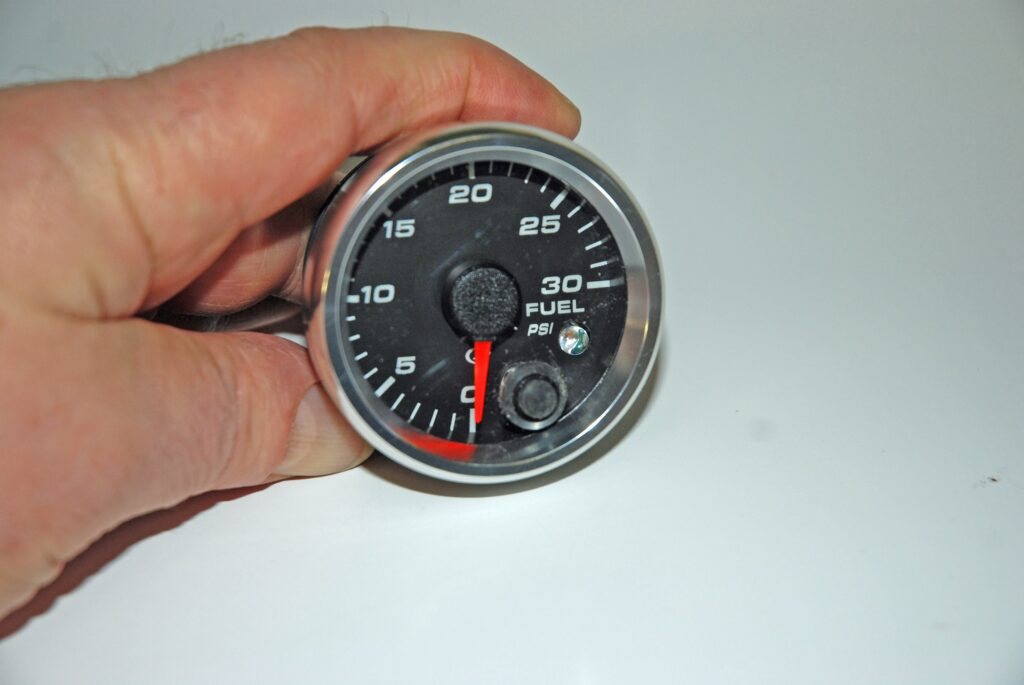
In racing, fuel pressure gauges are as common as oil pressure gauges, however, they’re not that common on the street. If you’re thinking about adding a fuel pressure gauge to your car, give it careful consideration: Because raw gasoline is found in the line running between something like a mechanical gauge and the source, a fuel PSI gauge should never be mounted inside the vehicle. There are three exceptions to this rule: A mechanical gauge with an “isolator”, an electric gauge or an electronic gauge. Reliable electric and electronic stepper motor fuel pressure gauges such as this example are relatively new. They incorporate an electrical sender plumbed within the fuel line and then incorporate good old-fashioned wires to transmit the information to a cockpit mounted gauge. 
This is one reason why today’s electronic stepper motor configuration instruments have become the norm in Detroit-built passenger cars: They’re extremely thin, which makes packaging much easier. 
A simple innovation this writer is fond of is the mounting arrangement engineered by the folks at Speedhut (makers of the Revolution series gauges). As you can see, the case is threaded. A large ring simply threads on the backside. This is a secure, simple and effective answer to mounting gauges. 
Speaking of mounting gauges, here’s a good look at how a Revolution tach installs in the back of a custom GNX cluster (for this writer’s Buick). 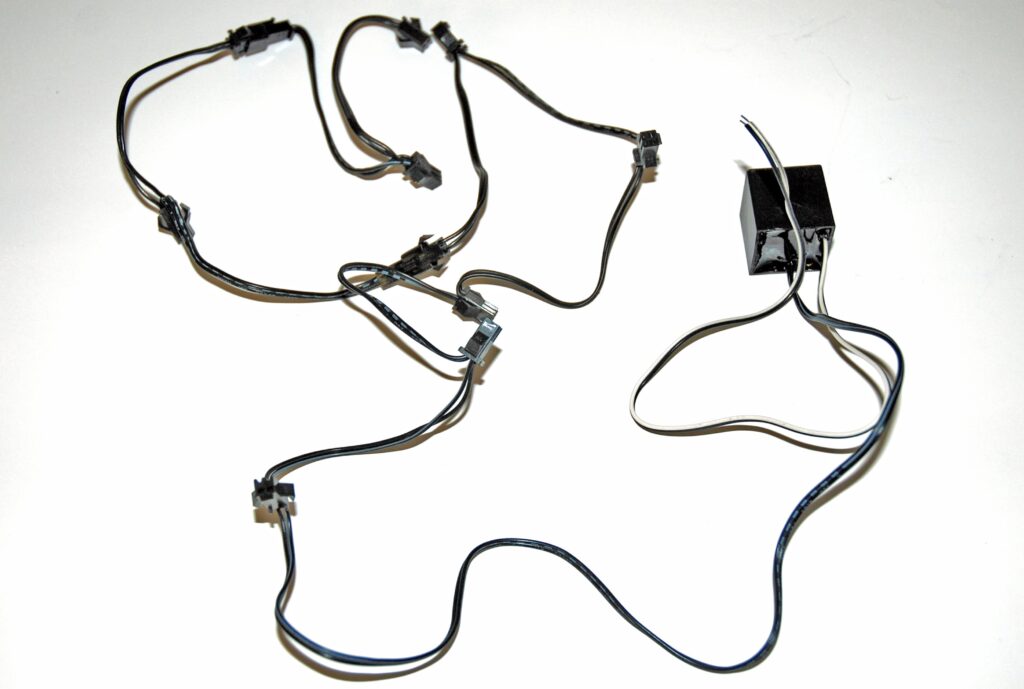
Speedhut offers this piggyback wiring harness assembly for lighting multiple gauges. It definitely simplifies the potentially large wire bundle on the back of a cluster. 
Here’s the backside of the new cluster before the harness was tidied up. Once the piggyback light harness (and a similar harness for the power wires) was installed, the wiring actually becomes simple. This is a look at the completed cluster. As you can see, it includes the Revolution gauges mentioned above, along with a matching Speedometer, fuel level gauge and transmission temperature gauge. Options for the various instruments are considerable. You can select gauge lighting colors and styles, various integrated warning lamps, high beam and turn signal indicators and more. This, along with many other options allow you to tailor the instrument to your car.