

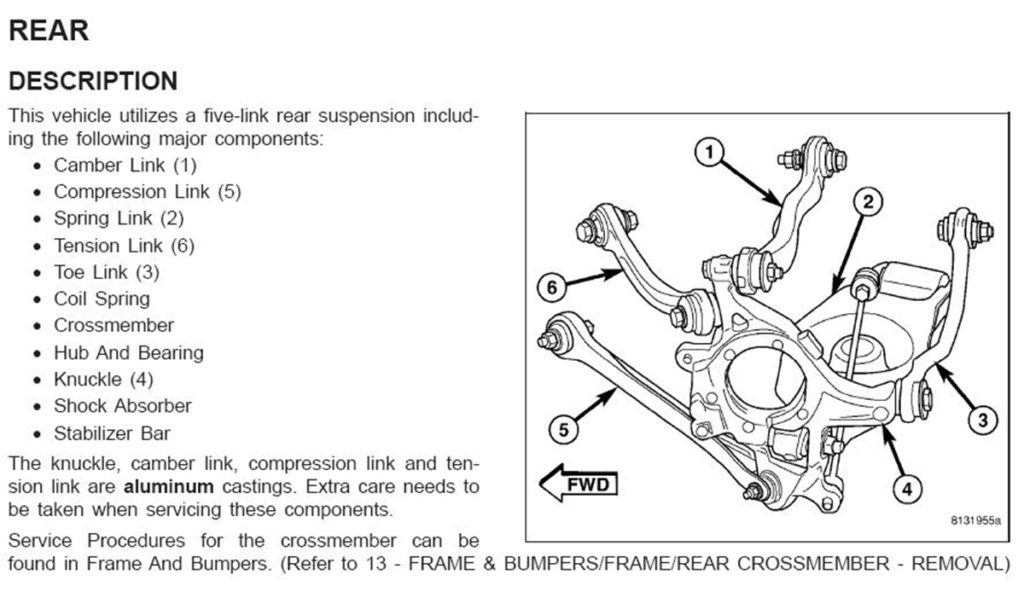
Installing New Axles on Your Late Model Charger or Challenger

The Chargers and Challengers that Dodge has been producing lately are street monsters. They’ve got models that make as much as 700-800 horses. Even better, the engines that produce those gobs of power can be upgraded to produce even more power pretty easily. However, the axles can only handle the horsepower output of the “stock” engines and not much more. If you want to build up a true fire-breathing monster of a late model Charger or Challenger, you’re going to have to install new axles.
These newer hot rods are equipped with independent rear suspensions, which mean the axle upgrade process is a little more technically involved than with a solid axle setup, but don’t worry; I’ll walk you through it step-by-step. Let’s get at it, shall we? I recommend doing one side at a time. This gives you a reference point if you get stumped somewhere during the project.
Tools and Equipment You’ll Need for This Upgrade Project
Some of the tools you’ll need for this project you’ll have to rent or borrow from a chain parts store, the rest are things that you most likely already have. If you’ve got a buddy with a compressor and an impact gun, offer him a 12-pack for the use of them for the day; it’ll make the job much easier.
- Two jack stands and a floor jack
- Socket set (Metric) (15 and 18 mm)
- Wrench set (Metric) (15, 16, 18, and 21 mm)
- Metric Allen socket set (8 and 12 mm)
- Pound-feet torque wrench
- Inch-pound torque wrench
- Hammer
- Center punch
- Block of wood or plastic
- Tub or tube of axle grease
- 1 ¼ inch socket
- T30 Torx driver or bit
- Prybar
- Breaker bar
- New axles
Get the Car in the Air and Rear Wheels Off

Park the car on a flat and level surface and chock the front and rear of one front wheel. Slide the jack under the frame in front of one rear wheel and raise the car enough to get the wheel on that side off the ground enough that you can get under the car safely and somewhat comfortably. Slide a stand under the frame just behind the jack and carefully lower the car onto the stand. Repeat on the other side. Remove the wheels. If you don’t have access to an impact gun, you’ll need to loosen the lug nuts just a bit before raising the car.
Remove the Calipers and Rotors

Use the 18 mm socket to remove the two bolts securing the caliper bracket to the hub/knuckle assembly. Use a piece of wire or string to hang the caliper from this assembly, leaving slack in the brake hose. Pull the rotor off. Disconnect the ABS cable.

Using the 1 ¼ inch socket and the breaker bar, remove the spindle nut. This is the nut that secures the axle shaft/spindle to the hub assembly. It’s torqued on with about 160 lb-ft of torque. You may need to find a piece of pipe to use as what we call a “cheater bar” to give yourself more leverage.
Disconnect the Lower Sway Bar End Link and Remove the Control Arm Bolts

Using the 15 mm socket and the 16 mm wrench, remove the lower sway bar end link. Use the 18 mm wrench and socket to remove the nuts and bolts on the upper (camber link) and lower control arms. Next, use the 12 mm Allen socket to remove the Allen bolt from the bottom of the hub. The nut on the other side of this is a 21 mm. Check the gallery below for the control arm bolt locations.
Disconnect the Link Arms

You’ll find these parts at the front and rear of the knuckle/hub assembly. There are three: tension link, toe link, and compression link. (See image at the top of the article) The nuts and bolts are all18 mm. You may need the breaker bar to bust the nuts loose. I like to run the bolts back through their holes at the ends of the links and then run the nuts down on them a little. This way I don’t mix them up and put the wrong bolt and nut combination in the wrong part. Yes, this is important.
Remove the Axle from the Car
Grab your pry bar and slide under the car. Hold the pry bar so the tip points up and slide the tip between the inner CV joint and the differential housing. Push against the housing to release the axle from the differential. Lower the inner portion of the axle and pull it towards the center of the car to release it from the hub/spindle assembly. Don’t lose the washer on the hub side. Compare this axle to the new one to be sure they are the same size. Don’t be surprised if the manufacturer labeled them incorrectly as to which side the new ones go on.
Prep the New Axle for Installation

This part of the project will be much easier if you have a vise, but it’s not necessary. Using the small block of wood or plastic and the hammer, lightly tap the tone ring off the hub end of the axle. Be very careful to not break the tone ring as the only way to get a new one is to buy a new OEM axle. Lightly tap the tone ring onto the hub end of the new axle, preferably using either the block of wood to soften the blows or a plastic/dead blow hammer.

Next, use the 8 mm Allen socket and tighten the bolts on the CV joints. Check the specification in the instructions with the axles, but most will be about 57 lb-ft. Don’t forget to grab the washer off the hub end of the old axle and put it on the new axle. Next, put a light coating of grease on the splines on both ends of the axle.

Stick the New Axle

Slide back under the car. Pop the inner CV joint end into the differential housing. It will literally “pop” or click when it is seated correctly. Work the hub assembly over the outer end of the axle until it is fully seated. Again, don’t forget that washer.
Reattach the Hub

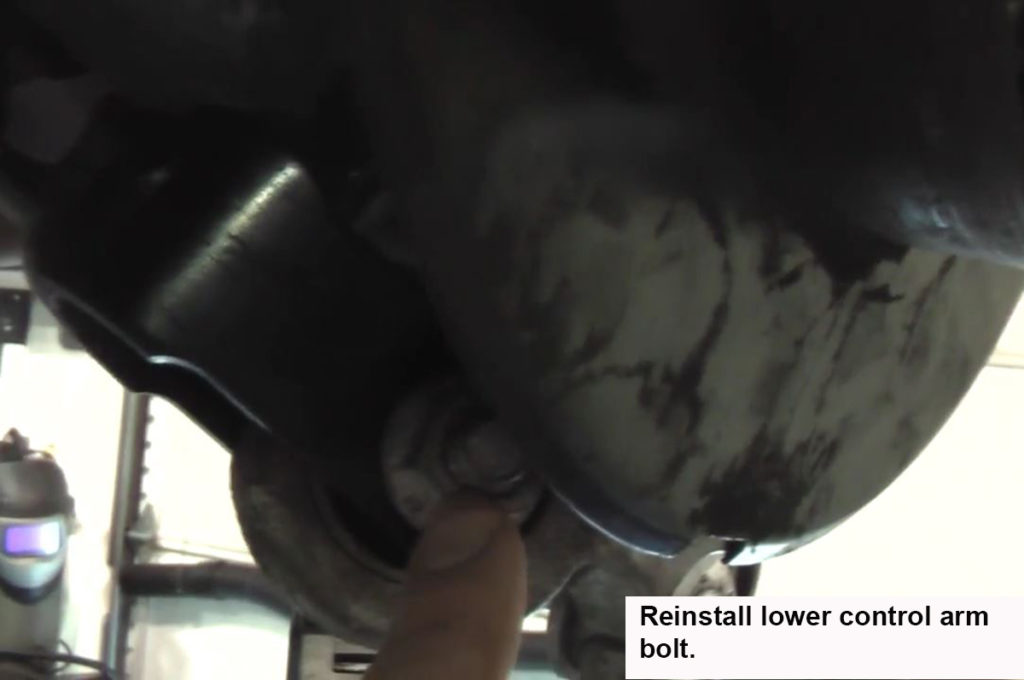
Remember that 12 mm Allen bolt at the bottom? Refit the arm that is secured by that bolt and then start the Allen bolt. This is called the spring arm in the book./diagram above. Most of us know it as the lower control arm. Don’t tighten it down just yet. Just snug it up some.
Reassemble Control Arms
Reconnect the upper and lower control arms. Don’t tighten the nuts/bolts yet, just get them all snug. A little hint: On the back of the hub, you’ll see a small sleeve that might be poking out of the hub assembly. Lightly tap it back into place and getting things back together will be much easier.

The order of assembly here should be lower control arm, then the upper. Also, prior to reconnecting the upper control arm, make sure the brake caliper and its hose are on the outside of the control arm bar. These are located at the very top and bottom of the hub/knuckle assembly. The lower control arm is also known as the spring link as the coil spring sits in it and the upper is also known as the camber link.
Reassemble Link Arms

As mentioned above, the toe, compression, and tension links are located at the front and rear of the knuckle. Remove the nuts and bolts from their holes and reconnect the three arms, leaving the nuts and bolts just snug for the moment.
Torque Everything Down

Before you can reattach the caliper and rotor, you need to torque everything down. The torque specifications are as follows:
- Camber link/upper control arm-72 lb-ft.
- Lower control arm/spring link-102 lb-ft.
- Tension link-72 lb-ft.
- Toe link-60 lb-ft.
- Compression link-60 lb-ft.
- Axle/spindle nut-157 lb-ft.
Rehang the Caliper
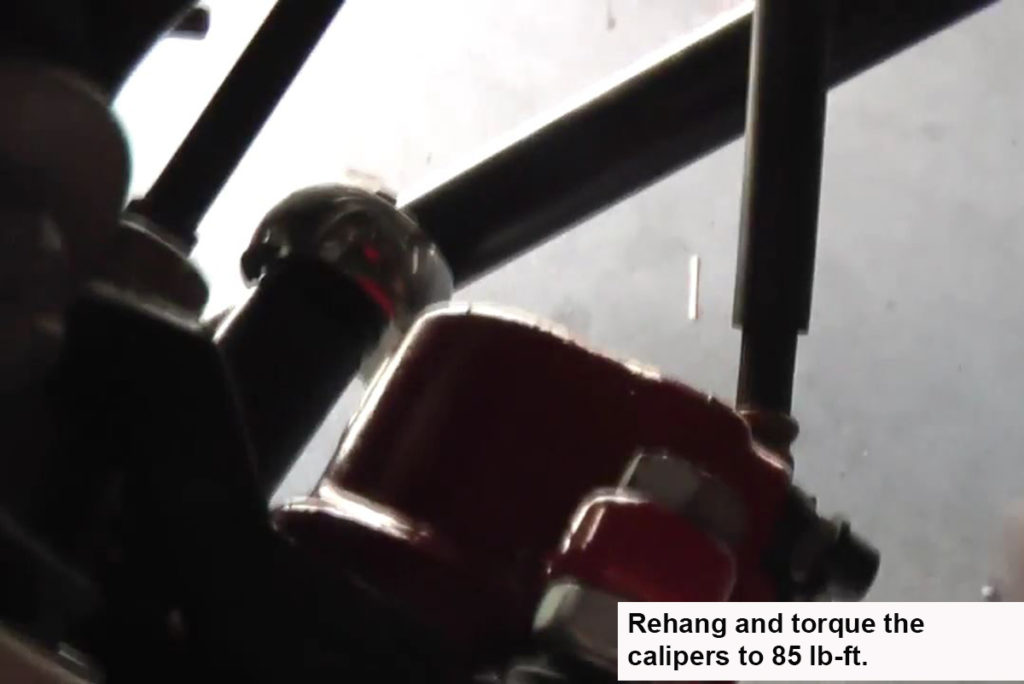
Slip the rotor over the studs onto the hub. I like to run a lug nut down onto it because it makes installing the caliper a little easier. Reattach the caliper and torque the bolts. The specification for them is 85 lb-ft. You may have had to remove the parking brake cable using the Torx T30 driver/bit during disassembly. If so, reinstall it and snug it up.
Reconnect the ABS/WSS Cable
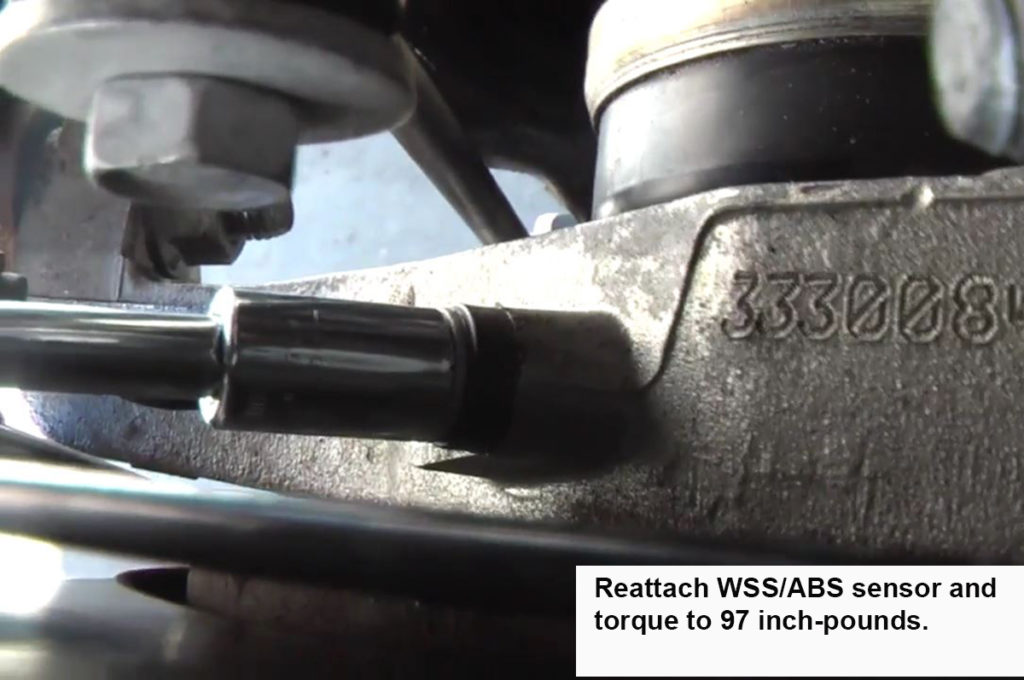
Plug the WSS/ABS cable back in. Hold the strain relief/mount up against the lower control arm and thread the small screw back in. Torque this screw to 97 INCH-pounds. Again, that’s INCH-pounds, not foot-pounds.
Reattach the Sway Bar End Links

The almost final step is to reattach the sway bar end links. Manipulate the bar and the link until the link hole matches up with its mounting location and run the bolt through the two. Thread the nut down and tighten it up. Torque these to 45 lb-ft.
Rehang The Wheels
Hang the wheels. Run the lug nuts down as much as you can, either by hand or using a socket (or the lock key if you’re like me,). Don’t hit them with the impact gun. Slide the jack under the frame in front of the jack stand and lift the car off the stand. Slowly lower the car until the tire’s sidewall just starts to bulge. Now, torque the lug nuts down to 110 lb-ft.
NOTE: If you have aftermarket wheels, the lug nut torque spec may be different. Check the spec that came with the wheels. Finish lowering the car.
You should give your new high performance late model Charger/Challenger axles about 200 miles to break in before really romping on them, just to be safe. There are no axle manufacturers that I know of that demand this; it’s just something I grew up being taught by the older technicians/mechanics I learned from. Once that’s done, Drive it like ya stole it and I’ll see you at the track!
Leave a Reply