


![[Gallery] 3rd. Annual Father's Day Classic Car Show](https://www.racingjunk.com/news/wp-content/uploads/2026/07/Calistoga-2026-18-scaled-e1783026475349-376x206.jpg)

![[Gallery] Blackhawk Museum Stop Over](https://www.racingjunk.com/news/wp-content/uploads/2026/06/DSC_0918-e1782449621944-376x206.jpg)
How Roll Controls Can Change Your Starting Game Part 2
Click Here to Begin Slideshow
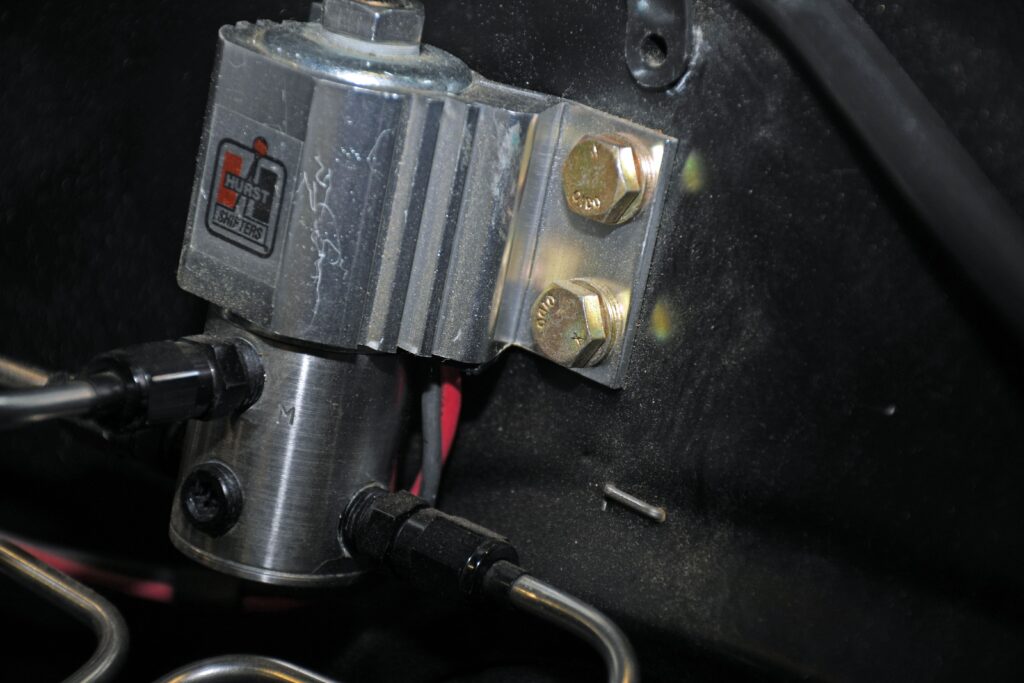
Last issue, we looked at burnouts and why “line locks” and brake pressure or “stage gauges” make the process easier. When it comes to roll control (line lock) installation, the first order of business is to mount the "valve" somewhere in the engine compartment. Virtually all contemporary passenger cars hang the master cylinder on the firewall or in the case of a tube frame car, under the floor. Because of this, you should select a location that is relatively close to the master cylinder. This makes the actual plumbing easier and less complex. As you can see in the accompanying photos, a very common location is on the driver side inner fender well. When mounting the valve, you can use large sheet metal screws, but a better plan might be to use small bolts for mounting. Why? With a nut on the backside, there's no chance of scoring your skin on the pointy side of a sheet metal screw.
When it comes to plumbing, there isn't one standard method of hooking up the system. Detroit fitted countless variations of brake systems in passenger cars, and because of this, there are numerous ways to plumb the valve. The diagrams included with most roll controls detail the plumbing requirements of the system for most common master cylinder arrangements. Because several of the lines will require replacement or re-bending, a flaring tool and a quality tubing bender will be required. Of course, there are some alternate options available that can circumvent the cut and paste routine. Most Jobbers sell "ready tube" (or versions of it) for brake line use. Simply locate a piece of brake pipe of the appropriate length (pre-flared and fitted with correct fittings) and simply bent it for use it in our installation. Be sure to use steel or stainless tubing that is designed specifically for brake use. All hard lines must be of the seamless configuration, and if you plan on fabricating your own line like this, it should be bent with proper equipment.
One final note in regard to plumbing a roll control. Most units are machined for use with pipe thread ends. In other words, it is not designed for direct use with AN fittings. Thread adapters may be required, and when installing the adapters or any fittings, some form of "thread sealant" must be applied carefully on the pipe threads – it’s not used or needed on AN fittings. Just be sure that none of the sealant gets inside and contaminates the lines or the roll control valve.
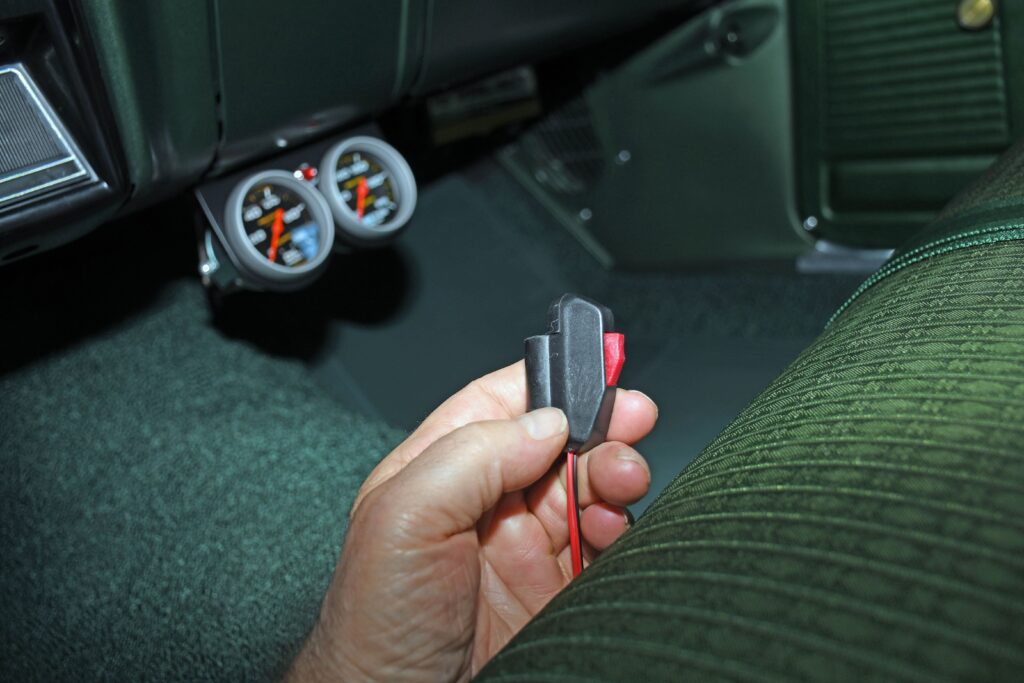
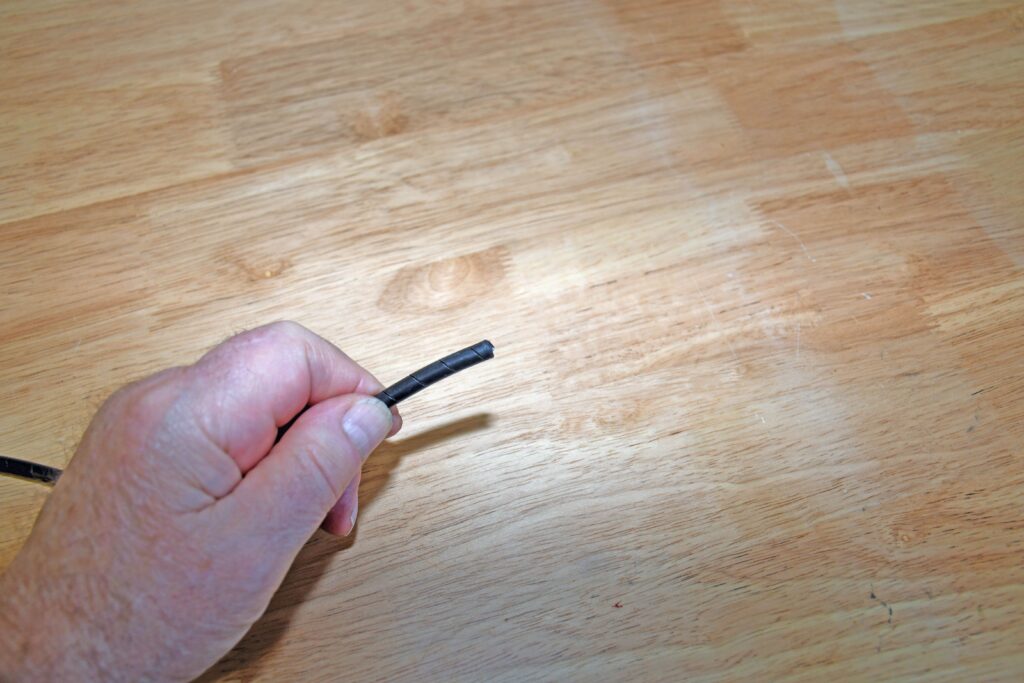
What about the electrics? The electrical hookup seems simple enough: Slip the micro switch over the shifter handle and hook up the pair of wires (one to the control unit and one to a power source). It might appear super simple, but that doesn't mean you can do a quick and dirty installation. Some roll control assemblies often have a pair of "clear" wires that originate in the micro switch. It doesn't matter which wire is "hot" or which one goes to the roll control assembly. The switch will work in either case, however you should make a decision as to the correct "orientation" of the wires. We should also point out that some roll controls include a "sleeve" to protect the pair of switch wires. In most cases, the wires will run down the shifter handle, beside the shift linkage and then under the carpet. Use the sleeve or make one to protect against moving parts, abrasion and the elements. The last thing you need is a hidden short in the system.
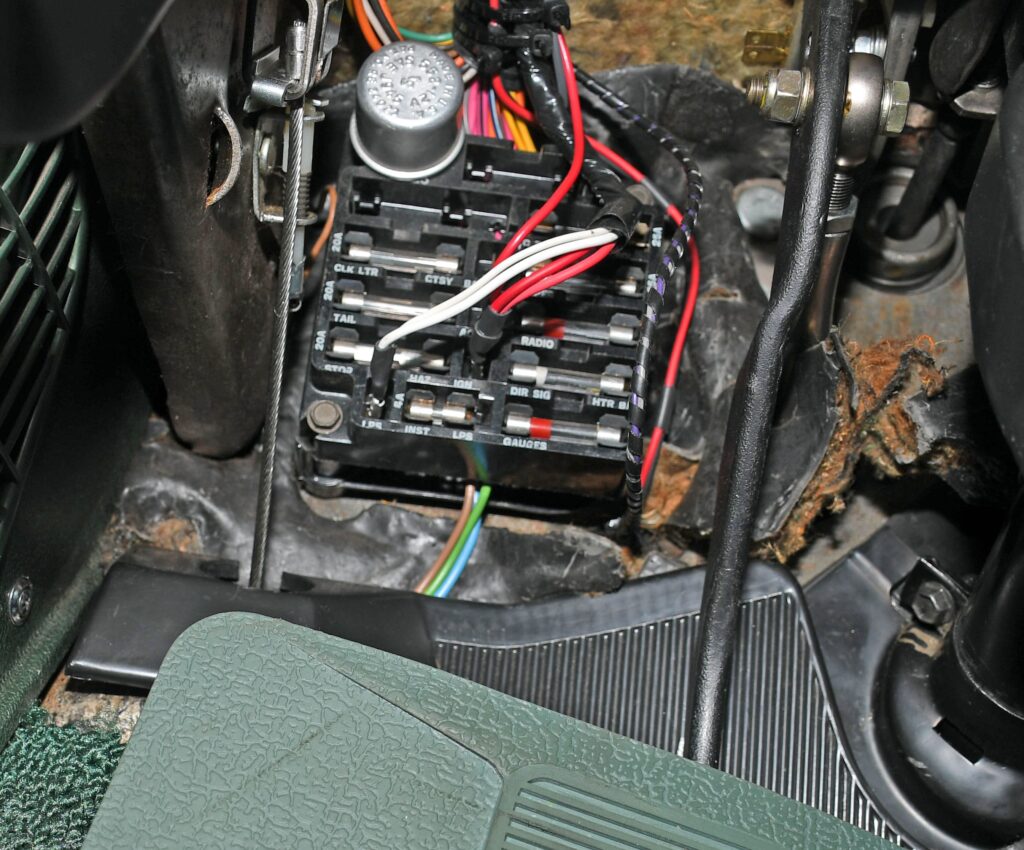
Where do you get power for the roll control? While an in-line fuse assembly is included in the roll control kit, you might want to wire the assembly directly into the fuse panel. It's unfortunate, but it's all too common to find electricals finished with a bare wire jammed behind an already-used fuse in the panel. This isn't necessary. Many factory fuse panels already have provisions for such accessory installations. Virtually all sixties, seventies and later fuse panels will have a readily marked spare "LPS" terminal, a "BATT" terminal and an "ACC" terminal. These locations almost always feature a male spade terminal which allows you to simply clip on a wire and have immediate power for the component, offering fully fused protection without the need of an in-line fuse.
OK. Which terminal do you use for the roll control? The "LPS" terminal stands for "lamps". In other words, if something is turned on with the head lamps, it will come on when hooked to the "LPS" terminal. Obviously, not appropriate for a roll control. The "BATT" terminal works all the time. If a component is switched, and you may require it to work without the engine running (or the ignition key turned to "on"), then hook it to this terminal. A good example is the roll control. It has a separate "on-off" switch. And for some reason, you may want to apply the front brakes when the car is not running, this terminal location has that capability. The last available terminal is the "ACC" lead. This abbreviation stands for accessory. As expected, it functions when the ignition switch is clicked to "ACC" or "ON" or, when the vehicle is running. Obviously, this terminal can also be used for the roll control installation.
Once wired, and whenever the system is engaged, the roll control light comes on. Finally, you should be certain that the ground is adequate. In some applications, the roll control valve is mounted to a metal inner fender. If that's the case, the system may simply be grounded directly to the fender using one of the roll control mounting bolts. If your car has a plastic inner fender, or if the ground isn’t suitable, run the ground to the firewall or other grounded section of sheet metal in the engine compartment. Just be certain that the ground connection is sound and clean.
And there you have it. A simple piece of equipment that helps to link the driver to the car. The roll control will allow for easy burnouts and can help make the staging process much less dramatic. For a closer look, check out the following slides.
Click Here to Begin Slideshow
Part 2 of Wayne Scraba's Roll Control Series focuses on mounting and plumbing the valve for maximum performance.
Last issue, we looked at burnouts and why “line locks” and brake pressure or “stage gauges” make the process easier. When it comes to roll control (line lock) installation, the first order of business is to mount the "valve" somewhere in the engine compartment. Virtually all contemporary passenger cars hang the master cylinder on the firewall or in the case of a tube frame car, under the floor. Because of this, you should select a location that is relatively close to the master cylinder. This makes the actual plumbing easier and less complex. As you can see in the accompanying photos, a very common location is on the driver side inner fender well. When mounting the valve, you can use large sheet metal screws, but a better plan might be to use small bolts for mounting. Why? With a nut on the backside, there's no chance of scoring your skin on the pointy side of a sheet metal screw.
When it comes to plumbing, there isn't one standard method of hooking up the system. Detroit fitted countless variations of brake systems in passenger cars, and because of this, there are numerous ways to plumb the valve. The diagrams included with most roll controls detail the plumbing requirements of the system for most common master cylinder arrangements. Because several of the lines will require replacement or re-bending, a flaring tool and a quality tubing bender will be required. Of course, there are some alternate options available that can circumvent the cut and paste routine. Most Jobbers sell "ready tube" (or versions of it) for brake line use. Simply locate a piece of brake pipe of the appropriate length (pre-flared and fitted with correct fittings) and simply bent it for use it in our installation. Be sure to use steel or stainless tubing that is designed specifically for brake use. All hard lines must be of the seamless configuration, and if you plan on fabricating your own line like this, it should be bent with proper equipment.
One final note in regard to plumbing a roll control. Most units are machined for use with pipe thread ends. In other words, it is not designed for direct use with AN fittings. Thread adapters may be required, and when installing the adapters or any fittings, some form of "thread sealant" must be applied carefully on the pipe threads – it’s not used or needed on AN fittings. Just be sure that none of the sealant gets inside and contaminates the lines or the roll control valve.
What about the electrics? The electrical hookup seems simple enough: Slip the micro switch over the shifter handle and hook up the pair of wires (one to the control unit and one to a power source). It might appear super simple, but that doesn't mean you can do a quick and dirty installation. Some roll control assemblies often have a pair of "clear" wires that originate in the micro switch. It doesn't matter which wire is "hot" or which one goes to the roll control assembly. The switch will work in either case, however you should make a decision as to the correct "orientation" of the wires. We should also point out that some roll controls include a "sleeve" to protect the pair of switch wires. In most cases, the wires will run down the shifter handle, beside the shift linkage and then under the carpet. Use the sleeve or make one to protect against moving parts, abrasion and the elements. The last thing you need is a hidden short in the system.
Where do you get power for the roll control? While an in-line fuse assembly is included in the roll control kit, you might want to wire the assembly directly into the fuse panel. It's unfortunate, but it's all too common to find electricals finished with a bare wire jammed behind an already-used fuse in the panel. This isn't necessary. Many factory fuse panels already have provisions for such accessory installations. Virtually all sixties, seventies and later fuse panels will have a readily marked spare "LPS" terminal, a "BATT" terminal and an "ACC" terminal. These locations almost always feature a male spade terminal which allows you to simply clip on a wire and have immediate power for the component, offering fully fused protection without the need of an in-line fuse.
OK. Which terminal do you use for the roll control? The "LPS" terminal stands for "lamps". In other words, if something is turned on with the head lamps, it will come on when hooked to the "LPS" terminal. Obviously, not appropriate for a roll control. The "BATT" terminal works all the time. If a component is switched, and you may require it to work without the engine running (or the ignition key turned to "on"), then hook it to this terminal. A good example is the roll control. It has a separate "on-off" switch. And for some reason, you may want to apply the front brakes when the car is not running, this terminal location has that capability. The last available terminal is the "ACC" lead. This abbreviation stands for accessory. As expected, it functions when the ignition switch is clicked to "ACC" or "ON" or, when the vehicle is running. Obviously, this terminal can also be used for the roll control installation.
Once wired, and whenever the system is engaged, the roll control light comes on. Finally, you should be certain that the ground is adequate. In some applications, the roll control valve is mounted to a metal inner fender. If that's the case, the system may simply be grounded directly to the fender using one of the roll control mounting bolts. If your car has a plastic inner fender, or if the ground isn’t suitable, run the ground to the firewall or other grounded section of sheet metal in the engine compartment. Just be certain that the ground connection is sound and clean.
And there you have it. A simple piece of equipment that helps to link the driver to the car. The roll control will allow for easy burnouts and can help make the staging process much less dramatic. For a closer look, check out the following slides.
Click Here to Begin Slideshow
Leave a Reply