

![[Gallery] Mecum Kissimmee Auction 2026](https://www.racingjunk.com/news/wp-content/uploads/2026/03/DSC_0717-e1774629242515-376x206.jpg)

![[Gallery] Cruisin’ One Daytona](https://www.racingjunk.com/news/wp-content/uploads/2026/03/DSC_0538-e1774027057404-376x206.jpg)

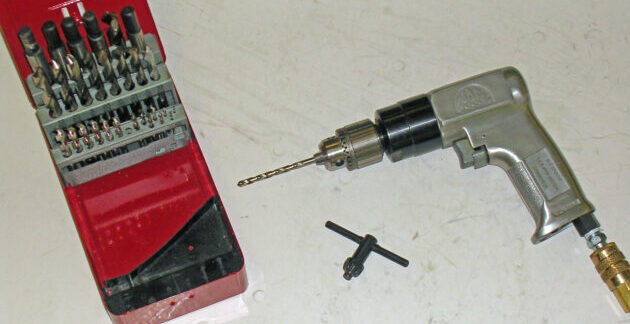
Drilling 101: There’s More To Drilling Holes Than You Think
"An article about drilling holes? Are you nuts?" I don’t think so. The truth is, if you’ve ever drilled a hole in something, bolted it down, then had the darned thing break or fall off a few days or miles later, you’re probably looking at an article of interest. You see there are plenty of cars built out there (including plenty of “big buck” professional jobs) with pieces fastened incorrectly. And a big part of the problem is the respective hole(s) drilled in a structure in order to fasten a given component.
A back yard-built car is one thing, but in the world of aviation, you simply can't take the chance that something will fall off (although aviation failures are big news today, remember those questions should be tempered against the sheer numbers of aircraft flights). And one place where the FAA (Federal Aviation Administration) pays big attention is the area of drilled holes. Now, before you shrug off the thought of aircraft tech in regard to simple old-fashioned home built hot rod, think about this: When the high performance movement really picked up speed following WWII, plenty of those guys had aircraft maintenance and fabrication skills. Not everyone was simply a dirt bag grease monkey. A lot of those early rodders and racers knew what they were doing, and we can copy them. Here’s one piece of the puzzle:
Edge Margins -- How Close Can You Come?
If a hole is drilled too close to the edge of a given piece of metal, the small amount of metal between the hole and the edge of the metal might tear away while under periods of stress. This distance between the edge of the material and the drilled hole is called an "edge margin". Basically, a specified edge margin is the distance from the center of a hole to the nearest edge.
In aviation, the standard edge margin works out to twice the diameter of the hole. As an example, if you have a 1/4-inch hole, the center point of that drilled hole should not be closer than 1/2 inch from the edge of the material (1/4-inch drilled hole X 2 = 1/2-inch). So far so good, but what if you have to drill a series of holes in a structure? How close can they become? The aviation industry has an answer for that too: The minimum separation between hole centers is three times the diameter. This means that if you have a piece that requires a bunch of 1/4-inch holes drilled for fastening purposes, each hole center must be 3/4-inch apart (1/4-inch drilled hole X 3 = 3/4-inch). If, for example, you have a piece of aluminum plate and it's mounted to a chassis tab by way of a series of holes, then each hole must maintain the edge margin and the series of holes must be a specific distance apart.
The following chart provides the 2X numbers for the edge margin along with the 3X numbers for hole separation, using the most common drill sizes:
Edge Margin & Hole Separation
(all figures in "inches")
Drilled Hole Diameter 2X (Edge Margin) 3X (Separation)
______________________________________________________________________________
3/32 3/16 9/32
1/8 1/4 3/8
3/16 3/8 9/16
1/4 1/2 3/4
5/16 5/8 15/16
3/8 3/4 1-1/8
7/16 7/8 1-5/16
1/2 1 1-1/2
9/16 1-1/8 1-11/16
5/8 1-1/4 1-7/8
3/4 1-1/2 2-1/4
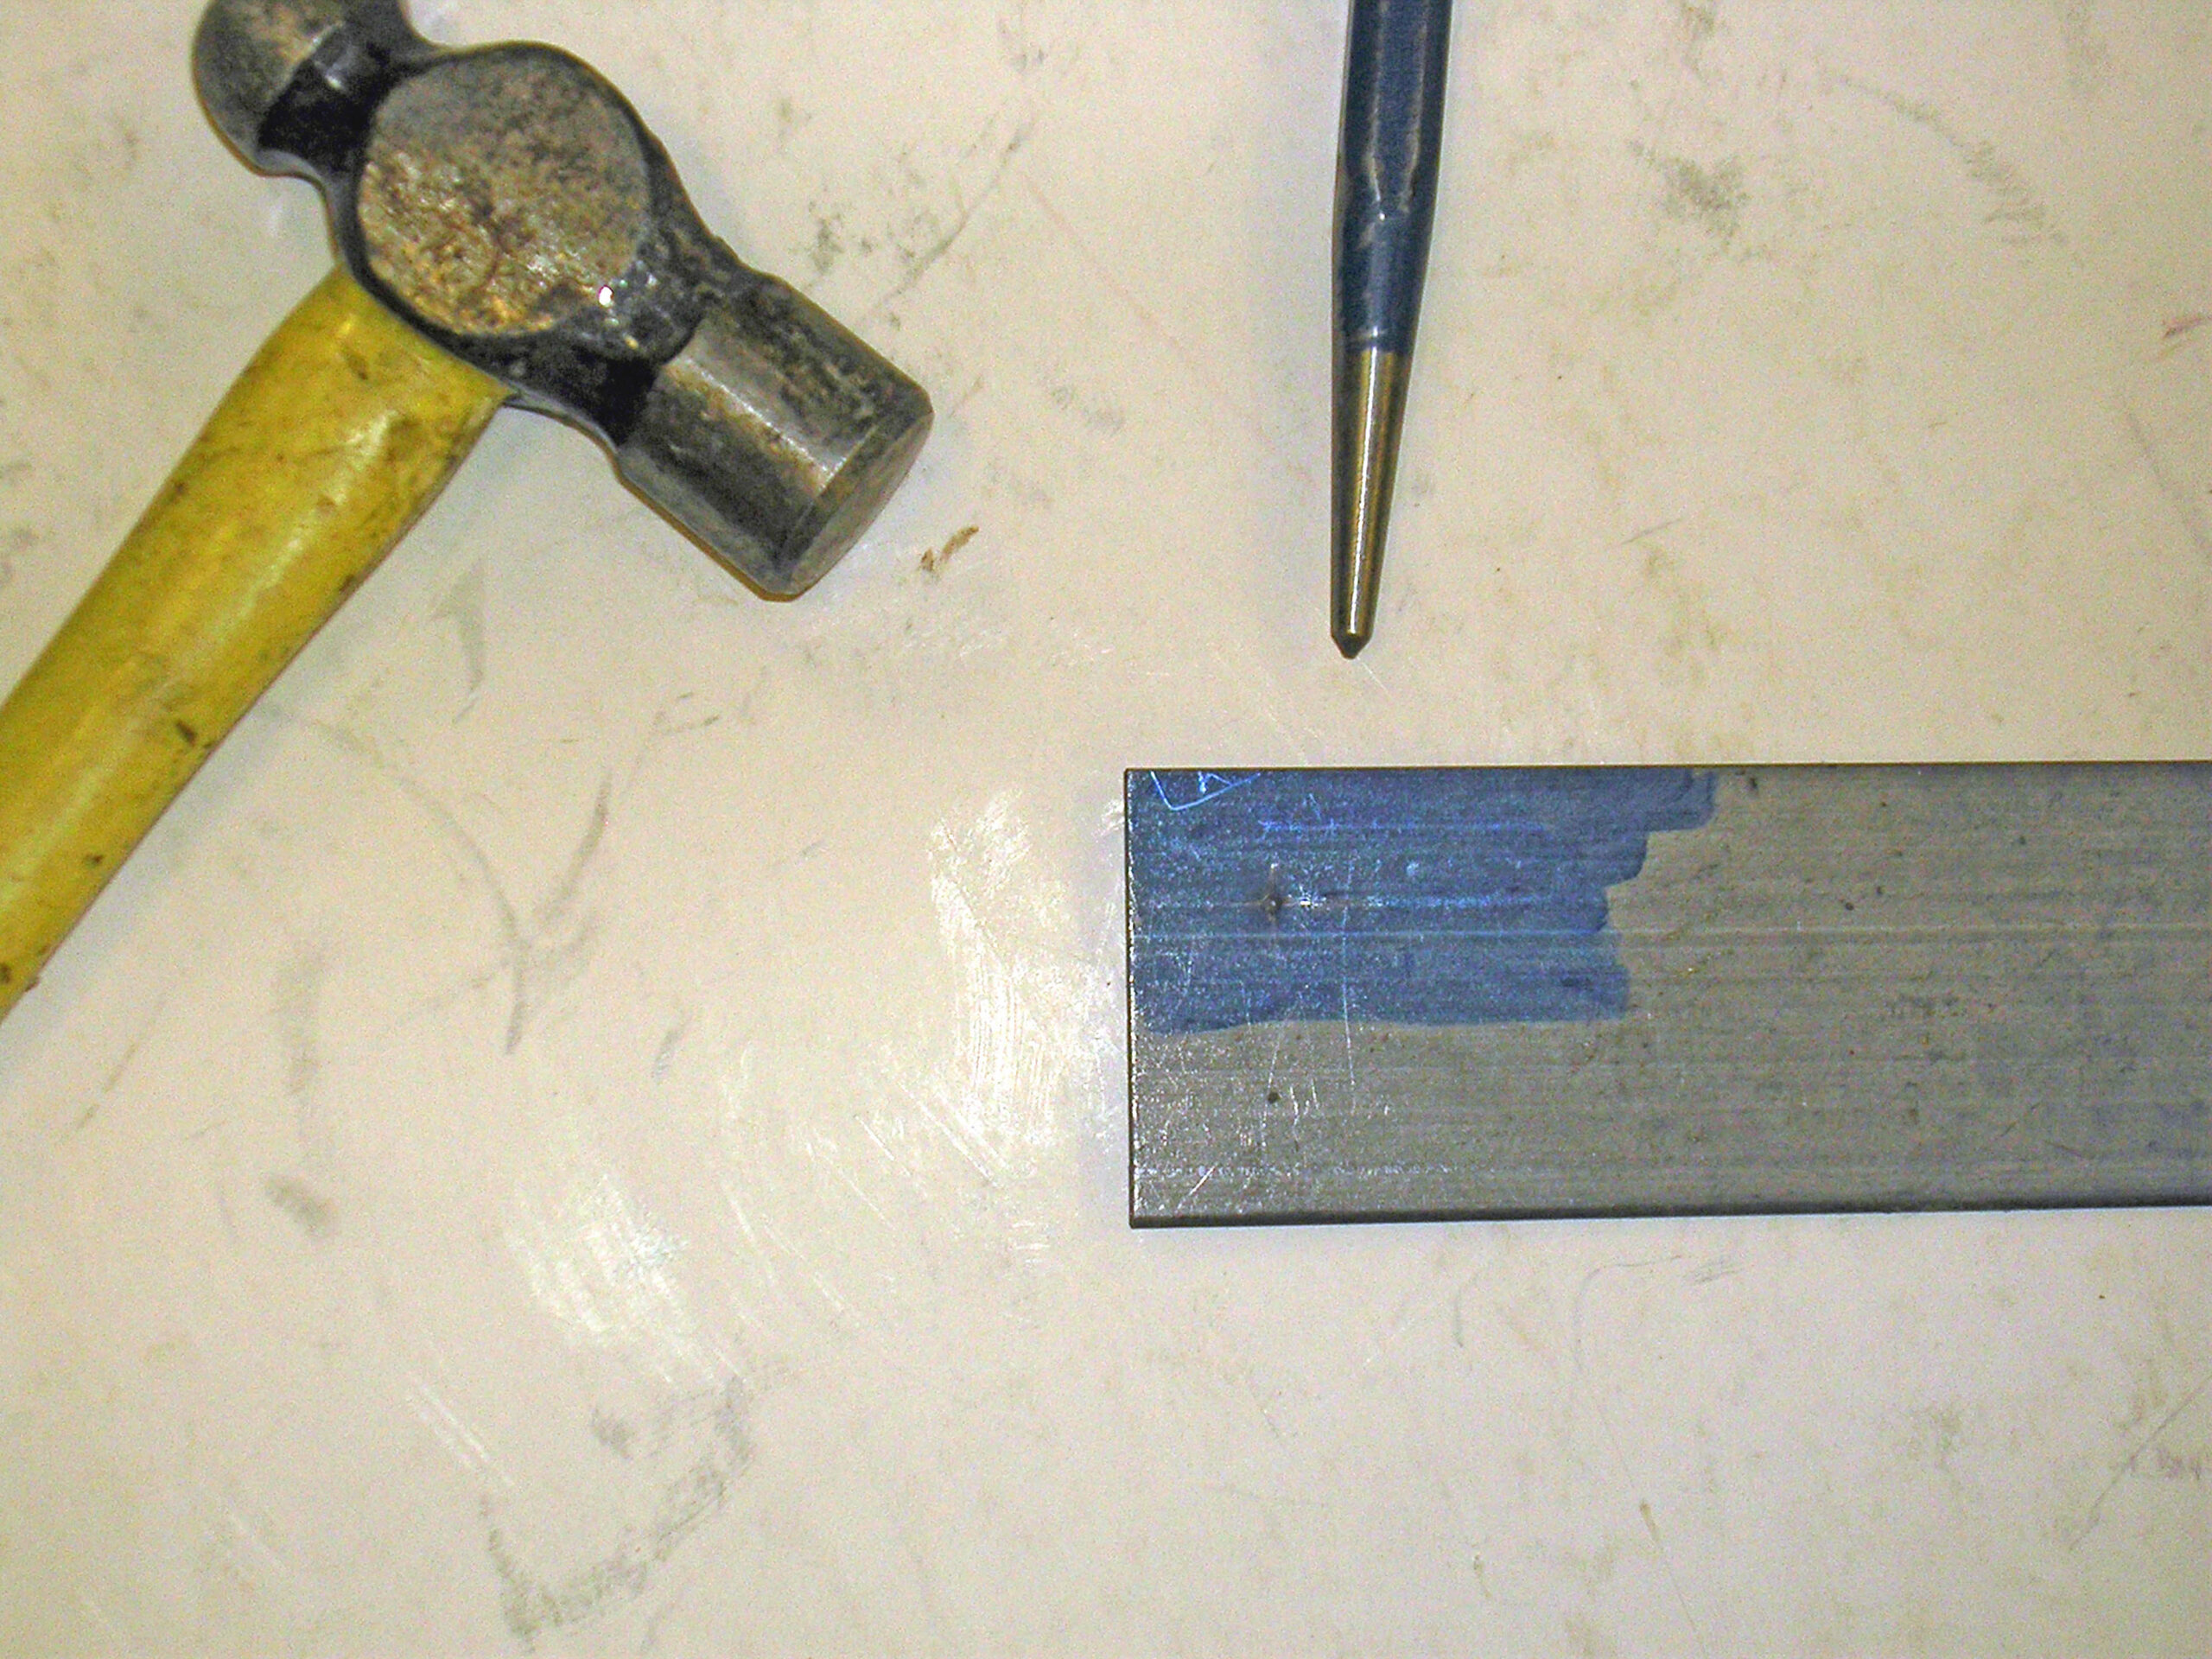
When you drill a hole, there's no question you want the hole in the exact spot you place the bit. Typically, the drill bit will wander off that location. In order to keep the drill bit in one spot, use a center punch to dimple the metal at the drill point. Automatic center punches are available (I don't have one, but they operate with one hand) to make this job easier.
The Parts Of A Drill Bit…
A "twist drill" is a pretty simple device. But what happens when bits get dull? While there are several different drill sharpening devices available today, most of the printed information I’ve found from the aircraft industry goes something like this: Find the nearest trash bin and dump the bit. Drill bits aren't all that expensive and if accuracy counts, then you're better off replacing a dull bit. You'll also find that the use of dull drill bits creates burrs around drilled holes. More on burrs later.
There's more too: Drilling a hole to a final size in one pass is sloppy. Basically, the pieces of metal shavings rattle around during the drilling process and actually enlarge the hole. To stop this problem, always drill the hole undersize so that only a slight amount of metal is actually removed during the final drilling.
How about the actual size of the drilled hole? That's simple. Right? Maybe not. First of all, check out the following chart that depicts drill sizes:
Drill Size vs. Diameter
Size Inch Size Inch Size Inch
_______________________________________________________________________
80 .0135 32 .1160 M .2950
79 .0145 31 .1200 19/64 .2969
1/64 .0156 1/8 .1250 N .3020
78 .0160 30 .1285 5/16 .3125
77 .0180 29 .1360 O .3160
76 .0200 28 .1405 P .3230
75 .0210 9/64 .1406 21/64 .3281
74 .0225 27 .1440 Q .3320
73 .0240 26 .1470 R .3390
72 .0250 25 .1495 11/32 .3438
71 .0260 24 .1520 S .3480
70 .0280 23 .1540 T .3580
69 .0292 5/32 .1563 23/64 .3594
68 .0310 22 .1570 U .3680
1/32 .0313 21 .1590 3/8 .3750
67 .0320 20 .1610 V .3770
66 .0330 19 .1660 W .3860
65 .0350 18 .1695 25/64 .3906
64 .0360 11/64 .1719 X .3970
63 .0370 17 .1730 Y .4040
62 .0380 16 .1770 13/32 .4063
61 .0390 15 .1800 Z .4130
60 .0400 14 .1820 27/64 .4219
59 .0410 13 .1850 7/16 .4375
58 .0420 3/16 .1875 29/64 .4531
57 .0430 12 .1890 15/32 .4688
56 .0465 11 .1910 31/64 .4844
3/64 .0469 10 .1935 1/2 .5000
55 .0520 9 .1960 33/64 .5156
54 .0550 8 .1990 17/32 .5313
53 .0595 7 .2010 35/64 .5469
1/16 .0625 13/64 .2031 9/16 .5625
52 .0635 6 .2040 37/64 .5781
51 .0670 5 .2055 19/32 .5938
50 .0700 4 .2090 39/64 .6094
49 .0730 3 .2130 5/8 .6250
48 .0760 7/32 .2188 41/64 .6406
5/64 .0781 2 .2210 21/32 .6563
47 .0785 1 .2280 43/64 .6719
46 .0810 A .2340 11/16 .6875
45 .0820 15/64 .2344 45/64 .7031
44 .0860 B .2380 23/32 .7188
43 .0890 C .2420 47/64 .7344
42 .0935 D .2460 3/4 .7500
3/32 .0938 1/4 .2500 49/64 .7656
41 .0960 E .2500 25/32 .7813
40 .0980 F .2570 51/64 .7969
39 .0995 G .2610 13/16 .8125
38 .1015 17/64 .2656 53/64 .8281
37 .1040 H .2660 27/32 .8438
36 .1065 I .2720 55/64 .8594
7/64 .1094 J .2770 7/8 .8750
35 .1100 K .2810 57/64 .8906
34 .1110 9/32 .2813 29/32 .9063
33 .1130 L .2900 59/64 .9219
15/16 .9375
61/64 .9531
31/32 .9688
63/64 .9844
As you can see, drill bits are available in fractional sizes, measured in increments of 1/64th of an inch along with "in-between" sizes. The "in-between" sizes are based upon a number system that sizes the bit from 80 through 1 (80 being the smallest and 1 being the largest). There’s more here too: An alpha system exists, which begins with "A" and ends with "Z" ("A" being the smallest and "Z" being the largest). As you can see from the chart, the alpha size system takes over once the numeric system ends (fractional system notwithstanding).
With the drill size out of the way, you're presented with another dilemma: Bolts are usually undersize. For example, a high quality 3/16-inch bolt (a good example is an AN3 fastener) is supposed to measure 3/16-inch or 0.1875-inch, but it doesn't. Typically, it measures 0.185-inch. This means a #13 drill bit is the exact size, but of course, you might have trouble getting the bolt in the drilled hole if everything is sized identically.
Whenever a hole is drilled, you'll almost always find that a burr remains around each hole. It's a good idea to eliminate these burrs, simply because they're a place for stress risers to begin. Some people will deburr the drilled hole by chattering a drill bit around the circumference. While it removes the ridge, it usually destroys the surface around the drilled hole, and pretty much enlarges the drilled hole. The recommended aircraft method words like this: A deburring bit or countersink can be used on each side of the hole (using your hands as power rather than an electric or air tool) to remove the burr. Basically, this process bevels the edge and removes the ridge left by the drill bit. Finally, it's a good idea to use a piece of emery cloth over each deburred, drilled hole.
As you can see, there's a bit more to drilling a hole than first meets the eye. Take some of this aircraft advice and apply it to your project. It just might make it more reliable. And besides, think of your pals as they follow you down the road: They don’t have to worry about dodging stray pieces when they fall off your car.
A back yard-built car is one thing, but in the world of aviation, you simply can't take the chance that something will fall off (although aviation failures are big news today, remember those questions should be tempered against the sheer numbers of aircraft flights). And one place where the FAA (Federal Aviation Administration) pays big attention is the area of drilled holes. Now, before you shrug off the thought of aircraft tech in regard to simple old-fashioned home built hot rod, think about this: When the high performance movement really picked up speed following WWII, plenty of those guys had aircraft maintenance and fabrication skills. Not everyone was simply a dirt bag grease monkey. A lot of those early rodders and racers knew what they were doing, and we can copy them. Here’s one piece of the puzzle:
Edge Margins -- How Close Can You Come?
If a hole is drilled too close to the edge of a given piece of metal, the small amount of metal between the hole and the edge of the metal might tear away while under periods of stress. This distance between the edge of the material and the drilled hole is called an "edge margin". Basically, a specified edge margin is the distance from the center of a hole to the nearest edge.
In aviation, the standard edge margin works out to twice the diameter of the hole. As an example, if you have a 1/4-inch hole, the center point of that drilled hole should not be closer than 1/2 inch from the edge of the material (1/4-inch drilled hole X 2 = 1/2-inch). So far so good, but what if you have to drill a series of holes in a structure? How close can they become? The aviation industry has an answer for that too: The minimum separation between hole centers is three times the diameter. This means that if you have a piece that requires a bunch of 1/4-inch holes drilled for fastening purposes, each hole center must be 3/4-inch apart (1/4-inch drilled hole X 3 = 3/4-inch). If, for example, you have a piece of aluminum plate and it's mounted to a chassis tab by way of a series of holes, then each hole must maintain the edge margin and the series of holes must be a specific distance apart.
The following chart provides the 2X numbers for the edge margin along with the 3X numbers for hole separation, using the most common drill sizes:
Edge Margin & Hole Separation
(all figures in "inches")
Drilled Hole Diameter 2X (Edge Margin) 3X (Separation)
______________________________________________________________________________
3/32 3/16 9/32
1/8 1/4 3/8
3/16 3/8 9/16
1/4 1/2 3/4
5/16 5/8 15/16
3/8 3/4 1-1/8
7/16 7/8 1-5/16
1/2 1 1-1/2
9/16 1-1/8 1-11/16
5/8 1-1/4 1-7/8
3/4 1-1/2 2-1/4
When you drill a hole, there's no question you want the hole in the exact spot you place the bit. Typically, the drill bit will wander off that location. In order to keep the drill bit in one spot, use a center punch to dimple the metal at the drill point. Automatic center punches are available (I don't have one, but they operate with one hand) to make this job easier.
The Parts Of A Drill Bit…
A "twist drill" is a pretty simple device. But what happens when bits get dull? While there are several different drill sharpening devices available today, most of the printed information I’ve found from the aircraft industry goes something like this: Find the nearest trash bin and dump the bit. Drill bits aren't all that expensive and if accuracy counts, then you're better off replacing a dull bit. You'll also find that the use of dull drill bits creates burrs around drilled holes. More on burrs later.
There's more too: Drilling a hole to a final size in one pass is sloppy. Basically, the pieces of metal shavings rattle around during the drilling process and actually enlarge the hole. To stop this problem, always drill the hole undersize so that only a slight amount of metal is actually removed during the final drilling.
How about the actual size of the drilled hole? That's simple. Right? Maybe not. First of all, check out the following chart that depicts drill sizes:
Drill Size vs. Diameter
Size Inch Size Inch Size Inch
_______________________________________________________________________
80 .0135 32 .1160 M .2950
79 .0145 31 .1200 19/64 .2969
1/64 .0156 1/8 .1250 N .3020
78 .0160 30 .1285 5/16 .3125
77 .0180 29 .1360 O .3160
76 .0200 28 .1405 P .3230
75 .0210 9/64 .1406 21/64 .3281
74 .0225 27 .1440 Q .3320
73 .0240 26 .1470 R .3390
72 .0250 25 .1495 11/32 .3438
71 .0260 24 .1520 S .3480
70 .0280 23 .1540 T .3580
69 .0292 5/32 .1563 23/64 .3594
68 .0310 22 .1570 U .3680
1/32 .0313 21 .1590 3/8 .3750
67 .0320 20 .1610 V .3770
66 .0330 19 .1660 W .3860
65 .0350 18 .1695 25/64 .3906
64 .0360 11/64 .1719 X .3970
63 .0370 17 .1730 Y .4040
62 .0380 16 .1770 13/32 .4063
61 .0390 15 .1800 Z .4130
60 .0400 14 .1820 27/64 .4219
59 .0410 13 .1850 7/16 .4375
58 .0420 3/16 .1875 29/64 .4531
57 .0430 12 .1890 15/32 .4688
56 .0465 11 .1910 31/64 .4844
3/64 .0469 10 .1935 1/2 .5000
55 .0520 9 .1960 33/64 .5156
54 .0550 8 .1990 17/32 .5313
53 .0595 7 .2010 35/64 .5469
1/16 .0625 13/64 .2031 9/16 .5625
52 .0635 6 .2040 37/64 .5781
51 .0670 5 .2055 19/32 .5938
50 .0700 4 .2090 39/64 .6094
49 .0730 3 .2130 5/8 .6250
48 .0760 7/32 .2188 41/64 .6406
5/64 .0781 2 .2210 21/32 .6563
47 .0785 1 .2280 43/64 .6719
46 .0810 A .2340 11/16 .6875
45 .0820 15/64 .2344 45/64 .7031
44 .0860 B .2380 23/32 .7188
43 .0890 C .2420 47/64 .7344
42 .0935 D .2460 3/4 .7500
3/32 .0938 1/4 .2500 49/64 .7656
41 .0960 E .2500 25/32 .7813
40 .0980 F .2570 51/64 .7969
39 .0995 G .2610 13/16 .8125
38 .1015 17/64 .2656 53/64 .8281
37 .1040 H .2660 27/32 .8438
36 .1065 I .2720 55/64 .8594
7/64 .1094 J .2770 7/8 .8750
35 .1100 K .2810 57/64 .8906
34 .1110 9/32 .2813 29/32 .9063
33 .1130 L .2900 59/64 .9219
15/16 .9375
61/64 .9531
31/32 .9688
63/64 .9844
As you can see, drill bits are available in fractional sizes, measured in increments of 1/64th of an inch along with "in-between" sizes. The "in-between" sizes are based upon a number system that sizes the bit from 80 through 1 (80 being the smallest and 1 being the largest). There’s more here too: An alpha system exists, which begins with "A" and ends with "Z" ("A" being the smallest and "Z" being the largest). As you can see from the chart, the alpha size system takes over once the numeric system ends (fractional system notwithstanding).
With the drill size out of the way, you're presented with another dilemma: Bolts are usually undersize. For example, a high quality 3/16-inch bolt (a good example is an AN3 fastener) is supposed to measure 3/16-inch or 0.1875-inch, but it doesn't. Typically, it measures 0.185-inch. This means a #13 drill bit is the exact size, but of course, you might have trouble getting the bolt in the drilled hole if everything is sized identically.
Whenever a hole is drilled, you'll almost always find that a burr remains around each hole. It's a good idea to eliminate these burrs, simply because they're a place for stress risers to begin. Some people will deburr the drilled hole by chattering a drill bit around the circumference. While it removes the ridge, it usually destroys the surface around the drilled hole, and pretty much enlarges the drilled hole. The recommended aircraft method words like this: A deburring bit or countersink can be used on each side of the hole (using your hands as power rather than an electric or air tool) to remove the burr. Basically, this process bevels the edge and removes the ridge left by the drill bit. Finally, it's a good idea to use a piece of emery cloth over each deburred, drilled hole.
As you can see, there's a bit more to drilling a hole than first meets the eye. Take some of this aircraft advice and apply it to your project. It just might make it more reliable. And besides, think of your pals as they follow you down the road: They don’t have to worry about dodging stray pieces when they fall off your car.
Leave a Reply