

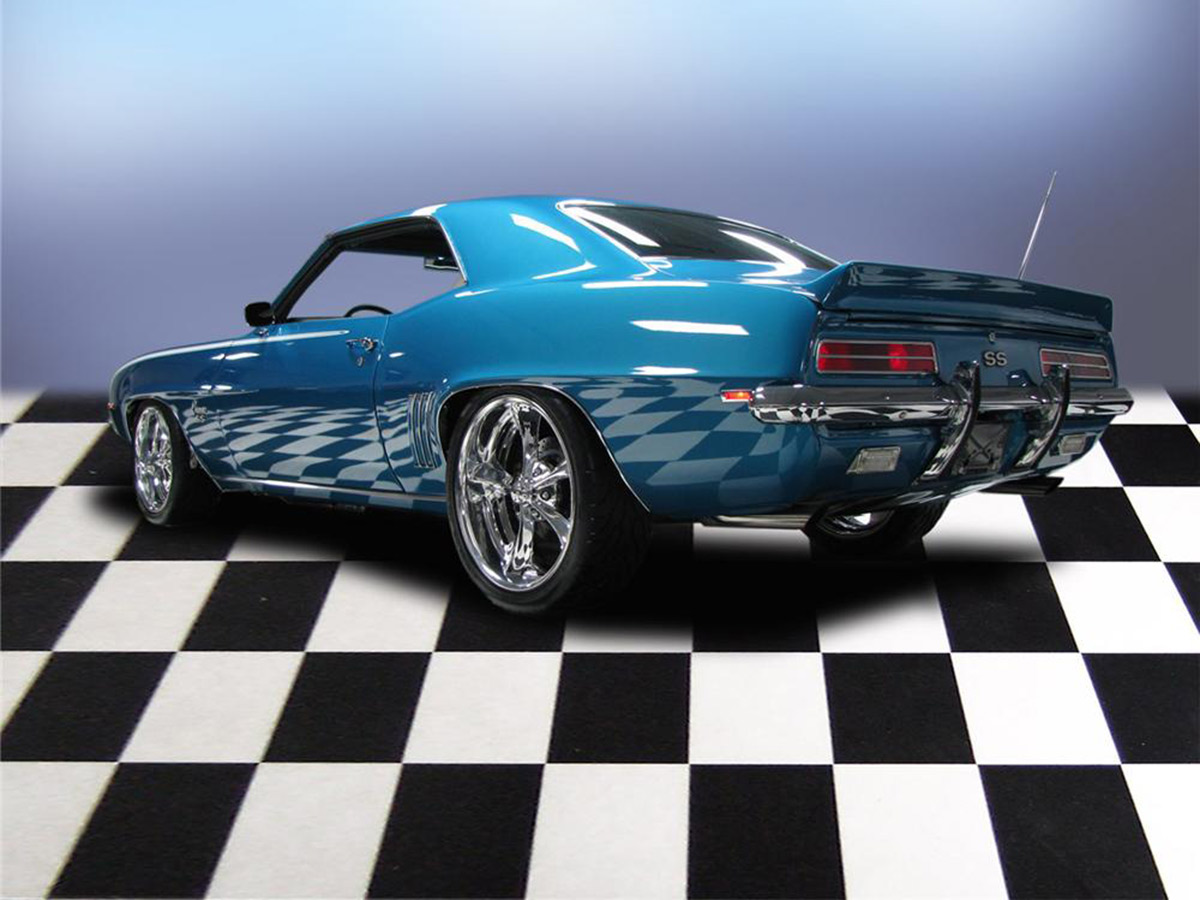
Improve Your Chevy Strip Burner’s Handling with New Coil Springs

Installing new coil springs is one the best ways to improve the handling of your older Chevy. Removing the old coil springs and installing new ones is a pretty straightforward process. However, the coil springs are under tremendous pressure, so if you don’t use the proper tools and take the proper precautions, you could do serious damage to your car, your shop, or yourself.
Read through the required tools and equipment listed. Read through the steps carefully so you understand what you’re doing before you do it. Lastly, pay attention to the safety notes and wear safety glasses while performing the work.
We Speak with Cathy White of Classic Performance Products about Coil Springs
Q: How do I choose the correct spring?
A: Coil spring choice is determined by how the vehicle is equipped, intended to look (stance) and most of all be driven. If you’re looking for an improved factory replacement spring, this is typically based on the vehicle’s year and model, engine size and desired ride height. Over the years CPP has designed and developed a full line of replacement springs with many spring options. Options that allow your vehicle to remain original in appearance or that will change the stance and overall appearance. CPP springs, when complemented with our performance gas shocks, offer superior ride quality, a perfect looking stance with a sporty, performance feel. Achieving this is really bolt on easy.
Q: When should someone upgrade their springs?
A: Many years of service and miles really take a toll on stock springs. They tend to lose their memory, which can cause the springs to get weak and the vehicle to sag. An upgrade should be considered on any Classic Chevy, whether it’s a cruiser, a muscle car or even a classic truck. If the springs have never been updated, age not miles is the biggest factor. A quality replacement coil spring can improve the ride quality and enhance the performance dramatically, making any Classic Chevy more fun and reliable to drive.

Q: Are there different coil springs for different uses?
A: Absolutely! There are many different coil springs available for different applications. CPP offers everything from stock height replacement springs for those looking to restore their vehicle to a wide range of springs that change the stance or ride heights for a more aggressive look and feel. CPP also offers a complete line of adjustable Coil-Overs Shocks, which is one adjustable assembly that is both the spring and shock absorber assembled together. These are typically a little more expensive but offer the end user the ability to adjust both the ride height and the firmness of the shock valving. Coil-Over Shocks will allow you to firm or dampen shock rebound as well as compression giving the driver full tuning ability of the shocks for almost and situation.
Q: How does someone know what spring rate they need?
A: The best way to determine what spring rate is needed is to consult with an industry expert like CPP. The CPP professionals have the experience and expertise to walk you thru this process, they will ask all the right questions to help you determine the best spring style and spring rate for your situation. Questions like – engine size, engine options (aluminum heads, intake, big block or small block) also your tire and wheel size, and where do you drive, like in the mountains on curvy roads or mostly on the open highways or do you like to cruise or to compete. CPP will ask and help you answer all the questions to guide you to the perfect spring combination for your Classic Chevy.
The Tools and Equipment You Will Need

Most of the tools you’re going to need to do this perform this performance upgrade are things you already have. What you don’t have can be rented or borrowed from most chain auto parts stores.
• Jack
• Two jack stands
• Tire iron/lug wrench
• Wrench set
• Wire cutters or pliers
• Sockets and ratchet
• Coil spring compressor
• Two replacement cotter pins (You can straighten and re-use the old ones if you don’t cut them when removing them
• Pickle fork
• Hammer
• New coils
• Wheel block

Step One: Pick the Proper Location to Do the Work
Since you will be lifting the front end off the ground, you should do this work on level ground like in your garage, if at all possible. If you can’t avoid doing it on the slope of your driveway, block the front and rear of one of the rear wheels and firmly set the parking brake prior to jacking up the front end.
Step Two: Support the Frame and Remove the Front Wheels
Use the lug wrench to loosen the lugs in the front wheels before you lift them off the ground. Place the jack under the radiator support and lift it high enough that you can slide the jack stands under the frame behind the front wheels. Slowly lower the jack until the car is fully supported by the jack stands and frame. Pull the jack out.
Remove the lug nuts and tires and set them and the tires aside. I set the tires in front of the work area and use it as a work stool after placing some cardboard or newspaper over it to keep my pants clean.
Step 3: Remove the Shocks
Pop the hood (if you have to) and remove the upper mounting nut for the shock absorber. Set the nut aside. Underneath the car, remove the two nuts or bolts securing the shock to the lower control arm. Remove the shock and set it with the nuts/bolts.
Step 4: Take the Pressure Off the Coil
https://ranchwagon.files.wordpress.com/2012/08/coilspring2.jpg
The removal of the old and installation of the new springs is done one side at a time. Read the instructions on the coil spring compressor you’ll be using so you’re completely familiar with its proper use. Some compressors have you placing the tools inside the coil and compressing the spring while others have you grabbing the coils from the outside and compressing. Compress the spring enough to remove the pressure to where the spring wiggles.
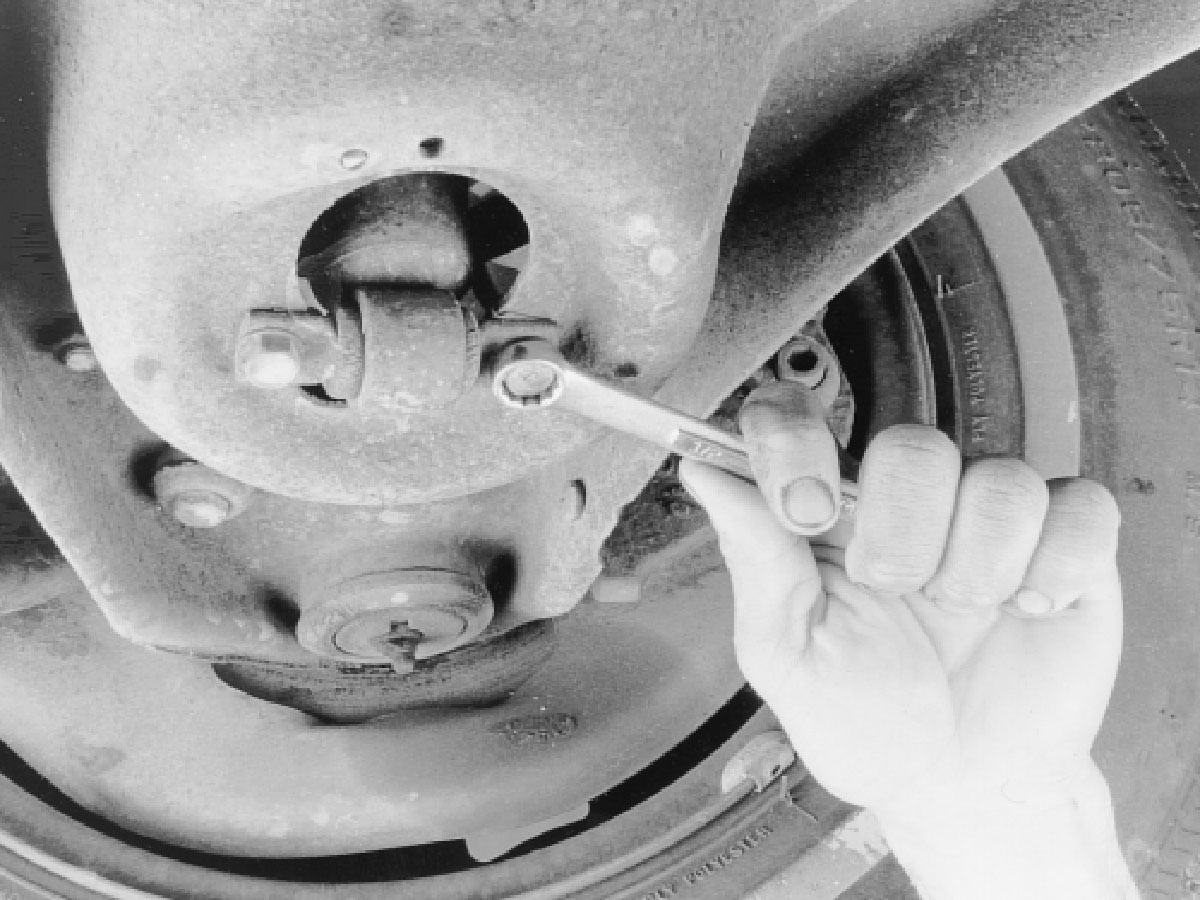
Step 5: Loosen the Ball Joint Nuts
As you sit in front of the drum or brake rotor, you’re seeing the spindle and kingpin/steering knuckle sandwiched between the upper and lower control arms. The control arms are secured to the steering knuckle by means of upper and lower ball joints at the end of the control arms which allow the suspension to move as you drive down the road. These ball joints need to be loosened to remove the coils.
Using the pliers or wire cutters, straighten the cotter pins keeping the ball joint retaining nuts from loosening. If you can, straighten them so they can be reused. Some coil kits will have new ones. Using either a ratchet and the proper socket or a wrench, loosen the ball joint nuts (upper and lower) several threads. Repeat the process on the other ball joint. Place the jack under the lower ball joint and raise it enough to support the lower control arm.
Step 6: Loosen the Ball Joints and Remove the Knuckle
http://image.streetrodderweb.com/f/31320516/1001sr_18_o+1963_chevy_impala+coil_spring_compressor.jpg
If you haven’t already, put your safety glasses on. Insert the pickle fork between the control arm and steering knuckle (upper or lower) with the flat end facing up. Strike the pickle fork firmly with the hammer until the ball joint stud loosens in the steering knuckle. Repeat the process for the other side. Remove the nuts and set them aside.
Step 7: Remove the Spindle Assembly and Coil

You can’t just let the spindle assembly hang by the brake line. You have to support it with something. I usually cut a wire hanger and suspend the assembly from the upper control arm. If you let the spindle hang by the brake line, you run the risk of damaging the line.

After attaching a length of wire to the spindle assembly, lower the jack and lower control arm enough to remove the coil. Pay attention to what the bottom of the coil looks like and how it is oriented in the lower control arm pocket. Lift the spindle assembly out and hang it from the upper control arm. Make sure the brake line/hose has slack in it.
Step 8: Prepare the New Spring for Installation
Carefully decompress the old coil spring until you can remove the compressor. Install the compressor on the new spring properly and compress the replacement spring enough to install it between the control arms. Carefully raise the jack enough to keep the spring in place.
Step 8: Reinstall the Spindle and Knuckle Assembly
Hold onto the spindle assembly and remove the wire supporting it. Place the lower ball joint hole over the lower ball joint stud and lift the jack while guiding the upper ball joint stud into its corresponding hole in the knuckle. Keep lifting the jack until the upper control arm begins to lift.
Step 9: Install the Castle/Retaining Nuts and Cotter Pins
Lots of older mechanics will tell you that you really don’t need to worry about torquing the ball joint stud nuts. They’ll you to tighten them “tight” and then tighten them enough to line up the hole in the stud with one of the openings in the nut. That is but isn’t correct.
These nuts do have a spec. For example, 67-70 Camaros have a lower ball joint torque spec of 65 ft-lbs and upper ball joints should be torque to 50. Once this torque is reached, tighten the nuts just enough to line the holes up and insert the cotter pins, bending them around or over the stud and nut to secure them in place.
Step 10: Decompress the Coil and Reinstall the Shock
You’re almost done. Slowly decompress the coil spring. Guide the coil into the pockets in the control arms as you release the pressure on the compressor tool. Lower the jack and move it to the other side. Slide the shock up through the center of the coil, making sure the upper mounting location slides into place. Reinstall the upper mounting nut or bolt. Reinstall the lower mounting nuts or bolts.
Step 11: Repeat on the Other Side
Repeat steps 2 through 9 on the other side. Once you’ve got the jack back out from under the lower control arm, hang the tires and run the lug nuts down until snug.
Step 12: Finishing Up
Place the jack back under the radiator support and lift the car off the jack stands. Pull the stands out from under the car. Slowly lower the jack until the front wheels begin to take weight. Tighten the lug nuts with the lug wrench/tire iron. Ideally, you will also torque your lug nuts to the proper spec. Finish lowering the jack and enjoy the new look of your ride.
Safety Notes

I’ve seen a front end coil spring that wasn’t properly secured in the spring compressor and had no safety break loose. It wasn’t pretty. I have a ¼ inch chain that I keep handy for when I’m working with springs. Once I have the coil compressed, I wrap the chain around two upper and lower coils to keep the spring compressed and secure it in place with a nut and bolt. The only time that chain isn’t there is when I’m compressing or decompressing the coil.
Wear safety glasses. Yeah, most of them make you look like a dork, but at least you’ll be looking like a dork with both eyes. Hit the pickle fork just the wrong way and a chip of the metal can fly off. If the metal of either the hammer or pickle fork is suffering fatigue you could also experiencing metal chips flying. Protect your eyes, wear safety glasses.
Leave a Reply