

History of Drums and Disc Brakes
Drum brakes were first used on a 1900 Maybach through mechanical effort alone. And since the mid 1930s, oil pressure in small wheel cylinders was used to operate the brakes along with pushing a brake pedal. The manufacturer that set the bar of performance braking goes to Jaguar, who equipped three C-Type race cars with disc brakes in the 1953 Le Mans. This caused car manufacturers to include disc brakes in their production vehicles to compete with the market. Starting in 1955 through the 70s, disc brakes were starting to phase out drum brake setups in the States.
Drum brakes are a conventional design utilizing “brake shoes” to press against an outer “drum” that rotates with the wheel, thus when brake pressure is applied, the “shoes” will push out against the rotating “drum” and slow the wheel from spinning or to stop the car.
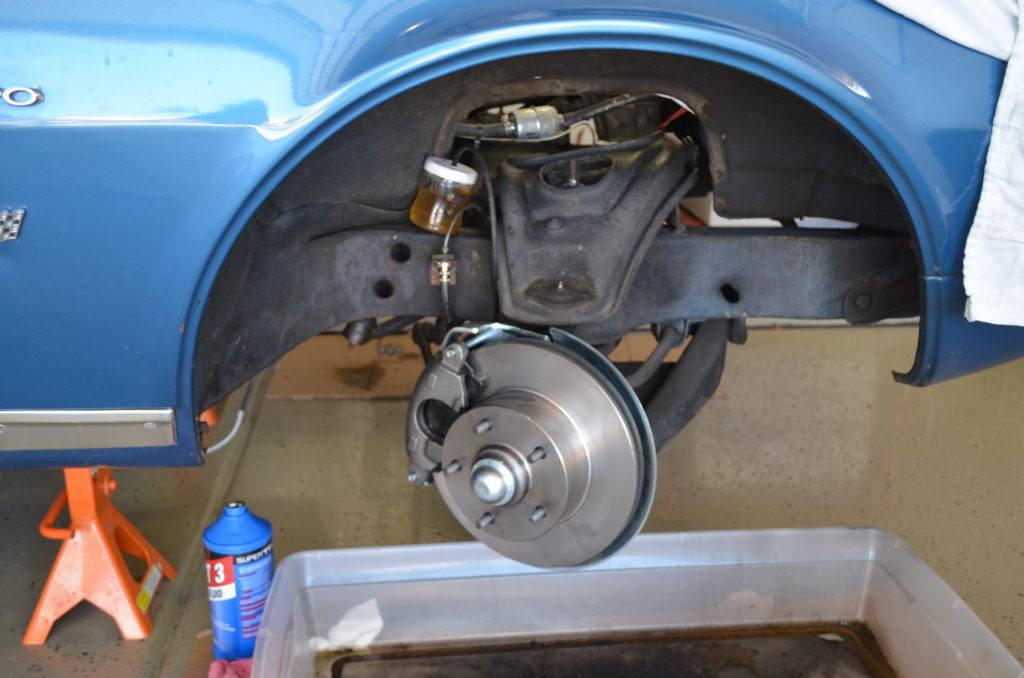
Disc brakes have the same function, but overall different design. The basic components of a disc brake setup consists of a caliper, friction pads and a rotor. As the wheel or rotor turns and you want to slow down, pressure is applied to the brake pedal which in turn causes the calipers to squeeze the brake pads (friction material) against the rotor to slow it down.
Benefits of Disc Brakes
Disc brakes are superior to drum brakes due to increased cooling efficiency, they are less prone to brake fade, and also recover quickly from water (becoming wet).
Upgrading 1st Generation Camaro Brakes
The 1st generation Camaro came standard with drum brakes on the front and rear axles. However, disc brakes were optional but very primitive. The vehicle we fitted new front discs brakes to, did not have power assist as well. The conversion kit allowed us to mount the upgraded disc brakes on the original spindle.
Tools Needed
Mechanics Gloves or Vinyl Gloves
Basic hand tools and SAE sockets
Torque Wrench
Hammer
Impact Gun w/ Air Compressor
Penetrating Oil
Wire Brush
Drip Pan
Loctite thread locker
The Conversion Kit
Disc brake conversion kits vary from front only to entire brake systems. The costs vary as well from a few hundred to a few thousand dollars. We purchased a basic front brake conversion without power assist.
Preparation
The most important step is to prepare your parts and tools. Double check you have all the parts included in the disc brake conversion and run through the process to make sure you won’t have to pause the project, once started.
Removal and Installation
Step 1: Always be sure to use safety habits and wear safety glasses.
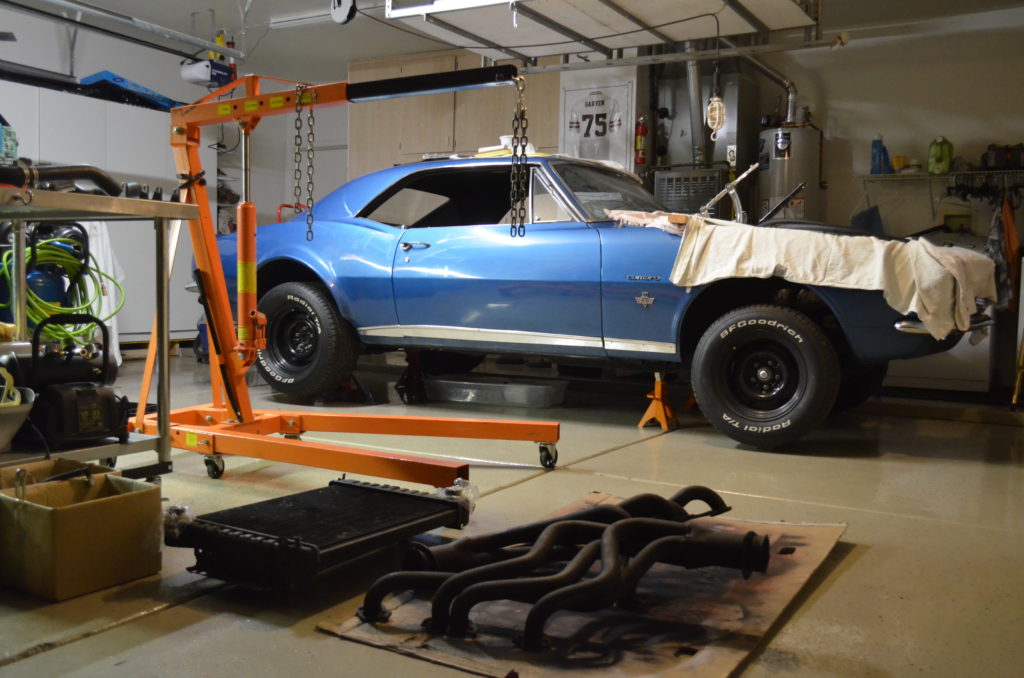
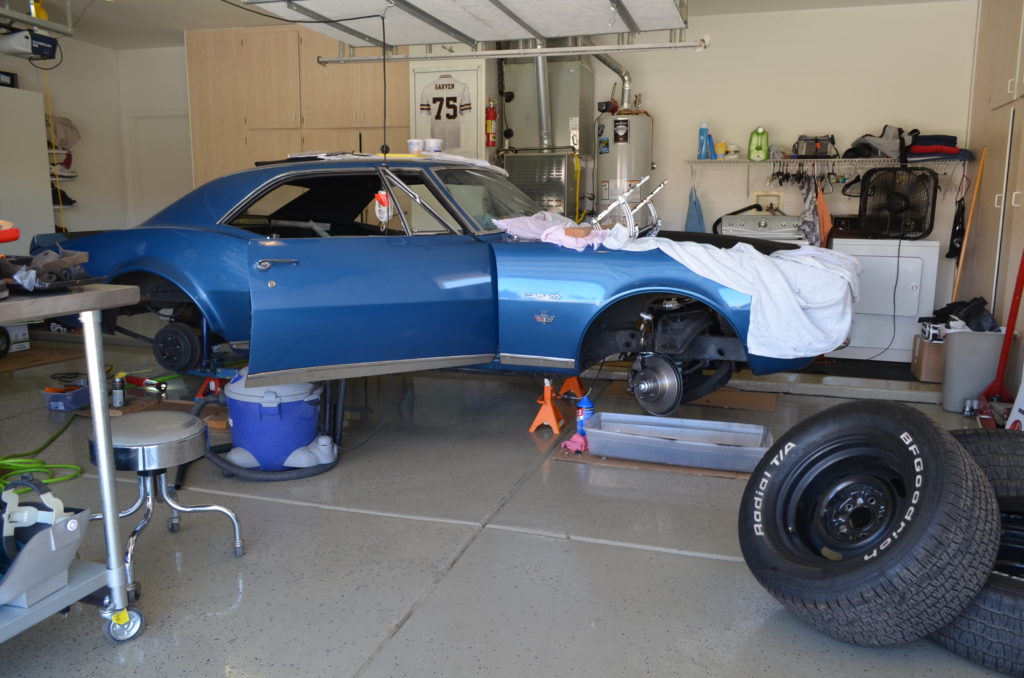
Step 2: Lift or jack up vehicle and secure with the lift lock or jack stands.
Step 3: Remove wheels from vehicle. Be sure to check ball joints and tie rod ends for wear.
Step 4: Remove spindle cotter pin, nut and washer.
Step 5: Remove backing plate fasteners from spindle.
Step 6: Disconnect the brake fluid line.
Step 7: Remove the drum brake assembly from spindle.
*At this point. Clean the mating surfaces on the spindle for new hardware.
Step 8: Install the caliper bracket.
Step 9: Install Rotor. Adjust the wheel bearing 25 ft/lbs while rotating rotor. Insert the cotter pin.
Step 10: Install Caliper and brake line.
Step 11: Torque all fasteners to spec. Check clearance of tires and brake lines while turning the wheel left to right.
Step 12: Refill brake fluid reservoir and bleed brake system.
Step 13: Reinstall the wheels, lower the vehicle and torque the wheel lug nuts to specification. A standard for lug nuts is 90 – 100 ft/lbs
Step 14: After bleeding the brake system and the brake pedal feels firm, test the brakes out. With the engine off, place the vehicle in neutral and have an assistant apply the brakes. With you outside of the car, try to push it in either direction. Triple check for leaks while your assistant is applying the brakes as well.
Tips
The most important tip is to take your time and be patient with the brake upgrade process. From our discovery, vintage vehicles need a little more care and attention when modifying.
When replacing an old brake system, ensure that a thorough inspection for leaks has been completed after repair or replacement of faulty parts. Once an old brake system is worked on, the next weakest link in the system will fail.
Banjo bolts use a copper washer on each side of the brake hoses to the caliper. This is very important to avoid leakage of the brake system. Failure to use the copper washers may result in inefficient brake system performance.
Leave a Reply