

Changing Tires at Home without Expensive Equipment
Picture this if you will: It’s late Friday night. You’ve paid your entry fees online and they are non-refundable. As you’re loading your strip burner into the trailer, you notice one tire that desperately needs changing, but you have no spares. What do you do, lose out on your entry fees? Hope they let you register and go through inspection late and still race? No. You change it yourself with tools you’ve probably got in your toolbox already. I’m going to list for you the basic steps you’ll need to follow. After that I will expand on each of the steps.
Ever Changed a Bike/Bicycle Tire?
If you’ve ever changed the tire on a motorcycle or bicycle you’re familiar with the basic process of changing tires on car wheels without expensive tools and equipment. The two processes are pretty similar with only slight differences. Of course, the major difference is that a car tire is stronger and a little more difficult to work with.
What You’ll Need
Just like with any project you have for your strip burner, there are some tools and supplies you’ll need to get this finished in time to hit the inspection lance and the track.
- Medium-sized ballpeen hammer-You want something comfortable and not too heavy
- Two pry bars-You want these strong but not huge. You need to be able to work with them easily
- One wide punch-You don’t want this too sharp or you’ll damage the wheel
- Some sort of tire lubricant-Preferably you want this glycerin-based, but dish soap will work
- A brush to apply the lubricant with
- Your replacement tire
- Valve stem core removal tool
- Safety glasses
- Work boots-Work boots have a harder heel than shoes so they work better here
The Process-Quick and Dirty
Jack the car up and remove the tire. Use a jack stand to support the car. Just like with the bicycle or motorcycle tire, you need to get as much of the air out of it as possible and allow for airflow through the valve stem. This means the valve core needs to be removed. Once the tire is as flat as it can get, jump on the sidewall, placing the heels of your boots as close to the bead as you can get them. This starts to loosen the bead. If you’re lucky, the bead will break completely.
If you’re not lucky, the next step is to break the bead. Place the (hopefully somewhat dull) chisel flat against the tire with the blade up against the tire bead. Firmly strike the chisel with the hammer, but not too hard so as not to break or chip the wheel. Repeat this process one more time and then jump on the bead again. This should loosen it the rest of the way. Now walk your heels around the tire, keeping them as close to the bead as possible.
With the bead broken, jump with one or both feet (together) in one small area and get the tire bead into the narrow area of the wheel. Now, put it back on the car and tighten the lugs enough to keep it from wobbling. Lubricate the tire bead liberally.
Q~~60_35.JPG)
Put one of the pry bars into the wheel under the tire and wedge the bead of the tire over the bead of the wheel. Keep that pry bar there. Insert the other pry bar under the tire about four or five inches along the bead from the other pry bar and pull that section of the bead over the wheel. Remove the first pry bar and repeat the process. Now grab the tire bead that is exposed and pull, working your way around the tire until that side of the tire is off. Now, just repeat the process on the other side of the tire.
Remove the bare wheel from the car and set it on the shop floor. Liberally lube the bead of the new tire. Place it on the wheel at an angle and work it down over the wheel lip. You may need to “coax” it with a pry bar, just like that motorcycle tire. Lube the outer bead and repeat the process until the tire is completely on the wheel. Now inflate to get the bad to set. Once the bead is set, reinstall the valve core and inflate to your desired pressure. Easy peazy, huh?
Prep to Remove the Tire
Jack the car up. Use a jack stand or two to support it because you will be doing some work with the tire on the car and the car in the air. We don’t want the car falling off the jack because you’re working on the tire. Make sure the stands are set firmly so the car doesn’t wobble on them. Pull the tire. Insert the valve core tool into the valve stem until it seats and doesn’t turn loosely. Remove the core by turning the tool counterclockwise. SLOWLY remove the tool and the valve core. Remember, there’s going to be air pressure behind it and it could go flying if you’re not careful.
Break the Bead

With the tire completely deflated and flat on the ground, it’s time to break the bead. If you haven’t driven too much and generated too much heat in the bead area, you might be able to break the bead just by jumping on it with your heels. I say to use work boots because they have a stiffer heel with much less give than shoes.
There are actually special tools made for breaking the bead and removing the tire. They very closely resemble the tools we use to change bike tires, except they’re about 5-10 times as big. However, I’m guessing that you haven’t had a chance to get two or three of those from your local Snap-On or Mac distributor, so a not-so-sharp chisel with a wide blade will work for us.

You need the chisel flat against the tire. Push it against and under the bead as much as possible. Firmly strike the chisel with the hammer to break the bead. Start with a softer strike and work to a harder one so you don’t break anything. It’s better to strike it softer and require more blows than it is to strike it too hard and chip or crack the wheel. Do this in multiple locations close to each other until you can jump on and break the bead all around the bead. Walk the tire bead down all around the tire.

Remove the Tire from the Wheel
I built a little stand for this part of the job, just to make it easier, but you don’t need to. Once you’ve worked the bead down all the way around, you’ll notice that the inner portion of the wheel isn’t flat, that there is a section with a much smaller diameter. Work once side of the tire bead down into this narrow area. Stick the wheel back on the car and tighten the lugs enough that it is secure enough to not wiggle or wobble when working on it. Lube the bead liberally.
With one side of the bead in that narrow area, insert one of the pry bars between the tire and wheel on the side opposite where you have it worked down. Push the handle of the pry bay towards the wheel, lifting that section of the bead over the wheel. Hold that pry bar in place and insert the second one about two to four inches away and repeat the process. Pull the bead away from the wheel and work your way around the tire until that side is completely off the wheel. Lube the bead if necessary as you’re doing this.
You should now have one side of the tire completely off and the other side floppy on the wheel. It should almost look like the tire wants to fall off. Work the tire so that one side of the bead (let’s say the top) is sitting in that narrow channel. Next, insert one of the pry bars between the tire and wheel and lift the inner bead over the wheel. Repeat this process until you have a wheel on the car and a tire on the ground. Now is a great time to use some emery cloth or Scotchbrite to clean the inside of the wheel if you see rust or plaque build-up.
New Tire, Meet Wheel
Pull the wheel off the car and sit on the shop floor. Lube the wheel bead and the tire bead liberally. Set the new tire on the wheel at a slight angle. Now, firmly work your way around the bead. Chances are you’ll be able to slip the inner bead over the wheel without the tools. If not, place the blade of the pry bar under the lip of the wheel and press down firmly, pushing the bead over the lip. Repeat this process until you have one side on and one side off.
Place the upper/outer side of the tire against the wheel at an angle again and work around it, pushing the bead of the tire over the lip of the wheel. Again, use the pry bar(s) to assist you with this until you have the tire back on the wheel.
Inflate
Although this sounds like the easiest part of the process, it can actually be the hardest. I’ve seen guys work at inflating a tire for several minutes in a shop with no luck. You should have your compressor fired up with a full tank of air. This sounds counter-intuitive, but you need to pull up and push down at the same time. You want to get the inner and outer beads against the wheel bead somewhat to provide an initial seal. Air it up as normal without the valve core.
As I said, this is actually the trickiest part of the project. The tire wants to stay uninflated, but I have a little secret trick (Ok, not so secret) that will help. Use a piece of rope or something similar and wrap it around the circumference of the tire tread. Pull it tight, tight. Doing this will help spread the tire beads against the wheel and provide that initial seal you need to get the beads to seat. Air it up until you hear a couple of significant “pops.” This is the bead seating. Now install the valve core and air it up to your desired pressure. You’re done. This part is easier (and a bit safer) if you put the wheel onto the car. As you’re seating the bead, if you have it on the floor of the shop, be careful because the force of the bead seating can make the tire bounce off the floor.
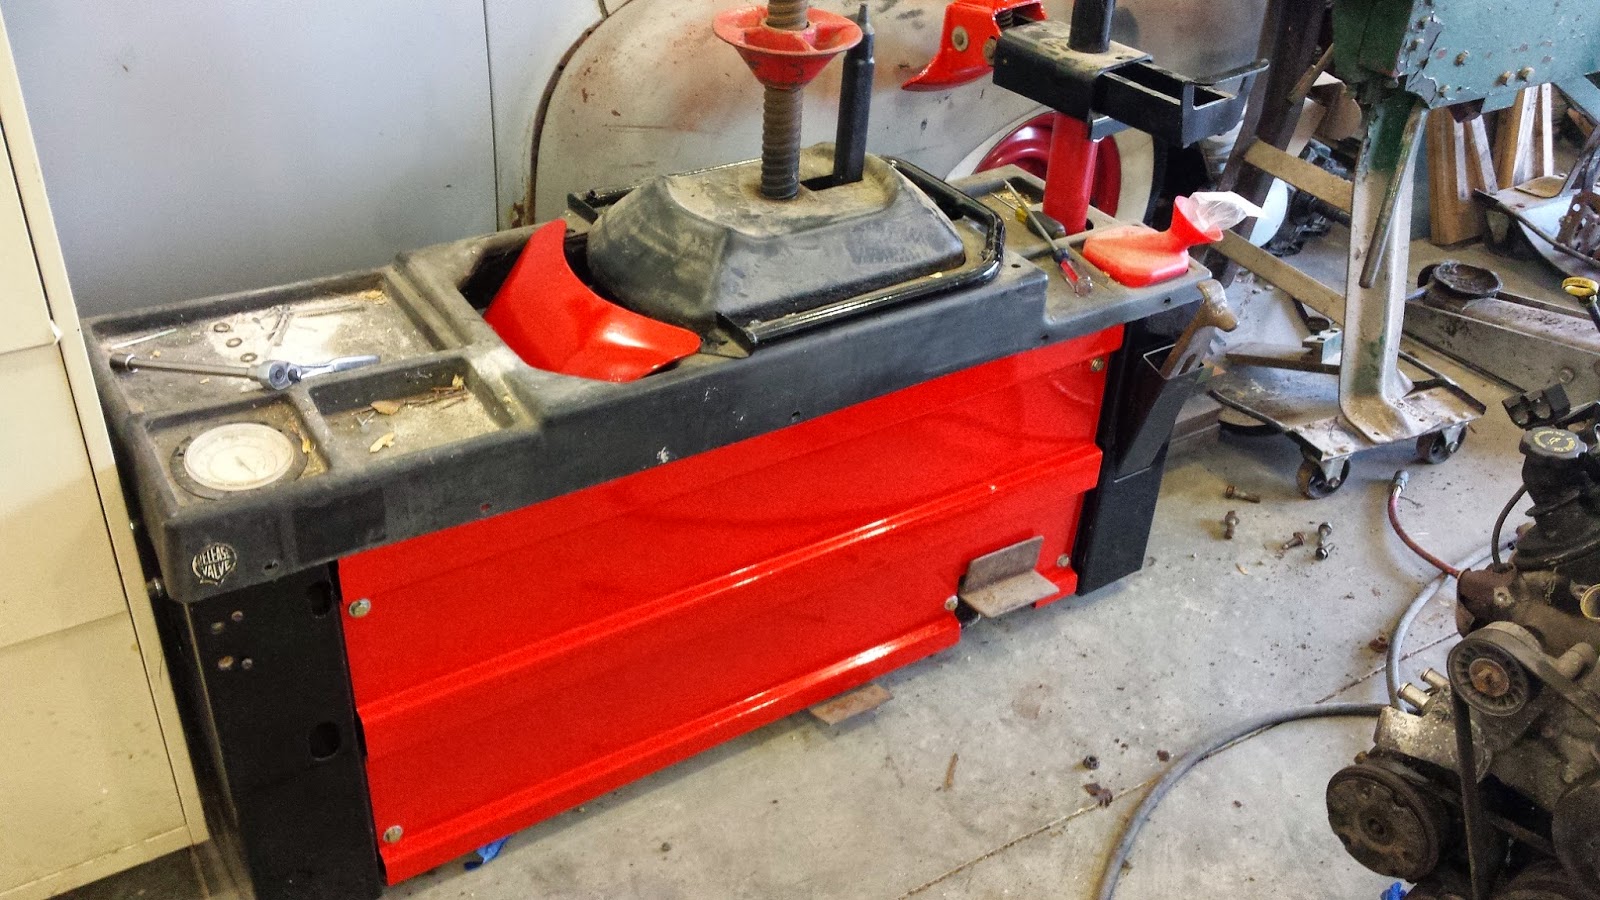
Build a Stand to Make This Easier
As I mentioned above, I built a small stand for myself so I can do this whole process on the shop floor, making it much easier. It is made up of a sheet of ¼ inch steel with a pipe welded into the middle. On the end of that pipe I welded a hub, with lugs. The plate is approximately four feet on a side, allowing me to stand on it to help provide leverage. I have angle iron welded onto the edges of the plate to help stiffen it. It worked great while I still had it.
Leave a Reply