

Stiffening Your GM F-Body with Subframe Connectors

Automotive engineers came up with a winner when they invented the unibody construction method of building cars. It made them lighter. It made them less expensive. But it also introduced problems that were known even when they started building the cars. We’re going to do a three-part series on installing subframe connectors to correct the problems inherent with unibody construction. This article will touch on GM bolt-in kits. Part 2 will cover Mopars, and Part 3 will cover Fords.
What Defines a Unibody Car and What’s Wrong With It?
Unibody cars are those designed and built with front and rear frame sections. These front and rear frame sections are either bolted or welded to the bottom of the body of the car-the floorpan and rocker panels.
Some cars-mostly GM products, are built in such a way that the rear frame rails are welded to the car’s body, while the front frame rails are bolted, making for easy front clip removal. If you’ve ever watched a show such as TLC’s Overhaulin’, you’ve seen examples of these when they do the teardown portion of the restoration/modification that is performed on the show.
The problem with unibody construction is that it’s not as rigid as the body on frame type of construction. This is the automotive construction method where the frame rails run from just behind the front bumper to just in front of the rear bumper on both sides of the car.
Metal fatigues over time. Time also causes cars that aren’t perfectly cared for to rust, often in the floorpan and rocker panels. Again, in unibody construction, these are supposed to be load-bearing portions of the car. However, when rust begins to take hold, they lose their strength characteristics.
This allows the car’s body to flex, especially when we add engines with more horsepower and torque. One guy I know that rebuilds cars says “If you don’t want your older high performance car to twist into pretzel the first time you romp on it, you need me to rehabilitate the unibody construction method. We do that by installing subframe connectors.
What Are Subframe Connectors?

The subframe of a unibody car consists of the front and rear frame sections. Subframe connectors are the same width as these frame rails. Most of them slide over the rear rails and, depending on what kind of car you’ve got, they either bolt or weld (or both) to the front frame rails.
Since these subframe connectors are made out of steel that is thicker than the steel used in the floorpan and rocker panels, they give the chassis almost the same stiffness as a body on frame car would have. It’s well-known in the automotive performance aftermarket that a car with a stiff chassis is one whose suspension functions properly. Since the chassis isn’t flexing on launch, the shocks and coils are able to function as they’re designed to.
Welded or Bolt-In, Installation Is Easy
Most of the available instructions for the weld-in subframe connectors say that you should allow someone else to do the installation if you’re not a good welder. That’s not necessarily true. If you’re building your own hot rod, you’re going to need to do some welding at some point in time. Getting yourself a low-cost welder and learning how to do it will save you quite a bit of money over the long run-money you can put into go-fast or be-safe goodies.
You don’t need a professional welder to work on your car at home. You just need one that will get the job done. There are numerous 110 volt models available for sale on ebay for less than a hundred bucks. Learning how to weld is the same as learning to ride a bike or drive a car: Practice.
Pick up some scrap metal, prep it by wire brushing, sanding, or grinding the edges, and learn how to run a bead. Remember, they’ll be underneath your car, and unless you’ll be entering your car in shows, your welds don’t have to look perfect; they don’t have to be pretty. They just have to join the two pieces of metal. The welds just have to be functional.
The main key, after getting a little practice, to getting a good weld seam is properly prepping the metal. Any contamination of the metal has to be removed. Stick a stick wire wheel on your drill, slap on a pair of safety glasses, and wire brush the metal until it shines it’s so clean. Even better, get a fine grinding wheel with a 3/8 inch mandrel and use that. You need to clean an area larger than the area you plan on welding.

What You’ll Need to Install Subframe Connectors
This article will address the installation of the subframe connector kit from Hotchkiss for GM F-body cars as they’re my favorite and fairly representative of what’s available for GM F-Body cars. You’ll need:
• A jack
• Four jack stands
• Ratchet and socket-usually ¾ inch
• Wire wheel adapter, grinder, or 80-grit sandpaper to weld prep the parts and the car
• Prybar
• Welder-With all personal protective equipment-Helmet or goggles and gloves
• Deadblow hammer
• Spray metal primer
• Spray paint
• Safety glasses
• A set of subframe connectors
Get the Car in the Air
Due to the power requirements of most MIG (or arc) welders, you really should do this work in your garage. Welders draw so much current that you’re likely to burn up a regular extension cord. Put the car in park, or, if you’ve got a standard transmission, put it in gear, and firmly set the parking brake. Raise the front end enough to slide the jack stands under the lower control arms/ball joints and keep the car high enough for you to slide under easily. Slide the jack stands under the control arms/ball joints and slowly lower the jack. If you’ve got ramps, drive the car up onto them.
Move the jack back to the differential and raise the car enough that when you lower it back onto the jack stands it remains level. Slide the jack stands under the ends of the axle housing near the wheels. Slowly lower the car onto the jack stands. Adjust the front or rear so the car is level. You want to make sure the doors and trunk open and close smoothly and easily. If you don’t do this, you could end up with serious problems that will require you to remove the connectors and start over. It could also cause problems with the paint and body when you put the car back on the ground.
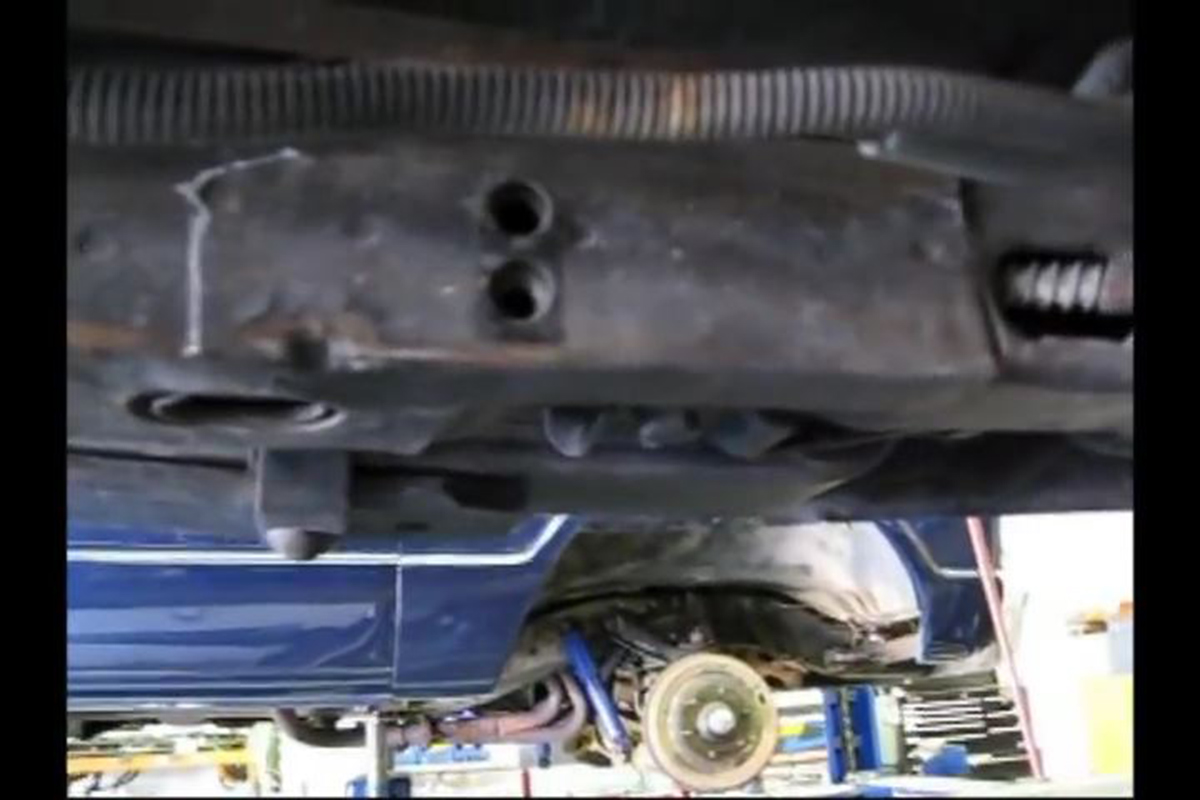
Gain Access to the Frame Rails and Floorpan
You may need to completely disconnect the parking brake cable so the subframe connector is able to rest flush against the frame rail and floorpan. You could also use a die grinder to cut notches in the connectors for the brake hard lines and cables. Most subframe connectors for the GM F-Body product line won’t require any special treatment here except maybe the brake lines and/or cables at the rear.
However, fuel lines will need to be unbolted from their clamps and carefully moved out of the way, especially if you’ve got an aftermarket fuel system installed. I also like to wrap them with a welding glove just for added security against the sparks given off by welding.
The most important thing to remember here is that if you’re installing welded-in subframe connectors that have to weld to the floorpan, they’ve got to sit flush against the floorpan their whole length between the frame rails. Most will have small break-out tabs for the dimples most floorpans have for rigidity.to help you accomplish this. Again, most kits for GM cars don’t have this worry.
Prepping for the Subframe Connector Installation\

Once you’ve got the car in the air, leveled, and have made sure the doors open and close properly, remove the bolt that secures the front frame rail/unibody member to the car. Next, insert the prybar between the frame rail and the floorpan and slide the front end of the connector into place. You may need to use a deadblow hammer at the back end to get it fully seated. Wear safety glasses.
Next, use your marker (I prefer a fat silver or white Sharpie or White-Out) to mark where you need to weld. On the Hotchkiss product, this means marking around the whole rear saddle. Next, use the prybar to remove the connectors.

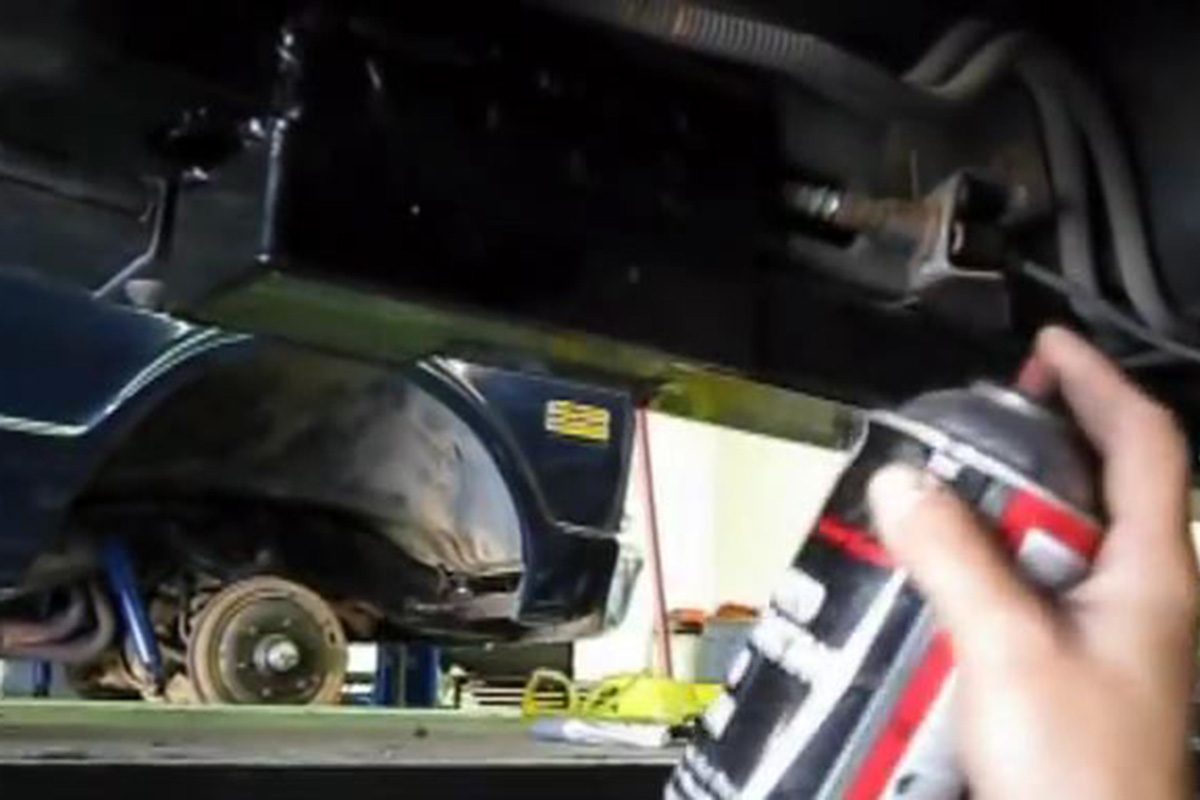
Now, clean the areas you marked. You need to remove every trace of road debris, grime, undercoat, paint, clearcoat, and powder coat from the frame rails, the connectors, and, if necessary, the floorpan. You need to take these areas completely down to bare metal. Wear safety glasses, especially if you’re using a grinder or wire wheel attachment on your drill.
Install and Secure the Front of the Subframe Connector

Next, pry the front frame rail down and remove the old subframe bushing. Install the upper piece of the two-piece bushing above the frame rail and place the large washer on top of this. Remove the prybar. Insert the bushing and slide the lower bushing half over this.
Next, slide the front of the subframe connector into place and put the smaller washer on top of it, between the bushing and the connector. Use the jack to keep the connector in place and thread the supplied subframe bolt in and tighten it down. For extra security, you can also weld the connection between the frame rail and the connector, but you’ll lose the ability to pull the front clip at a later date if the need arises.
Install and Weld the Rear

Finally, slap the rear of the connector into place using a deadblow hammer and make sure you’ve got clean metal to clean metal joints where you need to weld. If not, loosen the bolt up front and pry the back out and do you weld prep again.

Ready the welder according to the instructions that came with it. Clamp the negative cable to a good ground-I like to use the exhaust or the leaf springs. Put your welding gloves on. You should also be wearing at least a long-sleeve shirt while welding-gauntlets are better. Put your welding glasses or helmet on, but hold off on putting them over your face just yet.
Get yourself comfortable and positioned so the sparks aren’t all going to fall on you while you’re welding. Some will; that’s unavoidable. Place the tip of the welder about a ¼-inch from where you will be welding and pull the trigger. Walk your bead along the joint between frame and connector at a steady pace of about an inch per second. Rinse and repeat on the other side.
Finish the Job
Apply a good coat of metal primer paint everywhere you cleaned the metal and welded. Let it dry for ten to 15 minutes and apply another coat. Now apply a good coat of your chosen color. Again, let it dry a bit and apply another coat. Just for grins and giggles, let it dry and apply a third coat. Raise the car off the jack stands in the rear and lower it then lower the front. Take it out and drive it like ya stole it!
Installed these Hotchkiss frame connectors on my 67 and is one of the best bangs for the buck on all the improvements I have made. A 10 on must do’s. Very simple to install.