

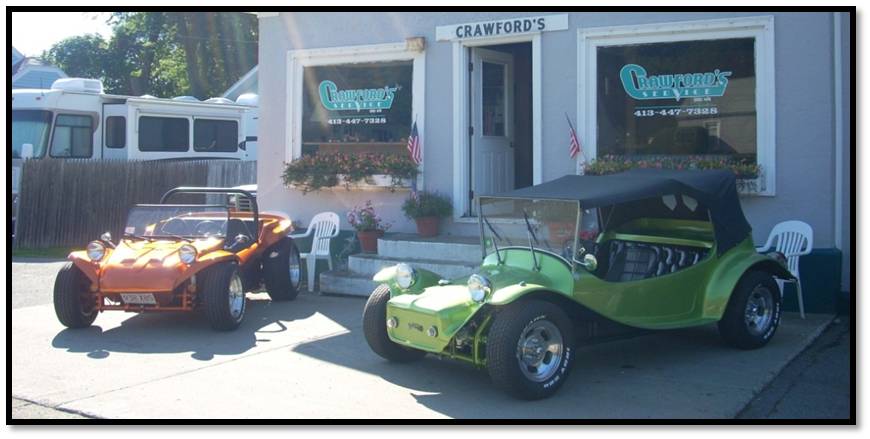
For help installing our 3.5” Rough Country Suspension Systems lift kit on the RacingJunk.com & AED Performance 2014 Chevrolet Silverado giveaway truck we chose to work with our good friends at Crawford’s Service in Pittsfield, MA.
In business since 1938, Crawford’s has been known for decades as the place to go for reliable and fair service and repairs. While still maintaining that reputation, in the last few years Crawford’s has begun to build some killer rides and has become one of the premier locations in Western Massachusetts to bring your muscle car, hot rod, or custom. In fact, Crawford’s is the area’s only licensed air-cooled VW-style dune buggy dealer and is now well-known here as THE place to bring your dream ride.

For car guys like myself, opening boxes of new parts is like Christmas morning, no matter what time of year it is.
We chose a 3.5” suspension lift kit from Rough Country because it’s all inclusive batch of parts makes for an easy DIY install, maintains factory-ride comfort, and won’t break your wallet. Speaking as a guy who has put a lift in practically every 4×4 I’ve ever owned, it was nice to work with a kit that didn’t leave me chasing parts all over town.


Laid out on the bench, you can see that the kit comes with new tubular upper control arms (with Moog ball joints), nitrogen charged shocks, fabricated rear blocks, front strut spacers, diff drop spacers, a heavy-duty skid plate to cover the dropped front differential, and all the necessary hardware. Check out our kit here: http://www.roughcountry.com/gm-suspension-lift-kit-275-8.html
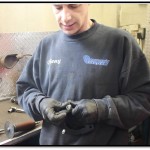
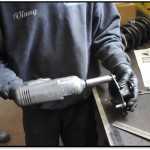
Crawford’s was founded as a small shop, and after 75 years in business that model hasn’t changed. Current Crawford’s staff includes owner Andrew Newton, resident mechanic/genius Vinny, and assorted family members that volunteer their time at the shop (I think they come for the free pizza).


While a competent back-yard mechanic should be able to install the lift kit without much issue, we highly (HIGHLY) recommend taking the front strut assembly to a shop that has a spring compressor for this part of the process. The strut needs to be spun 180 degrees inside the spring so that the lower strut pin lines up properly with the lower control arm after the spacers are installed. As the springs are under tremendous pressure they can cause serious injury if not handled properly. Safety first kids!

Front spacer assembly is a very straightforward bolt-on process using included hardware, but yet again Vinny won’t let us use the power tools!
With the strut spacers in place the front suspension could start to go back together.
Installation of the newly notched cross member, front strut assembly, and control arms took only a few minutes, with care being given to line everything up with Vinny’s marks from the dis-assembly process

While you can do all of this at home with jack stands, it was really great to have the use of Crawford’s lift. It makes for a much easier job than kneeling in the driveway or on a cold garage floor.

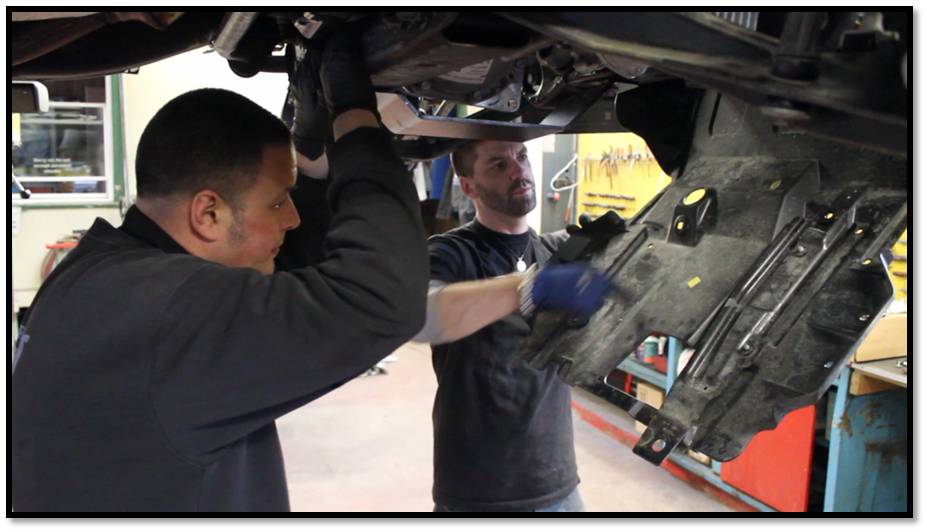
While installing the supplied heavy-duty skid plate Vinny noticed something he said could be a potential wrinkle so we called Andrew over to take a look.

The supplied skid plate covers the front diff case but leaves open much of the area the factory plastic plate covers, including the A/C lines, power steering lines, and much of the lower engine compartment.
In warmer climes this may not be an issue, but here in New England the roads are salted several months per year and we didn’t want to leave the lines, lower pulleys, etc. uncovered and exposed to the road conditions here.
After a brief deliberation, it was decided that we could cut the factory plastic plate to fit around the new metal plate supplied by Rough Country and have the best of both worlds.

We re-installed the factory plate’s front bolts so we could line up the plates against each other and mark where to cut, then took the factory plate over to the bench to get started.

With the front suspension complete, it was time to tackle the rear wheels. The rear suspension is much simpler, consisting mainly of longer shocks, the fabricated lift blocks, and longer u-bolts. With this particular lift there’s no need for the added difficulty of disassembling the factory leaf springs and adding pieces- a nice bonus if you’re doing this in your garage at home.

We lowered the truck to only a couple of feet off the floor at this point so that we could support the rear axle on jack stands. This allows the axle to remain in one position when you start unbolting things.
With just one bolt at the top and bottom the shock came off easily, as did the factory u-bolts over the leaf springs.

Dropping the driver’s side of the axle a couple of inches allowed us to fit the new fabricated lift block into place, being careful to properly line up the pin, and install the new longer u-bolts to hold the assembly together.
Once together, installation of the new nitrogen-charged shocks (don’t forget to put the new shock boots on before putting the new shocks on!) took only a couple of minutes.

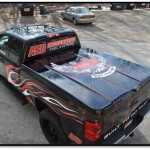
Final step in the rear suspension assembly is application of the Rough Country decals on the shock body.

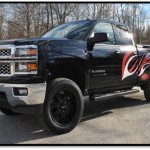
One thing we really liked about this kit was the black, silver, and red finish of the shocks and decals. While not planned this way, it matched up very well with the color scheme of the custom graphics we put on the truck (more on that story another time- it turns out that vinyl wraps aren’t as easy as they look).
At this point all we needed was someone to put the new 20” Mickey Thompson Baja STZ tires on the truck and we could drop her back on the ground to admire the new stance. 20” off-road tires & wheels are a little heavier than one might expect, so naturally I was elected for the potentially hernia-inducing job.

Final stance with the upgraded tire size and lift puts our half-ton model into HD ride height territory. It stands out nicely in a parking lot* while maintaining factory ride, comfort, and handling characteristics. We liked it so much, in fact, that one of us is likely putting the same lift on his own newly-purchased Silverado (I’ll leave you one guess who that is…)

*Astute readers will notice that the new graphics are not the ones they saw at PRI 2013 when we unveiled the truck. As we said- more on how to choose the right vinyl wrap and installers next time!
Leave a Reply