

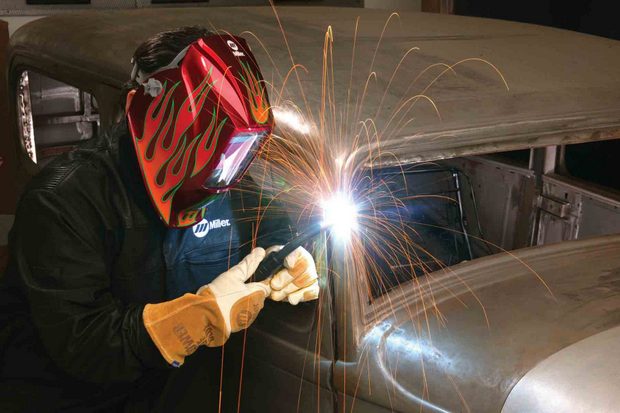
In “Oxy-Acetylene Welding For The Hot Rodder – Getting Started”(read Part I HERE), I talked about why learning to weld with an oxy-acetylene torch is important and what basic equipment you’ll need for the process.
This time we’ll look at the finer details of getting just the right flame so you can run that perfect bead.
Prep For Ignition
You’ll need to attach the regulators to the bottles and hoses to the regulator and torch. It’s always a good idea to back out the pressure regulator screws on the front before mounting the regulators on the bottles so you don’t damage the diaphragm when opening the shutoff valves. Also, make sure to just barely open, then close, the acetylene and oxygen shutoff valves before screwing the regulators onto the bottles to ensure that you don’t get dirt in the system.
Next, attach the one end of the hoses to the regulator and the other end to the torch. Close the oxygen and acetylene valves on the torch. Ensure that all hoses and fittings are tight. You can buy a special welders wrench or just use a crescent wrench to snug them down. Do not use any lubricant or oil on any of the fittings or threads. Oil and oxygen can catch fire and even explode. If need be, wipe off a tread only with a clean cloth.
Lastly, you’ll want to make sure that the torch tip is clean and square. A tip cleaning tool has a little file that you can use to true up the end of the torch so it’s surface it perpendicular to the axis of the hole. Once the end is flat and pit free, you can use the appropriate sized file to clean the hole in the end, making sure it is round and straight. A nice, clean torch tip is one of the key elements in getting a uniformly formed flame.
Once those steps are completed, it’s time to make a flame.
Fire In The Hole
With everything in the off position, slowly open the acetylene shut-off valve one-quarter turn. That’s all you’ll need and makes it easy to shut down the fuel if there’s an emergency. Slowly open the oxygen shut-off valve about a half-turn, then all the way open. Check for leaks and tighten fittings as needed. If you can’t stop the leak, close both valves quickly starting with the acetylene and seek proper service for the equipment. Both high-side gauges on the regulators should show pressure.
Next, slowly turn the regulator screws inward to bring both low-side gauges up to between 6 and 10 psi. That’s all a normal-sized torch needs.
Open the acetylene valve on the torch and create sparks with the striker, at the torch tip. The acetylene should ignite. Immediately open the valve a little more to create a flame between 6 and 12 inches in length. Open the oxygen valve slowly and adjust it until you have a crisp, bright blue cone-shaped flame just at the tip between ¼ and 3/8 inches long within the envelope of the larger lighter blue flame. You may have to crank the regulator screws down just a bit more to get the required flame length.
You’ll want to have about equal amounts of acetylene and oxygen. Too much acetylene and the bright inner blue flame will be fuzzy and cause a weak weld. Too much oxygen is characterized by a noisy whooshing sound and a flame that burns too hot. It will sputter and cause lots of sparks and lead to melt through and a weak weld. Adjusting the torch is kind of a black art. Study how the flame works, get everything adjusted correctly, and after a while it will be second nature.
Shutting down is a process, as well.
Move the flame away from everything and turn the torch acetylene valve off first, followed by the oxygen. Next, close the acetylene shut-off valve on the bottle, followed by the oxygen. Slowly open and close the acetylene and oxygen values on the torch to purge the lines. Finally, back out the regulator screws to take the pressure off the diaphragms. All the gauges should now show zero pressure. Backing out the regulator screws, when you aren’t using the torch, helps keep the regulator in top shape.
That’s pretty much all there is to starting and stopping a regular oxy-acetylene torch. There are plenty of pictures, video, and comprehensive tutorials all over the Web.
Always be aware of your surroundings, don’t take chances, and keep safety in mind. Be sure to wear your safety and welding googles. Lastly, it’s probably not a good idea to weld in shorts and tennis shoes.
Stay tuned, the next part will cover actually running a bead.
[via]
Leave a Reply