Track Tuning Aids: Neat Tuning Tools for The Track
Wayne Scraba
It’s no secret my background was drag racing, and I’ll be the first to tell you that most sharp weekend warriors (and even many seasoned racers) don’t like taking all of their tools to the track. In fact, fewer tools can mean fewer headaches. If something major breaks, well, you’re better off fixing it at home. What these racers do take to the track are tools that they need: Hand tools that make tuning and “adjustments” easier. And a few of those tools work equally well on a street strip car too.
Three of these trackside tuning tools are available from Moroso and another from the folks at MSD. No – there’s no earth-shattering technology here, but these tools do rank right up there in the “can’t leave home without ’em” bracket. Also, this isn’t the end all of track tools. You’ll still need a timing light, some wrenches, a few screwdrivers and most likely a vacuum gauge for trackside engine tuning. None-the-less, check these out:
Carburetor Tool Tray:
Tool trays have been around for years. Some of them are injection molded plastic. Some are steel. And some are aluminum. In the past, some of the trays were sold in kit fashion — you had to assemble it yourself. Other tool trays were (and are) on the market, but either weren’t affordable or weren’t available across the country.
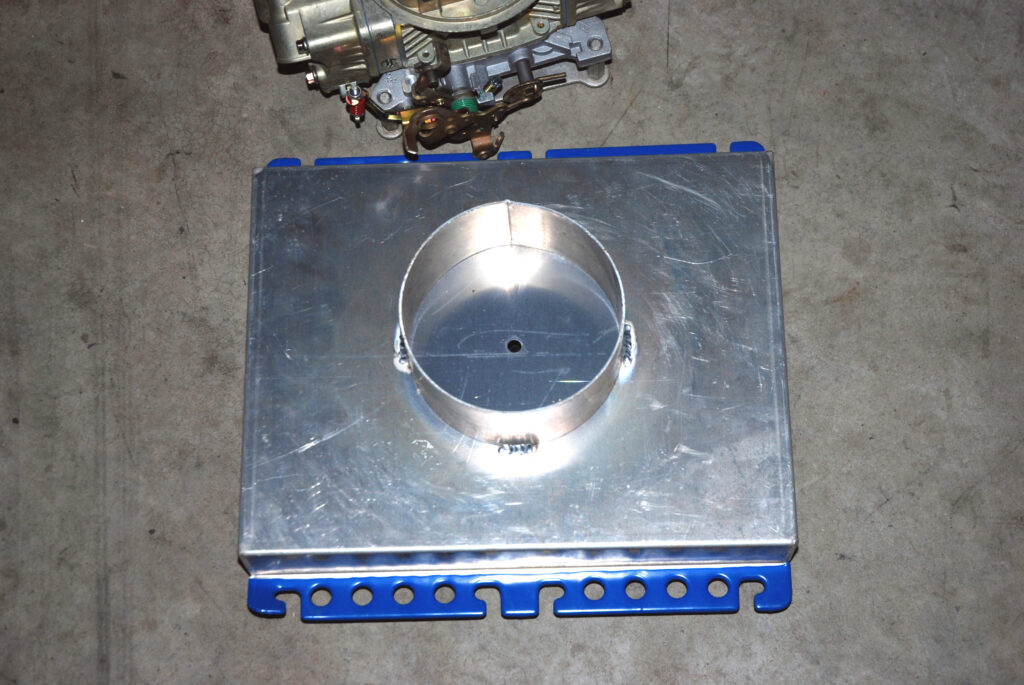
And that brings us to the Moroso carb-top tool tray. Manufactured from .063″ aluminum, the trays are available for standard 5-1/8″ Holley necks or larger 7-1/4″ Dominator necks. In either case, the trays simply fit over the carburetor inlet (which effectively seals the works in the pits). Each tool tray sits approximately 2-1/2″ over the carburetor and includes a stout handle, sixteen spark plug holders, eight plug wire holders and plenty of room to hold tools. The inside tray dimensions work out to 10″ X 13″ with the bottom of the compartment covered with rubber. Finally, the outside edges (which hold the plugs and wires) is covered in a latex material. Your hands will appreciate it and so will the spark plugs and ignition wires.
Carburetor Drain Cup:
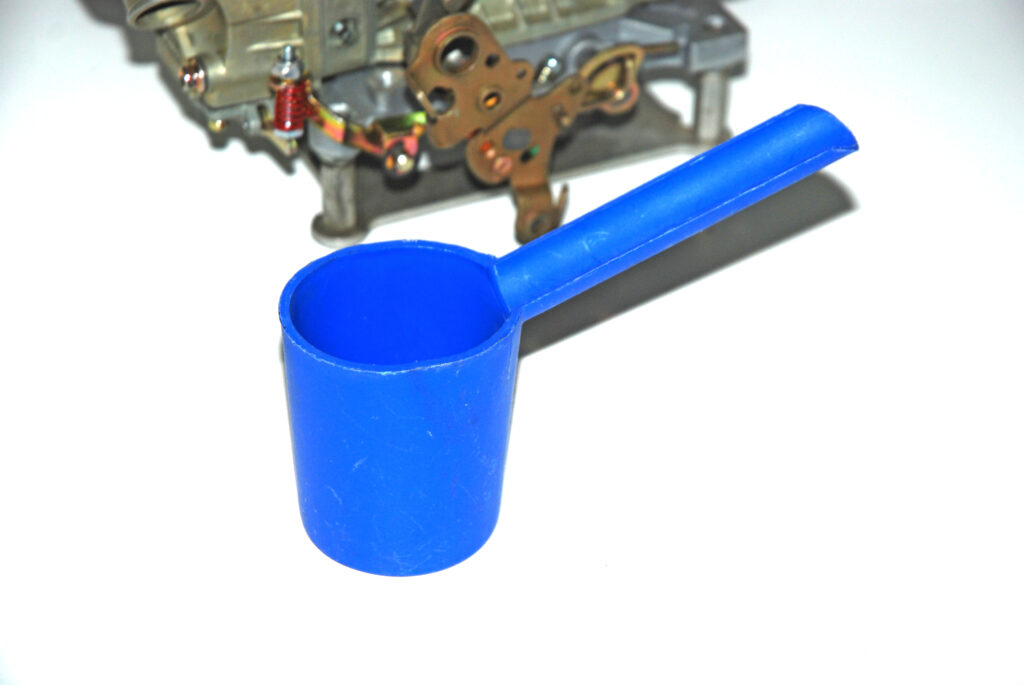
This is one of those “why didn’t I think about that?” ideas. Designed by carburetor wizard, Gary Williams, the plastic fuel cup makes use of a handle channel to catch dripping fuel and direct it into the cup as you remove the fuel bowl screws in a Holley carburetor. The cup is large enough to catch a bowl’s worth of fuel and it’s manufactured from a fuel resistant polyethylene plastic. Neat idea.
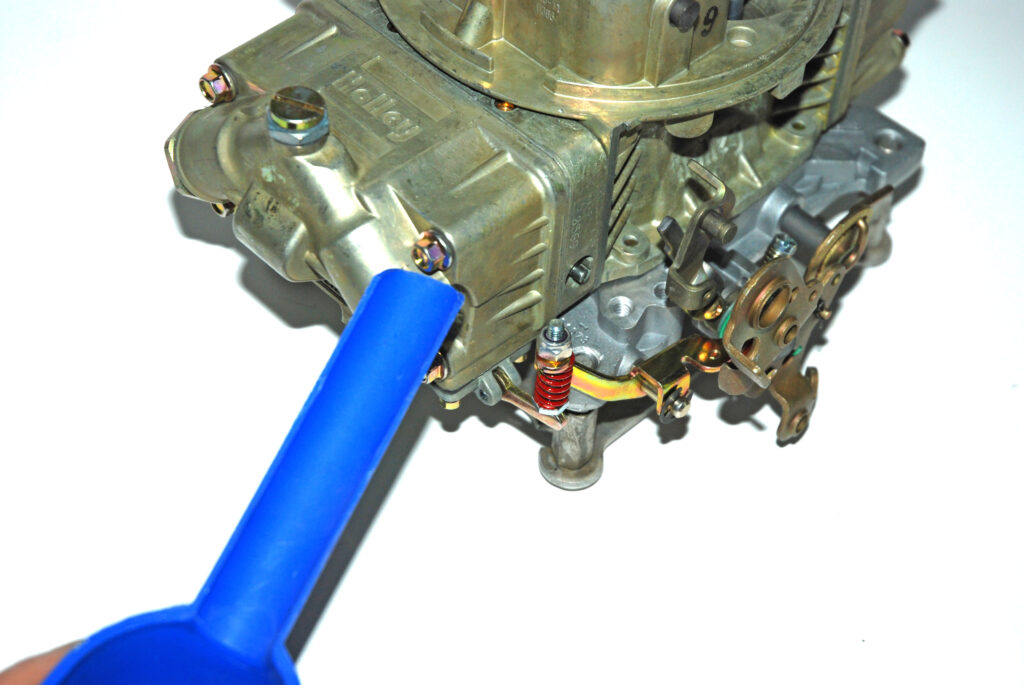
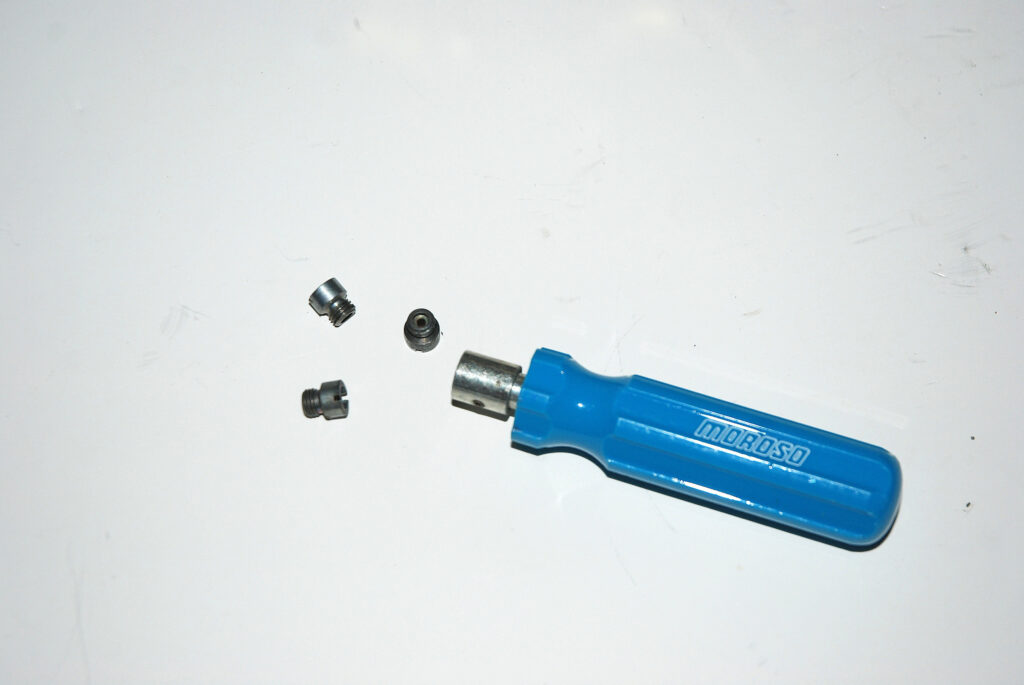
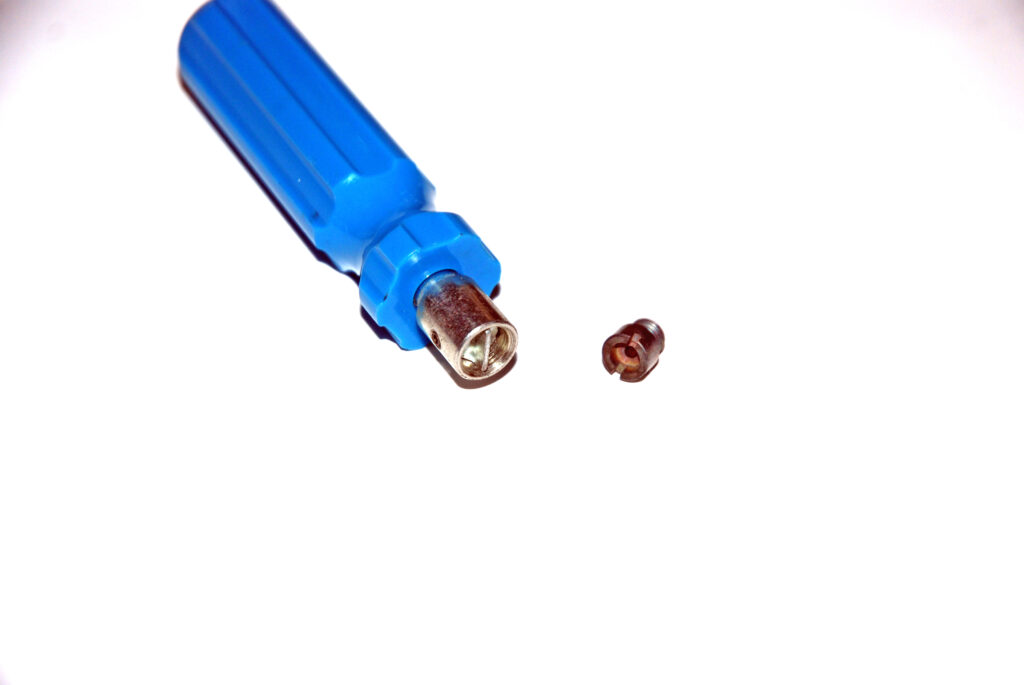
Jet Driver:
Jet tools for Holley carburetors have been around for sometime too. This one is neat since it’s short which allows removing jets while the carb is still mounted on the car (especially handy on the secondary side). If you have a close look at the jet tool, you’ll see that it uses a collar configuration. This ensures that the driver doesn’t slip off the jet. In the end, that makes it easier on the jets and saves the skin on top of your knuckles.
Wire Crimper:
If you subscribe to the theory that spiral wound suppression wires are best for race cars (and you should), then you’re faced with the aggravation of properly terminating the wire and crimping the ends. Sure there are some dirt cheap tools available, but many of the cheap jobs flex so badly at the handles, you can’t be sure that the crimp is sound. Then there’s the problem of correctly stripping the insulation. Yes, it’s easy with good old fashioned solid core wires, but today’s spiral wound wires are a different breed of wire. Cut too deep and you’ll ruin the wire. Cut the insulation too shallow and you’ll never remove the jacket accurately.
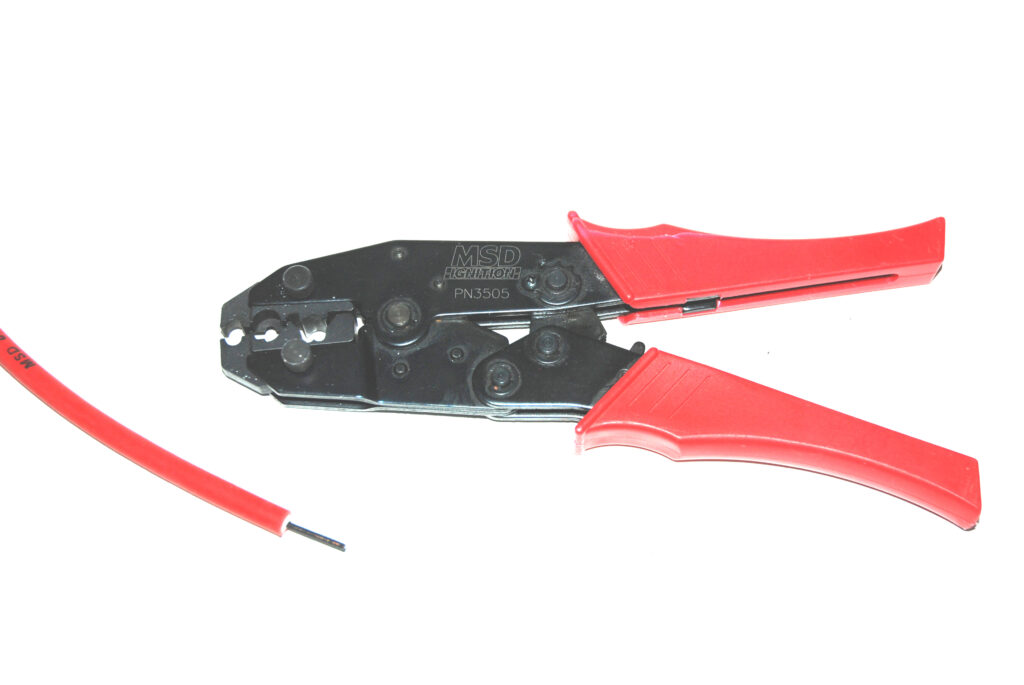
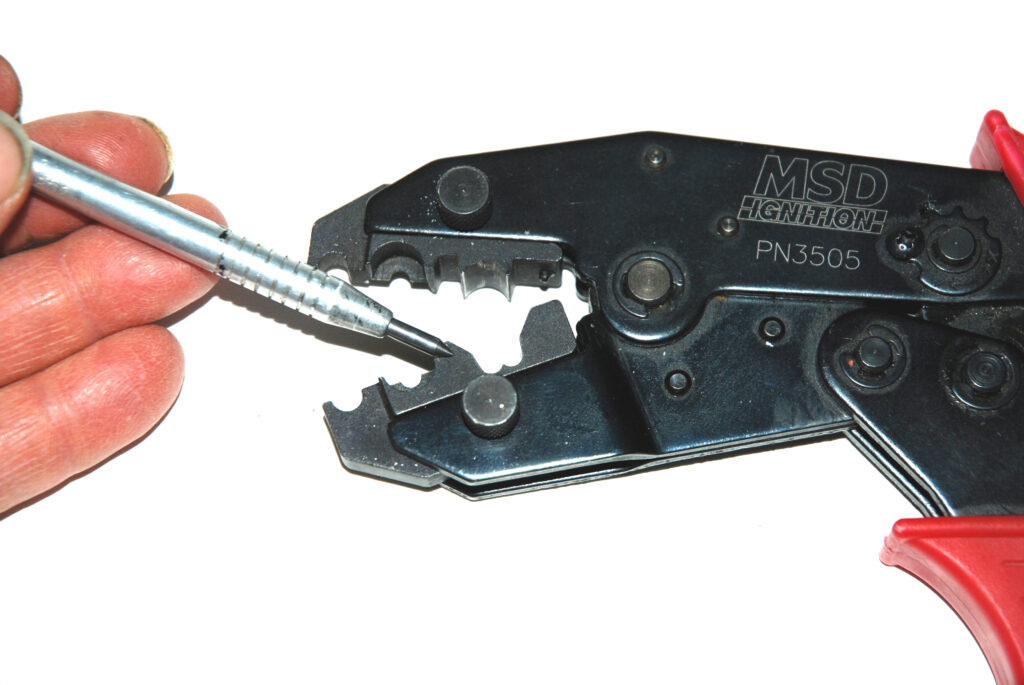
There is a solution though, and that’s MSD’s “Pro Crimping Tool” – part number 3505. It’s a beefy steel piece that isn’t plagued with handle flex. Just as important, it’s engineered to correctly cut, strip and crimp today’s spiral wound ignition wire. Here’s how it works:
To strip wire (spiral core or solid core), simply slide the ignition wire in the nose of the tool (ahead of the crimping relief). Close the handles, and it’s pretty much a done deal. Simply pull the wire backward and it’s stripped perfectly.
The Pro Crimping Tool is (as expected) also set up to crimp the terminal to the wire. Here’s how to handle the job (painlessly): Carefully bend the stripped away wire core back over the insulation and slide a terminal over the wire. The stripped-away wire should be positioned inside the “U” shaped portion of the terminal. This insures that the completed terminal is secure and delivers all voltage through the terminal. Using the crimping tool, slip the terminal/wire into the nose of the tool (inside the crimp “W”). As shown in the photographs, the “U” shaped portion of the terminal fits the “circular” jaw side while the open end faces the “W” section of the tool. Slowly squeeze the ratcheting handles, keeping the open end of the terminal inside the jaws of the tool. Almost miraculously, the terminal will close securely. Just be sure that the stripped portion of the wire does not move during the crimping process.
There’s a bit more here too: MSD also sells a set of optional dies for the Pro Crimp tool. They’re designed to crimp aircraft style “amp pin” terminals (pins and lugs). We’ll look at these terminals in another column.
So where do you find these tools? Simple. Contact Moroso or MSD directly or order the tool from your favorite parts vendor. They might be a wee bit more costly than the inexpensive jobs, but they work. And that works for me.
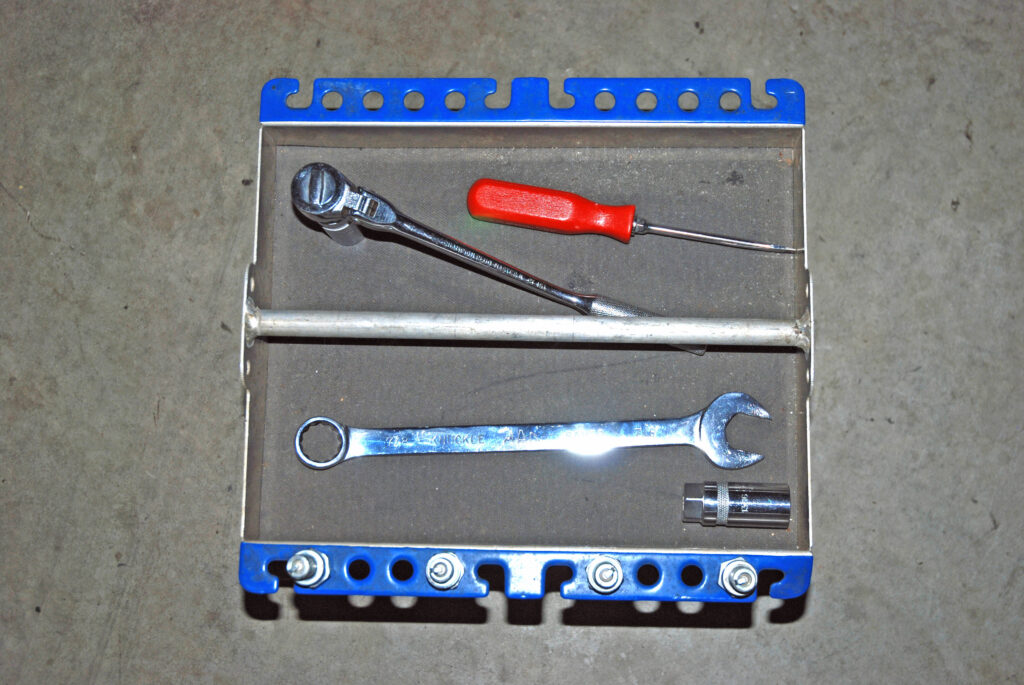
The Moroso tool tray is manufactured from .063″ aluminum. Internal dimensions are 10-inches by 13-inches, which is large enough for a good assortment of hand tools. An added touch is the rubber mat fitted to the base of the tray. Tools don’t move around inside the tray.
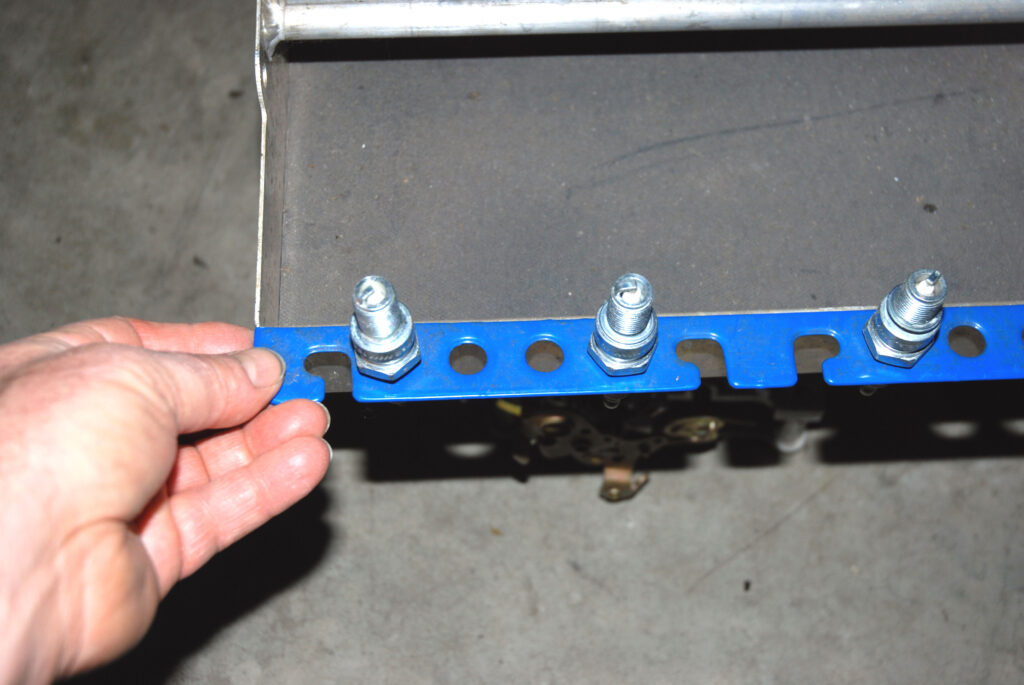
Each side of the tray includes holes for eight spark plugs. Further to this, each side has a provision for four spark plug wires. This is a nice organizational feature, but we’re sure you’re knuckles will appreciate the soft covering even more.
The underside of this tray (P/N 65800) is configured for a standard 5-1/8″ Holley carb neck. A similar model for 4500 series carburetors (with a 7-1/4″ neck) is available under part number 65801.
I really like this! It’s a carburetor drain cup that is designed to catch fuel when the bowl screws are removed. No more gasoline spilling over a hot engine when you’re changing jets. And hey…it sure beats using an old spray paint lid.
This is how the drain cup works. As you can see, the handle is designed so that the gasoline runs down toward the cup. The cup can hold all of the fuel inside a regular bowl. Why didn’t I think of that?
It’s just a common tool. But its a must-have. The folks at Moroso have recently released this little too and no self-respecting racer should be without one. What does it do? Simple. it’s used to install and remove jets.
Typically, you use a flat blade screwdriver to turn the jets in and out. The trouble is, the screwdriver often slips off the head of the jet which in turn creates dusted knuckles and damaged jets. The Moroso jet driver captures the jet and makes the job easier and lessens the need for band-aids. Best of all, this tool can be used while the carburetor is mounted on the intake. And that’s especially handy on the secondary side of the carburetor.
MSD offers this neat tool for stripping and crimping wire. Stripping insulation is almost as easy: Slip the tool over the wire and align with the circular relief in the jaws. Close the handles and the insulation is cut to the proper depth. Next, simply pull the wire backward. The tool leaves the spiral winding clean and intact. It’s an effortless way to cut the insulation to the proper depth.
In order to crimp the terminal to the wire, bend the stripped away wire core back over the insulation and slide a terminal over the wire. The stripped-away wire should be positioned inside the “U” shaped portion of the terminal. Slip the terminal/wire into the nose of the tool (inside the crimp “W” in the jaws). The “U” shaped portion of the terminal fits the “circular” side while the open end faces the “W” section of the tool. Slowly squeeze the ratcheting handles, keeping the open end of the terminal inside the jaws of the tool. You’re done.