Reworking a Stock Distributor to Trigger MSD Ignition Systems Part 1
Wayne Scraba
Click Here to Begin Slideshow
For greybeard hot rodders and racers, it seems it wasn’t that long ago that hopped up point trigger ignition systems were the standard for performance. A dual point setup was the cat’s meow, and so was a recurve that suited the vehicle. You’d swap in quality points, a good condenser and an aftermarket cap and rotor. The next step was to baseline the point gap with a feeler gauge. In theory, if the point gap is correct, the dwell should also be correct or very close, but a dwell meter allowed you to get it right on the money.
So far so good, but today dwell meters, along with points, seem pretty much obsolete. Where you once found points front row center at the local auto parts store, they no longer take up prime real estate, but high quality components are still available from companies such as ACCEL. Let’s back up for second though:
Way back in the ‘70s, it was no huge secret among racers that engines simply ran a whole bunch better when the spark was fired by electronic system. Those long duration roller cammed engines idled better and always seemed easier to tune with a good electronic setup. As a side benefit, combinations like the big block Chevy, which were known spark plug killers, actually became easier on parts.
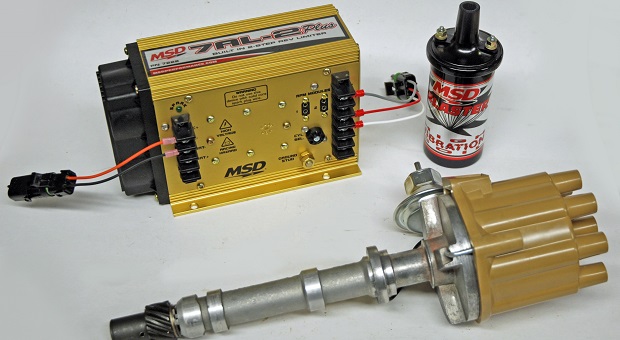
Fast forward to the present. It’s still possible to work with the simple systems of yesteryear, and at the same time mix in the wonders of modern electronics. Allow us to explain: With the right mix of parts, a vintage point equipped distributor can be rebuilt and reworked to act as a trigger device for a modern high ignition system such as an MSD 7AL2. That particular setup gives us a dirt simple device to tell the MSD when to fire, and at the same time, it gives us high powered multiple spark and a high quality, easy-to-adjust rev control. Best of all, the complete mix of parts is readily available from the folks at Holley-MSD.
If you like simple and easy to work with, it's a great plan. Over the next few issues, we’ll show you how it went together, using a vintage Delco distributor as the basis (and keep in mind, the fundamentals of working with a Delco are pretty much the same as a Ford or Mopar distributor). In this issue, we’ll start the process of disassembling the distributor:
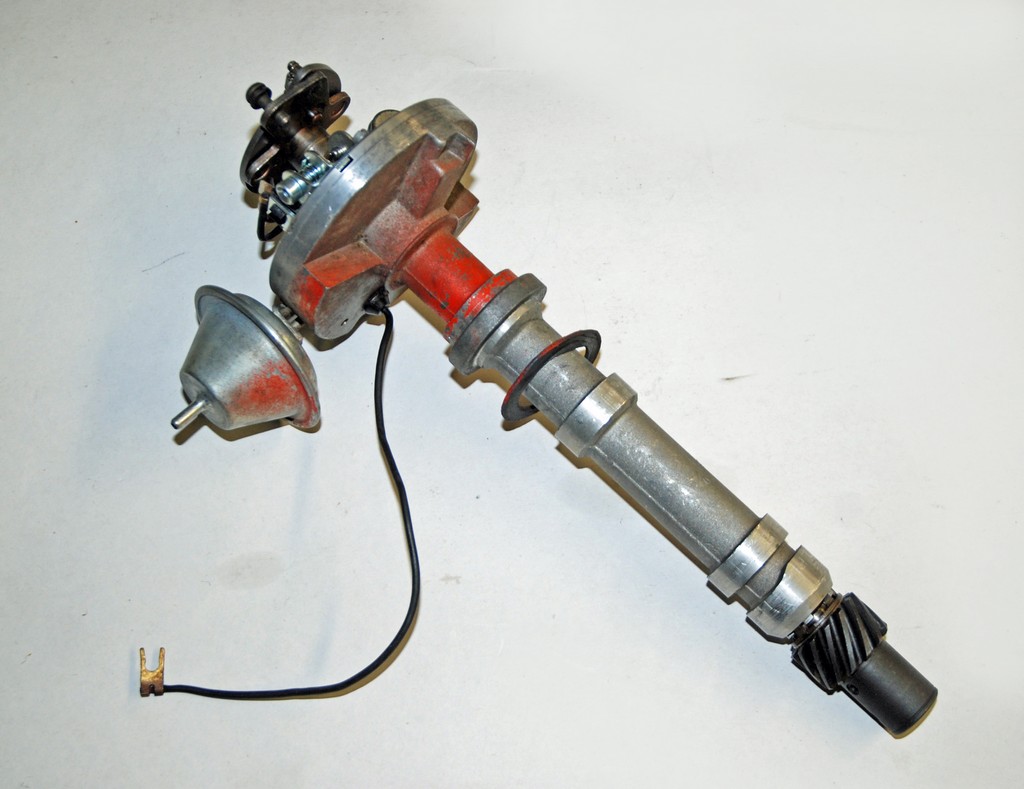
This is the starting point: a stock Delco single point distributor. This particular example is a pretty good score – it came out of an über-low-mileage 307. Because of the miles, the shaft bushings are in great shape, but the curve is pathetically slow.
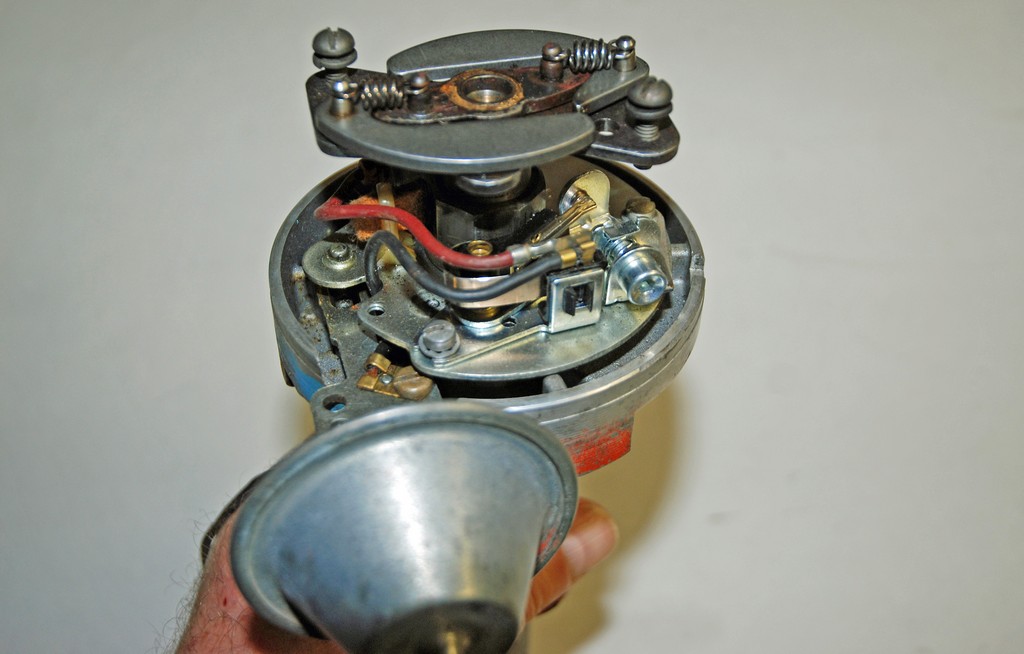
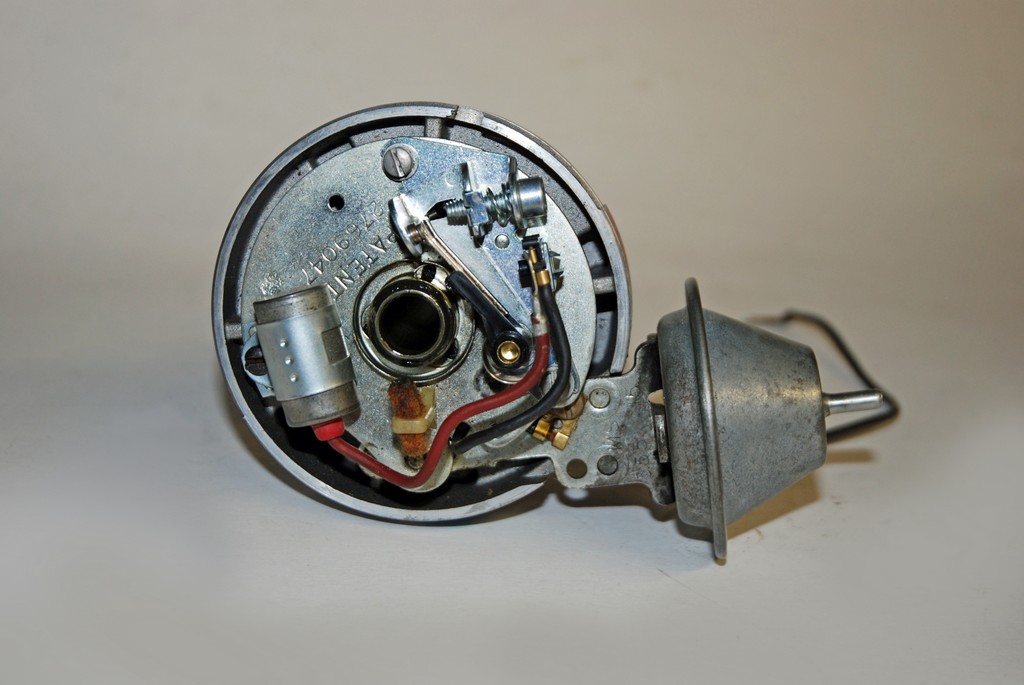
First things first: Remove the cap and rotor. They’re easy. You’ll be met with this:
Check the end clearance before going any further. To accomplish this, simply use a feeler gauge to determine go-no-go clearance between the oil slinger and the gear. This one was huge at 0.065-inch.
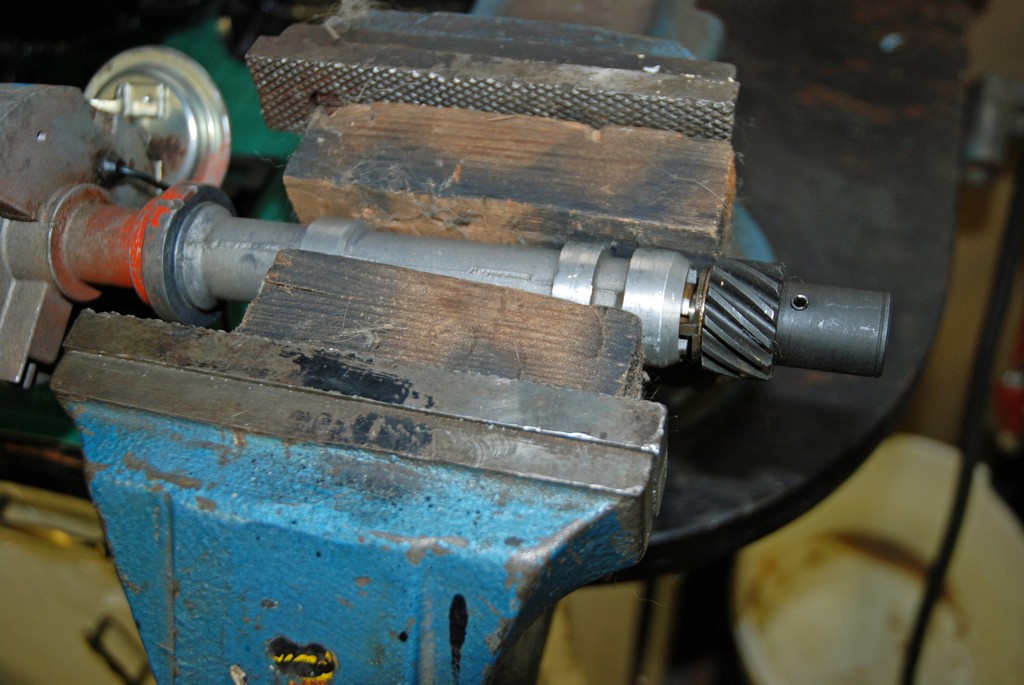
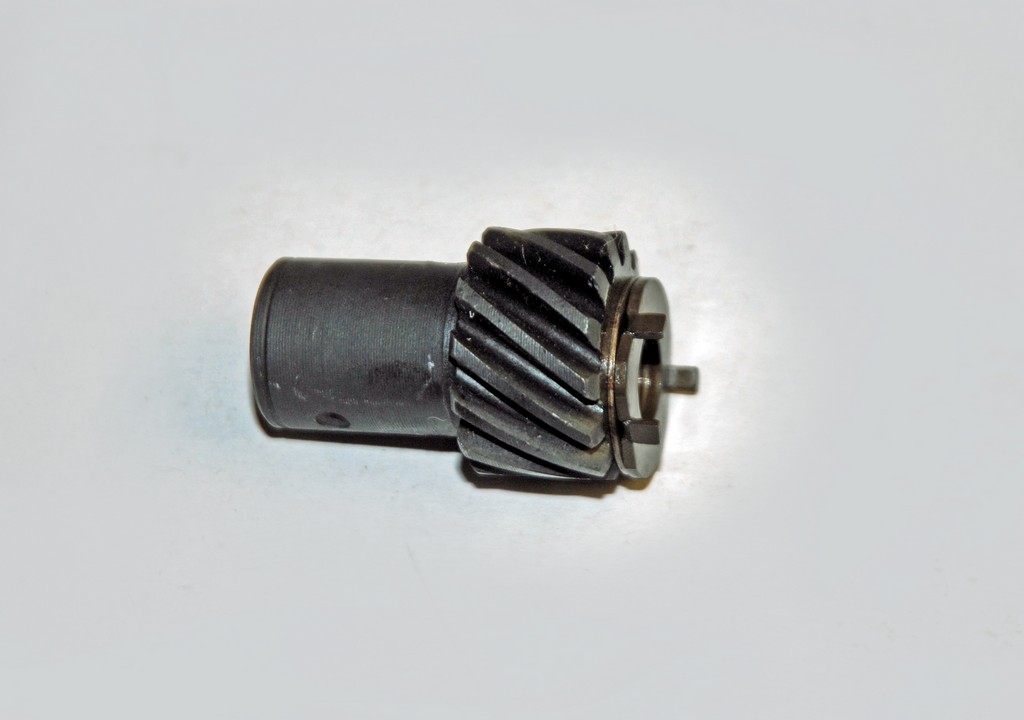
Next, knock out the roll pin on the distributor gear.
This photo shows the gear, oil slinger and stock shim pack.
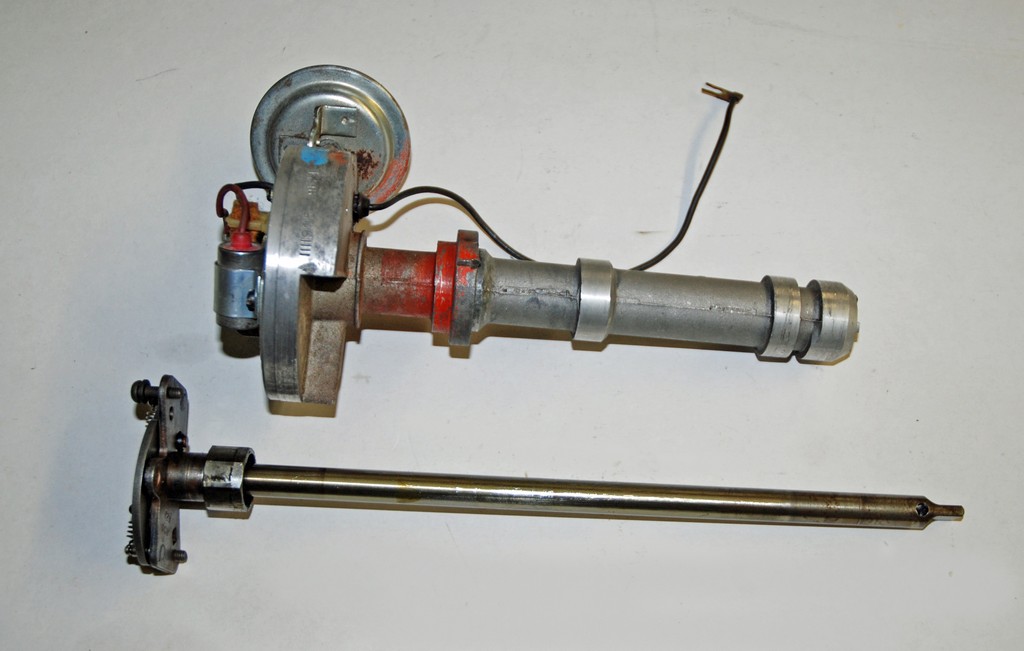
With the gear removed, you can remove the shaft.
With the shaft out, this is what you’re met with. Remove the point set along with the condenser. A simple flat blade screwdriver is all you’ll need.