Click Here to Begin Slideshow
Our Best of 2025 How-Tos highlight the most practical, informative, and hands-on guides published this year—content designed to help enthusiasts wrench smarter, buy with confidence, and get more out of their builds. From technical walkthroughs and maintenance tips to buying advice and project planning, these articles resonated with readers by breaking down complex topics into clear, actionable information. Whether you’re in the garage, at the track, or scrolling for your next project, these How-Tos helped make 2025 a smarter year for RacingJunk readers.
Click Here to Begin Slideshow
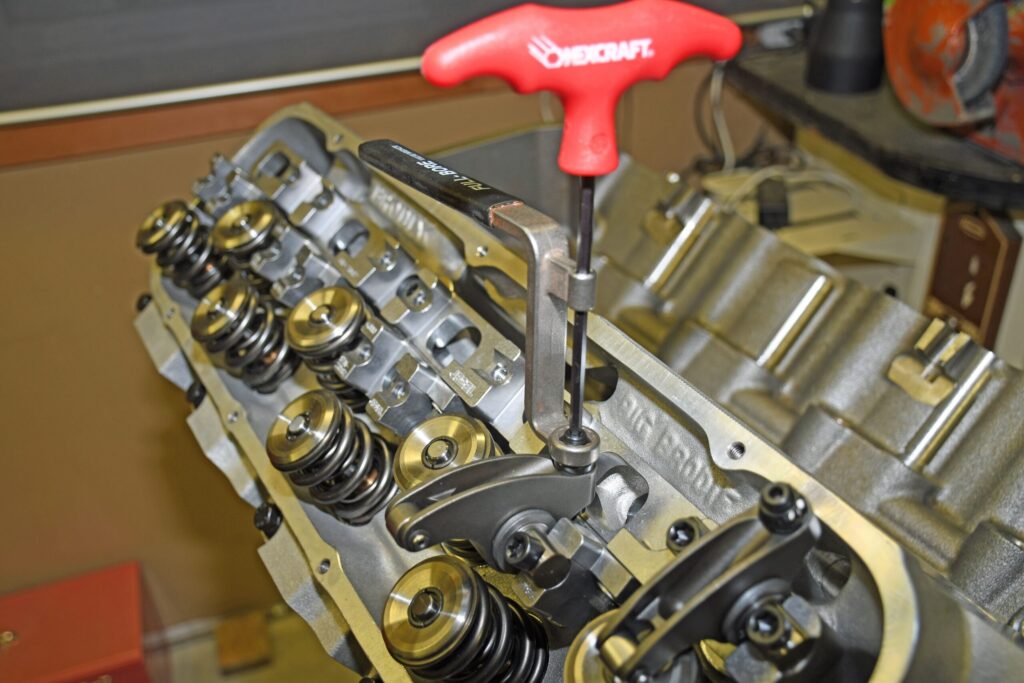
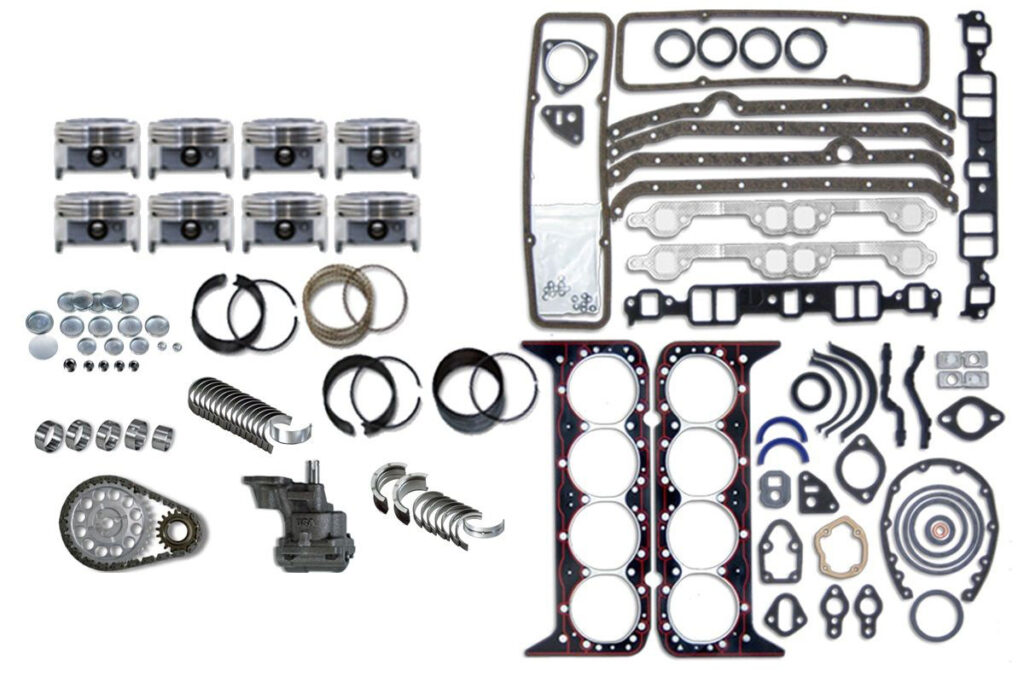
During the engine rebuild process, using the proper bolt patterns and torque specs is critical to making sure your engine runs right and stays together. There’s nothing worse than installing a freshly rebuilt engine only to find out it runs poorly — or worse, comes apart — because fasteners weren’t torqued to spec. RacingJunk Classifieds This article walks through the torque patterns and specs you should follow when tightening key components on popular Small Block Chevy, Ford, and Mopar engines, including intake manifolds, heads, rod and main bearing caps, and more.
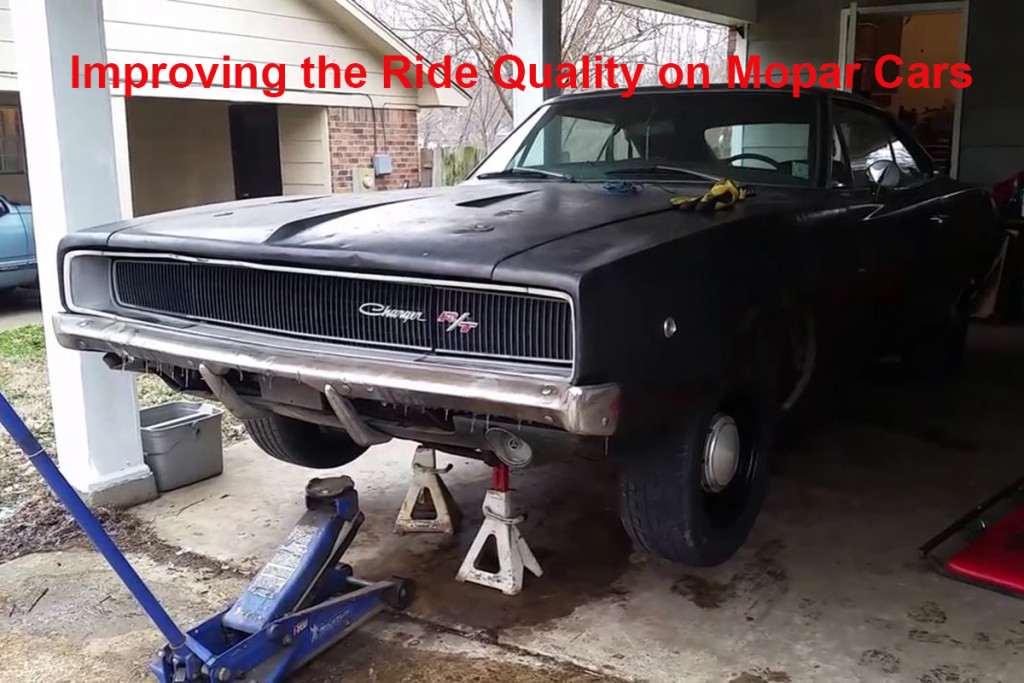
Adjusting Mopar torsion bars affects ride height and handling, but like most suspension adjustments it requires care and the right steps. On cars with torsion bar suspensions, the ride height adjuster arm — which pivots inside the lower control arm mount and bushing — determines how much tension the torsion bar carries. RacingJunk Classifieds To fine-tune ride height using the torsion bar, raise the front end on a level surface, safely support it with stands, and then adjust the ride height bolt clockwise to raise the car or counter-clockwise to lower it. This is primarily a fine adjustment — significant ride height changes typically require additional components such as drop axles.
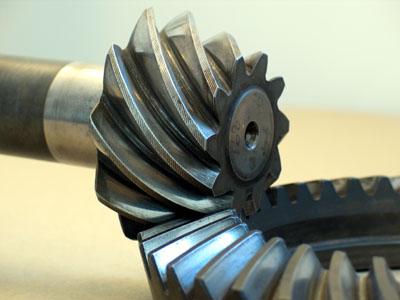
It’s not rocket science. Sure, setting up ring and pinion gears can seem challenging, but it really is simple enough that anyone can do it—If they’re willing to pay attention to proper procedures. When setting up the positioning of a ring and pinion in any rear end, there are only two settings that need to be done/measured correctly to ensure proper gear setup and long gear life. These settings are:
* Pinion depth (how close the pinion is to the ring gear)
* Backlash (how close the ring gear is to the pinion).
Bearing preloads are equally important, but we’ll address those particulars in a later article. All we will be focusing on at this time is the actual setting of the gears.
This isn’t about the install of ring and pinion gears. That process has been covered ad nauseam everywhere on the Internet. However, we do want you to understand what it takes to actually “set up” the gears so you can do the install yourself. Normally, the first step is to set the pinion depth using a proper pinion depth tool. Since we’re fairly certain that most DIYers don’t have a pinion-depth gauge, here’s how to set the pinion depth without using one.
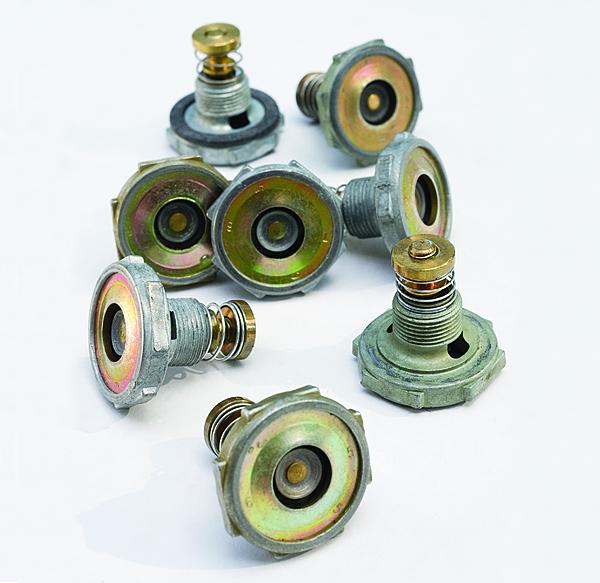
When it comes to tuning a Holley carburetor the power valve has always seemed a mystery to many. But, once you know how power-valves work, it’s easy to select, troubleshoot, and install the right one for your application.
The power is a vacuum-operated fuel valve that is designed to enrich the fuel flow to the engine under varied vacuum conditions. It is located in the metering block, and opens at a set vacuum that is determined by the spring it contains. Depending on the spring in the power valve, this can occur at varying engine rpm and directs extra fuel into the carburetor’s main power circuit. The valve itself is a small rubber diaphragm with a small coil spring. When opened, it allows fuel to flow through the calibrated opening in the metering block (power valve channel restrictor). This restrictor determines the amount of additional fuel delivered to the engine.
If you’re pulling your first classic out of a junk-covered barn or chopping it out of the undergrowth, chances are you aren’t going to be able to just pop the key in the ignition and drive off. Don’t be discouraged, though; take a look under the hood. If all the fundamental components are in place, it’s not as hard as you might think to get an old Detroit hunk of iron to sputter back to life.
There are a few essential supplies that everyone needs for a “will it run” adventure. Always make sure you have a fully charged battery and an external fuel source in the form of a jerry can, bottle or jug – a way to provide 12v power to the starter and ignition. Now, she may not be ready to run and move under her own power just yet, but at the very least you will have somewhere to start.