Part Two of Wayne Scraba's series on installing an automatic transmission continues his advice with a little help from the folks at ATI.
In our last issue we provided 12 tech tips on high performance automatic transmission installation. While at first glance, an automatic install is a simple task, but nothing further could be the truth. As pointed out previously, there are a lot of little parts, pieces and procedures to consider. And because there are a lot of them, there’s a lot of opportunity for Mr. Murphy and his famous law to enter the picture.
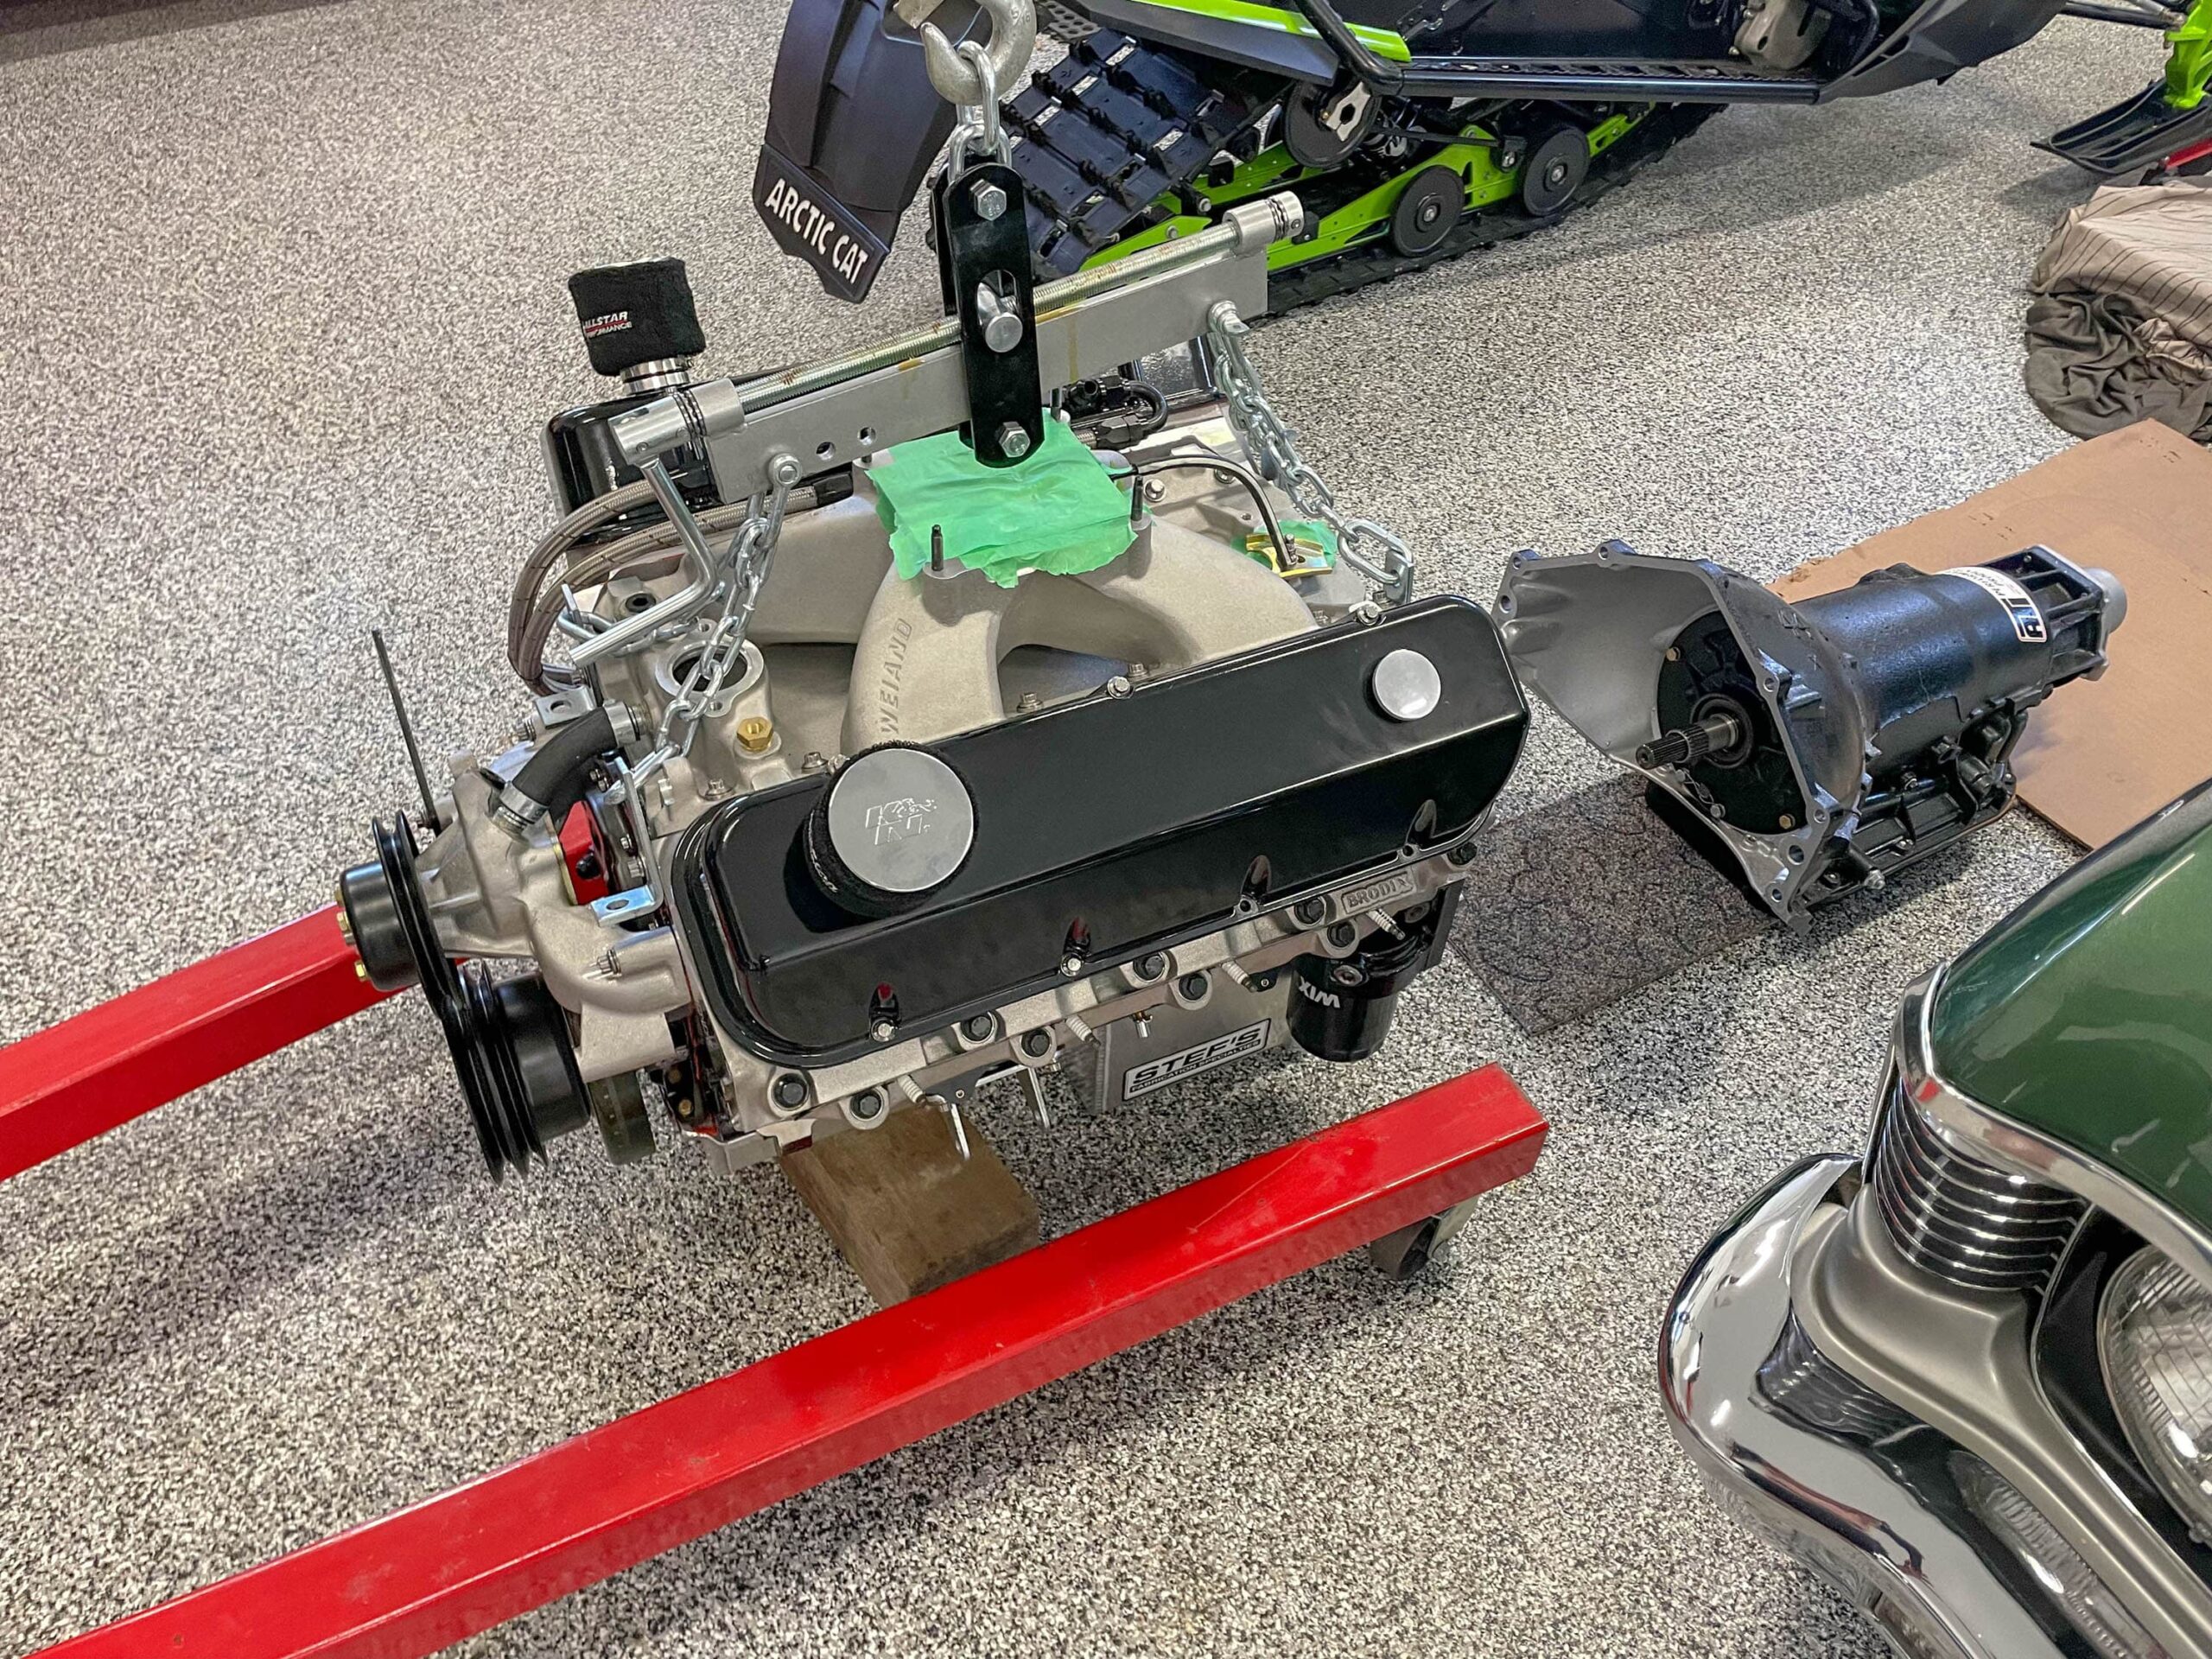
This time around, we’ll continue with our transmission installation tips and tricks. And once again, many of them are courtesy of the folks at ATI Performance Products. For a closer look, tune into the accompanying slide show:
Click Here to Begin Slideshow
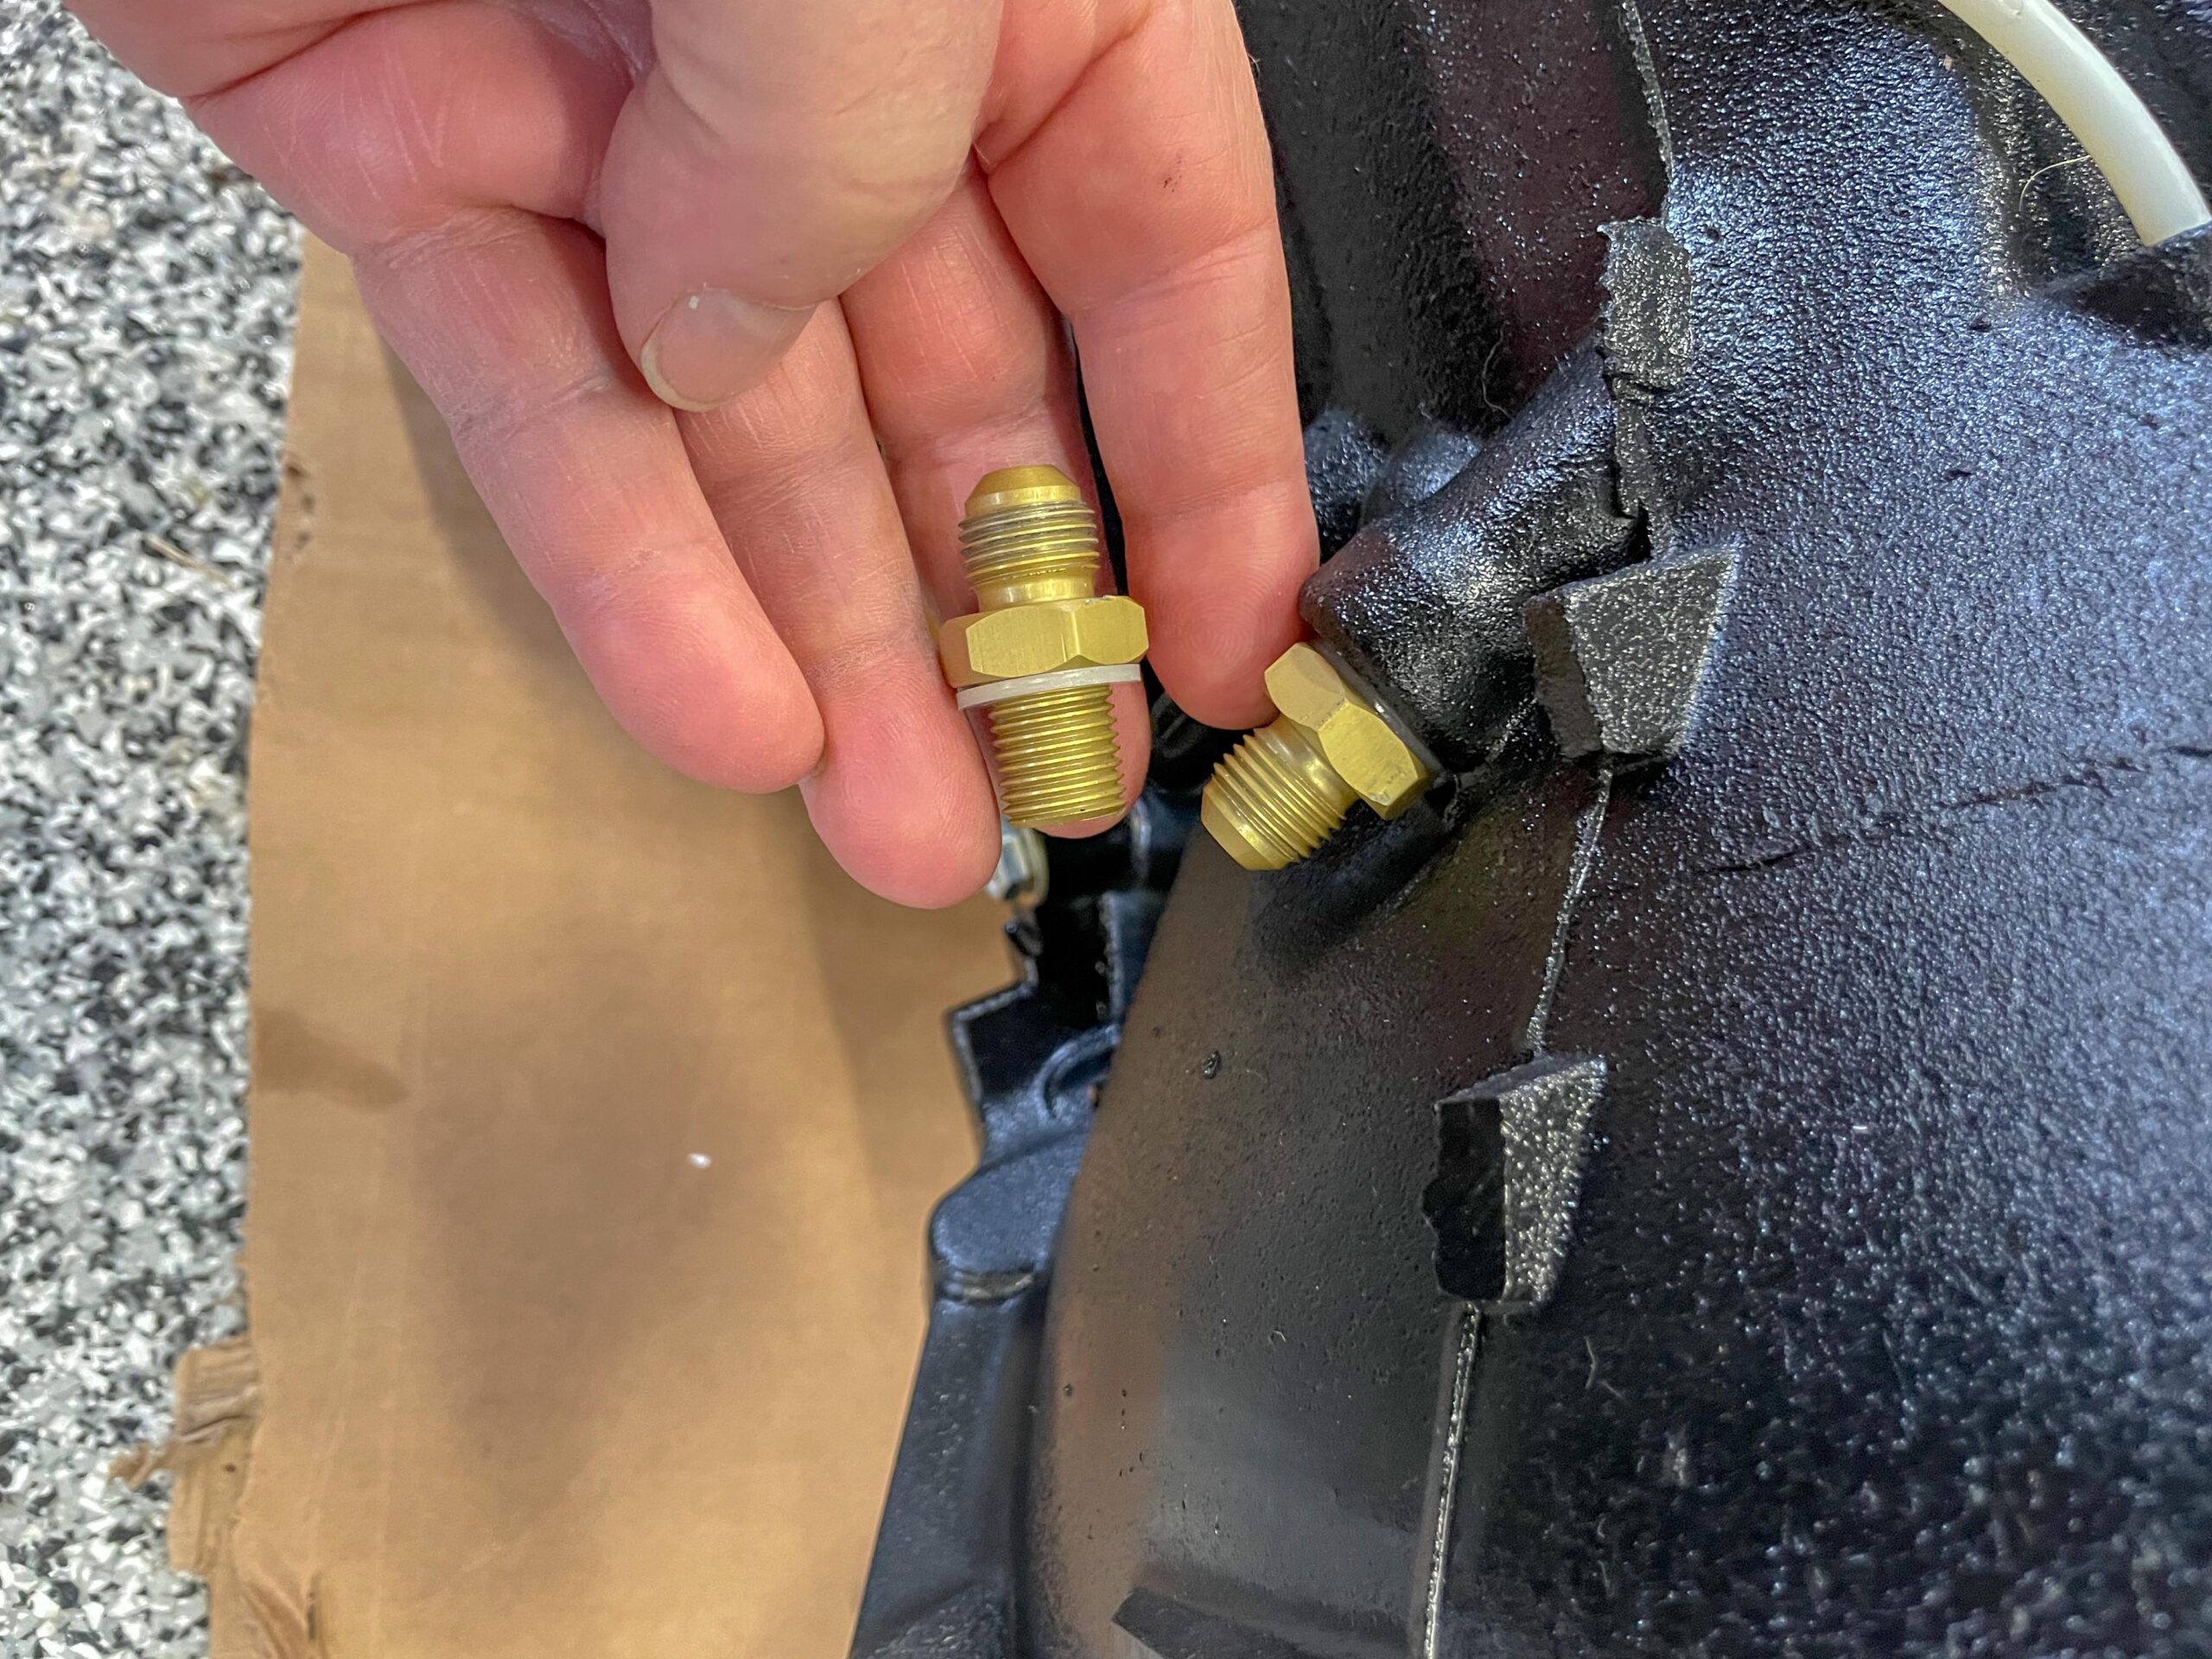
ATI offers these special 1/4 in. NPSM (straight) thread transmission cooler line fittings. The use of proper straight thread fittings can prevent case cracks that are associated with trying to install tapered pipe thread fittings where a straight thread fitting should go. ATI cooler line fittings are machined from billet aluminum and then anodized. They include nylon sealing washers and are available in -6 AN and -8 AN hose sizes.
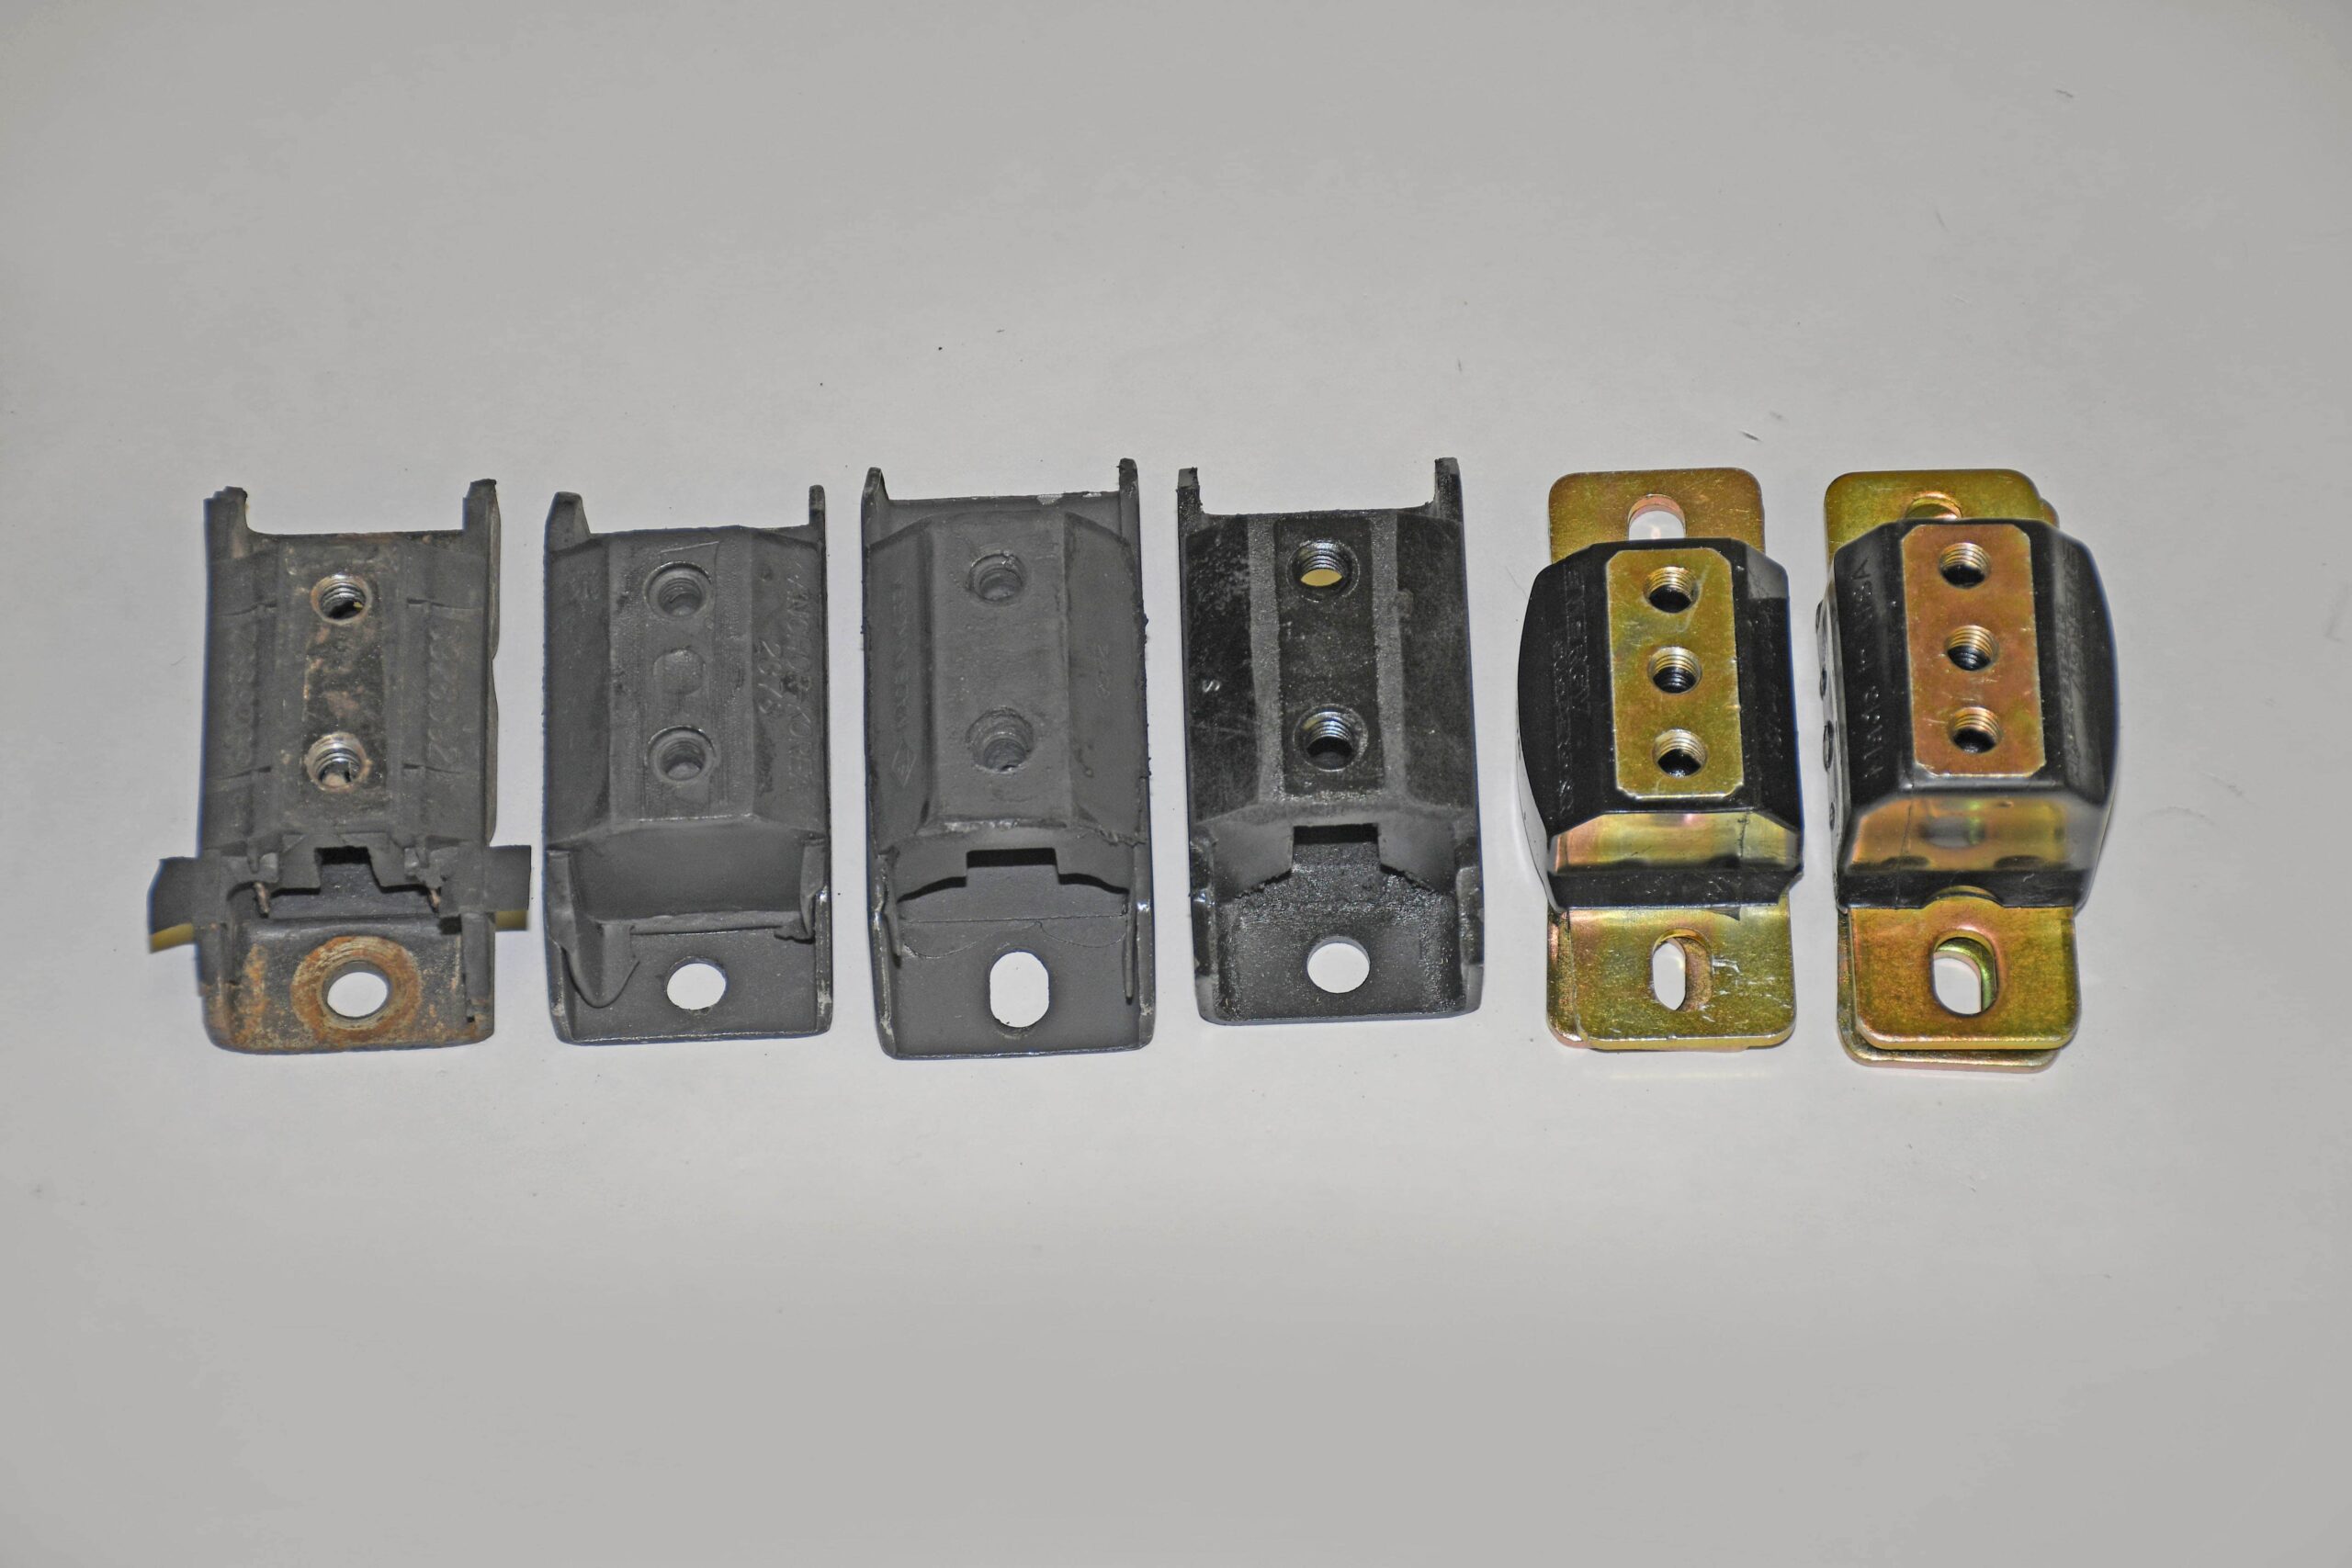
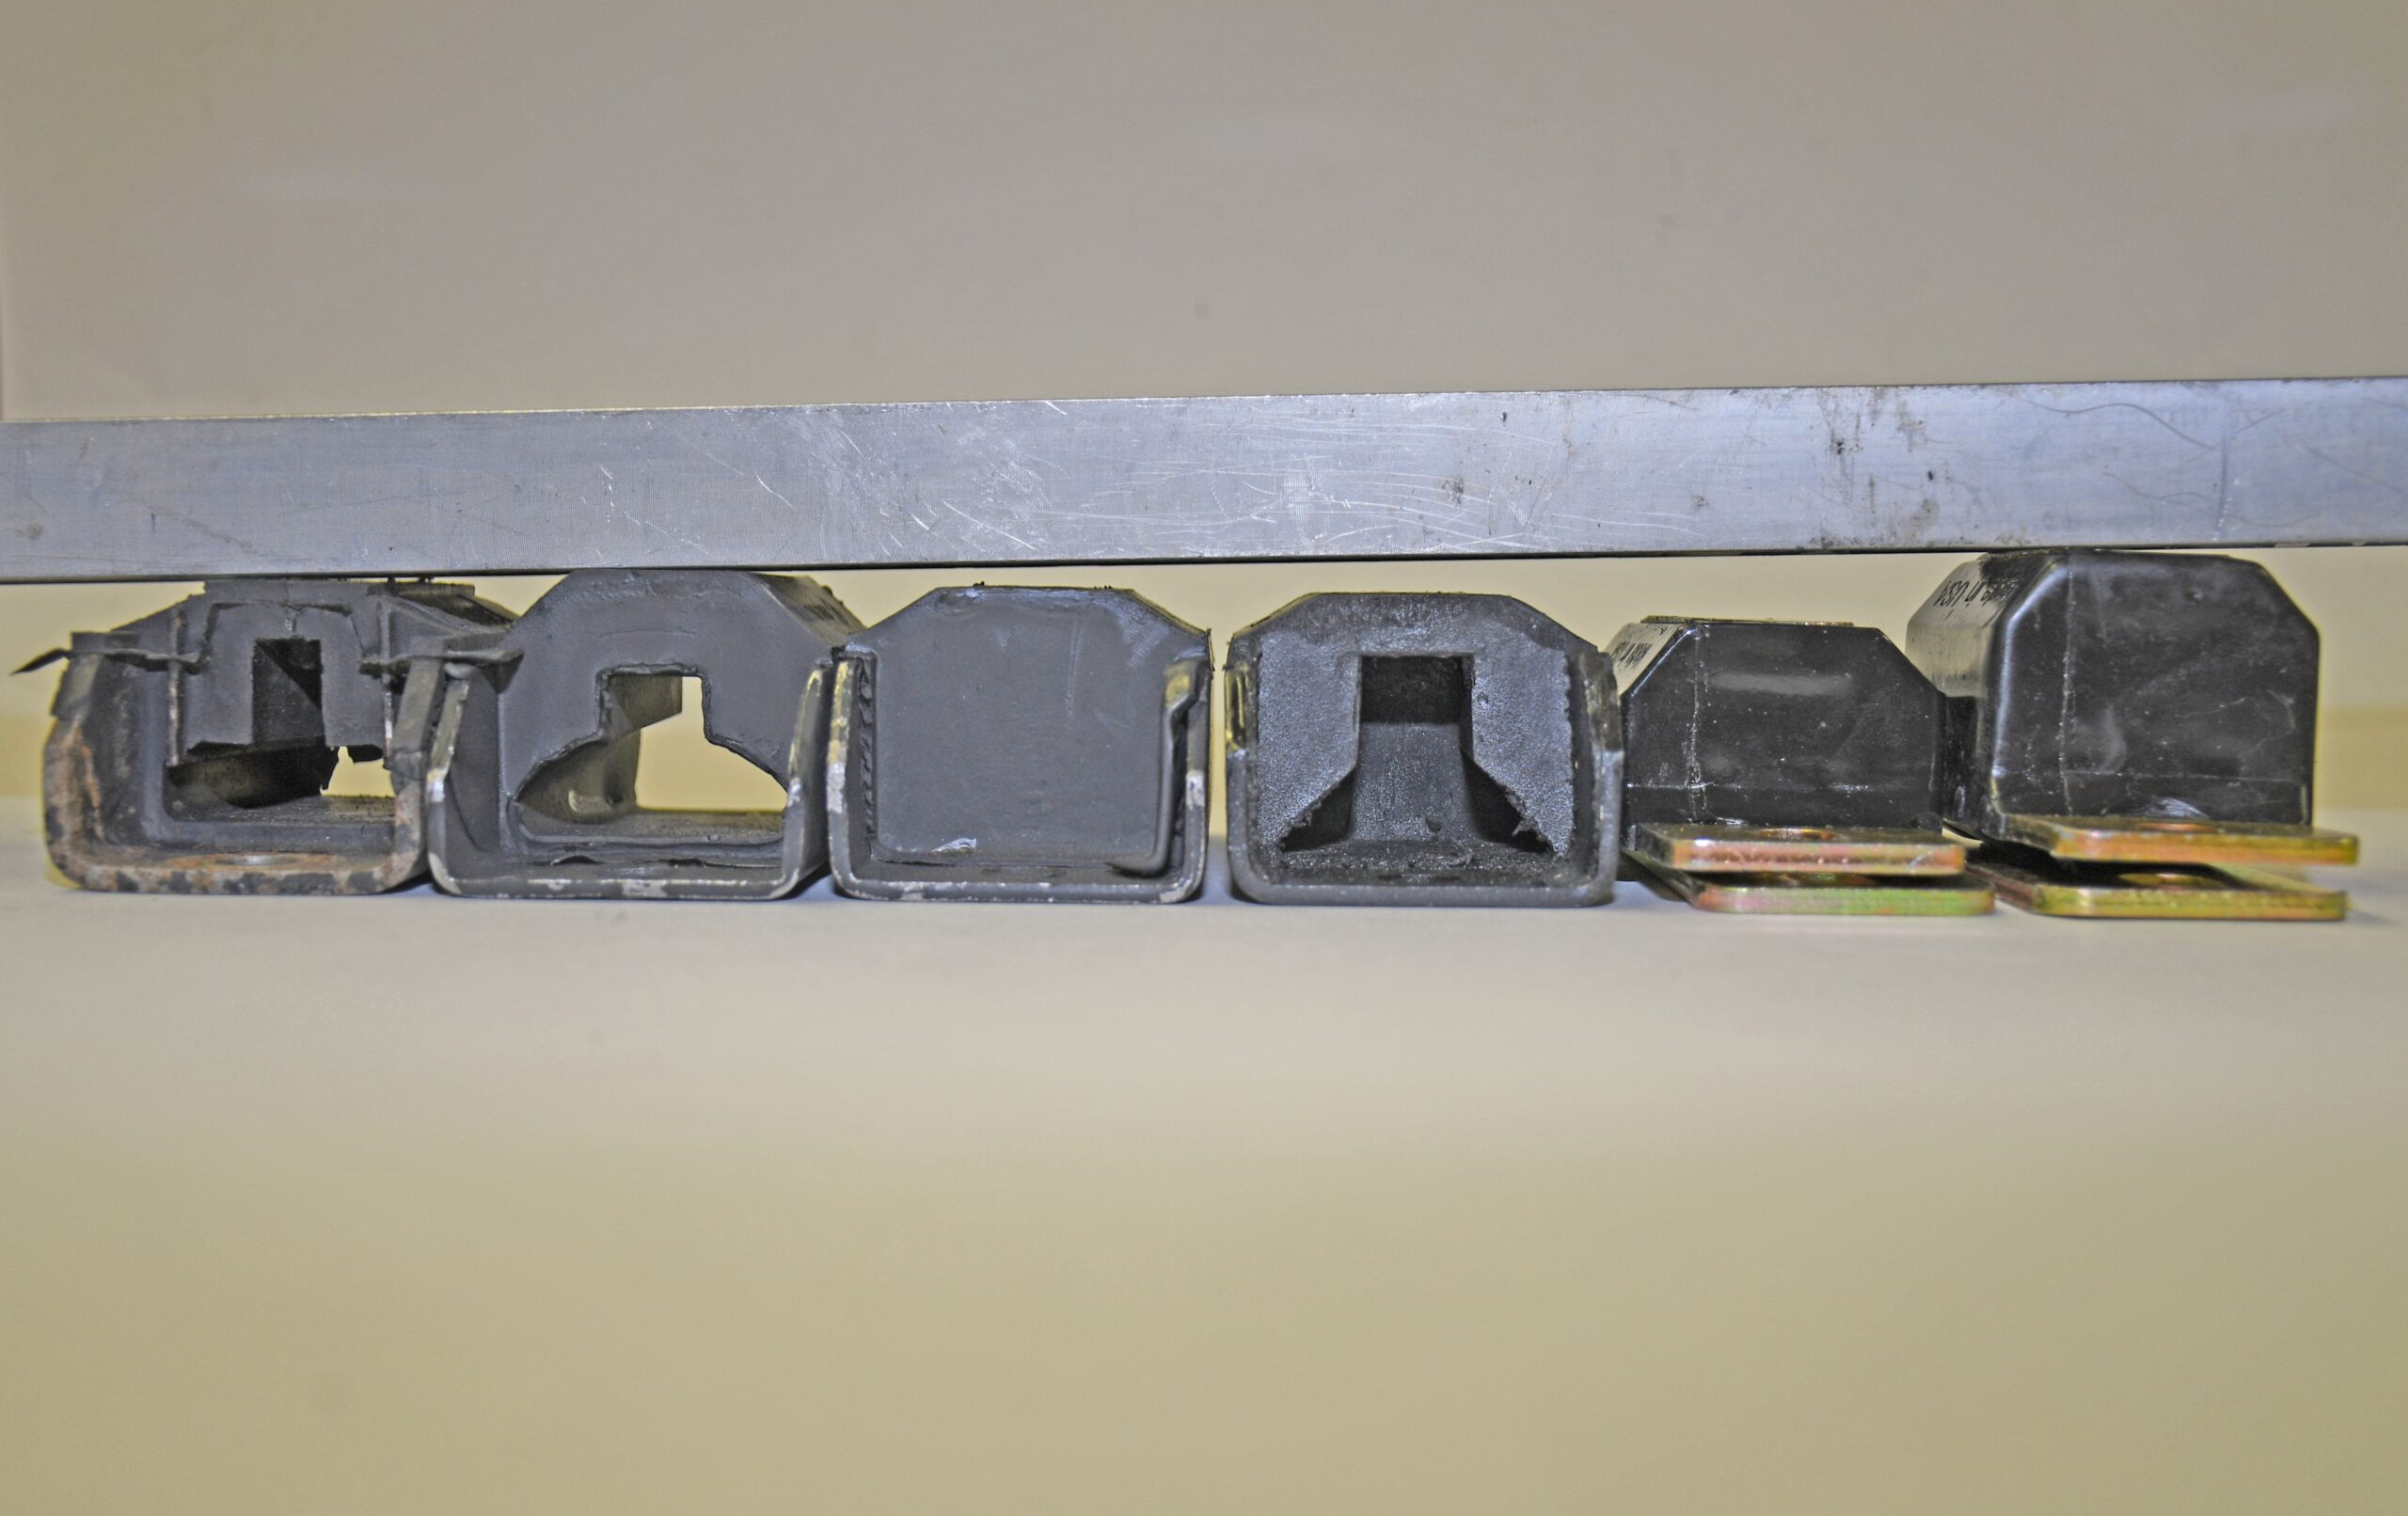
Not all transmission mounts are the same! This is the group of transmission mounts for a common 1969 Camaro. The stock GM mount is on the left. Note the differences in heights in the second photo. The point here is to use the right mount for the right application.
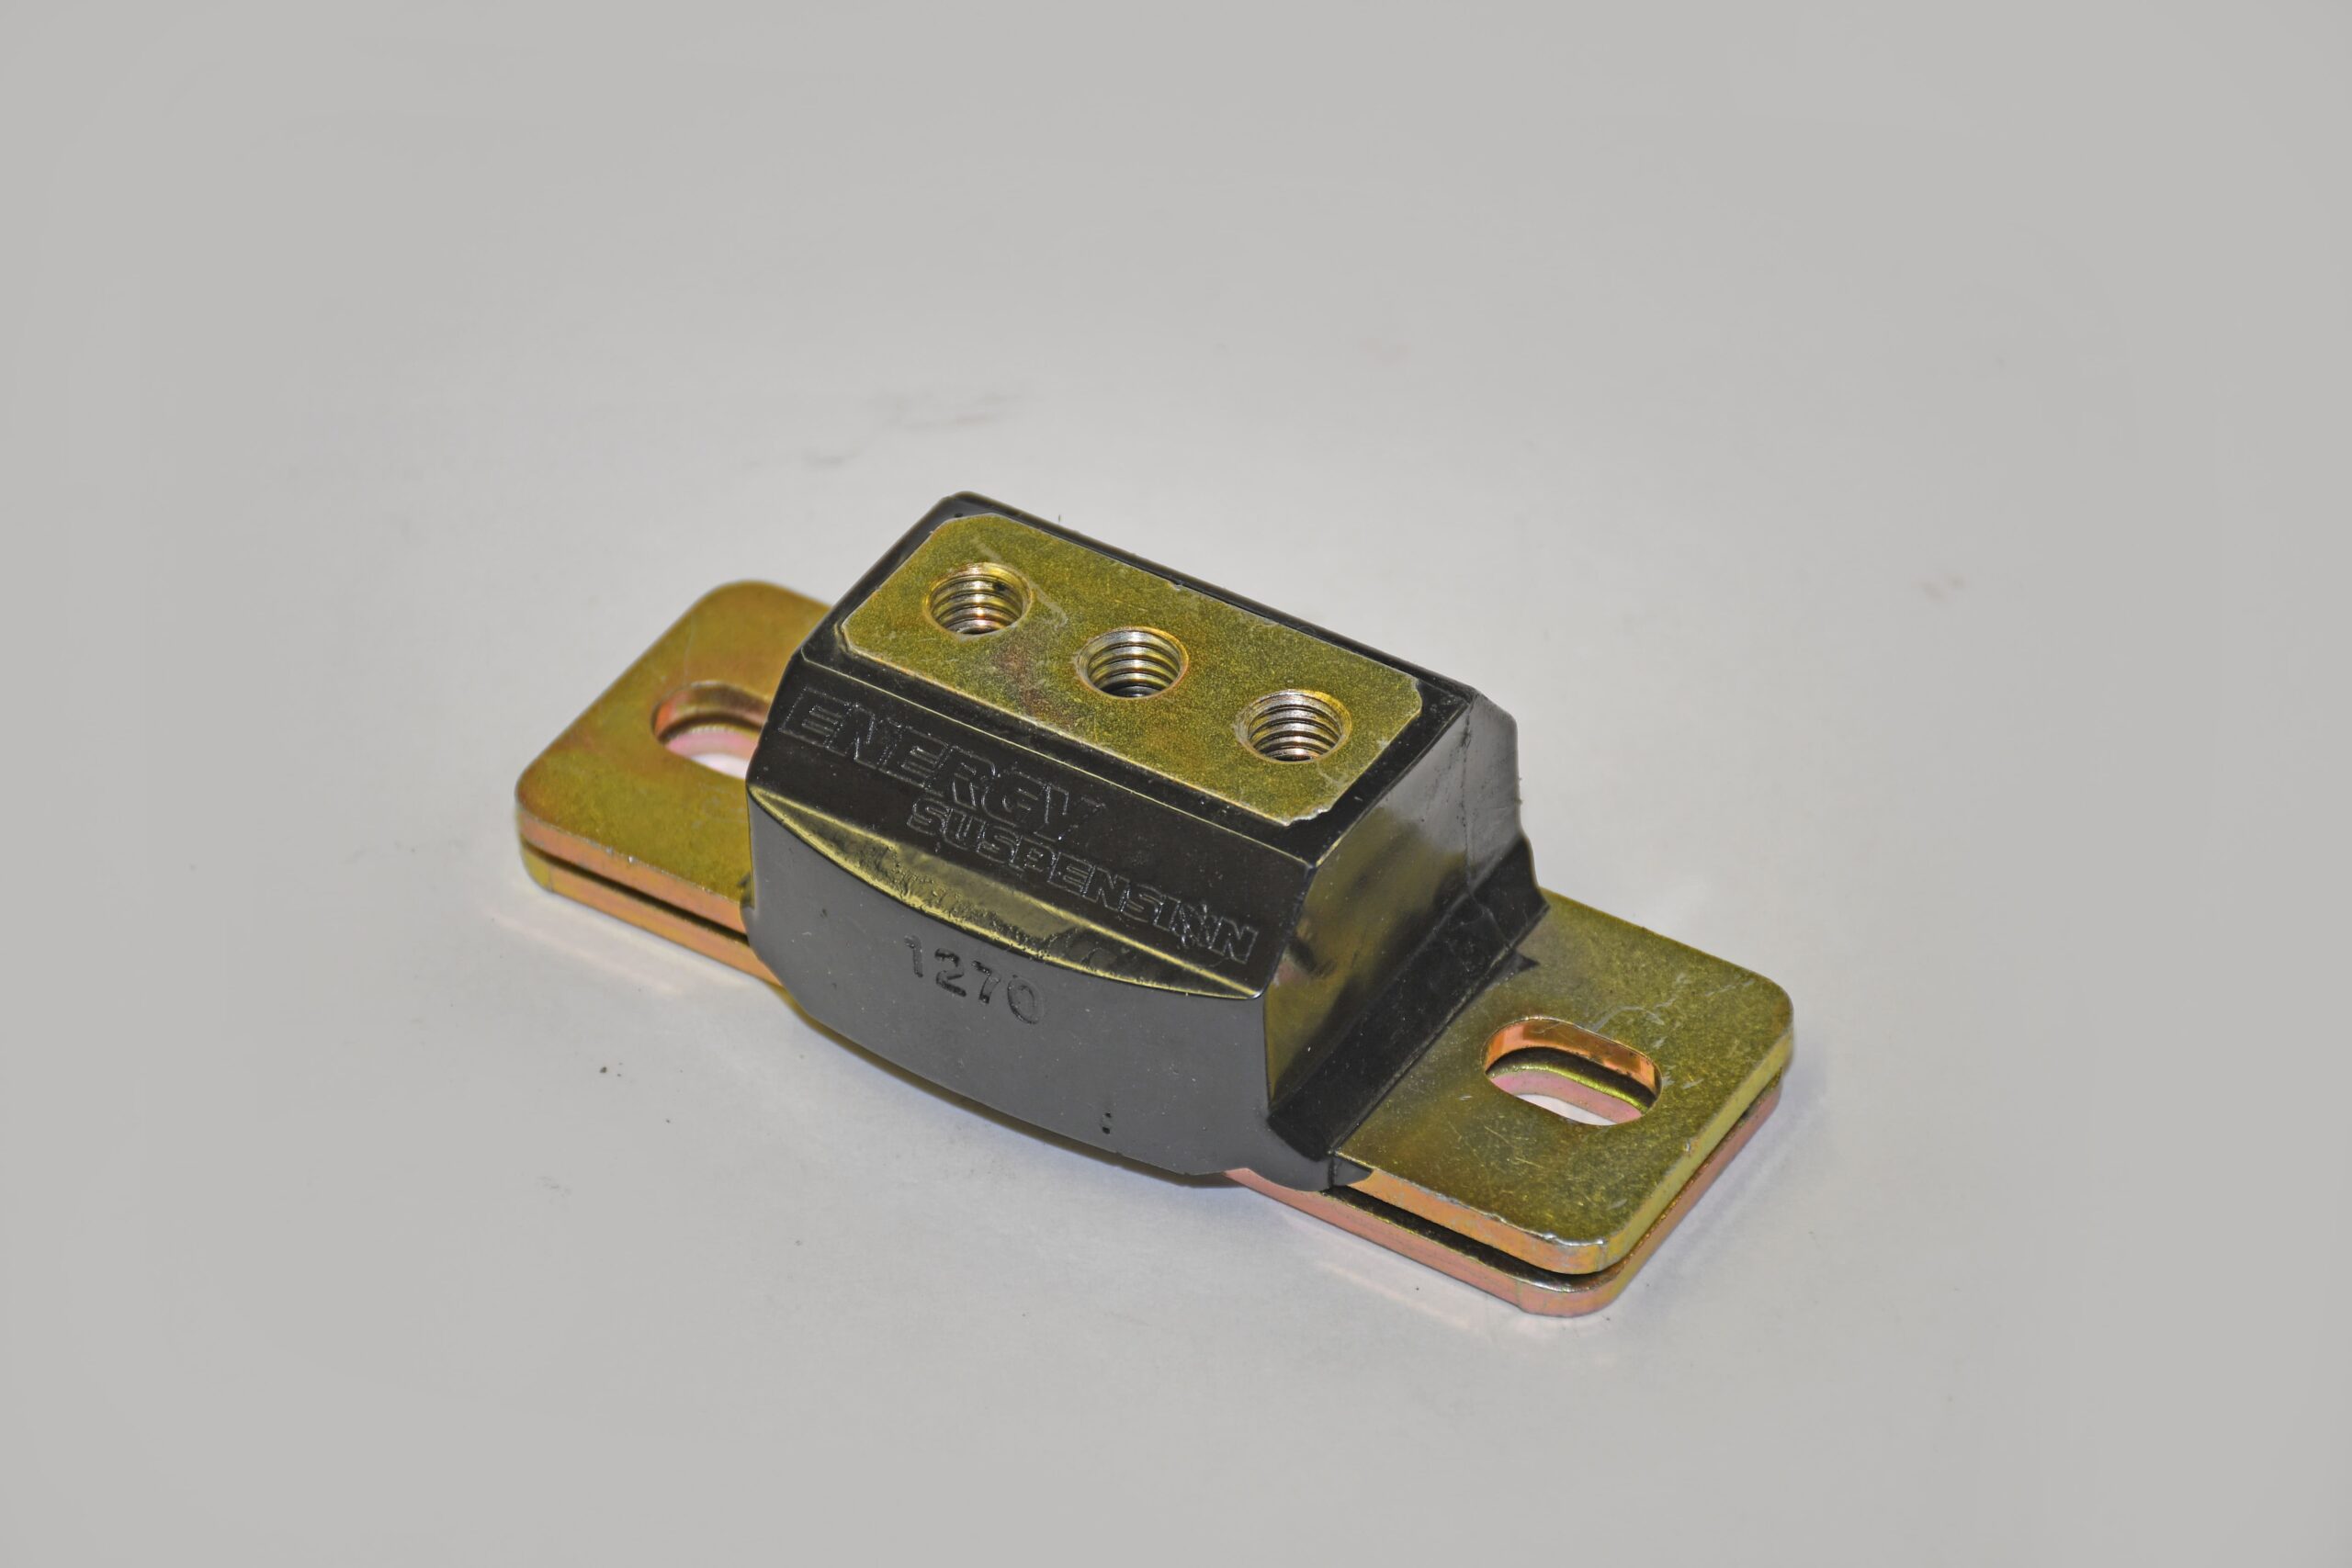
Solid steel or aluminum transmission mounts aren’t a good idea for most applications. The reason is (under some circumstances), a solid connection can result in a broken transmission case. That’s why we prefer to use something like this urethane mount from Energy Suspension.
If the shifter and transmission happen to both be out of the car, then it is far easier to get the cable close to adjustment prior to installation. You can then final adjust the works after it's in the car. This of course, isn’t always possible, but it certainly makes adjustment a snap!
Check the size of the bolts supplied with your converter to secure it to the flexplate. ATI suggests that if necessary you may have to drill holes in the flexplate 0.010-inch bigger than the bolt being used. Regardless of what you need to do, the flexplate holes cannot be sloppy or egged out.
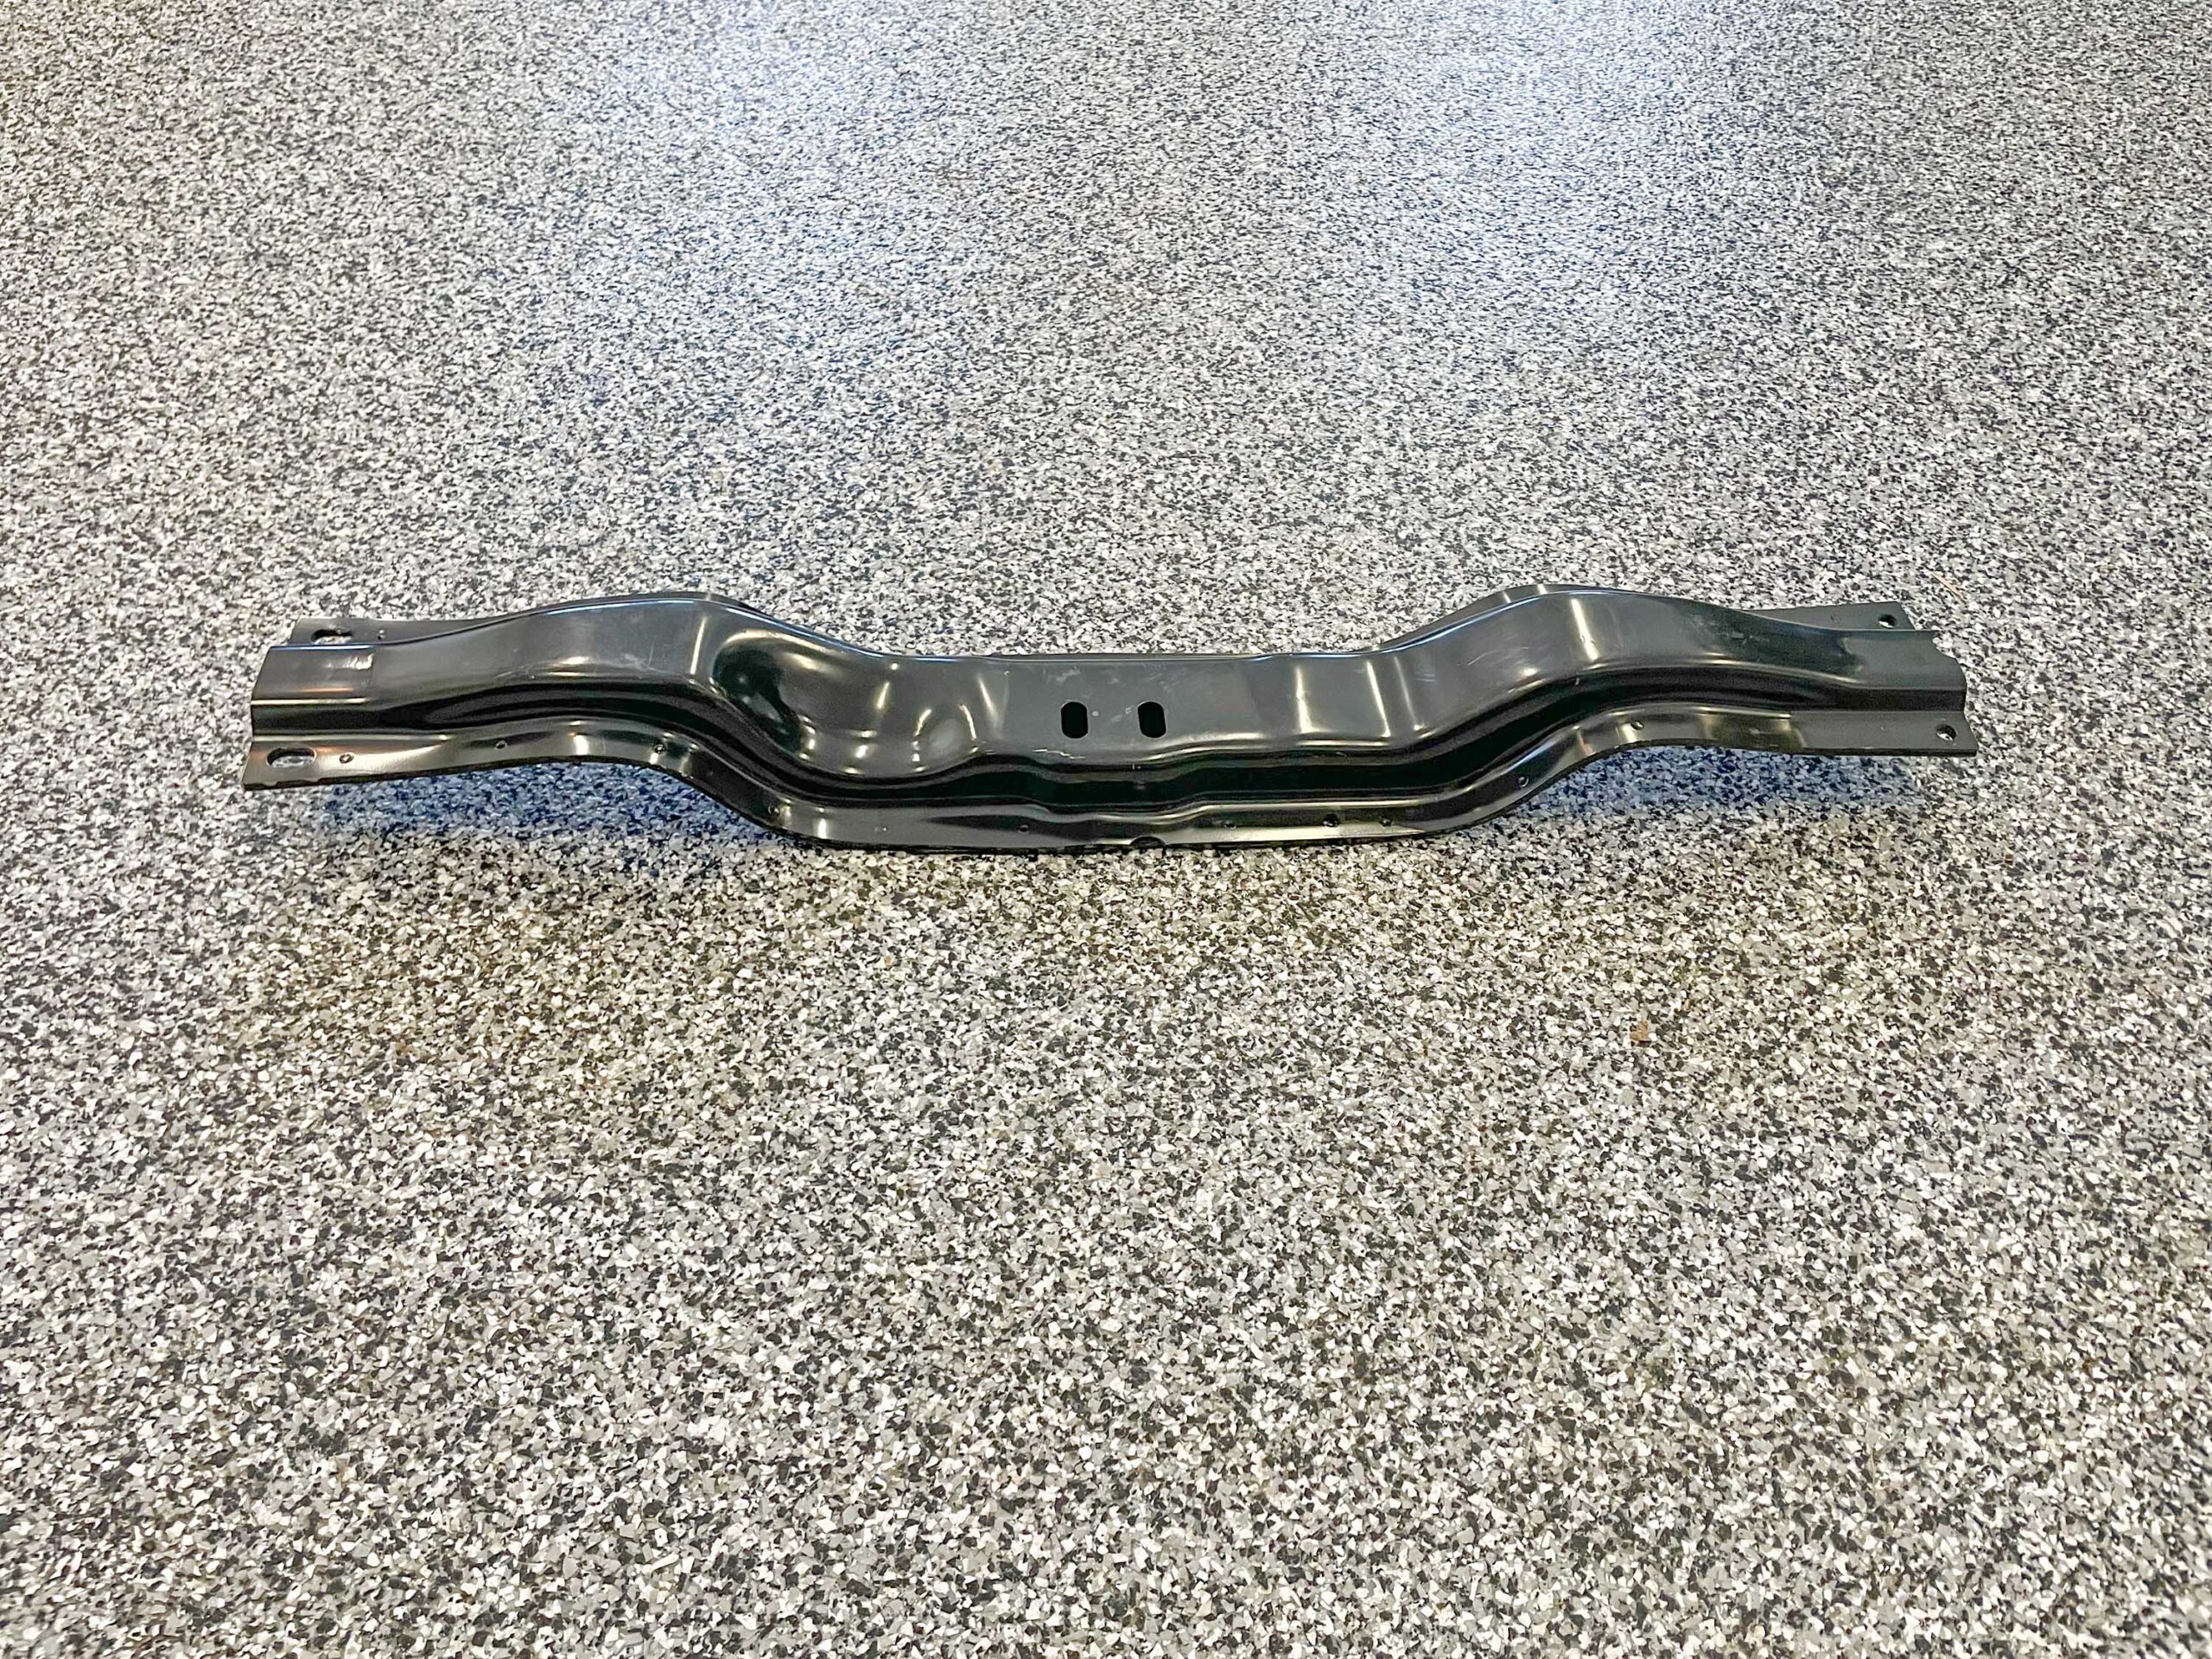
Not all transmission crossmembers are created equal. For example, cars such as the writer’s 1970 big block Nova (with stock OEM mounts) actually move the engine and transmission over toward the passenger side slightly. If a small block trans crossmember is used, it’s sometimes possible to make it all fit (this is dependent upon motor mounts), but there’s a really good chance the transmission case will placed in a bind. It can result in premature transmission case failure.
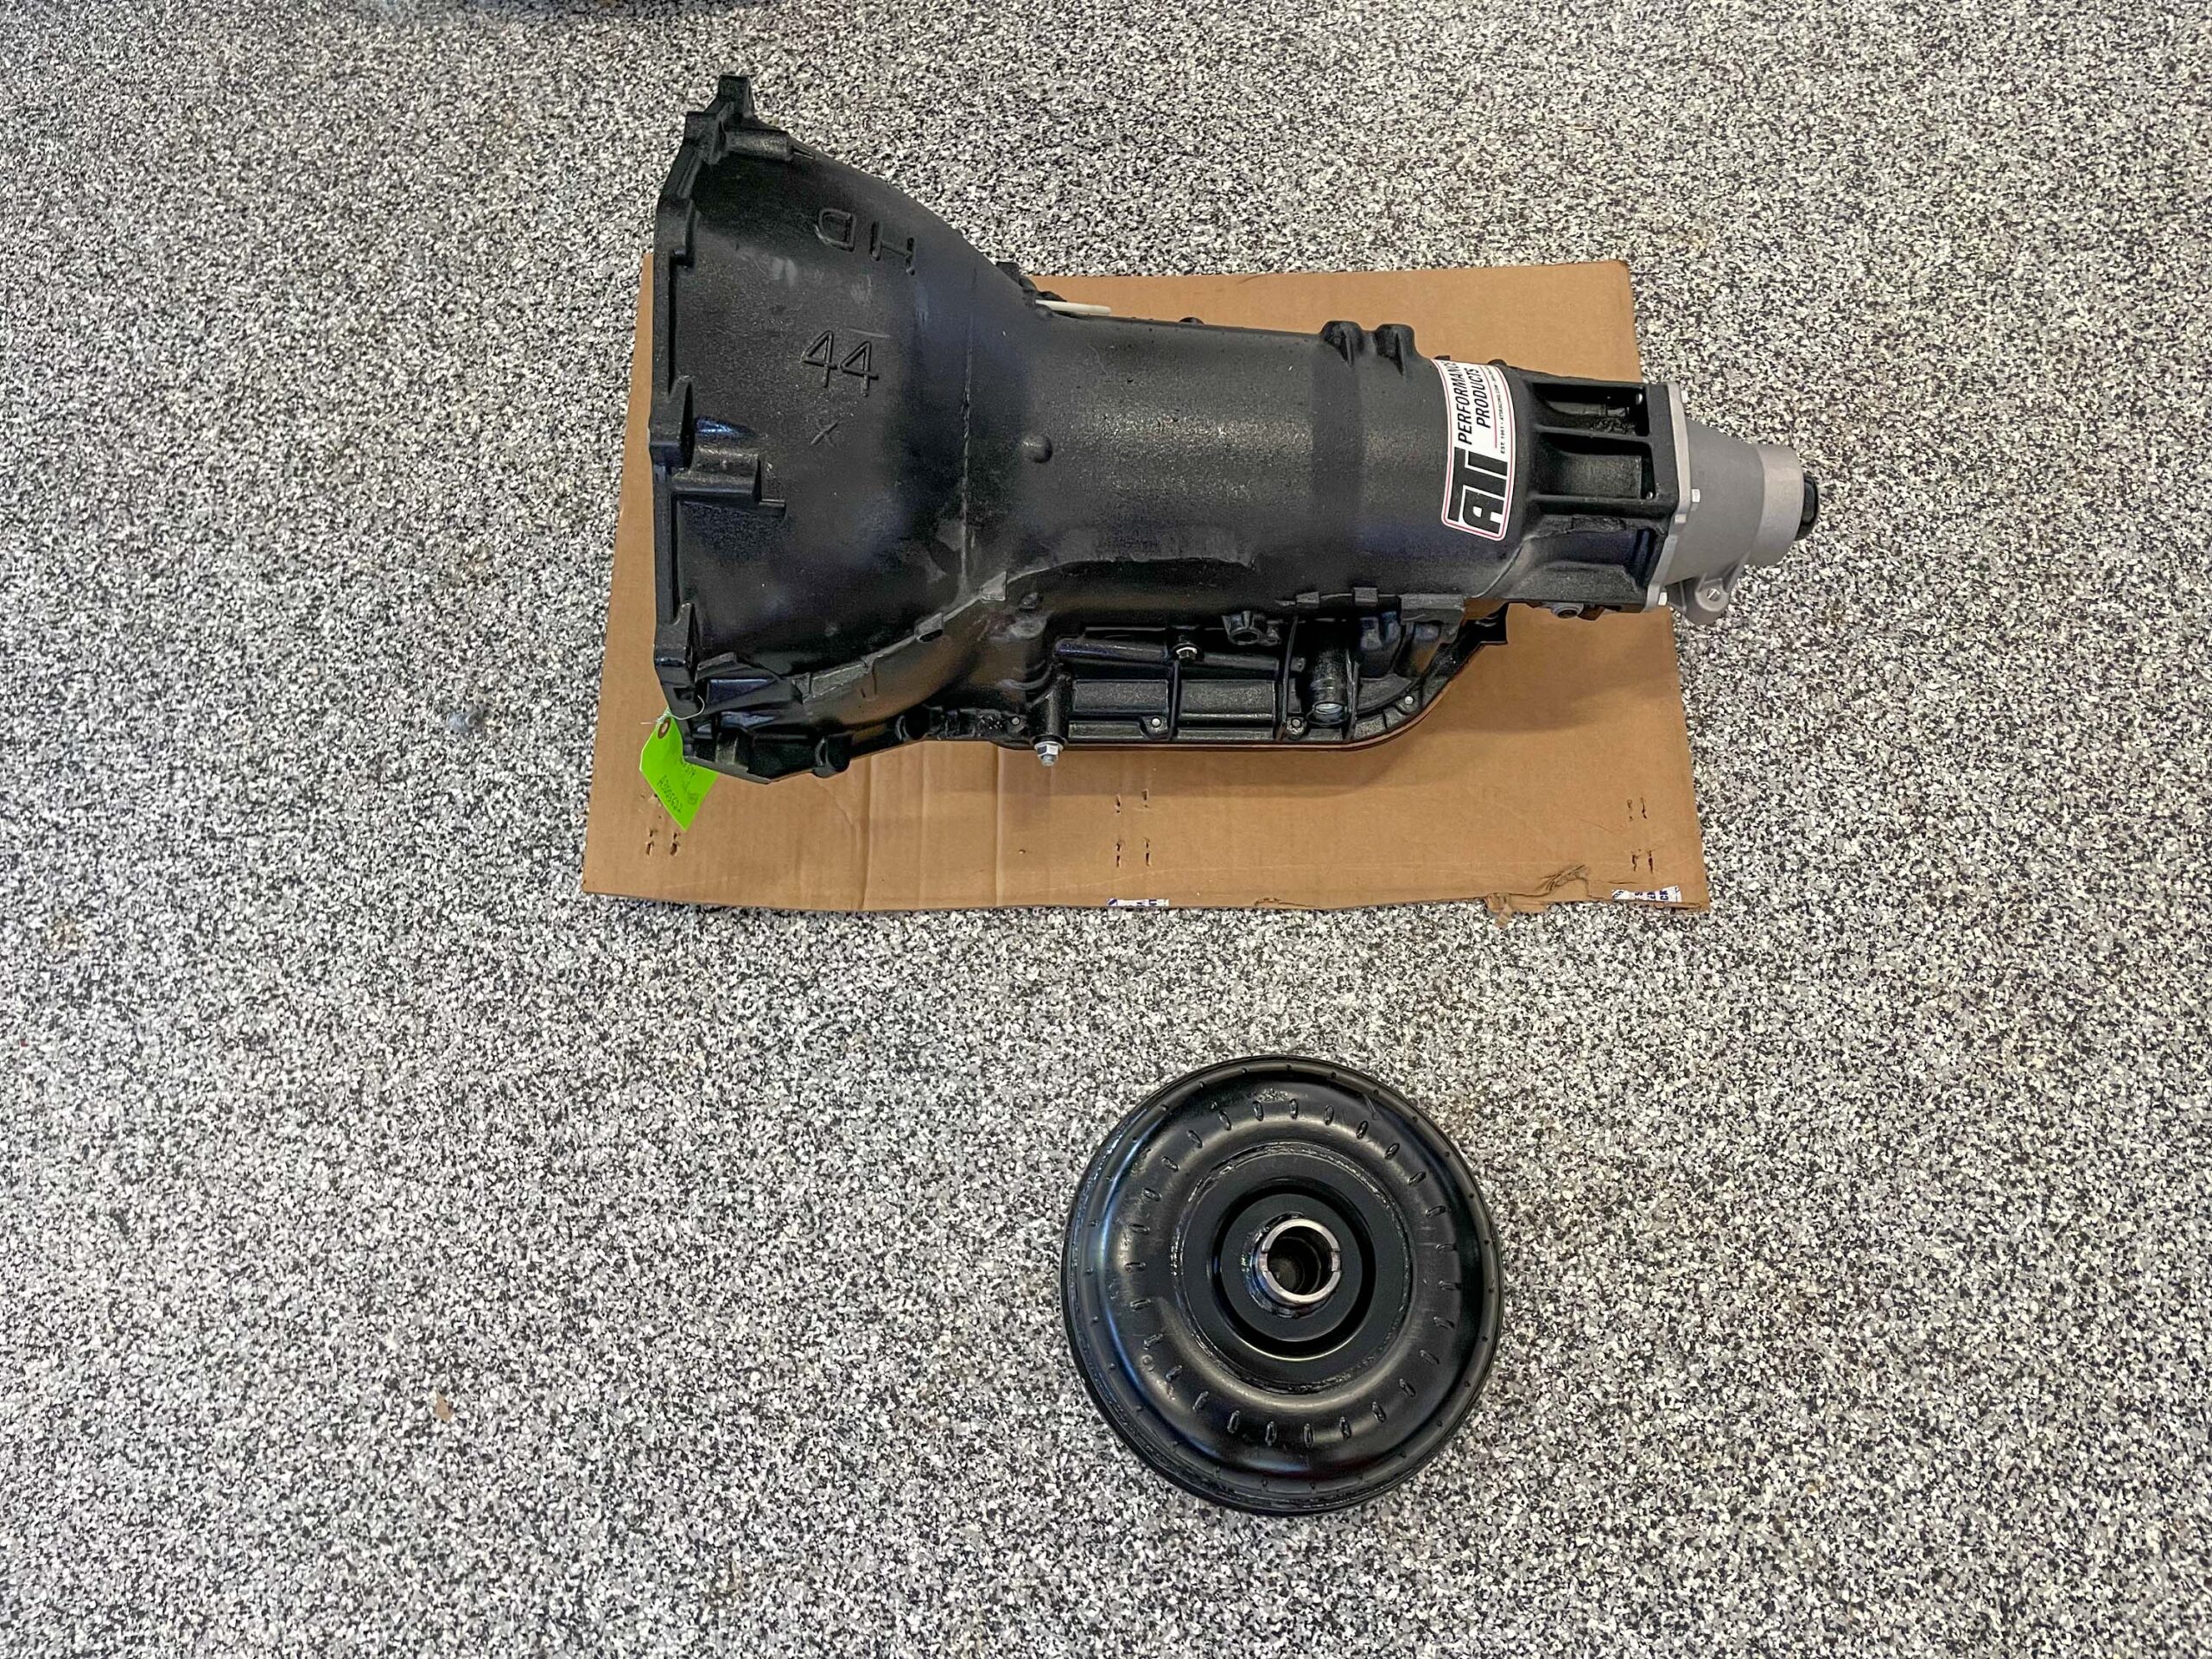
Prior to installation, ATI recommends you install one quart of a quality brand fluid (which is red in color) in the converter. Apply a small amount of fluid on the converter hub as well.
Once the transmission installation is complete, adjust the shifter in All gear positions. Be sure to do this going forward and going back. The rod and pin should slide with ease through the arm on the transmission when adjusted properly. Failure to pay attention here will almost always result in premature transmission failure.
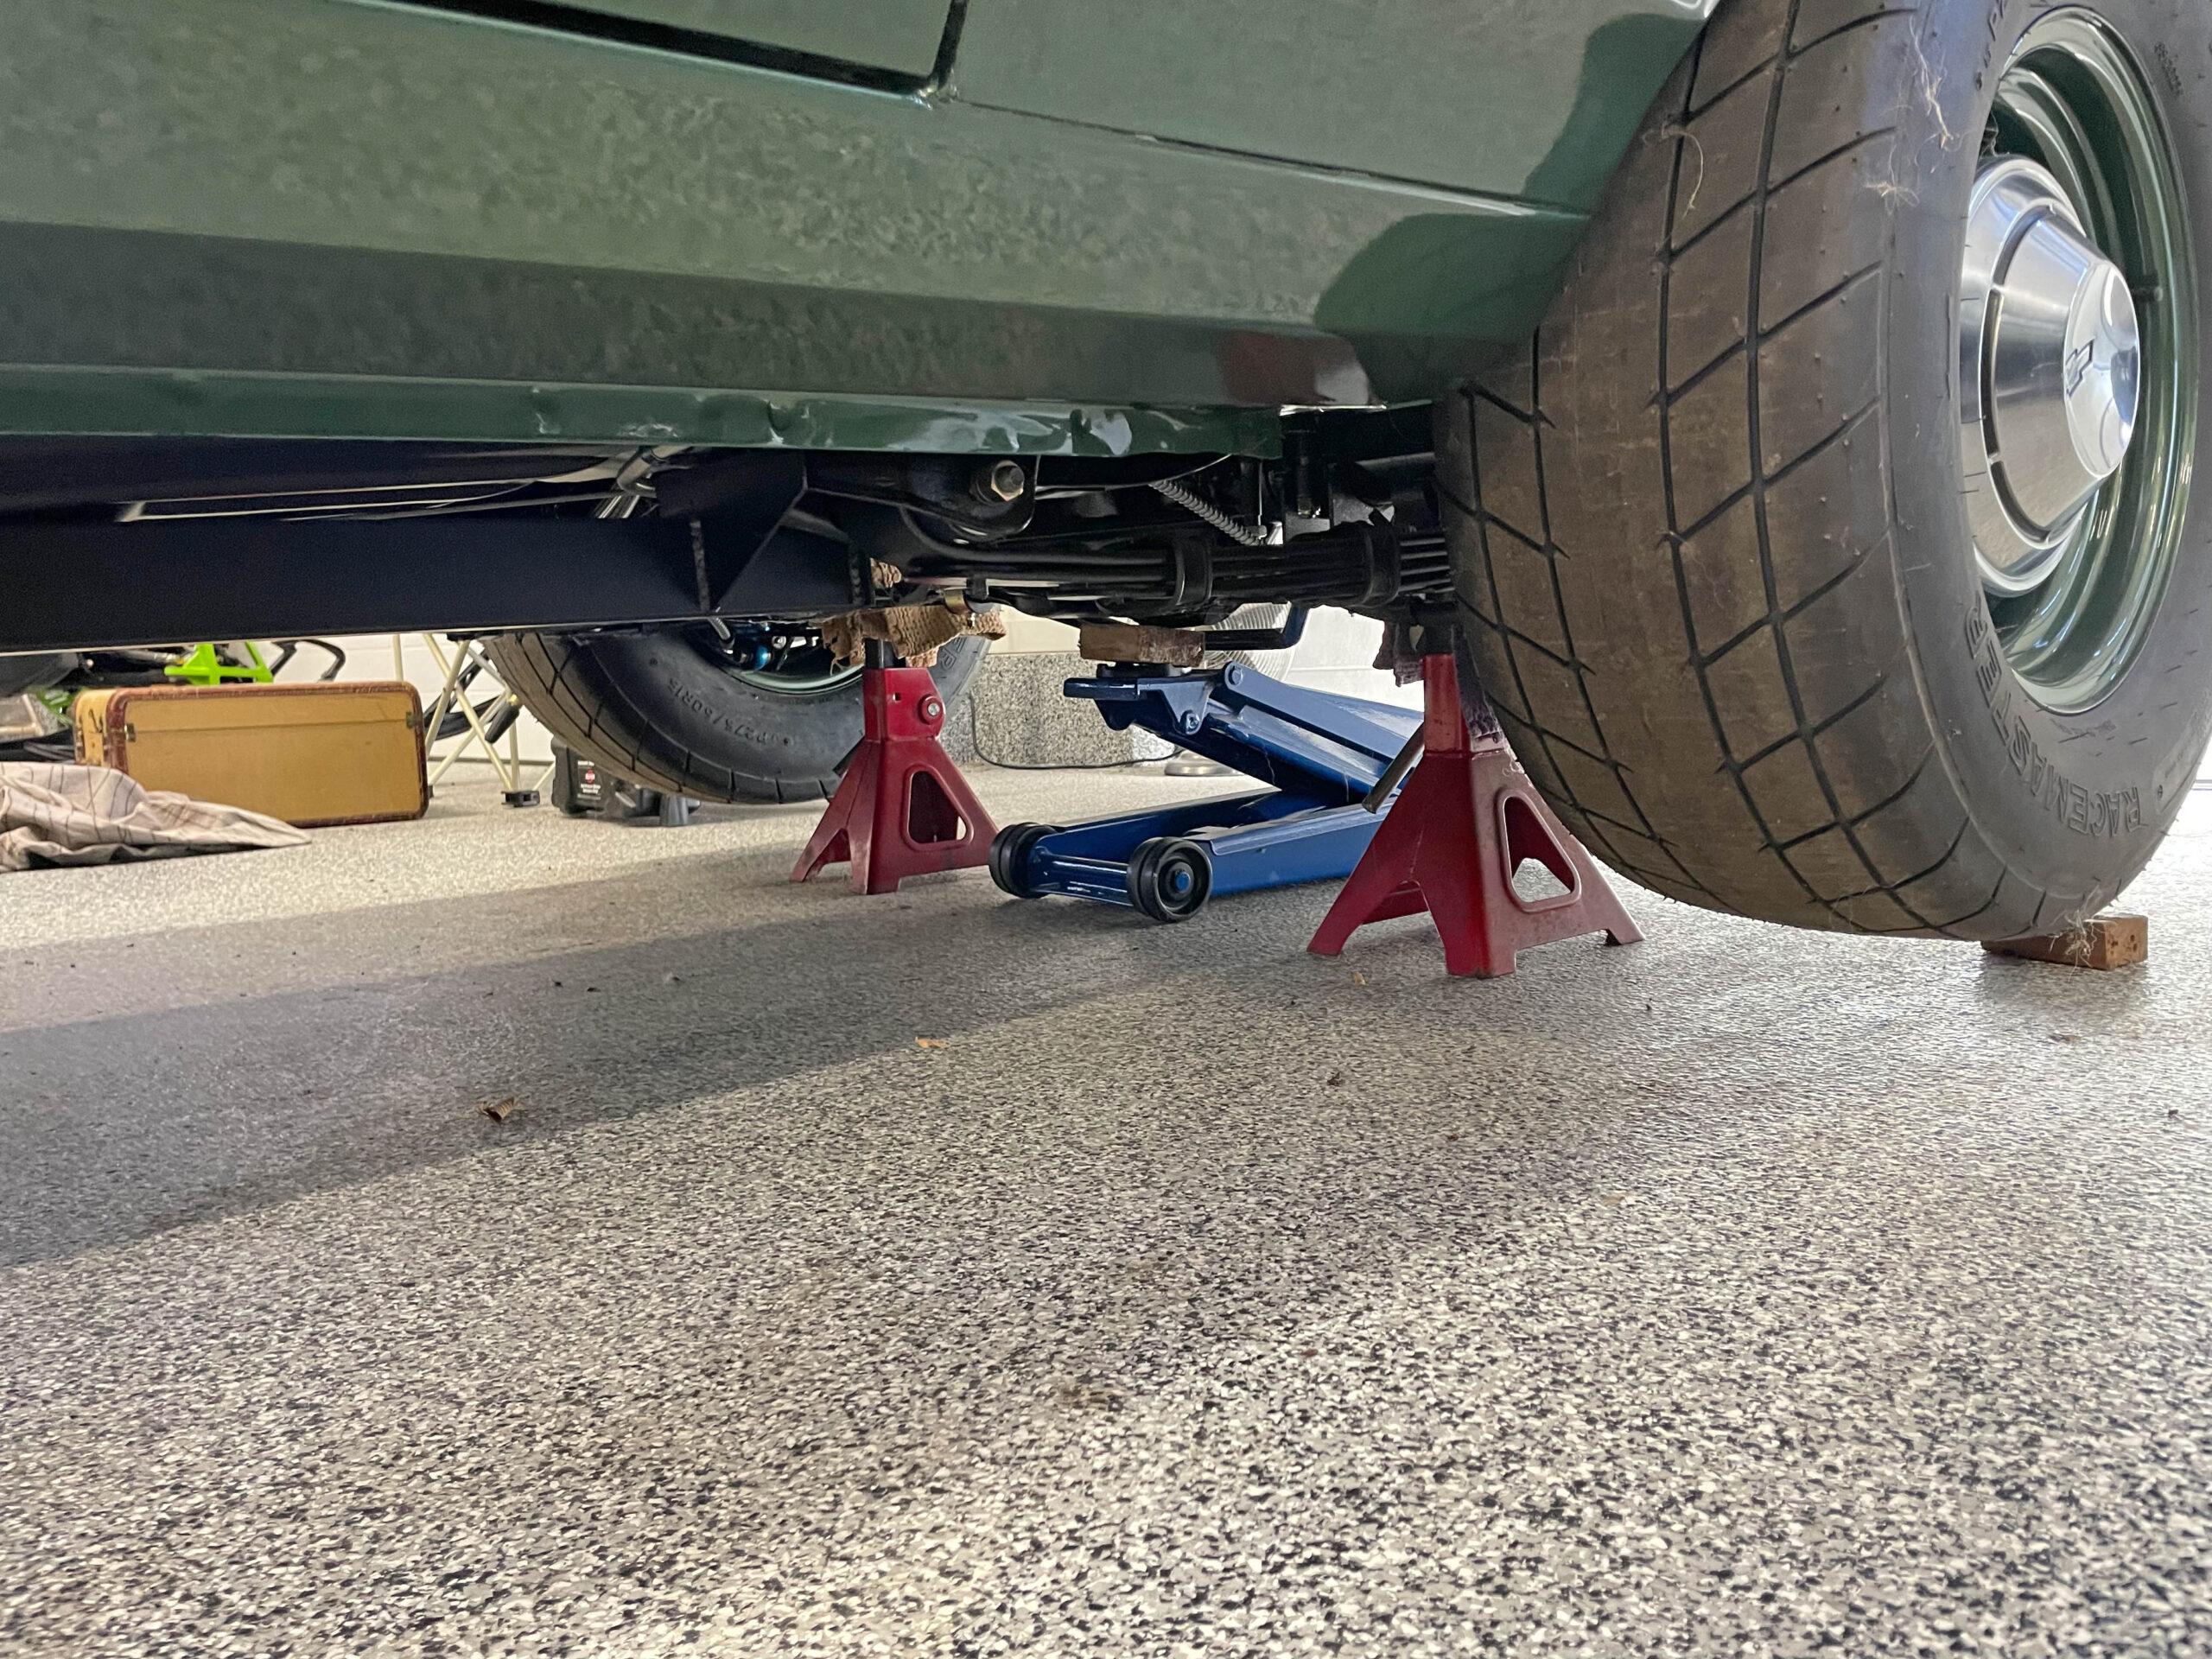
ATI recommends you position the rear wheels approximately 3-inches above the ground with jack stands under the rear so that the driveshaft is at the appropriae angle. Add 4-quarts of fluid to the transmission. Start the engine at the lowest possible RPM level and complete filling the transmission as quickly as possible with the engine running at idle and in neutral. Do not overfill! Run the transmission through all forward gears and reverse gears at light throttle. Perform a fluid check with the vehicle on level ground, in Neutral, warm at idle. You should be no more than at the middle of the “low” and “full” marks on the dipstick.
In a race application, ATI recommends warming up the transmission and rear end with jack stands under the rear end, and running the car for 2-4 minutes with the transmission in High Gear using light varying brake pressure.
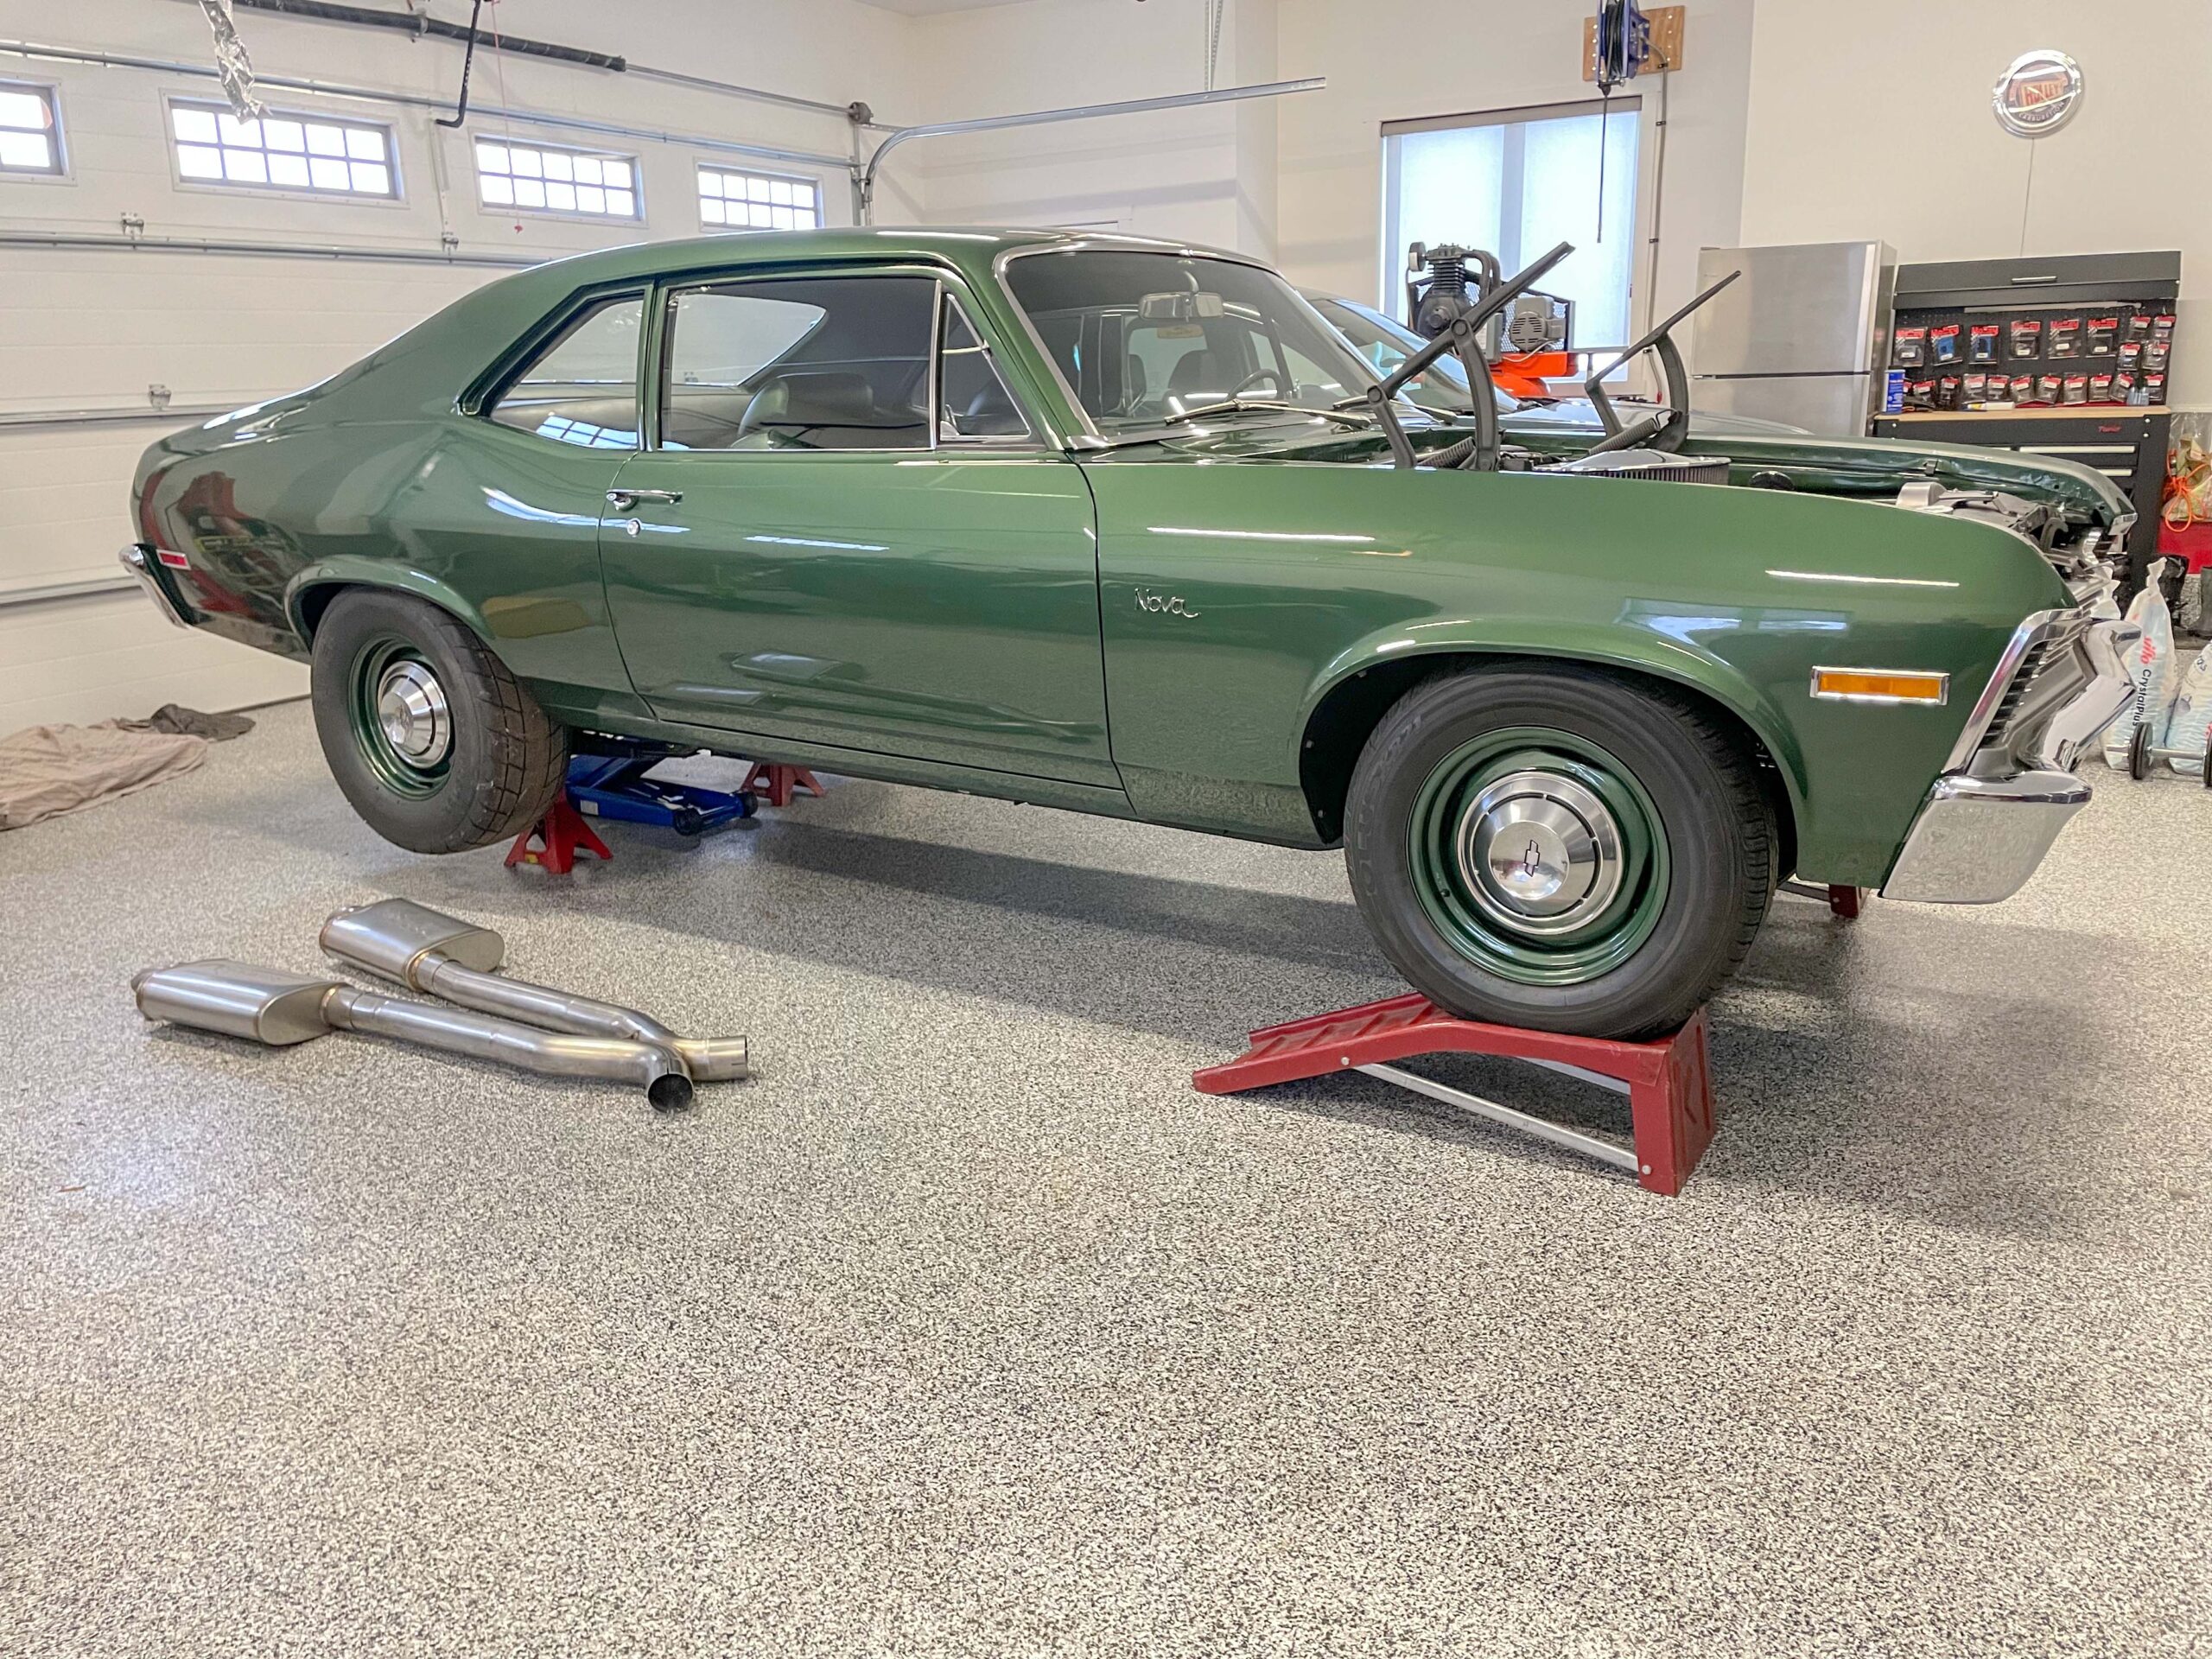
While the car is up in the air with the engine running and the transmission in neutral, it’s a good time to check for leaks. The most common tend to be at the cooler lines on the transmission or right at the cooler. It’s easier to fix them now than later.
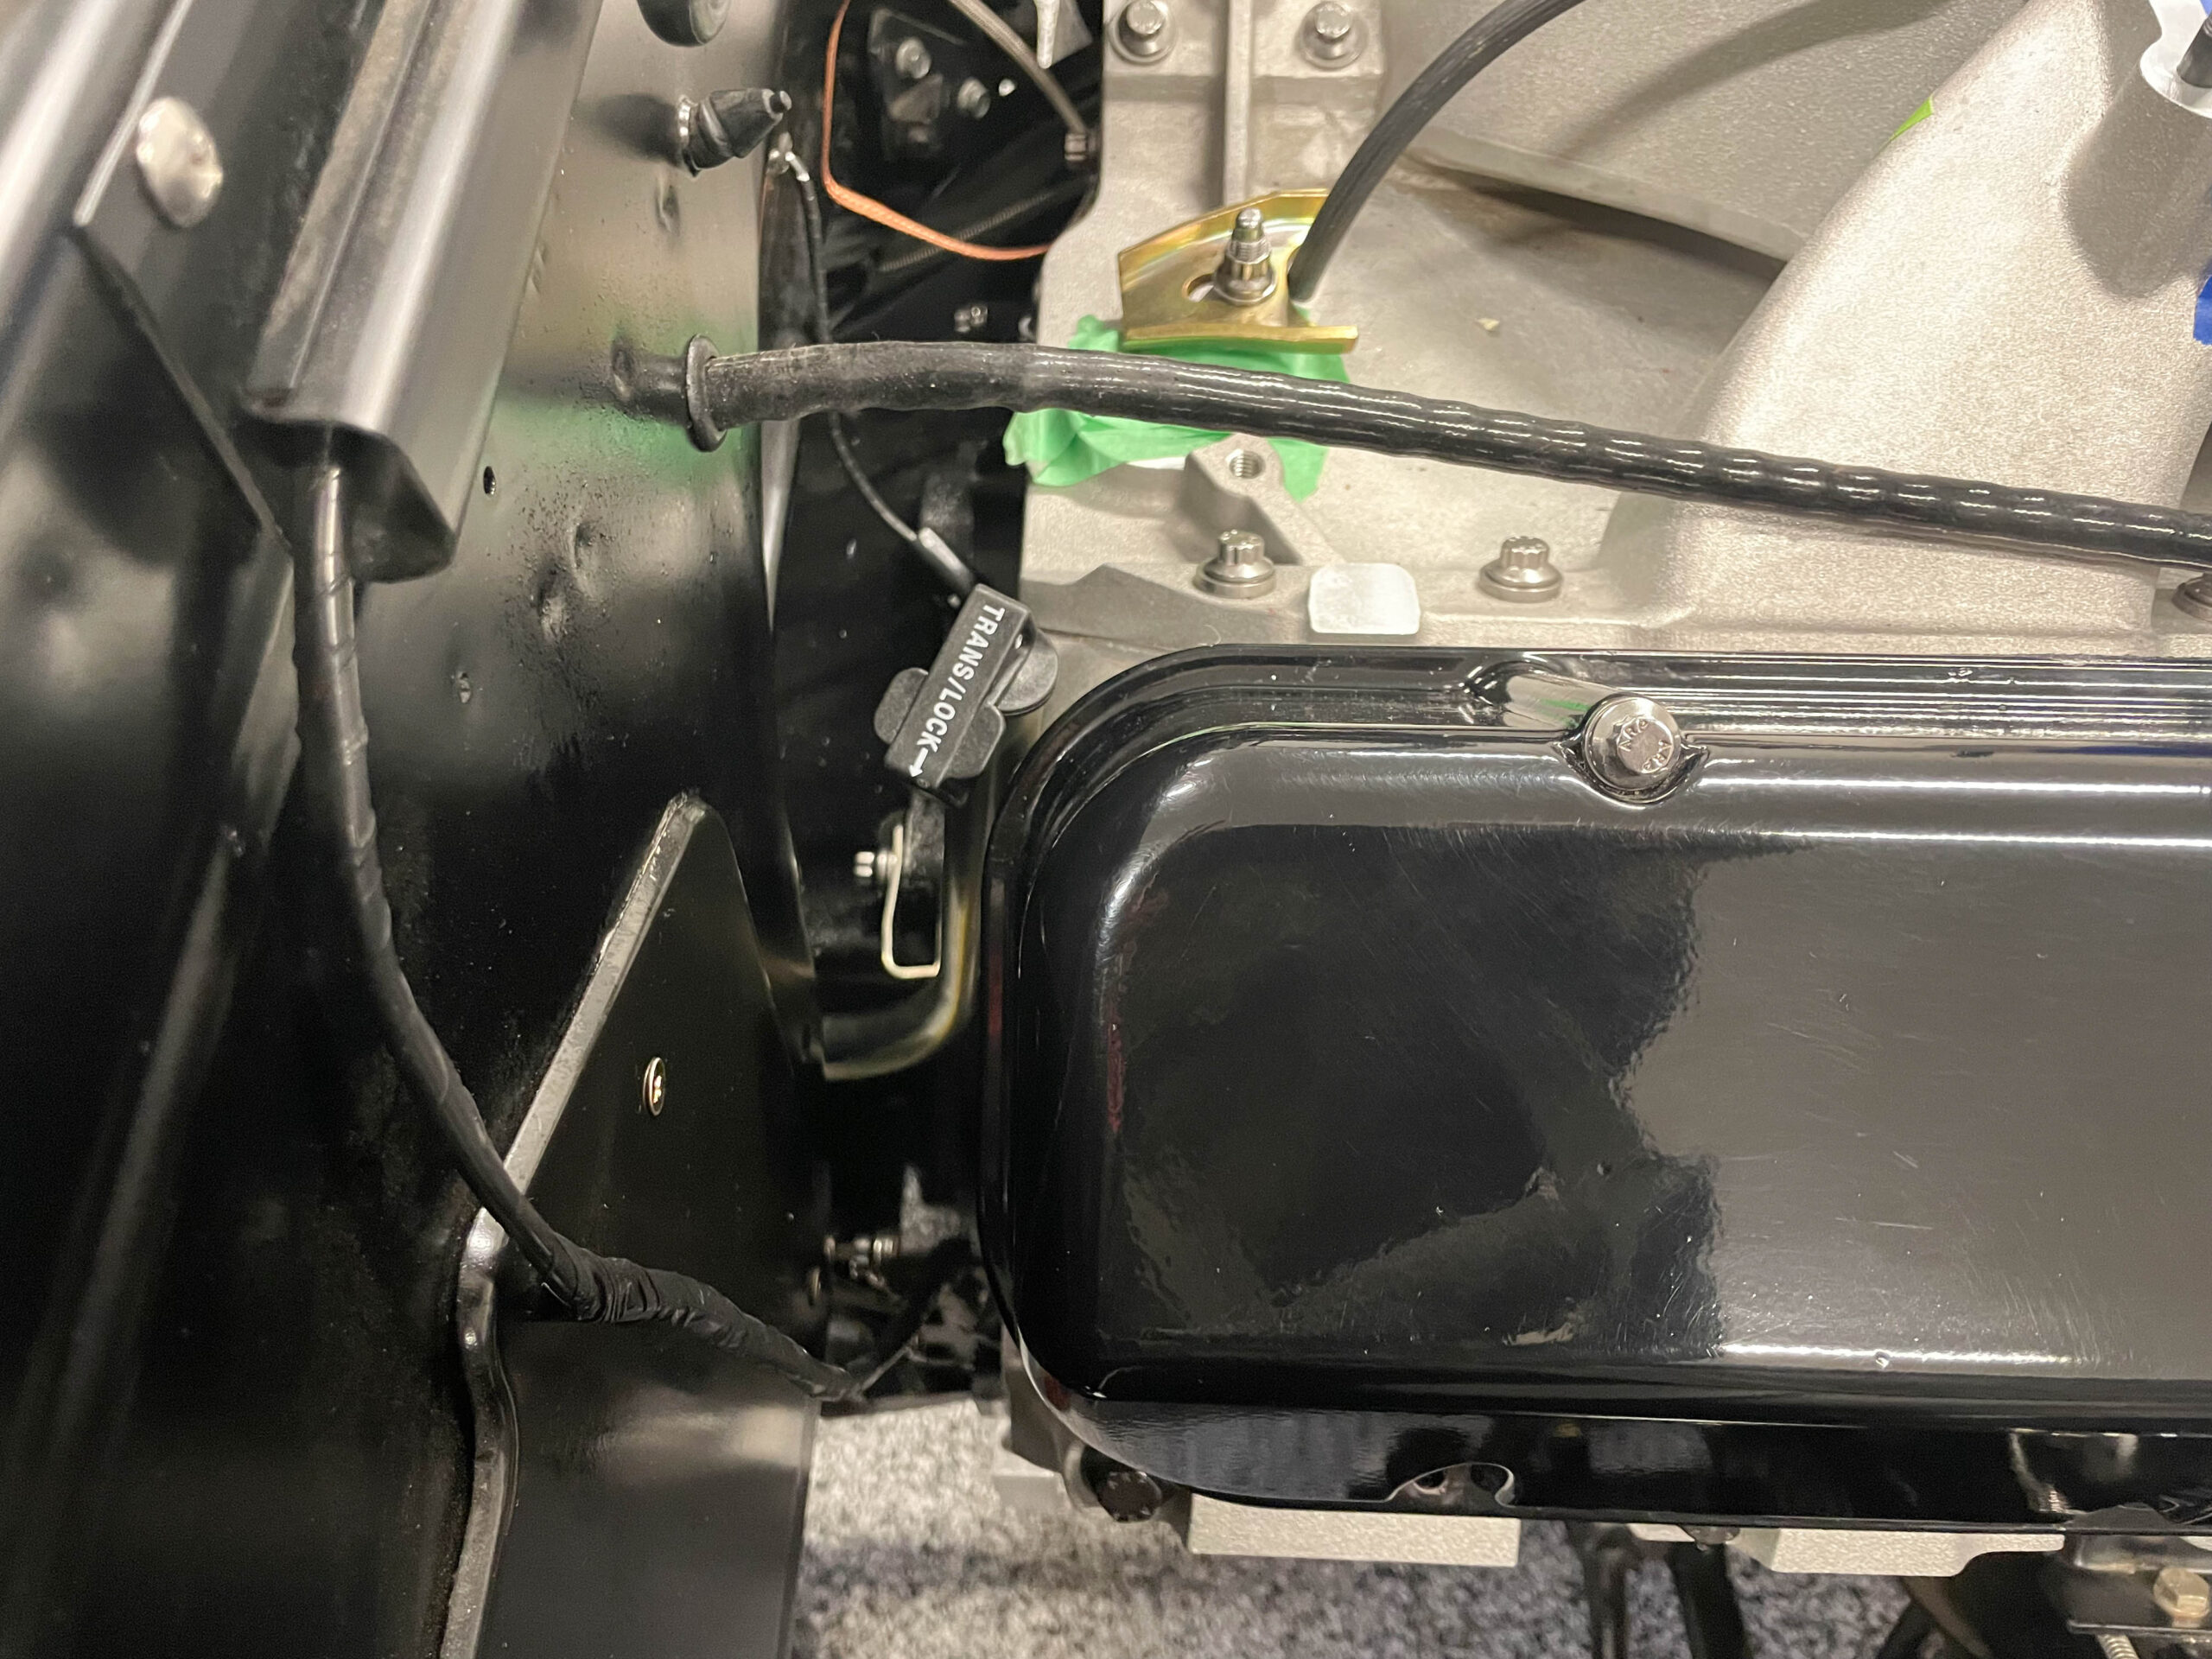
If you have a race-only car and a cooler is not used, a jumper line must be connected from the “in” and “out” ports of the transmission (the pair of fittings with the yellow caps on the transmission in this photo). Plugs can only be used if the transmission has been internally by-passed.
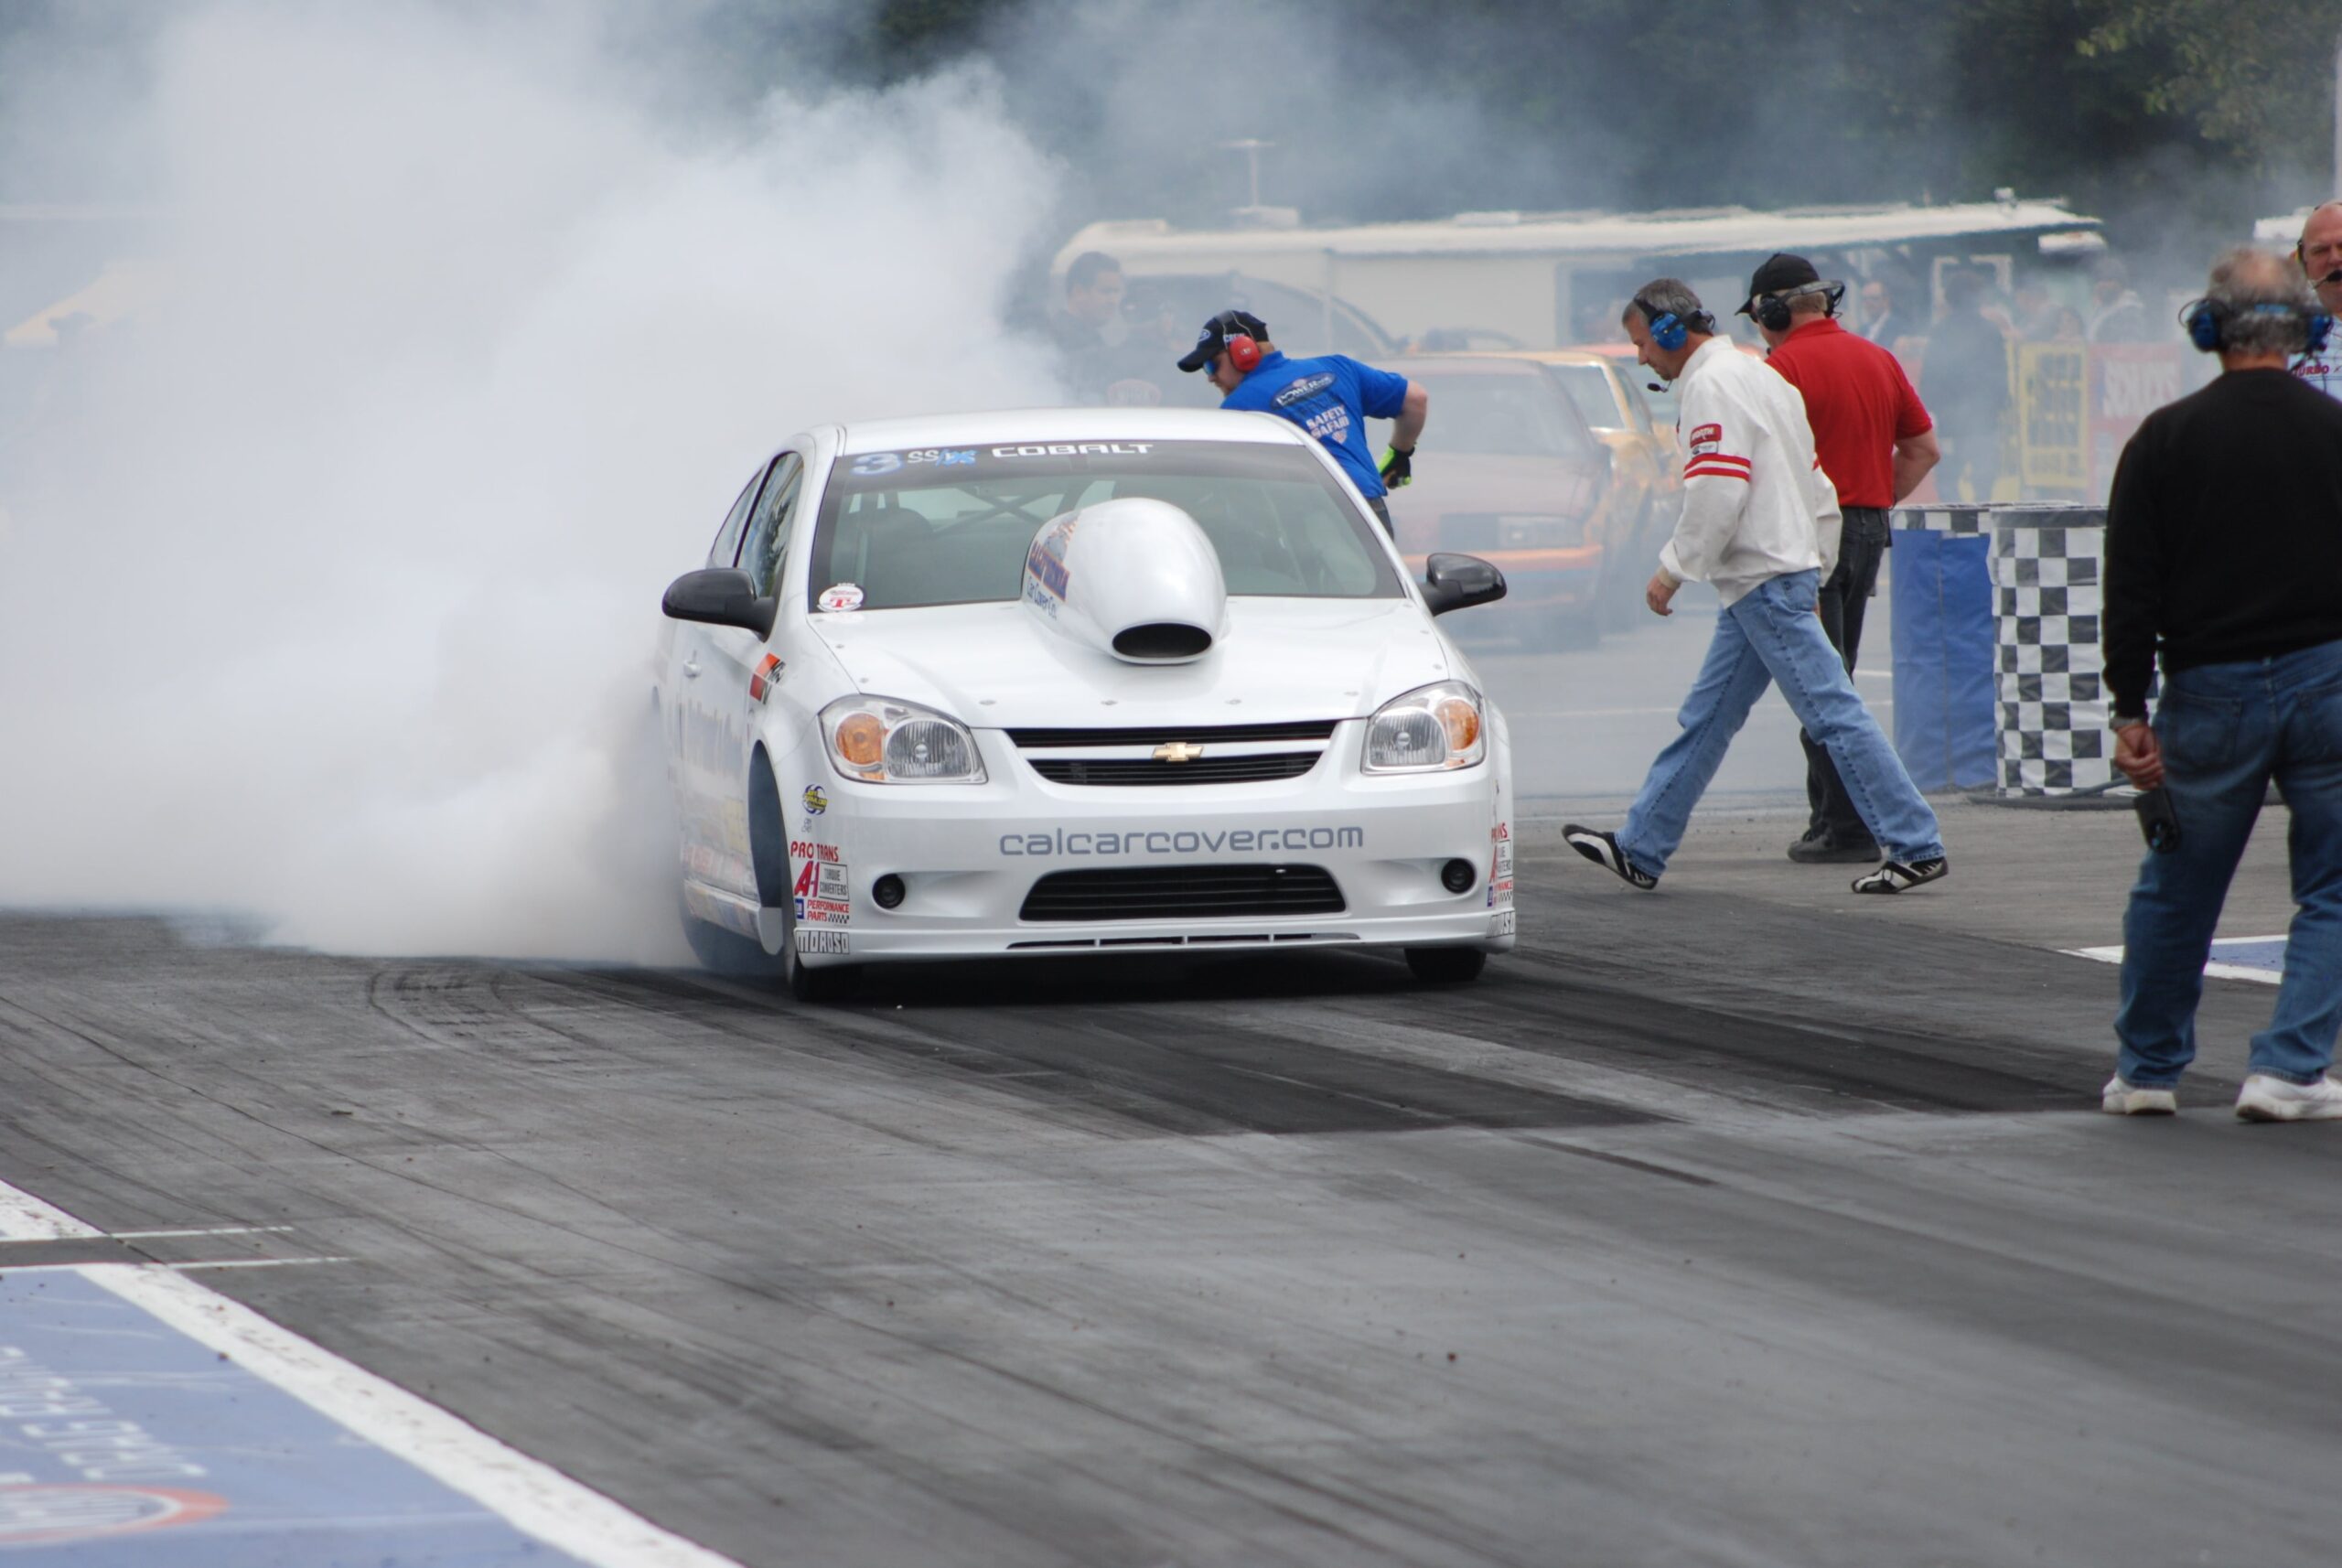
Last but not least, here’s ATI’s recommended burnout procedure: “(1) Pull through the water, to the front edge. If you must spin the tires in the water, do so at low speed so water isn’t sent all over your wheel well where it can drip on your tire after the burnout. (2) If the car can perform a burnout in high gear, or 2nd into 3rd for a three speed, that’s the best. Some three-speeds have a low gear sprag that is taxed when tires spin and change speeds. This causes unnecessary wear. (3) When the tires are hot enough, release the line lock and power the car out of the water 10-20 feet and lift of the throttle gradually. Lifting immediately is hard on the converter. Avoid the “squeak” of tire hook after the burnout if you can. (4). Do not attempt a “dry hop”. Move directly to the tree.”