When we last left you, our body cart project was well on its way. To recap, the idea here is to craft a body cart that is easy to construct, relatively inexpensive, and, if you don’t need it anymore, easy to dispose of (hey, you can always burn the wood for a bonfire!). The finished product turns out to be relatively light, too, so you won’t need help setting it up.
In between complete and bonfire, the cart is capable of moving your project car body (or truck cab or bed) around the shop, into or onto a trailer, into a body shop or paint stripping operation and so on. They’re incredibly useful. It also means you don’t have to trip over the body when its in your shop. You can parallel park it in a corner if necessary and when on the cart, that boils down to an effortless one person operation.
The other big bonus with a project such as this is it’s inexpensive. Yes, lumber prices have, over the years, skyrocketed, but lately they’ve settled down somewhat, at least in my neck of the woods. And if you’re truly a scrounger, watch for a demo sale or a find a contractor selling off scrap (one man’s junk is another man’s gold). Nothing here is super costly. Nothing is difficult to source either. It’s all common material.
In the last segment, we completed the perimeter of the cart. This time around, we’ll add crossmembers, and fit it with caster wheels. It’s certainly not difficult work. If I can do it, anyone can! For a closer look, check out the accompanying photos:
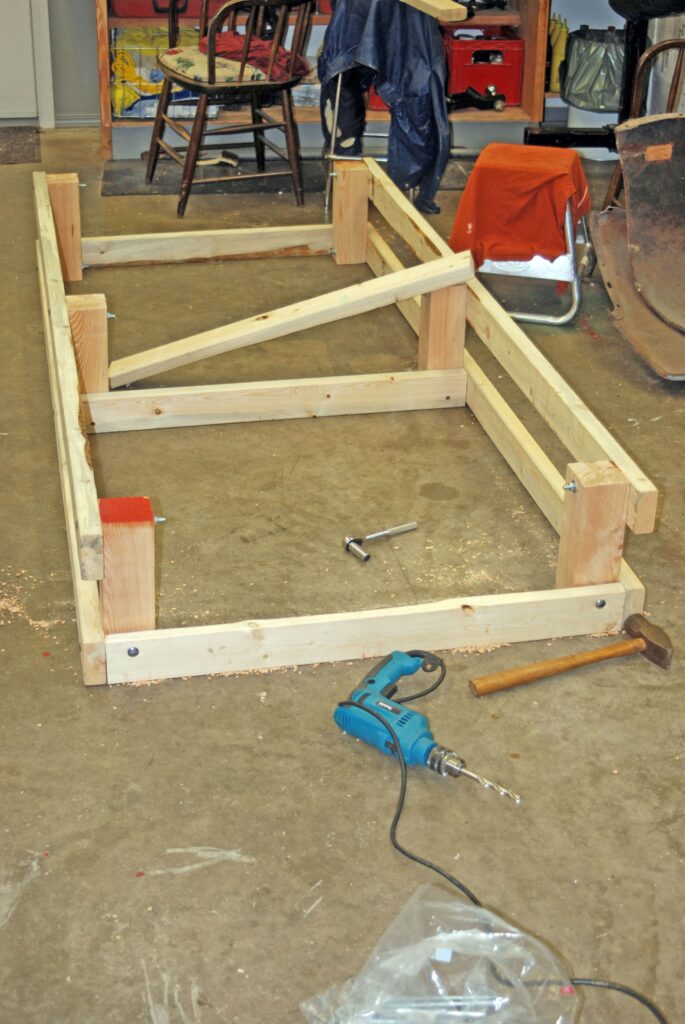
At this point, I bolted in the “cross members”. I used a cross-bolt pattern (figuring if that worked on hi-po 427 Fords, it’d be perfect here).
This is another look at the basic cart frame, bolted together.
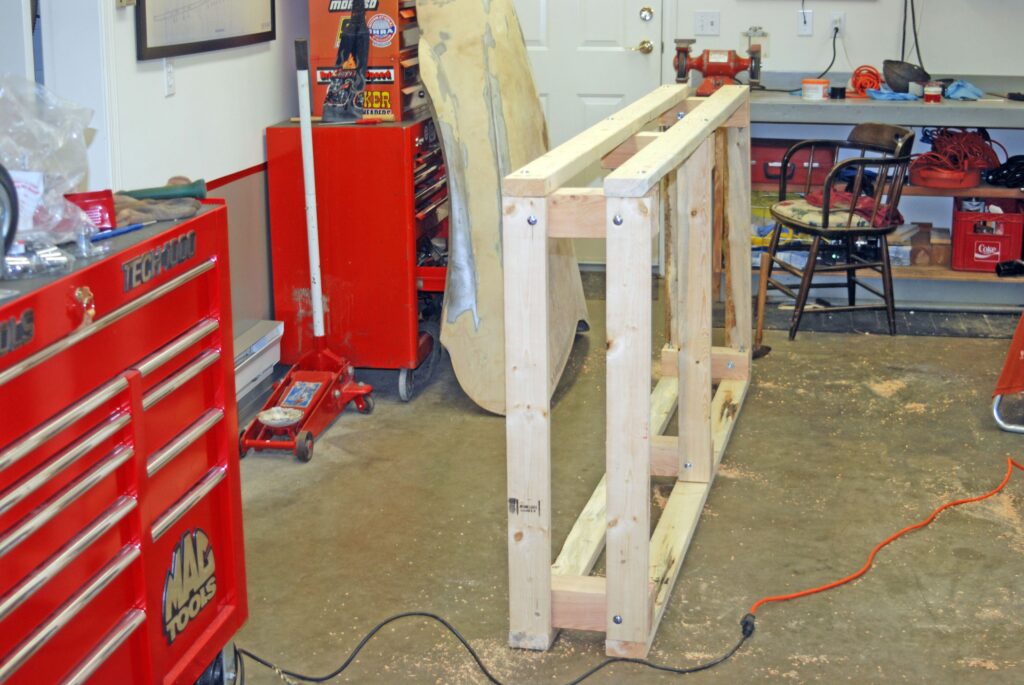
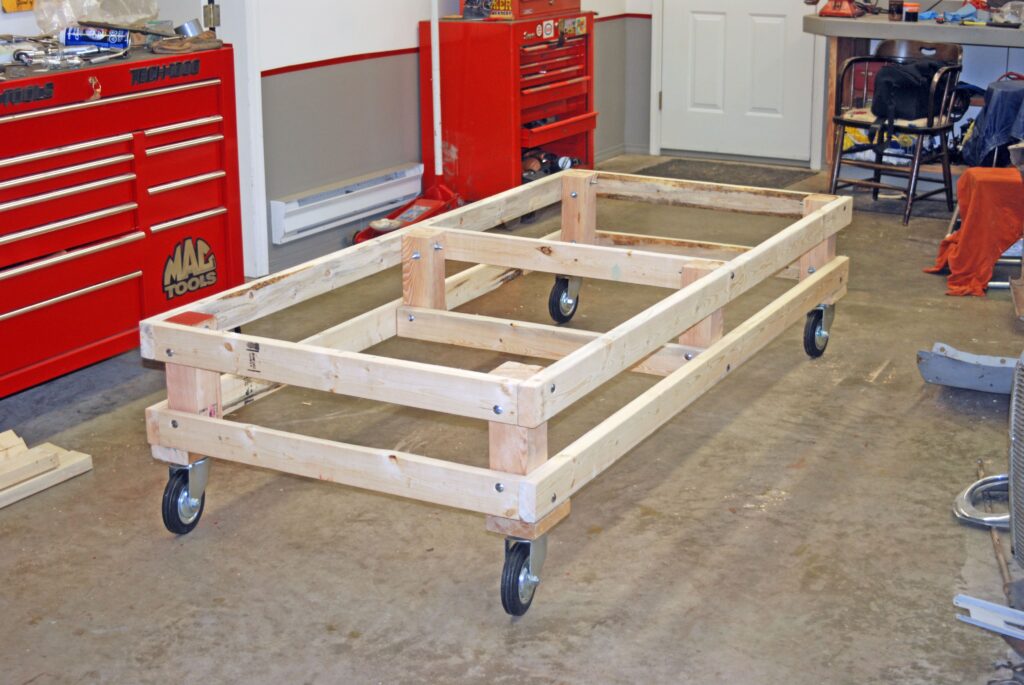
: Flipped in the normal orientation, here’s the body cart, less the rolling stock.
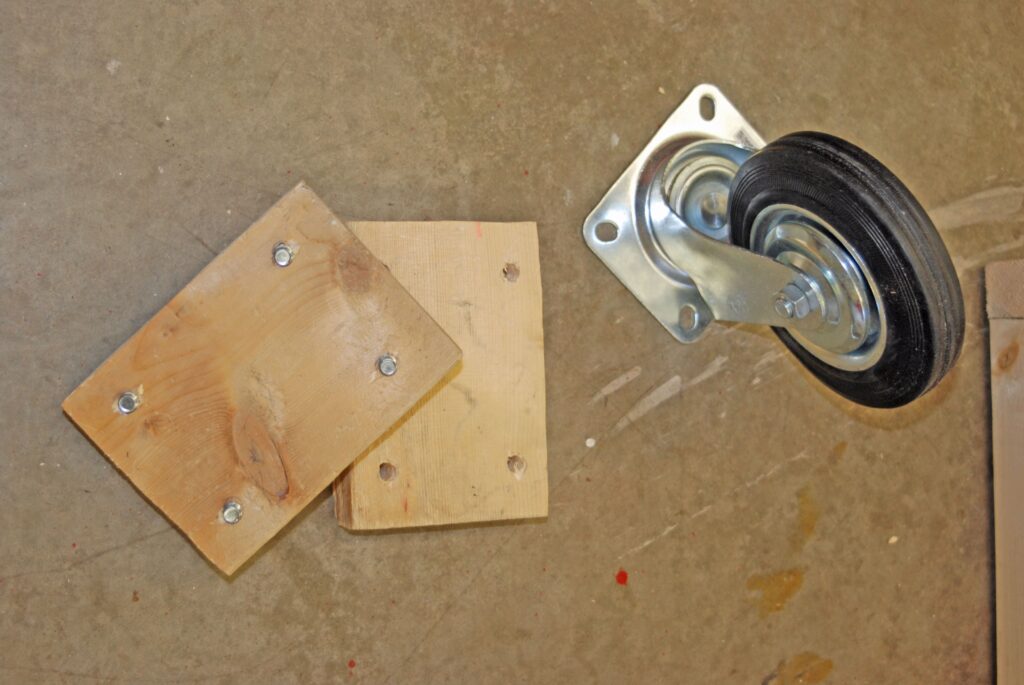
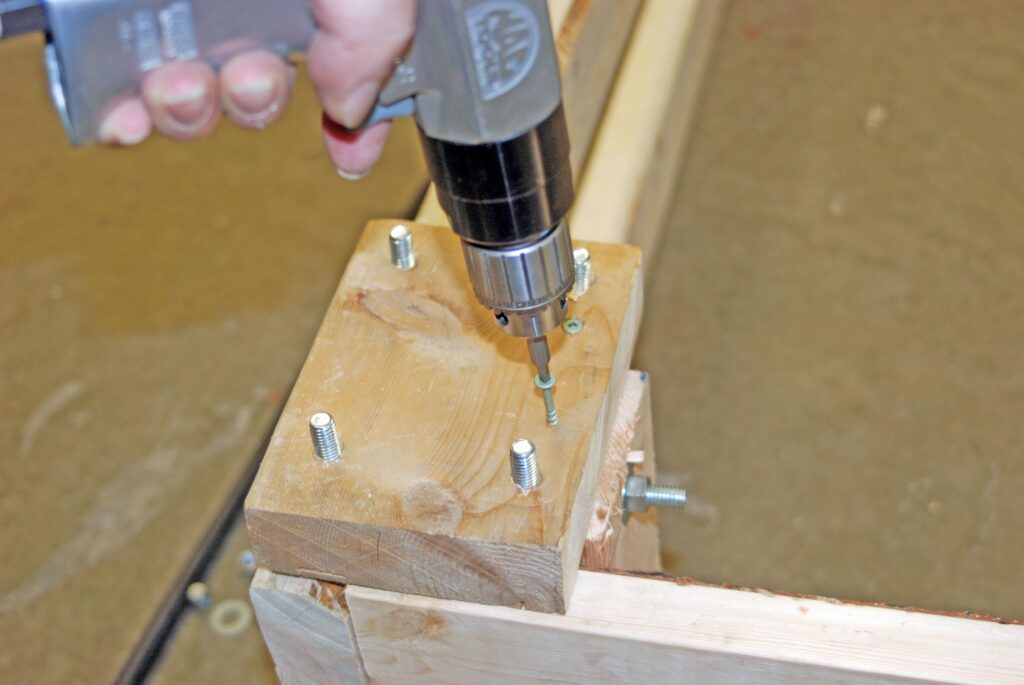
Since I couldn’t bolt the caster wheels directly to the cart, I made these wooden plates from scrap lumber.
3/8X2-inch carriage head bolts were installed on the backside, and then the plates were screwed into the cart frame. Air tools rock.
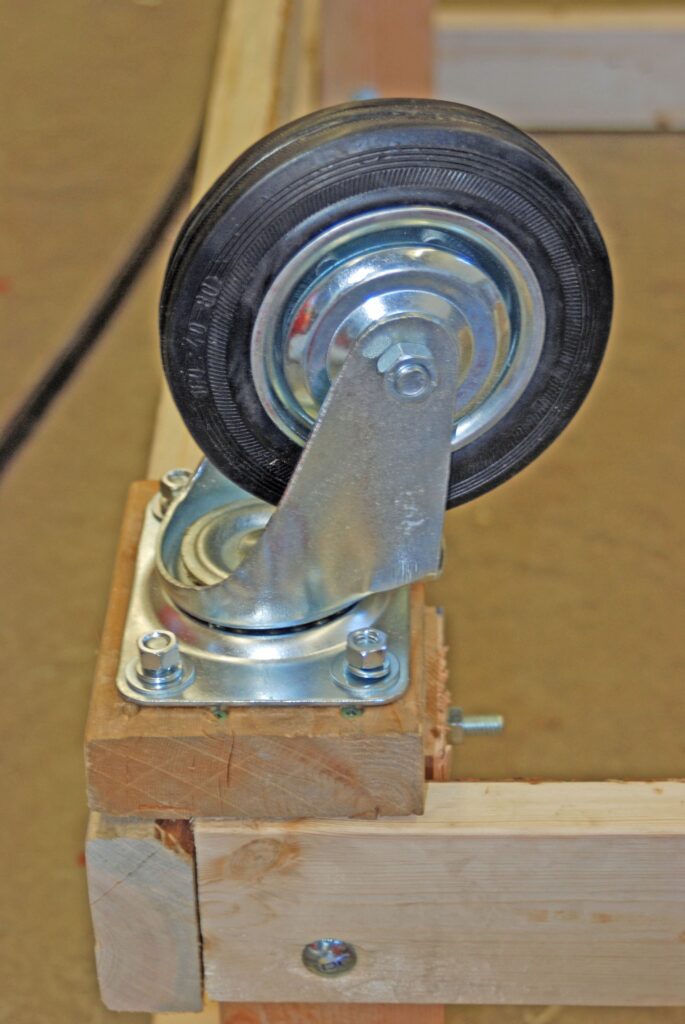
Bolt the caster wheels into place with lock washers and nuts. I used swivel casters on all sides. That makes moving it anywhere a breeze.
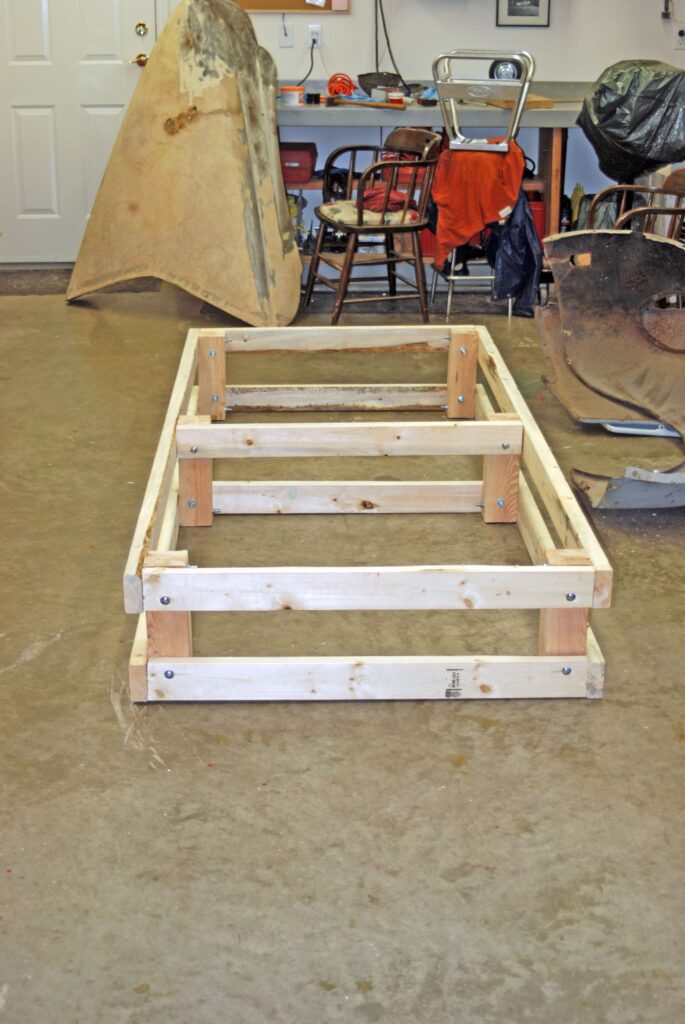
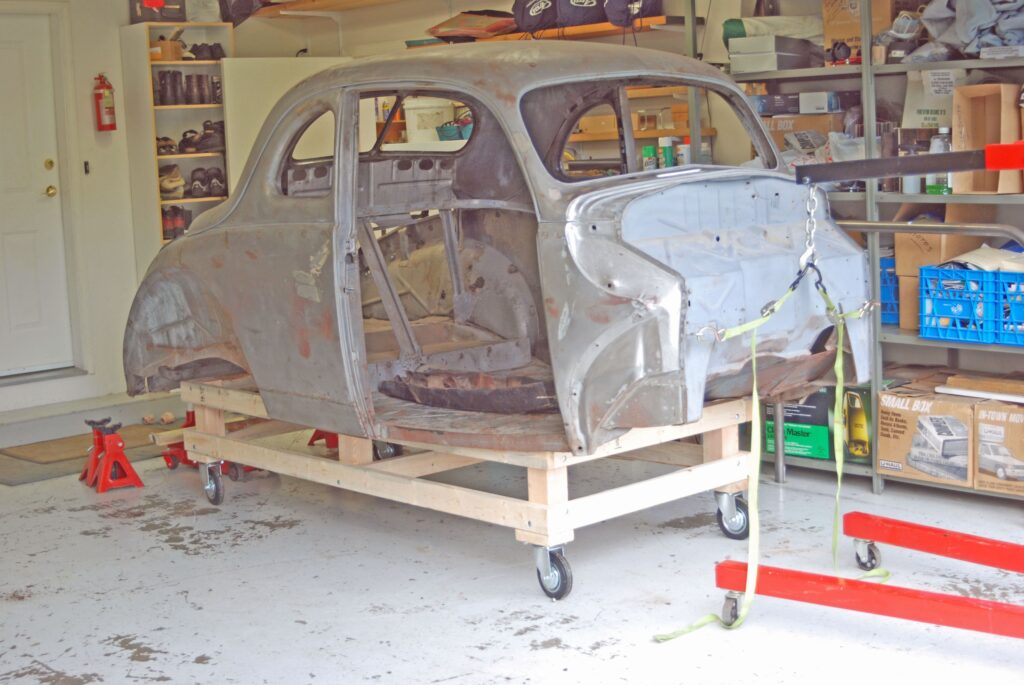
This is the completed cart. It’s strong, light and easy to maneuver. Best of all, it’s dirt-cheap and took less than a day to build.
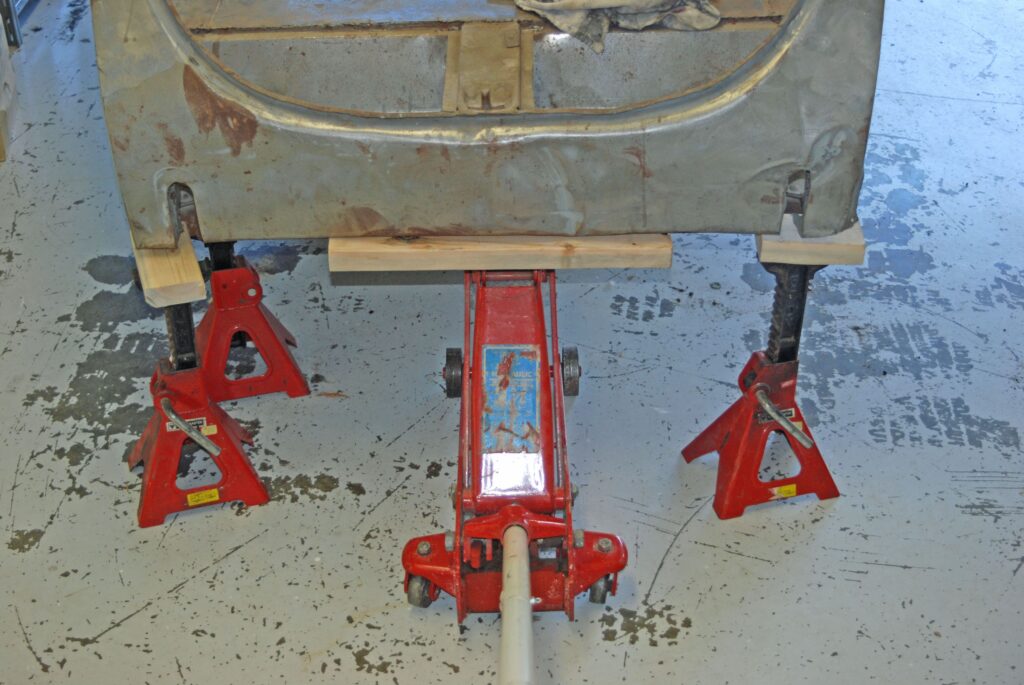
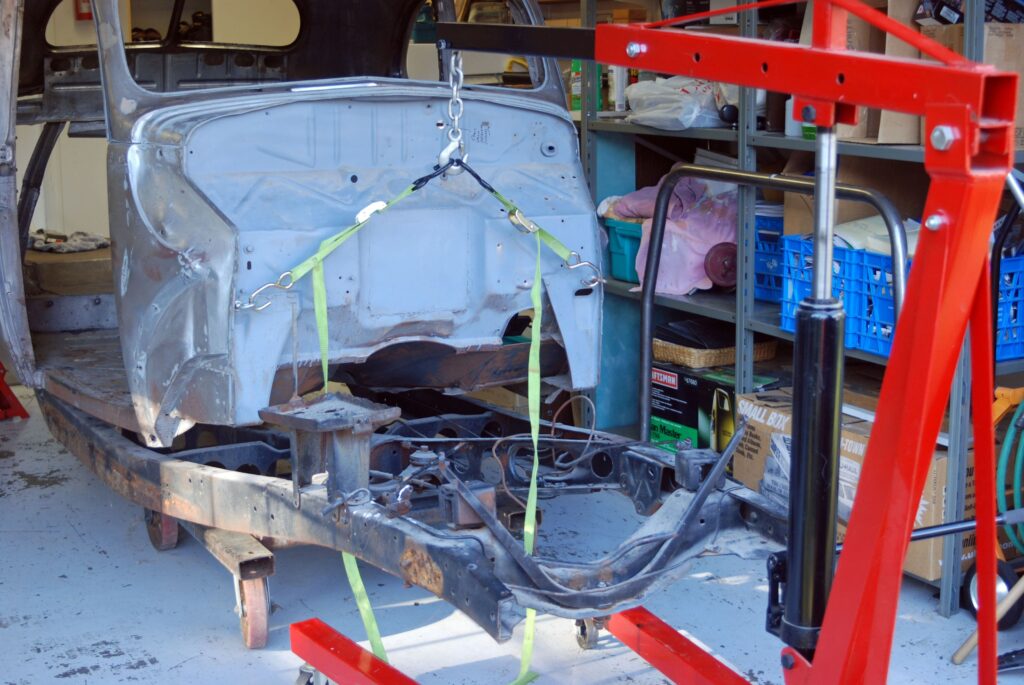
To get the body on the cart, the back end was lifted with a floor jack, supported with axle stands. Yes, the floor paint in my old shop was ugly.
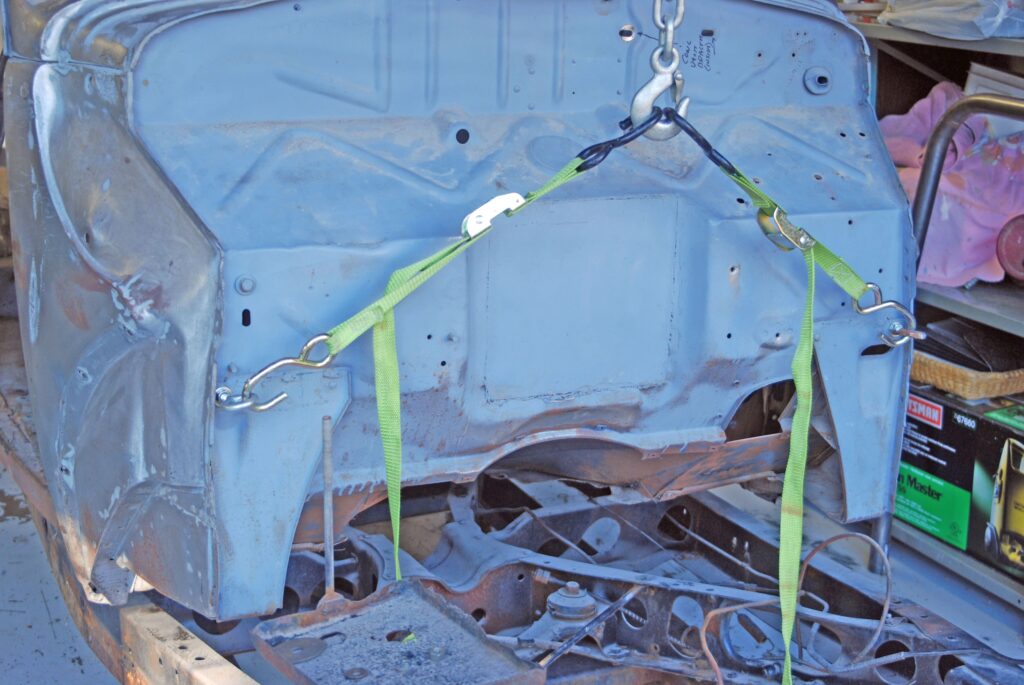
Up front, two eyebolts were installed in the firewall, hooked to a pair of lightweight motorcycle tie downs. The cherry picker did the rest.
Here’s a closer look at how the eye-bolt and tie down arrangement was setup.
ith body high enough, I placed the frame on a small steel dolly and slid the works out sideways.
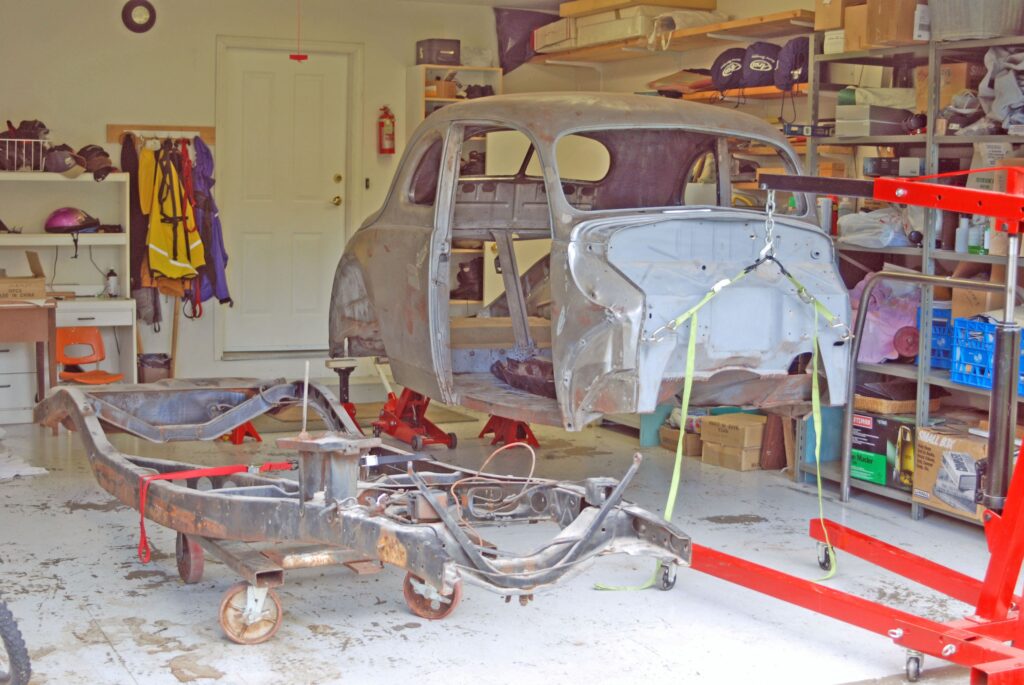
From here, the cart was rolled underneath the body and the body dropped over it. Two motorcycle tie downs wrapped around the cart (and through the door openings) secure it.