Click Here to Begin Slideshow
Pin the throttle, dump the clutch, hang on. The car hooks and rockets forward. Then, just as you’re watching the tach as it bends toward the redline, the thing noses over. After what seems like an eternity, it picks up again. Huh? What just happened here? Simple. The car stumbled when it accelerated hard because it experienced a lean condition. Bottom line? It most likely ran out of gas.
Segue off course for a second: It seems like it wasn’t that long ago that racers (and clever street tuners) turned carburetors sideways on tunnel ram intake manifolds. The reasoning was at least twofold: This oriented the carbs so that they’d actually fit better over the respective ports and likely more important, it meant you actually had better control of the fuel within the carb bowls. It more or less cured the lean condition we spoke of above.
The dilemma is this (tunnel ram or otherwise): When a Holley 4150 or 4500-series carb is mounted normally – one bowl facing the front and one bowl facing the back of the engine, fuel rushes toward the primary (front) jets as the car accelerates. It also means fuel runs away from the secondary (rear) jets as the car accelerates. Not good.
In the old days, there were all sorts of quick (and not-so-quick) fixes. Some worked. Some didn’t. Today, it’s a bunch different (a whole bunch easier too). You can simply buy all of the parts you need from Holley (see the accompanying “Speed Shop” sidebar). The fix takes an hour or so if you’re leisurely with your time. Here’s how it’s done:
Click Here to Begin Slideshow
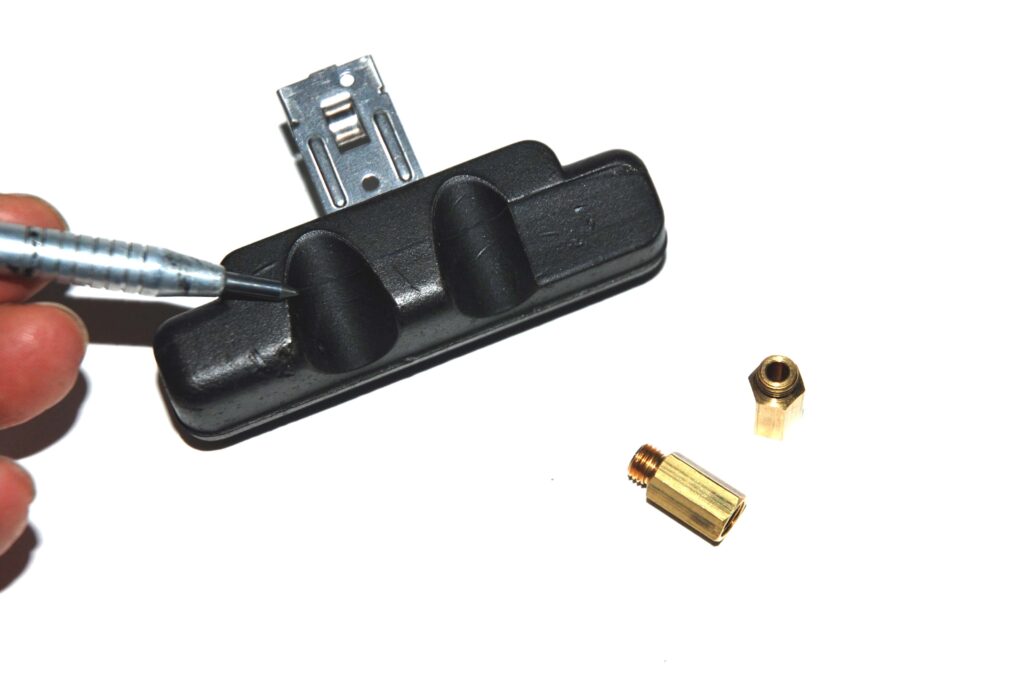
Once the bowls are empty, pry off the secondary bowl along with the secondary metering block. Be very careful when removing the bowl, because older bowl gaskets can stick (and we mean stick). You’ll find the jets in the metering block. FYI, Holley equips their carbs with non-stick gaskets. You’ll appreciate them if you have to dig into the carb (for example, to perform quick jet changes). Some non-stick gaskets are softer than the old gaskets and require a re-torque. Along with the stock bowl and metering block, you can see the jet extensions and the notched float at the lower left.
Here’s a closer look at the notched float. See how it is physically carved out to clear the jet extensions? Note too the Holley jet extensions. They’re a bit different than some aftermarket jobs. The Holley models physically move the jet outward. Some of the aftermarket pieces are simply plastic extensions that slip over the jet.
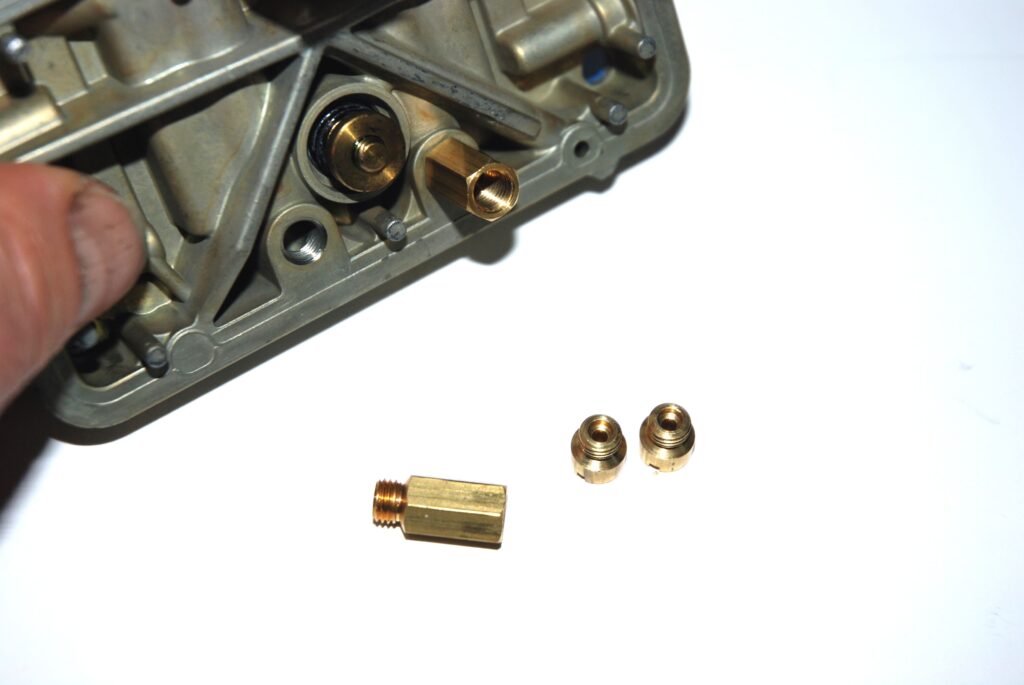
This is how it works: The stock jet is removed. The jet extension is screwed into place. Next, the jet(s) is screwed directly into the extension. Simple. Here, the carb is equipped with a power valve.
In some cases, you’ll have to swap the power valve for a power valve plug. The reason is, fuel moves away from the power valve too, as it is situated in the same proximity as the jets within the metering block. Keep in mind that the power valve typically adds 10 or so jet numbers of fuel to the mix when it opens. Obviously, if the power valve is removed, then the jetting will have to be increased. We can’t give you exact numbers for the jet size increase, as each application will vary.
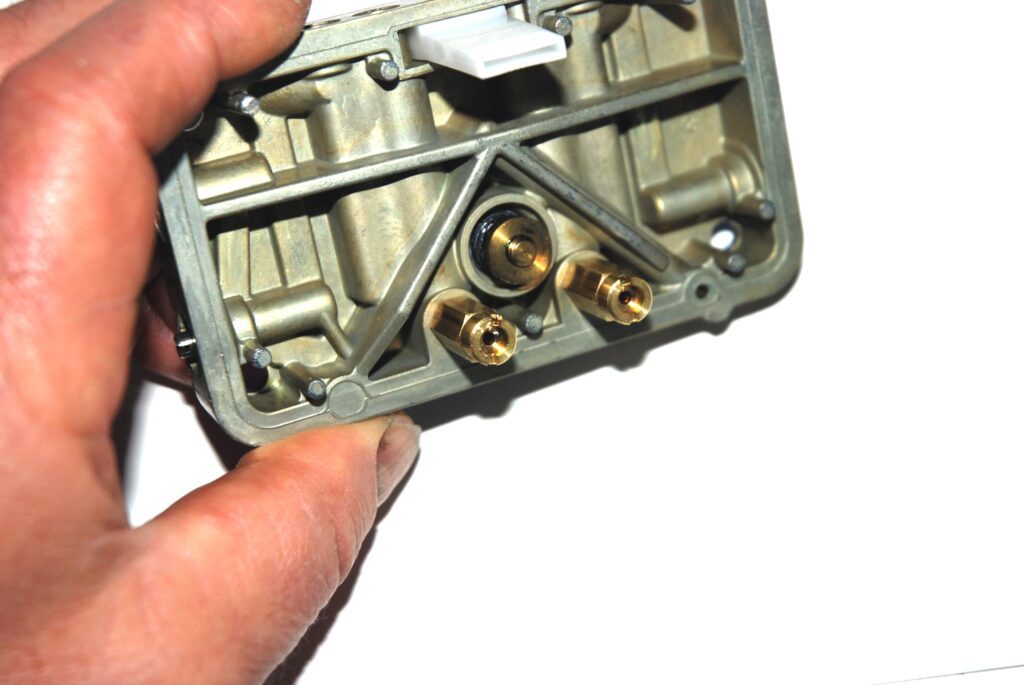
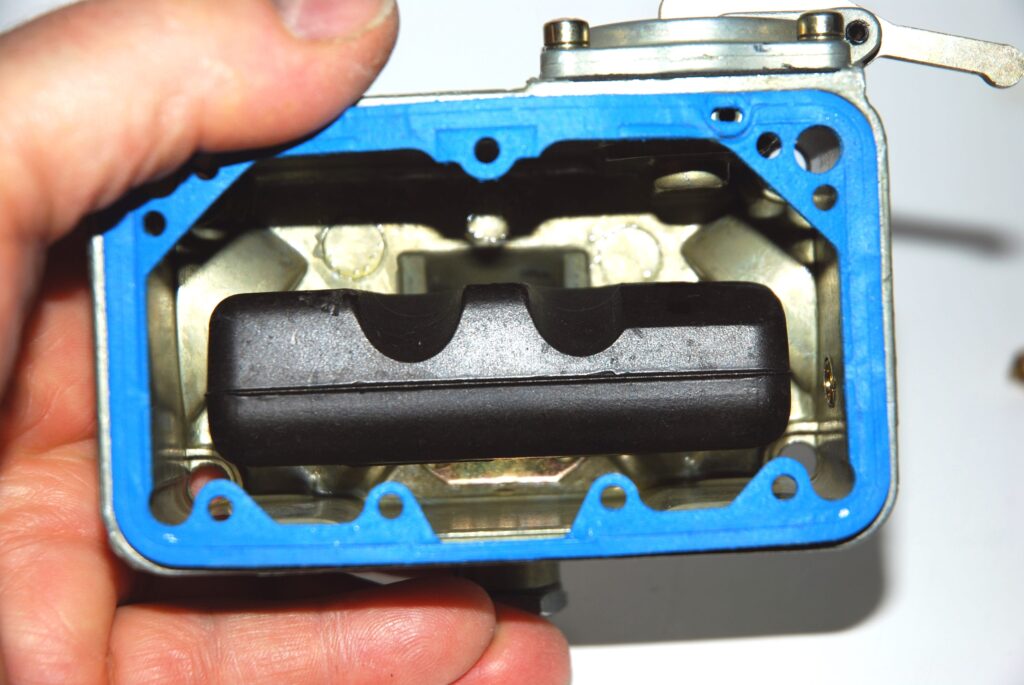
The stock float in most Holley carburetors is a hollow brass job, just like this. As you can well imagine, once the jet extensions are installed, they smack the float and in turn, the float can’t function.
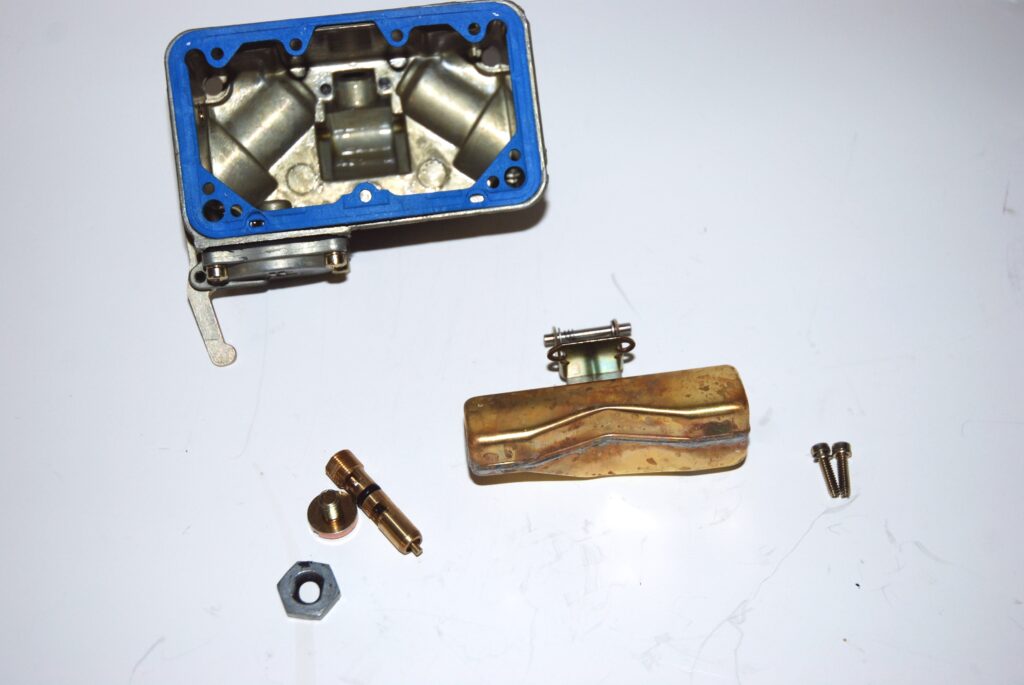
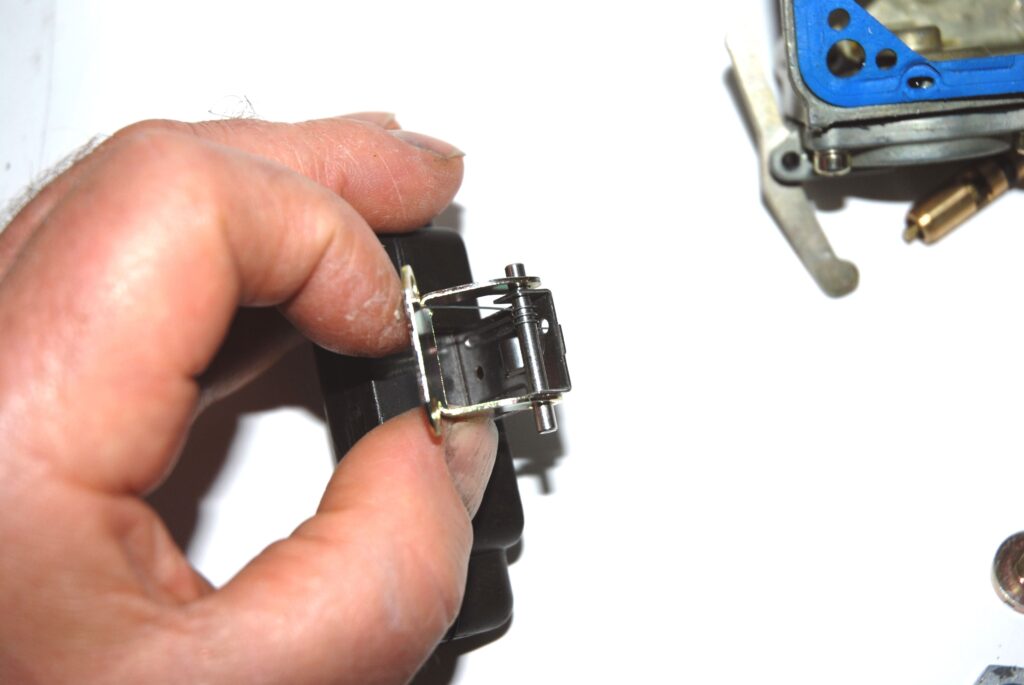
Obviously, the float has to be removed and replaced with a notched job. In this photo, you can see all of the components found inside the float bowl. To get it out, the needle and seat assembly (lower left) is removed first. You simply loosen the lock nut and screw the works out. Two screws (lower right) hold the float in place.
You’ll need to transfer the float spring from the brass float to the new nitrophyl job.
Note the orientation of the spring.
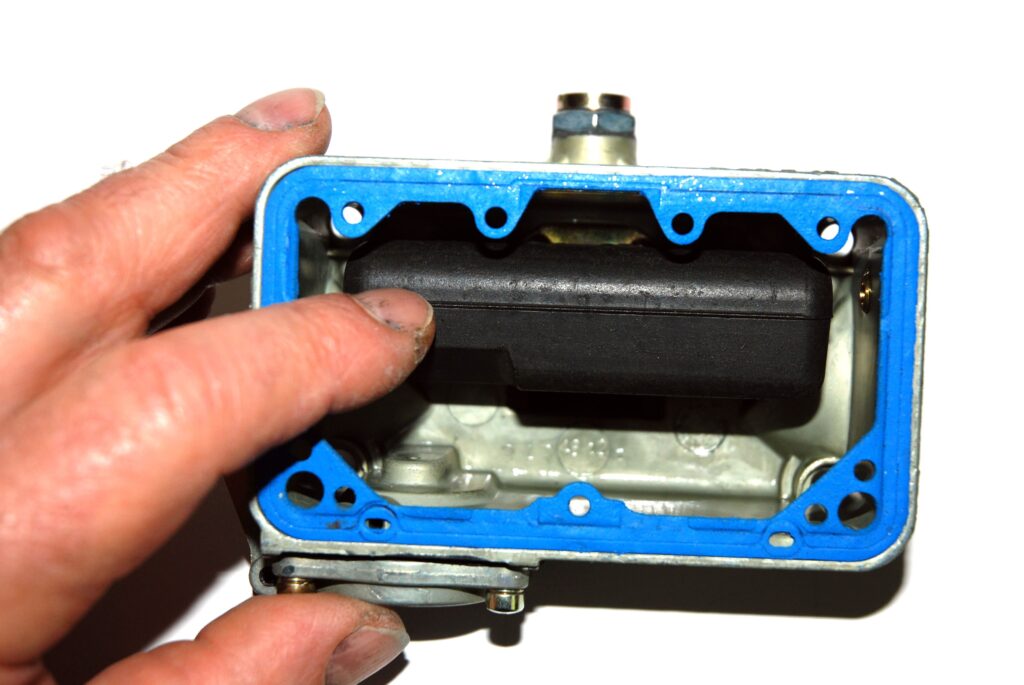
Reassemble the float back into the bowl. This is how it should look.
After the needle and seat was installed, we eyeballed the float level (float upside down). Compare this to the earlier photo of the brass float in the bowl.
Holley offers a matching nitrophyl float for the front bowl. It’s not notched (obviously, it’s not necessary to have jet extensions on the leading bowl). Installation is the same as the back bowl.