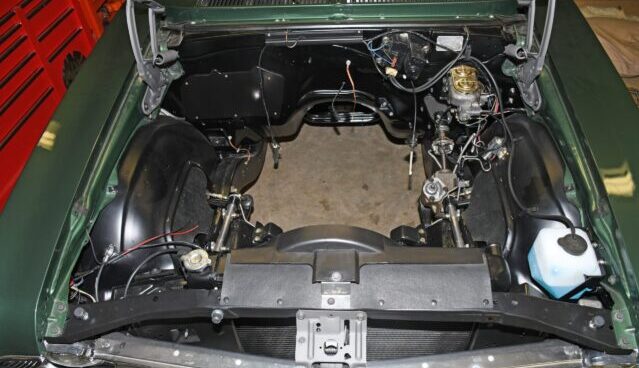
This is the last in our engine compartment detailing series. We’re following my Nova build here, but as noted in past installments, many of the ideas can be used in any car. The general theme here is to keep the car clean and at the same time, make the car easy to work on. Having a nice place to “work” really can make the difference in both street machines and race cars. It can turn drudgery into fun.
Some of the tips shown here were never planned to simply look good. Instead, they help make life easier when I’m working on the car. You might find the same thing with your own car (street, race or otherwise). For a closer look at our final chapter, take a look at the following slideshow:
Click Here to Begin Slideshow
This is the last in our engine compartment detailing series. We’re following my Nova build here, but as noted in past installments, many of the ideas can be used in any car. The general theme here is to keep the car clean and at the same time, make the car easy to work on. Having a nice place to “work” really can make the difference in both street machines and race cars. It can turn drudgery into fun.
Some of the tips shown here were never planned to simply look good. Instead, they help make life easier when I’m working on the car. You might find the same thing with your own car (street, race or otherwise). For a closer look at our final chapter, take a look at the following slideshow: Click Here to Begin Slideshow
50 Engine Compartment Detailing Tips Part 3
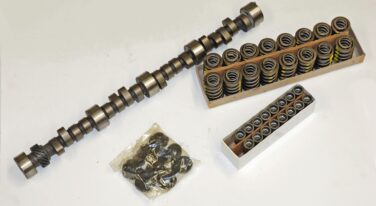
When the battery tray was swapped, I figured it was high time to swap out the battery cables. These top post reproductions also came from Classic Industries.
50 Engine Compartment Detailing Tips Part 3
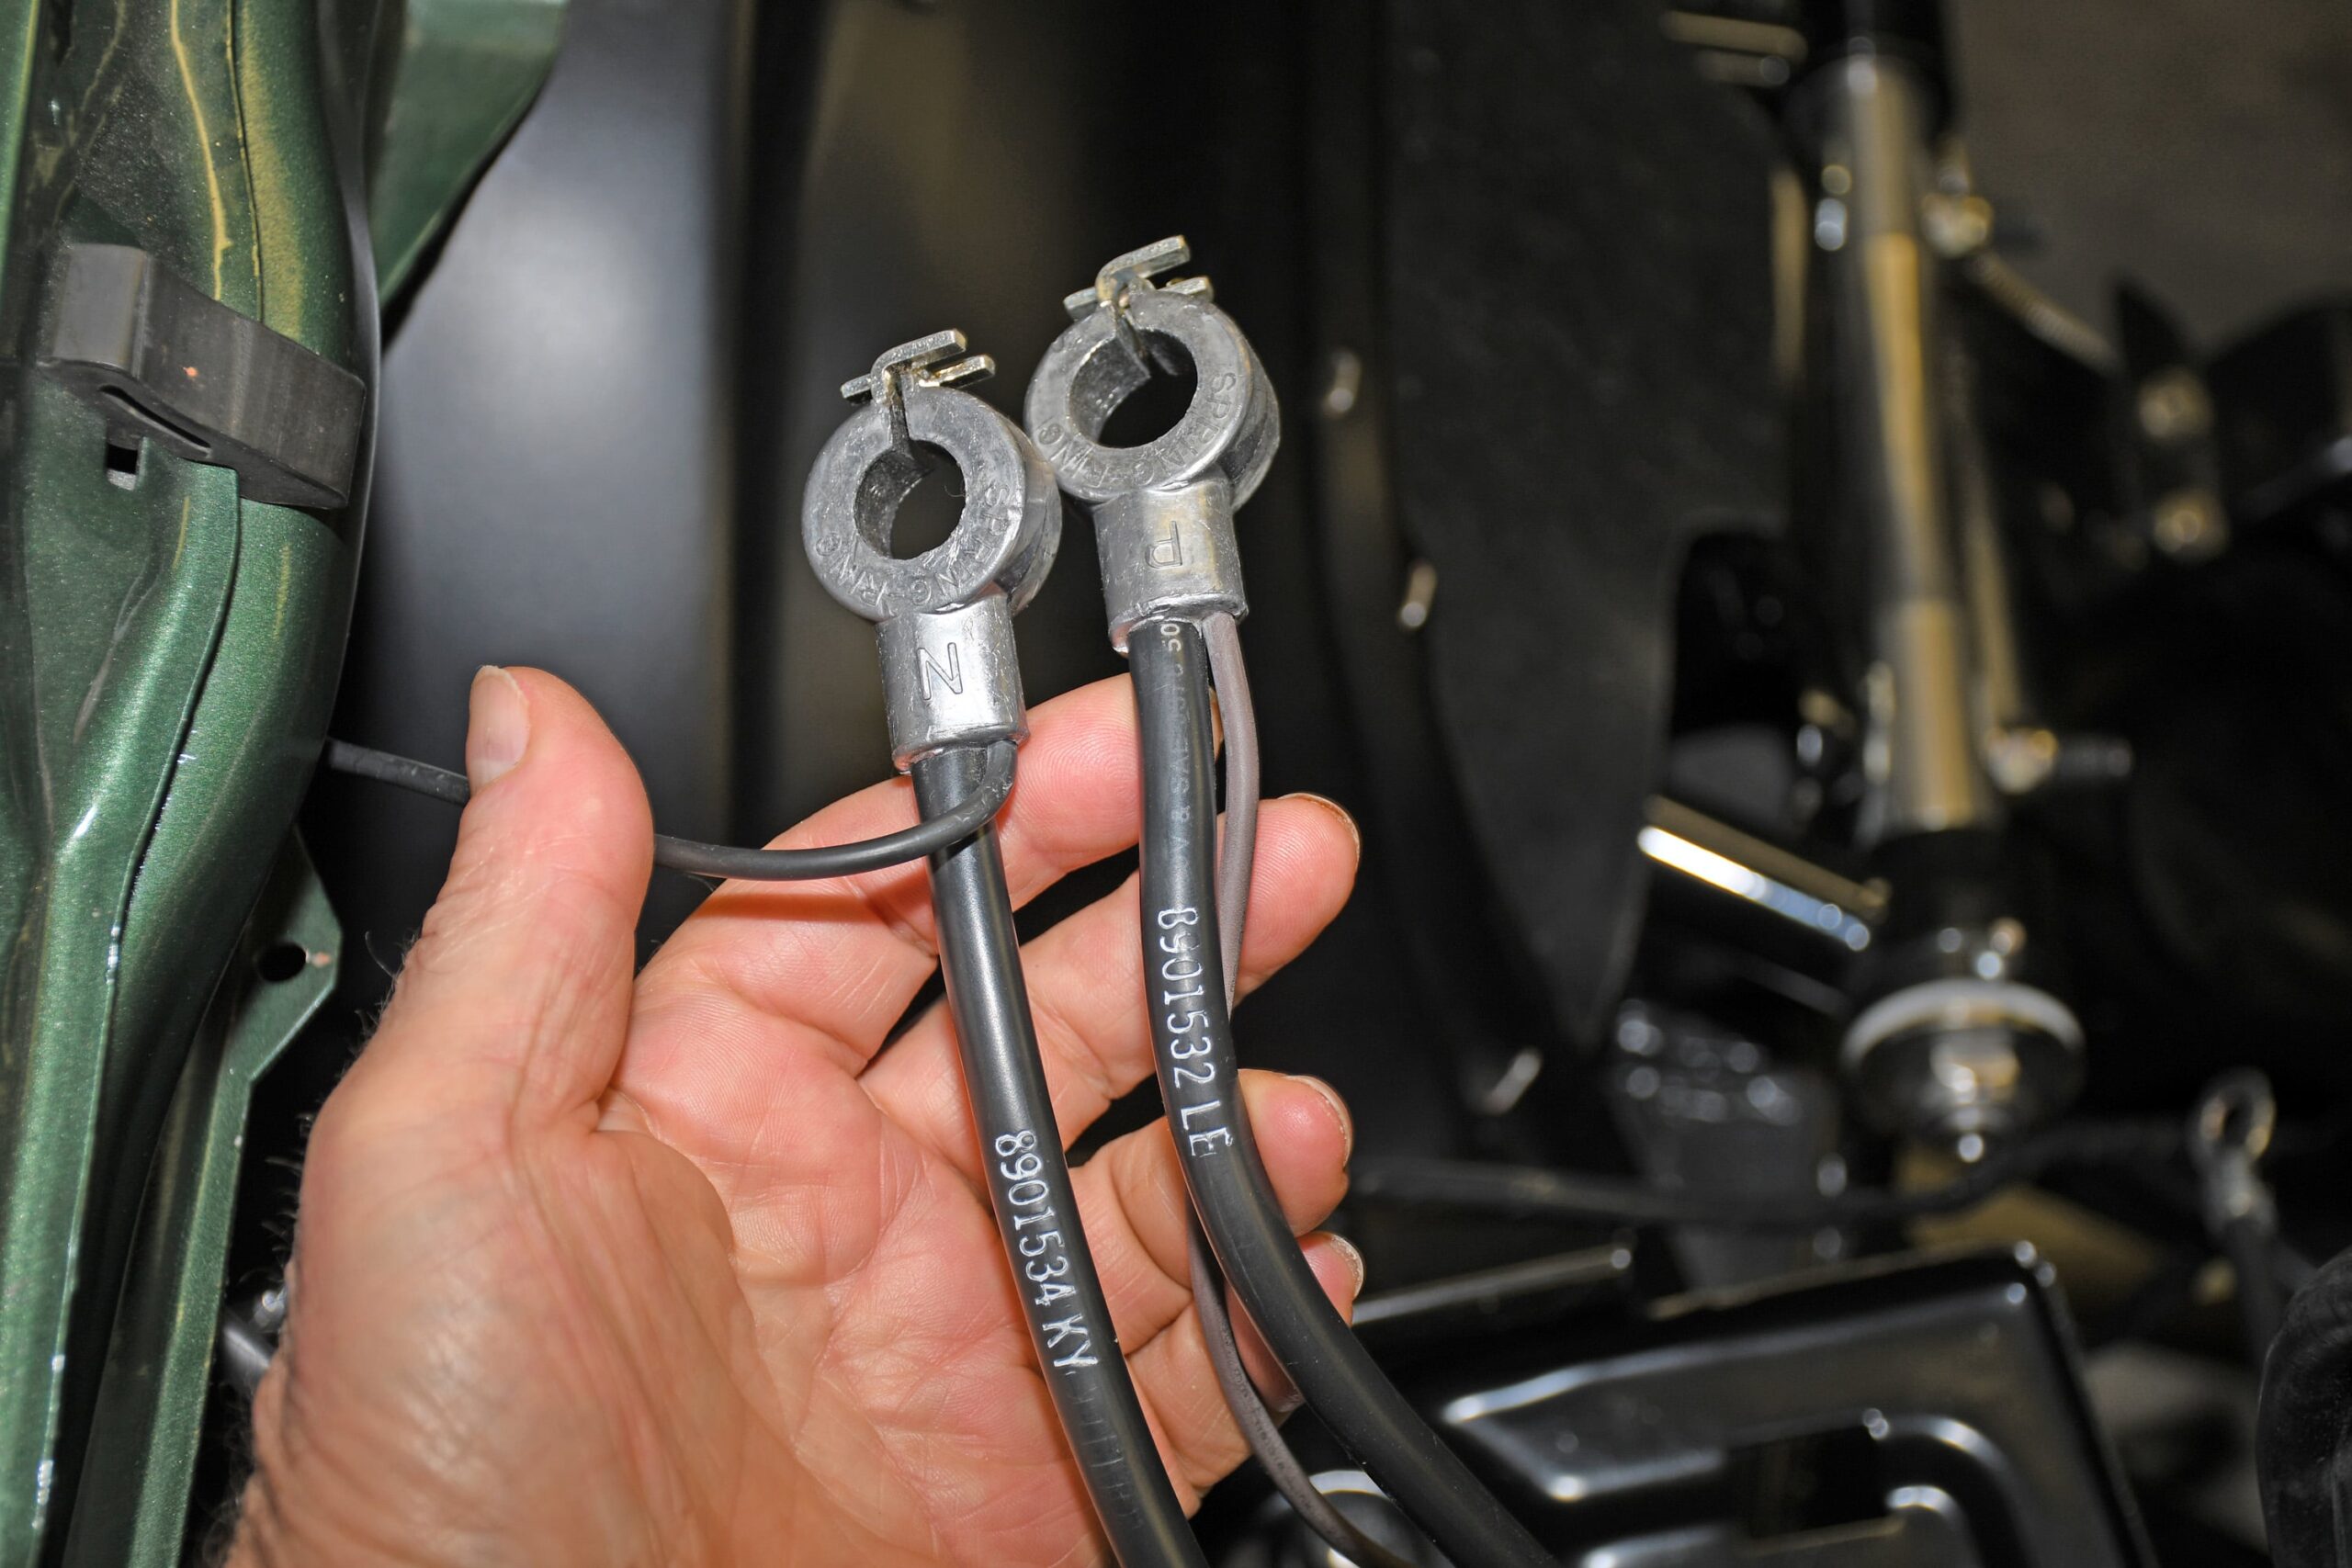
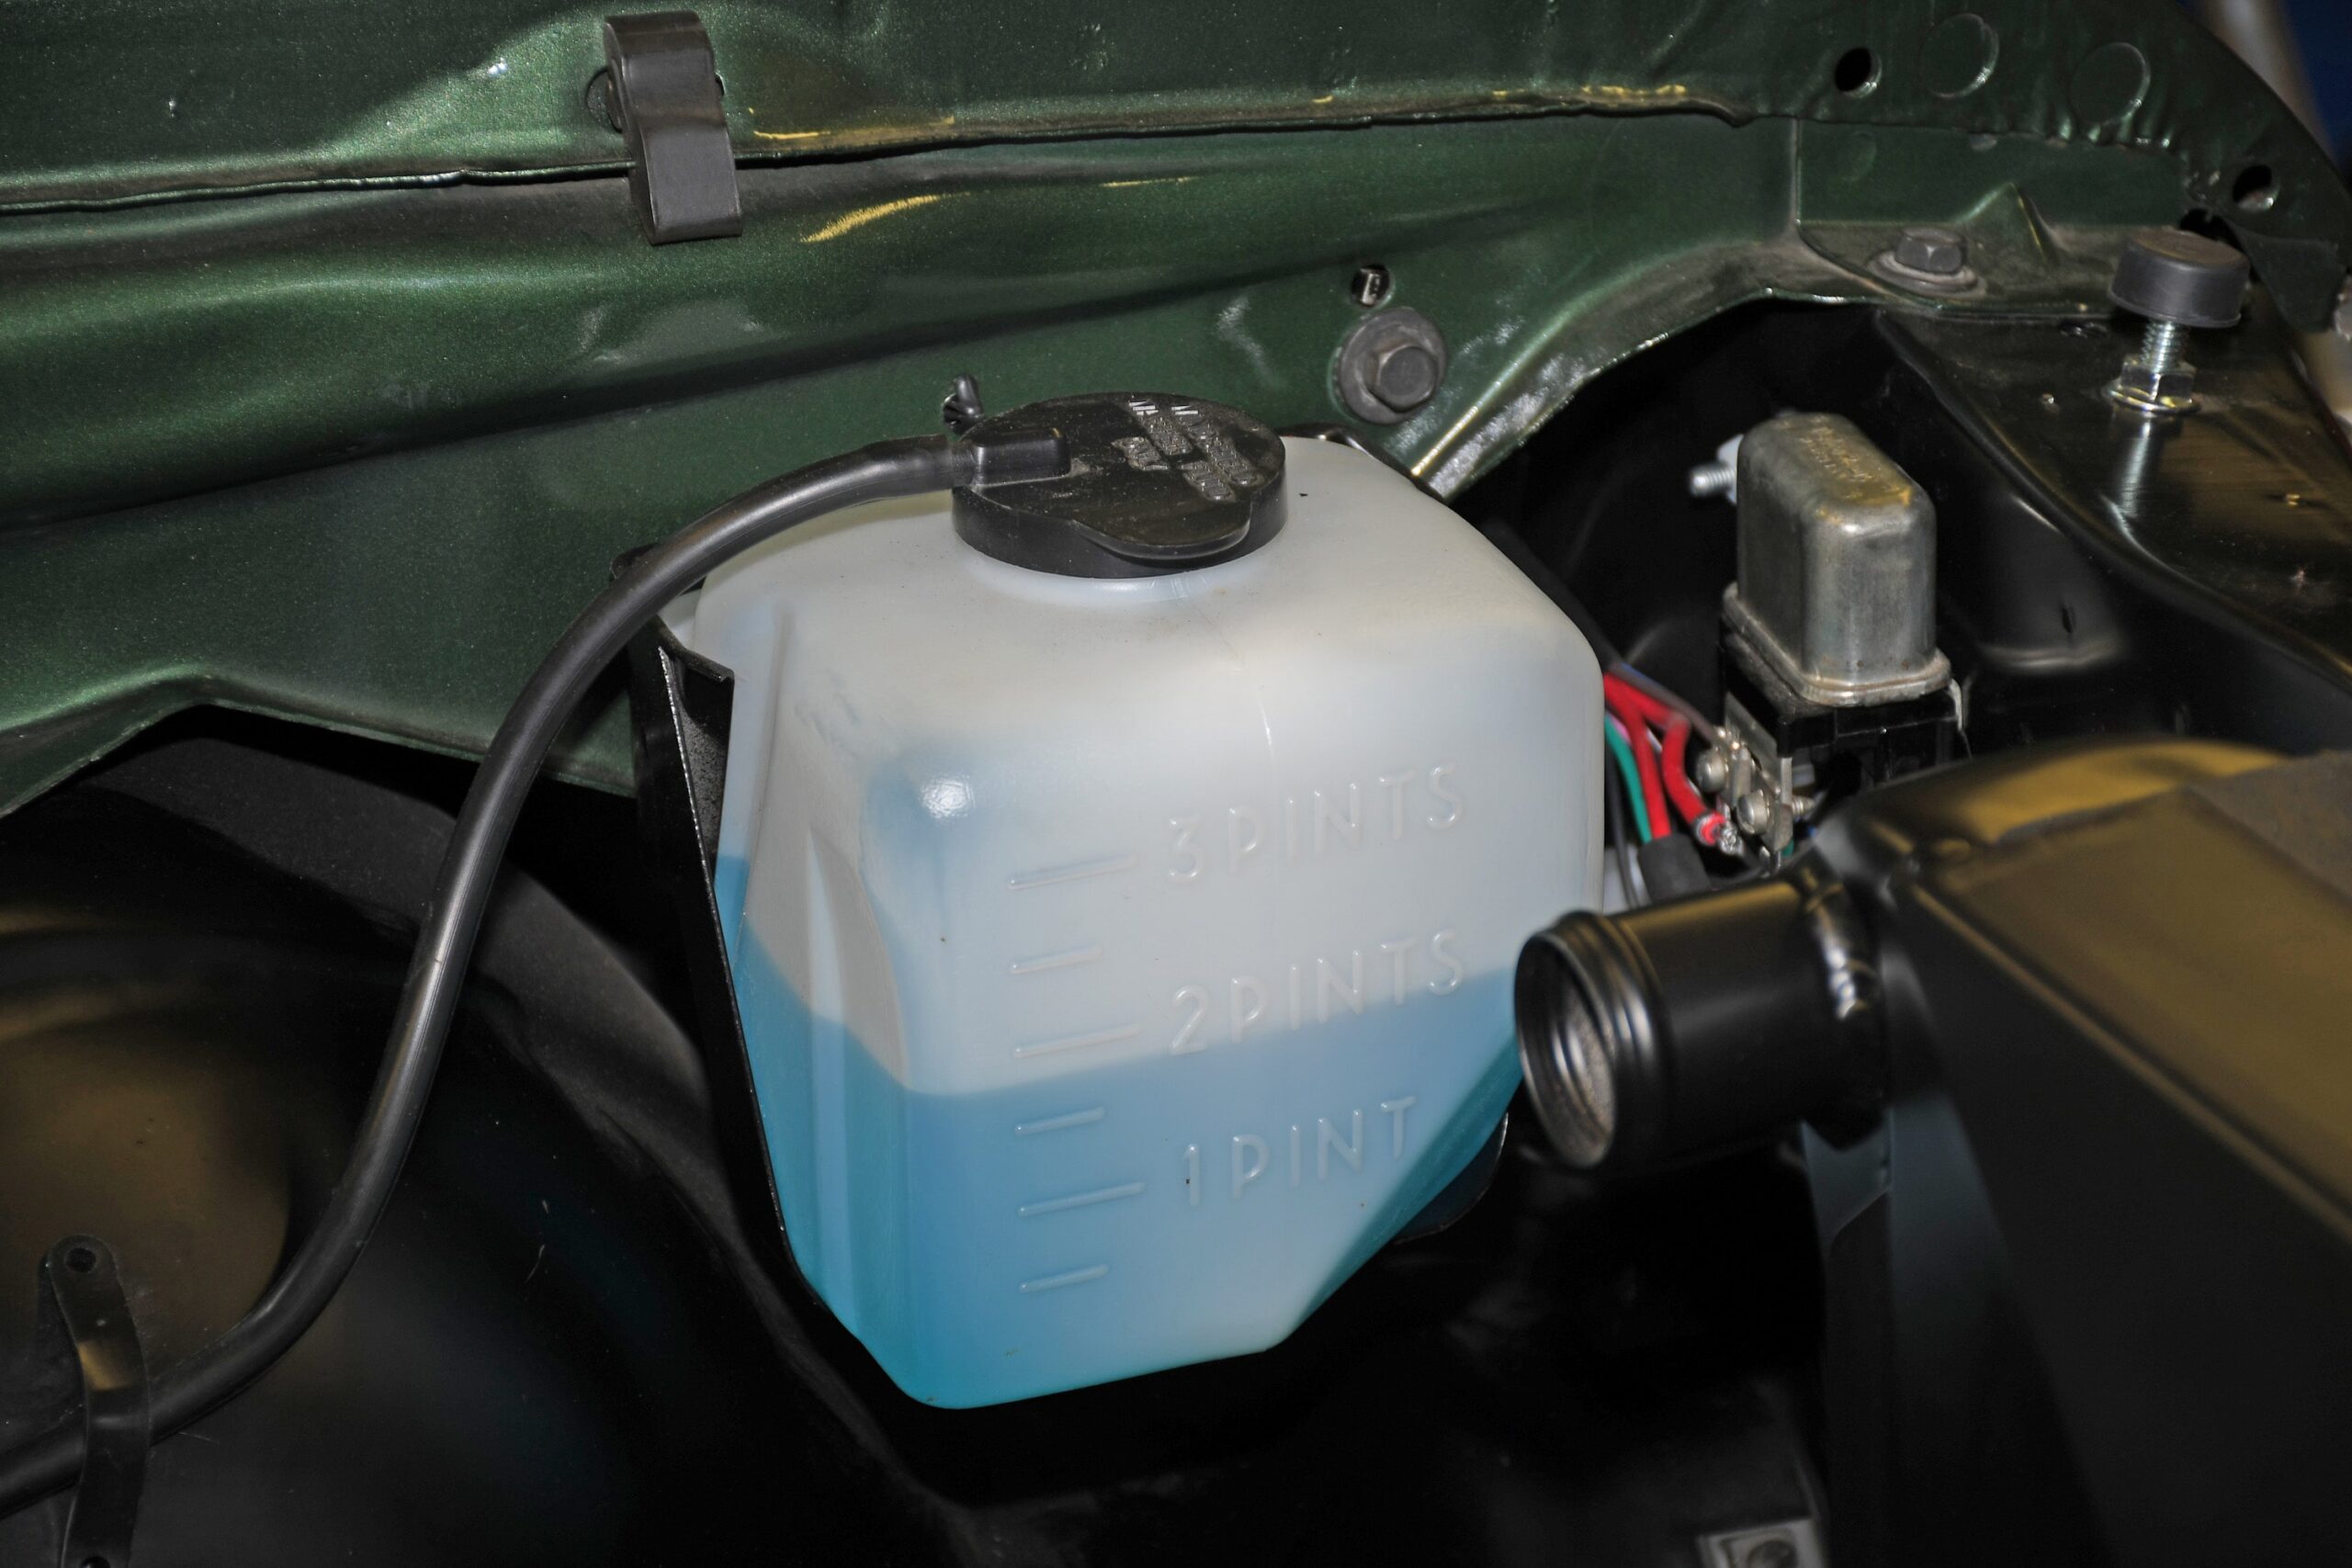
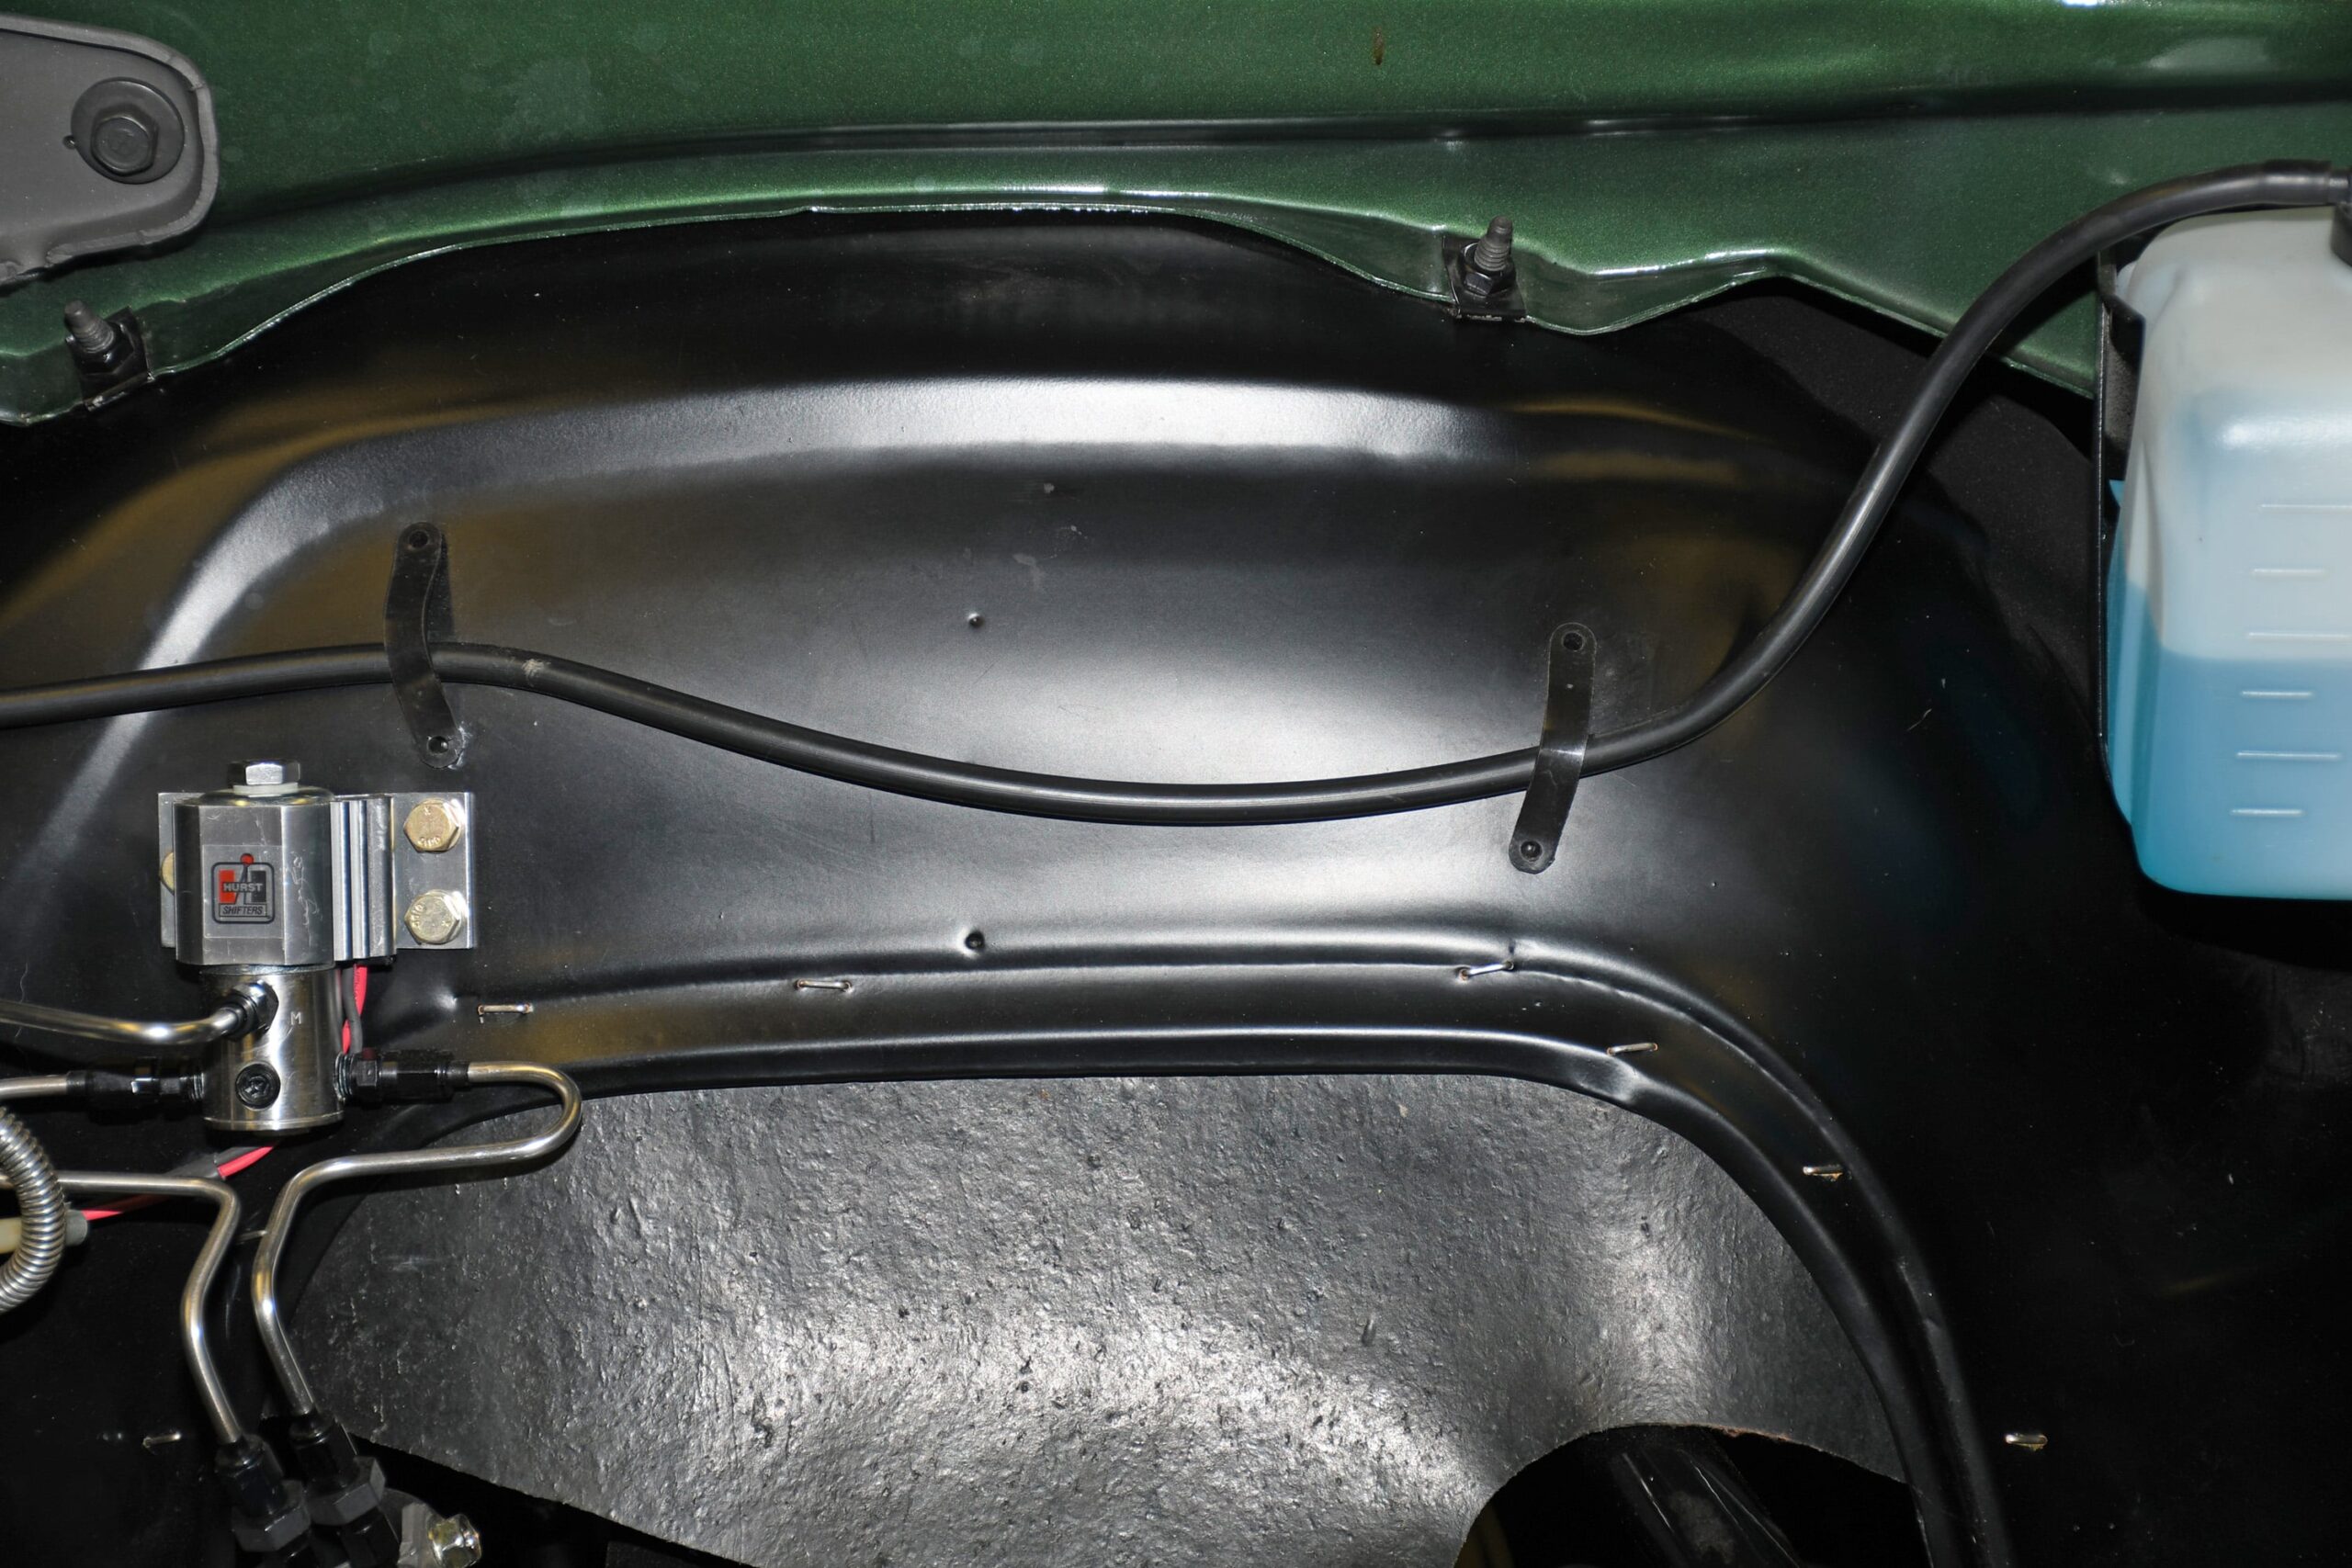
The windshield washer bottle bracket was stripped and repainted. Meanwhile, the bottle had yellowed over time and it was replaced with this new reproduction. The cap and internal “filter” are new too.
50 Engine Compartment Detailing Tips Part 3
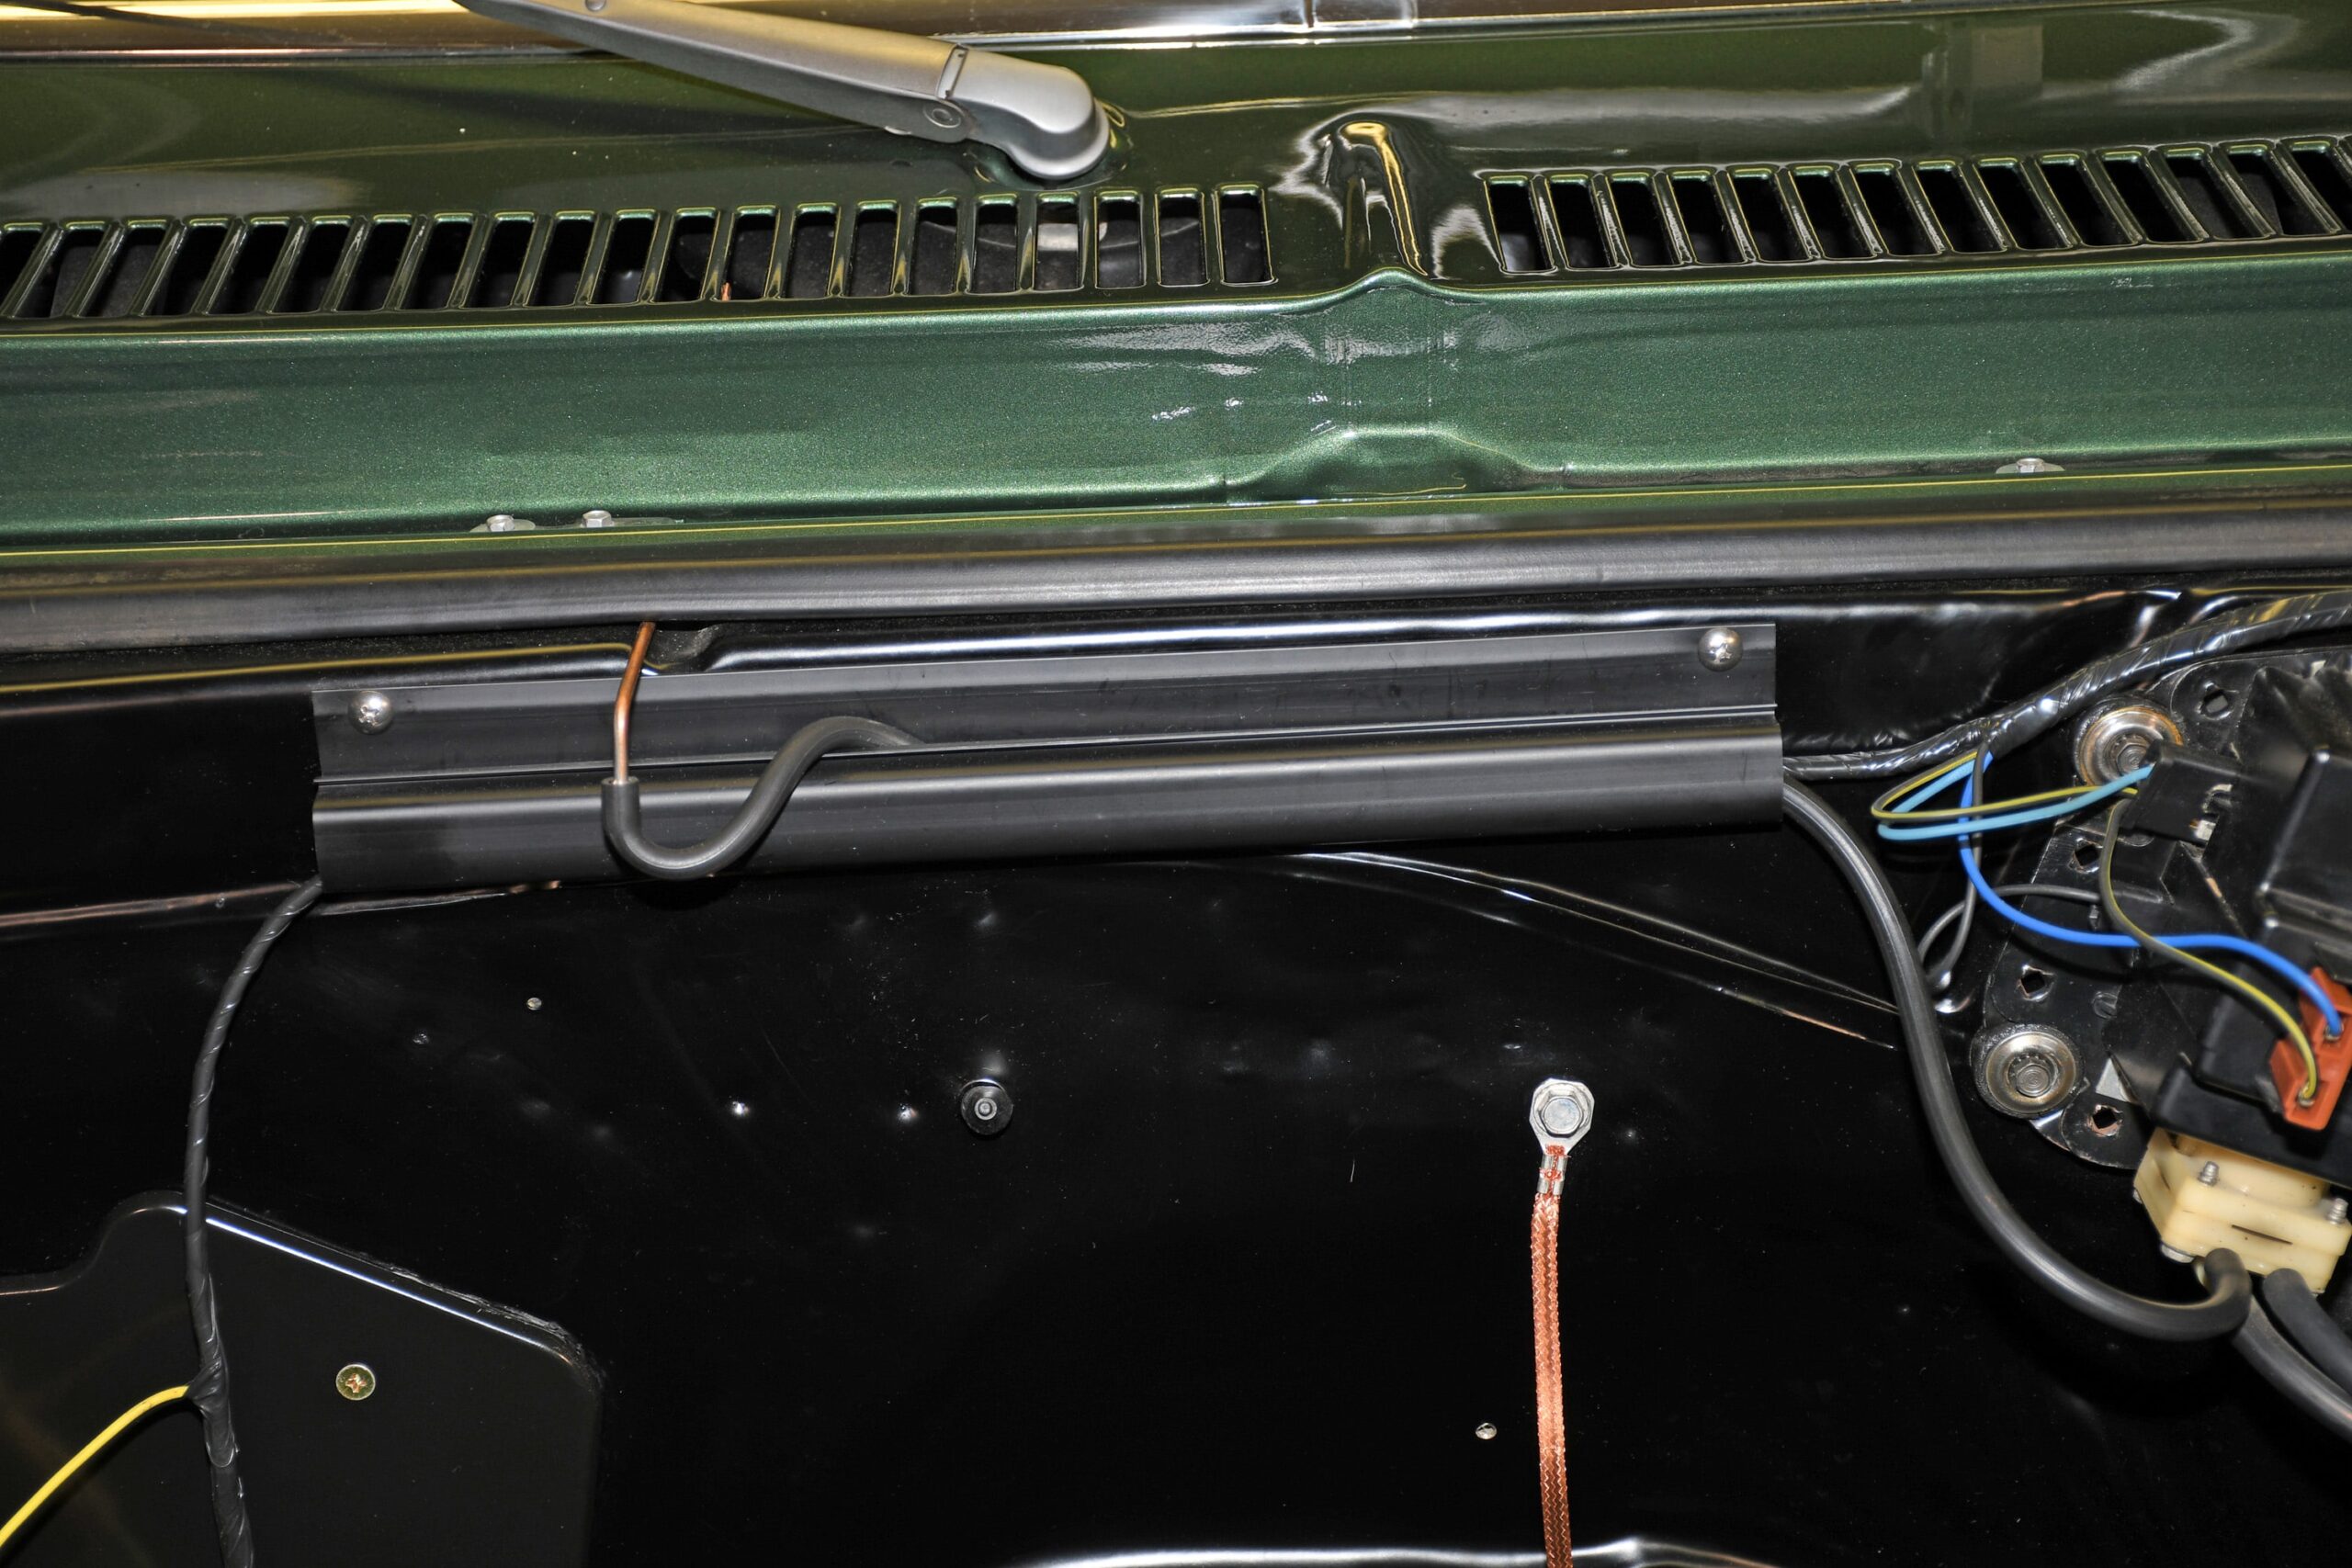
Windshield washer hoses are dirt simple to replace. I also swapped out the two plastic straps that affix the hose and wiring harness on the driver’s side inner fender.
50 Engine Compartment Detailing Tips Part 3
You’ll note in the previous photo the headlamp wiring harness doesn’t run alongside the inner fender (the original routing location). To clean it up, I routed it out of the way, over the top of the inner fender. It’s long enough to do this with causing any grief. By the way, the headlamp harness is a new reproduction from American Autowire.
50 Engine Compartment Detailing Tips Part 3
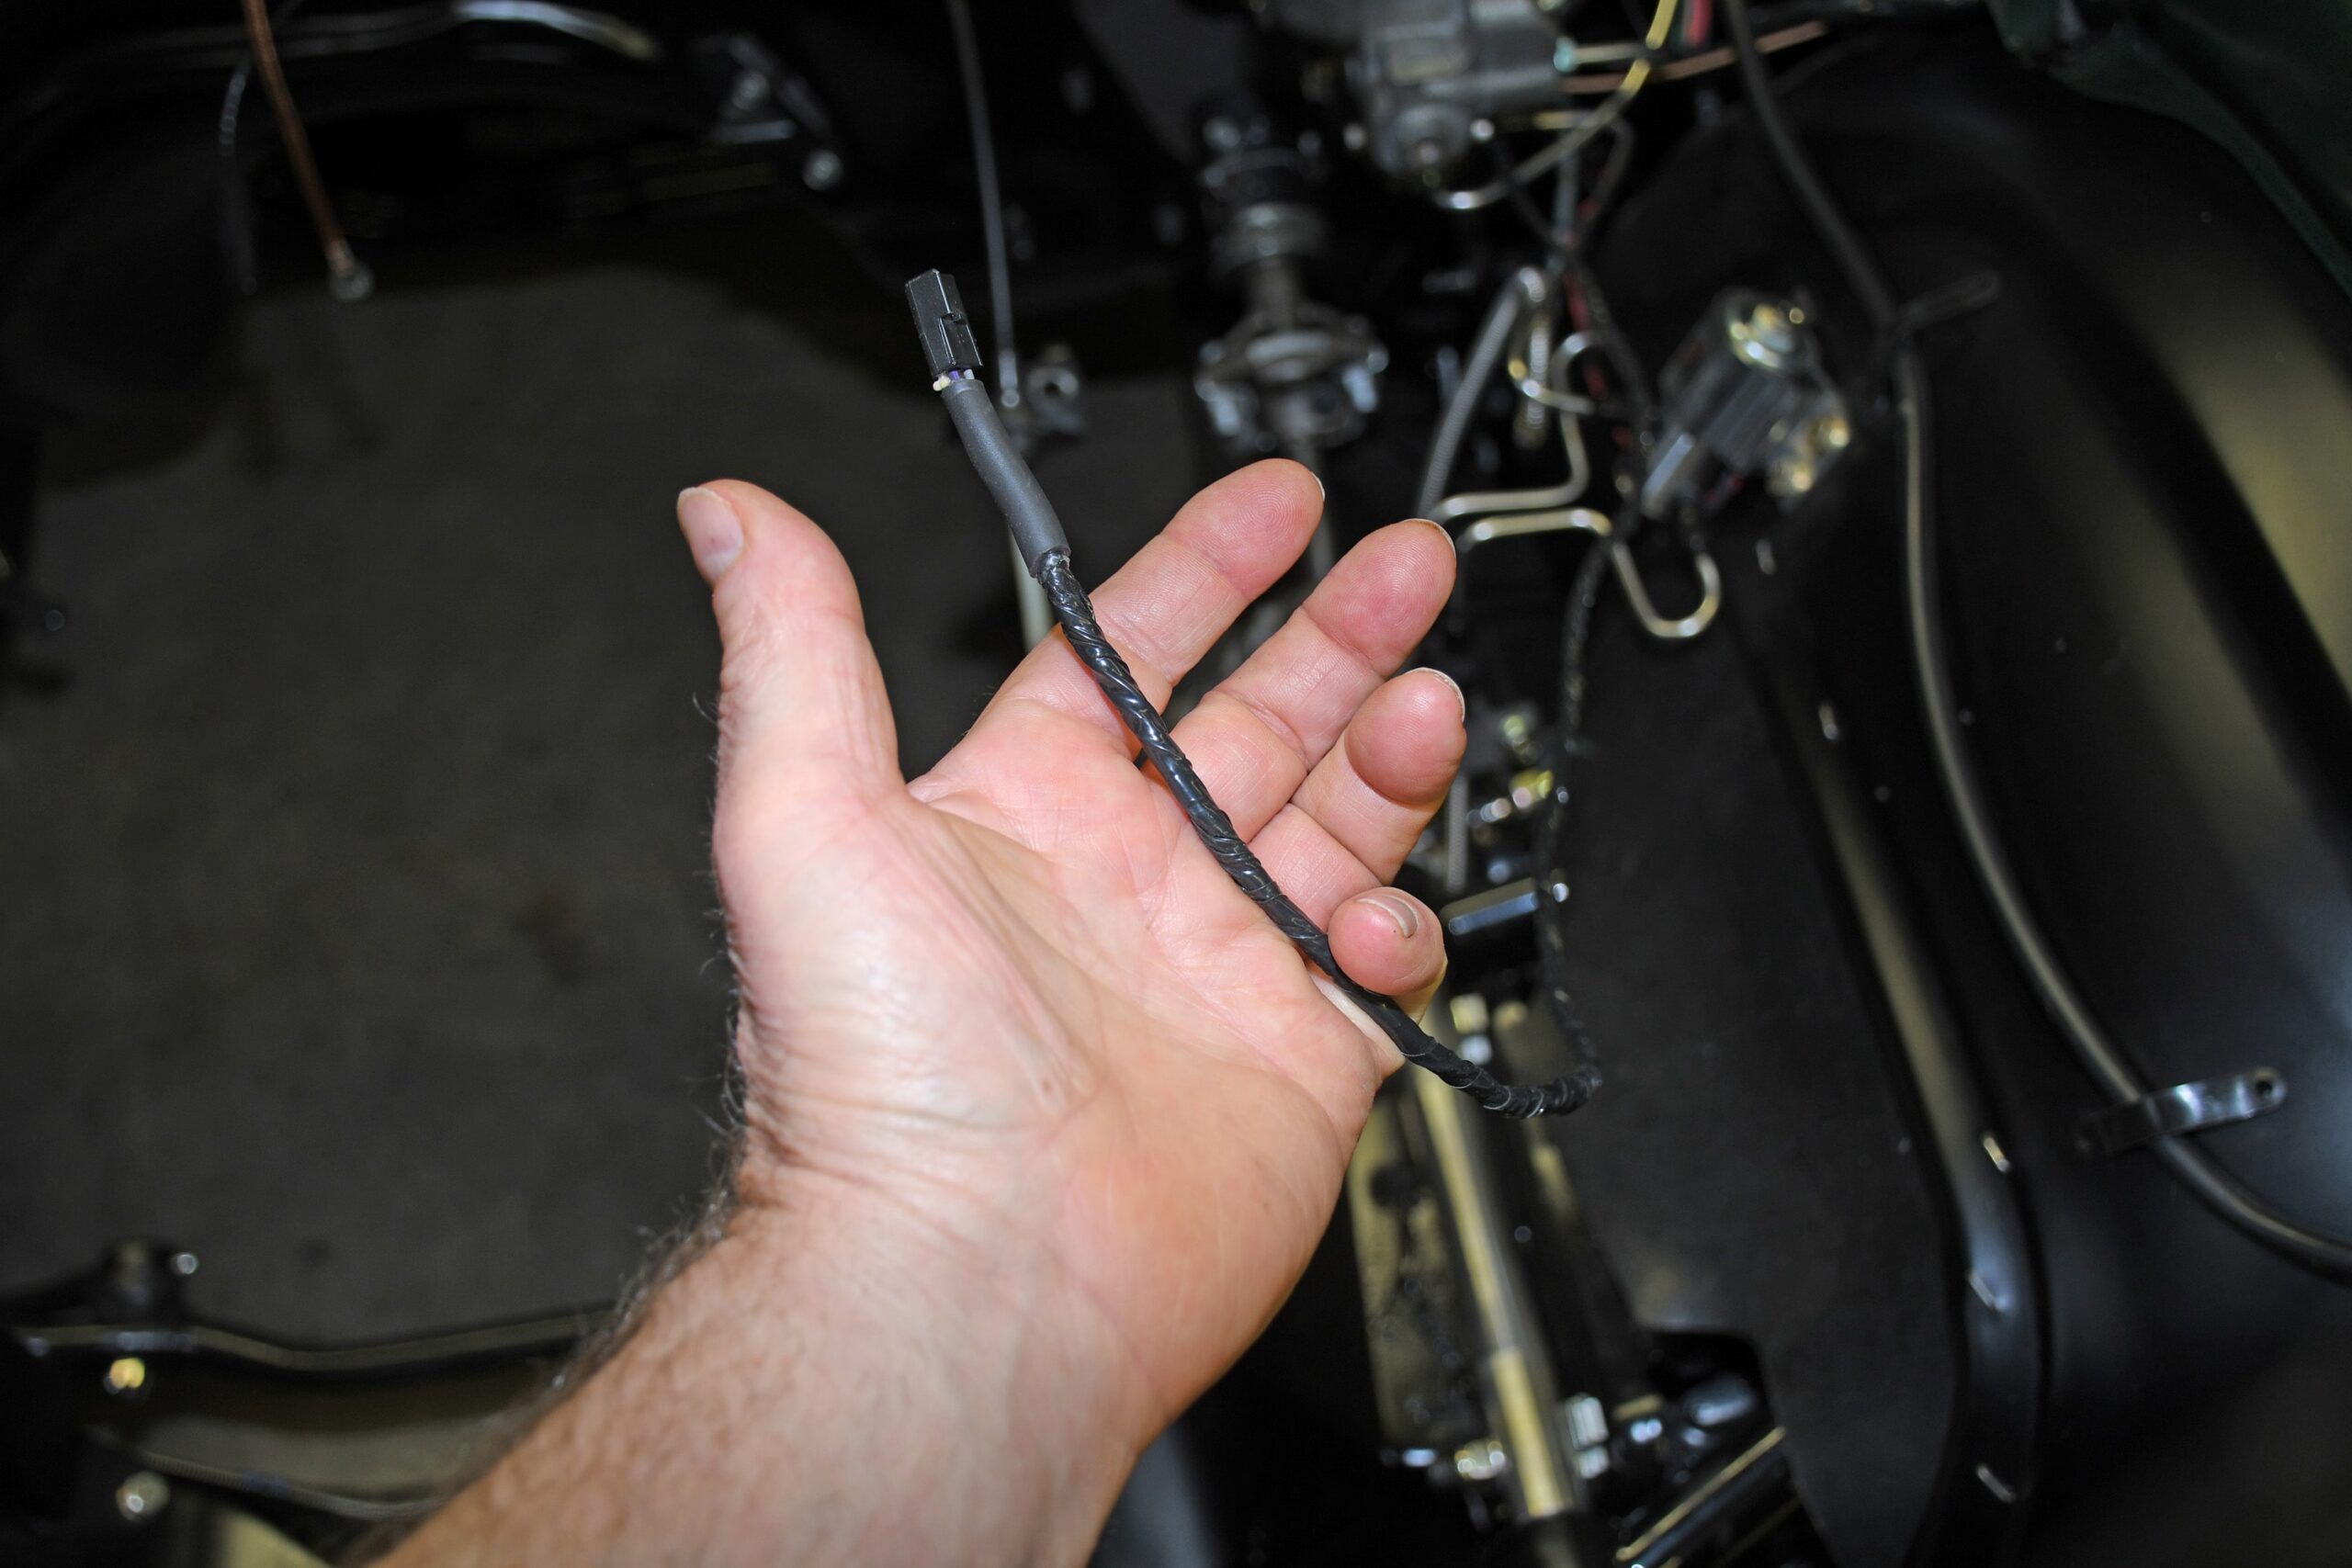
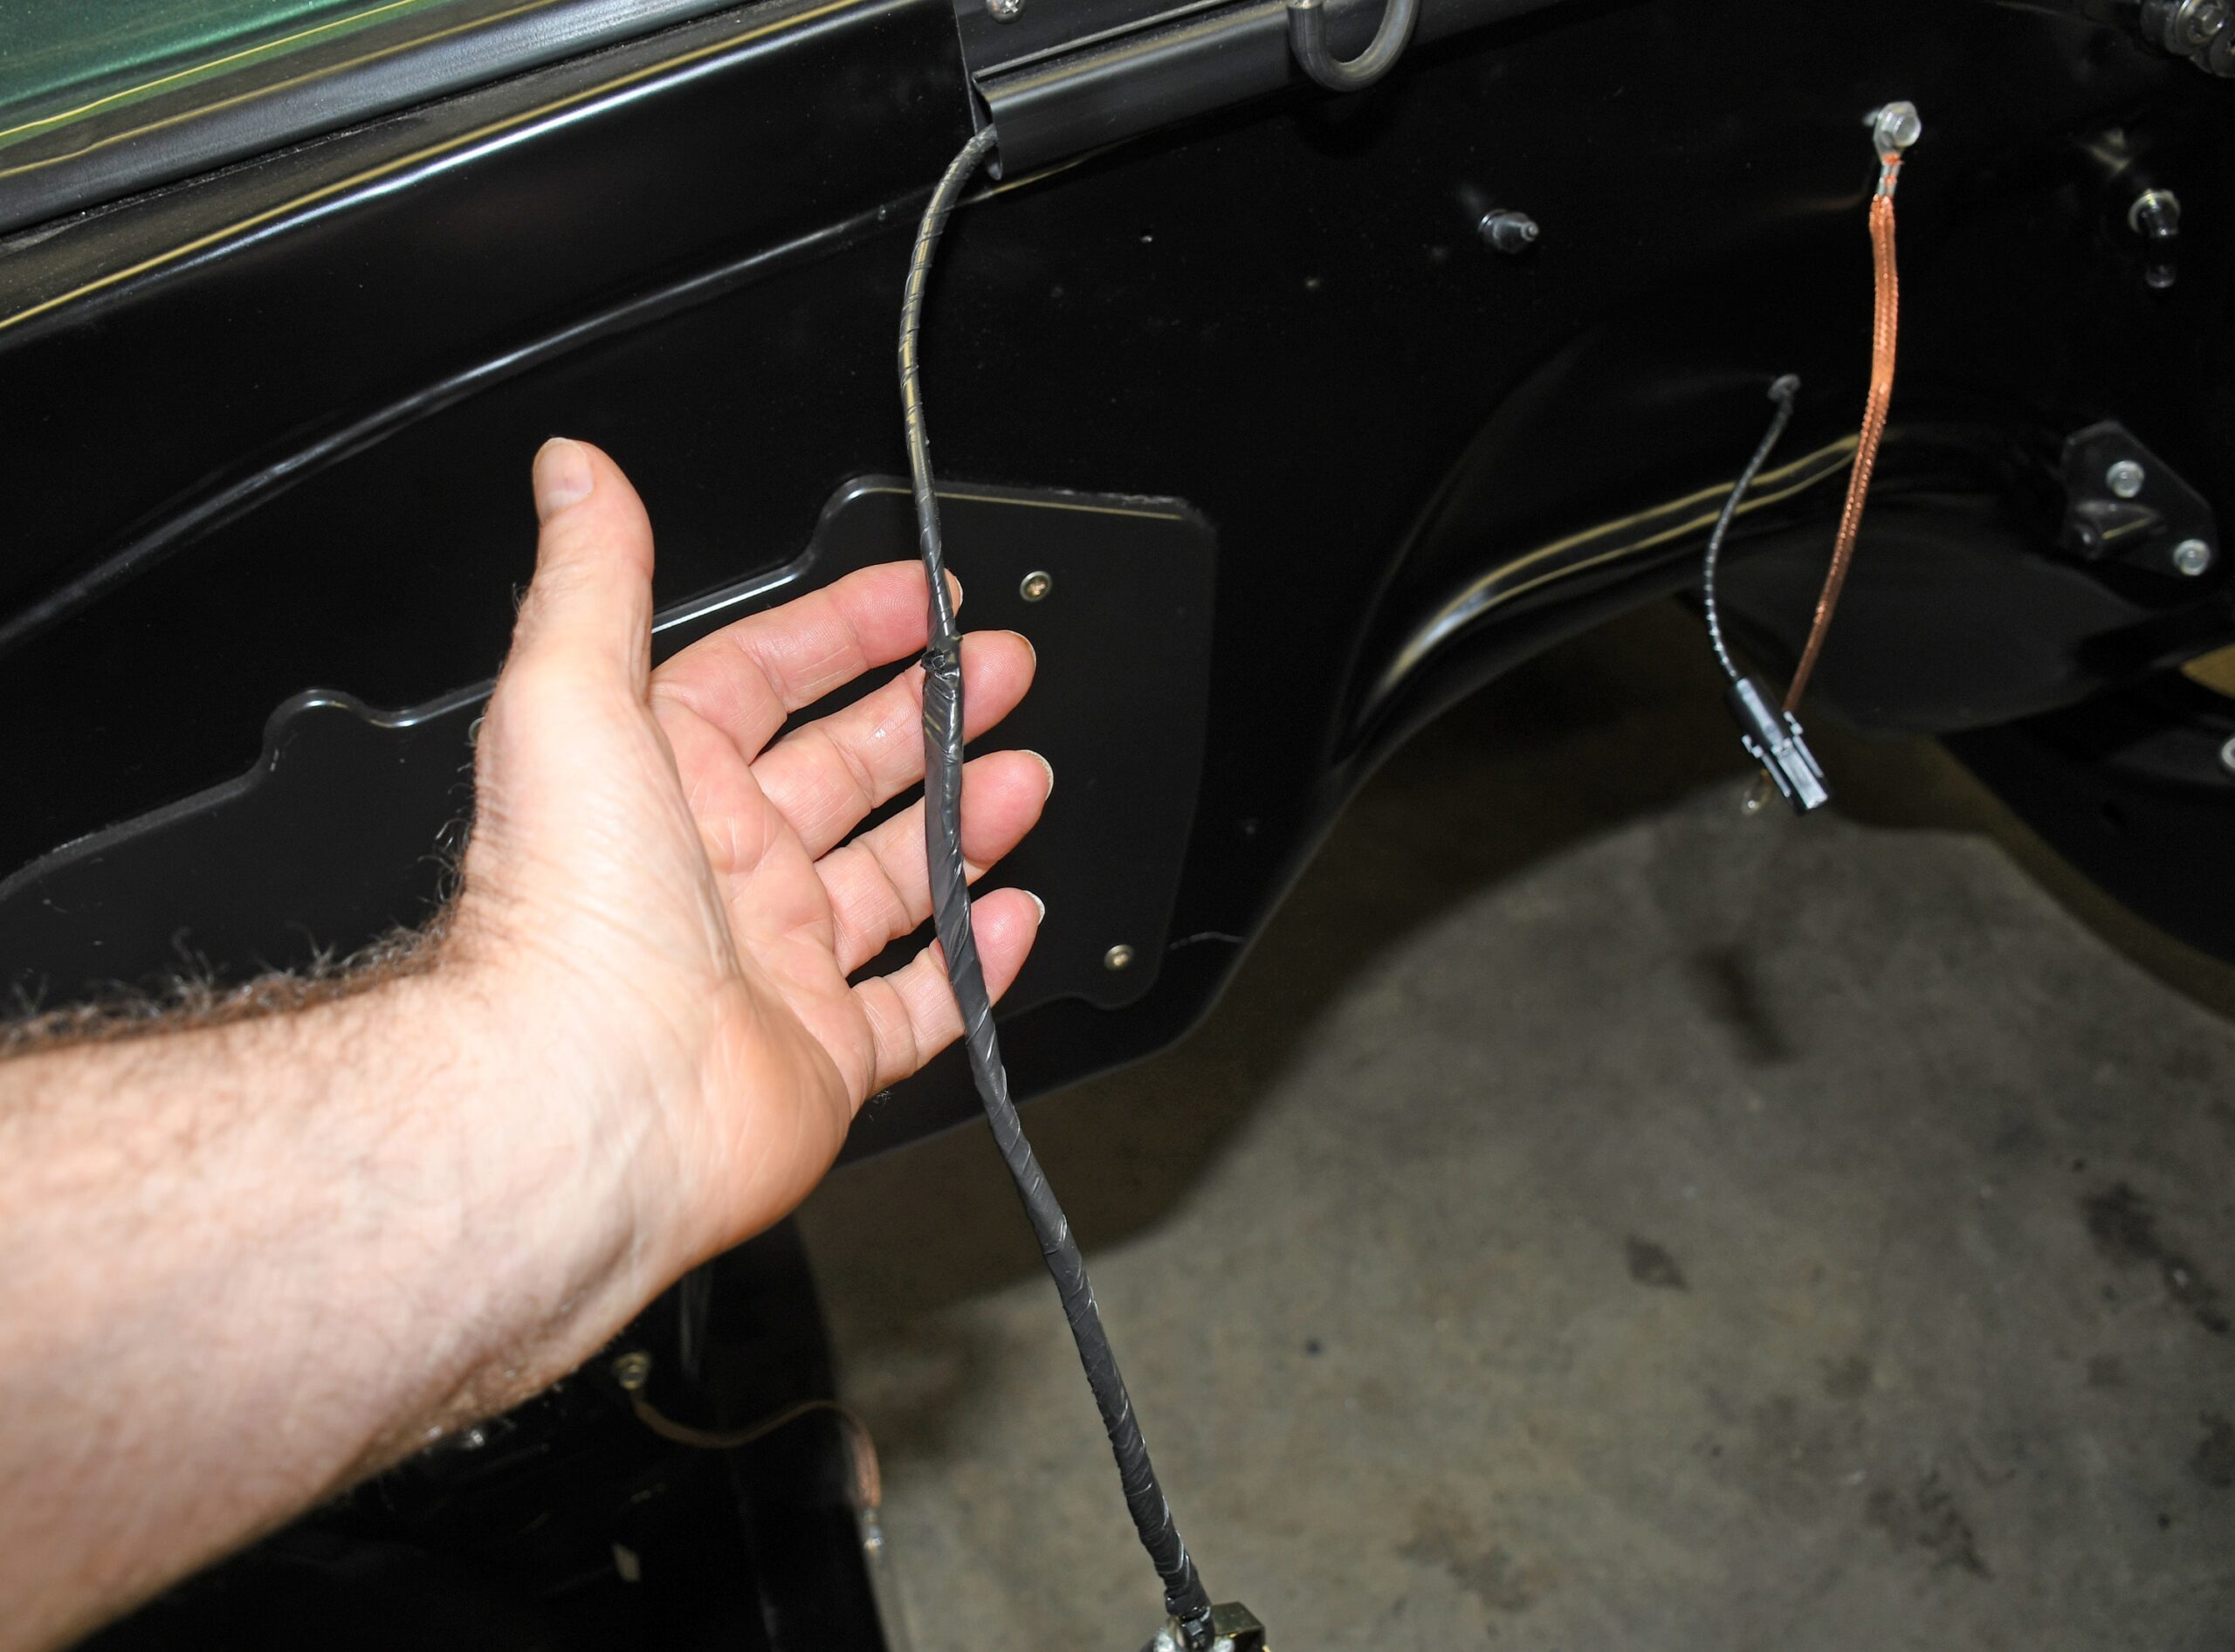
I ran the wiring for the AutoMeter electric water temp gauge through this home-made harness. The idea was to make it look close to stock, so it was wrapped with harness tape.
50 Engine Compartment Detailing Tips Part 3
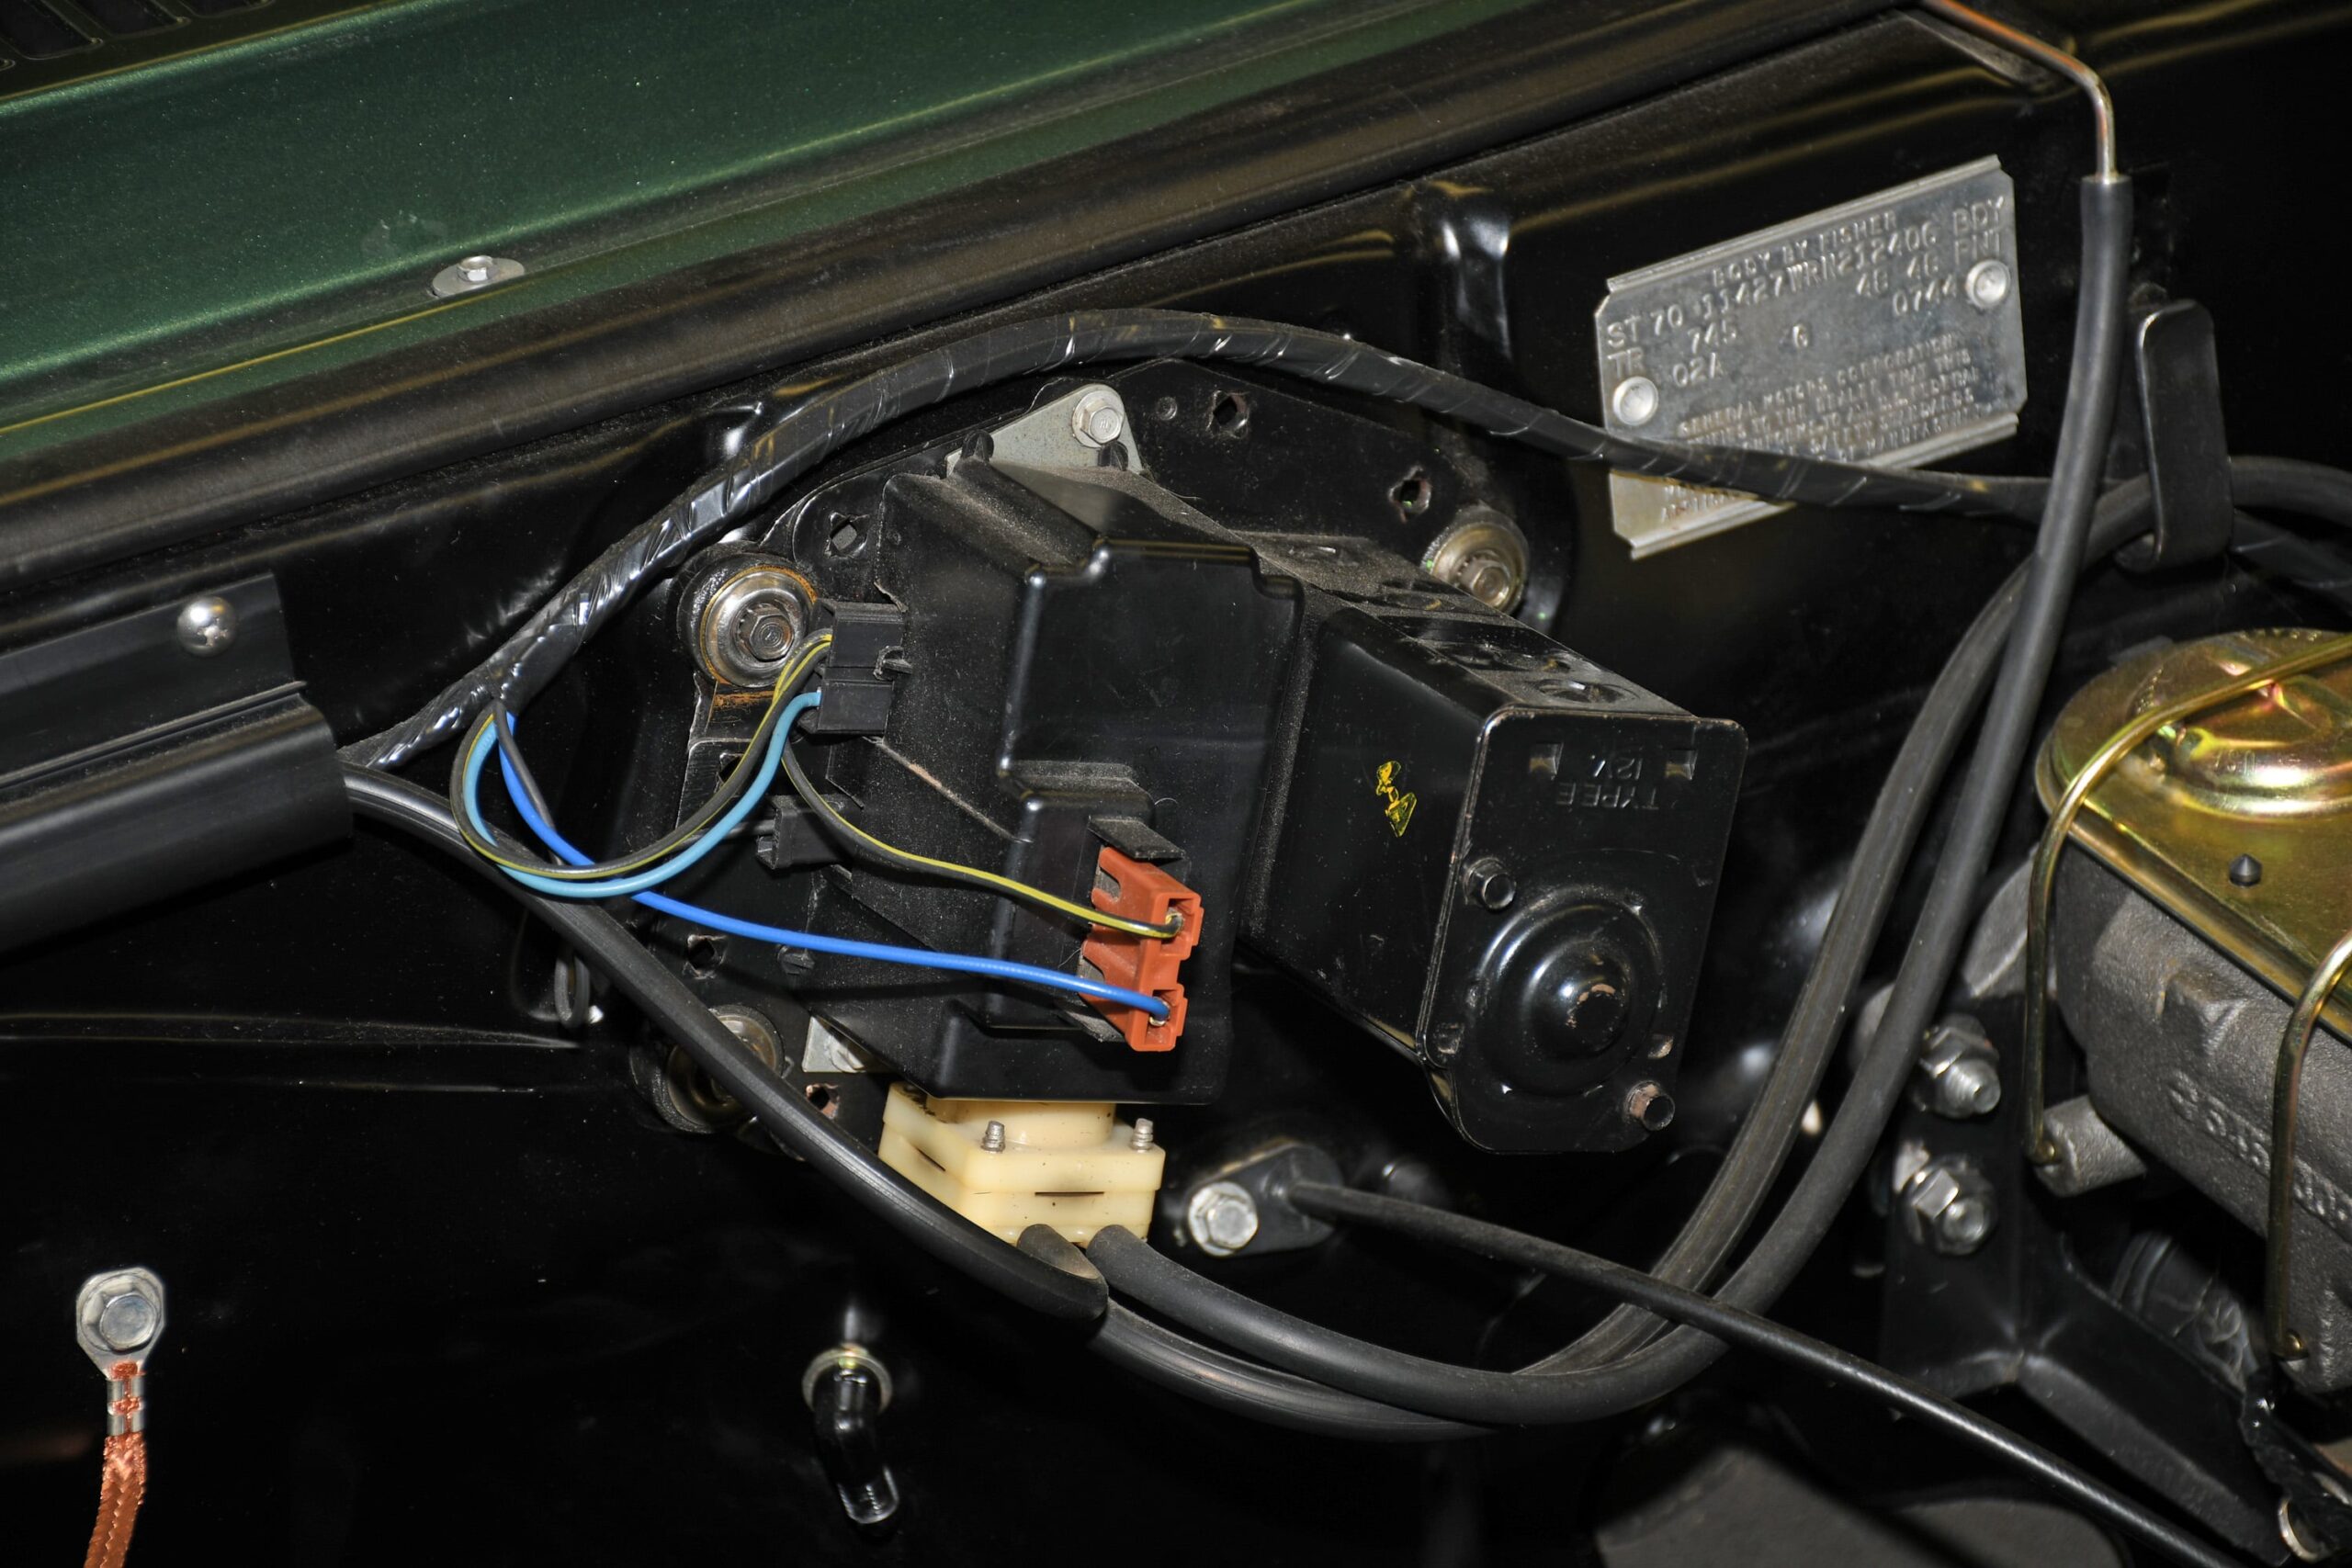
The wiper motor was cleaned and detailed. New fasteners were installed too. Although I didn’t need them for this project, you can also get a new pump cover and new bushings if your examples are in poor shape.
50 Engine Compartment Detailing Tips Part 3
The plastic wire gutter at the top of the cowl was replaced with this reproduction. You’ll note gutter doesn’t have a TCS solenoid. I removed the circuit from the car.
50 Engine Compartment Detailing Tips Part 3
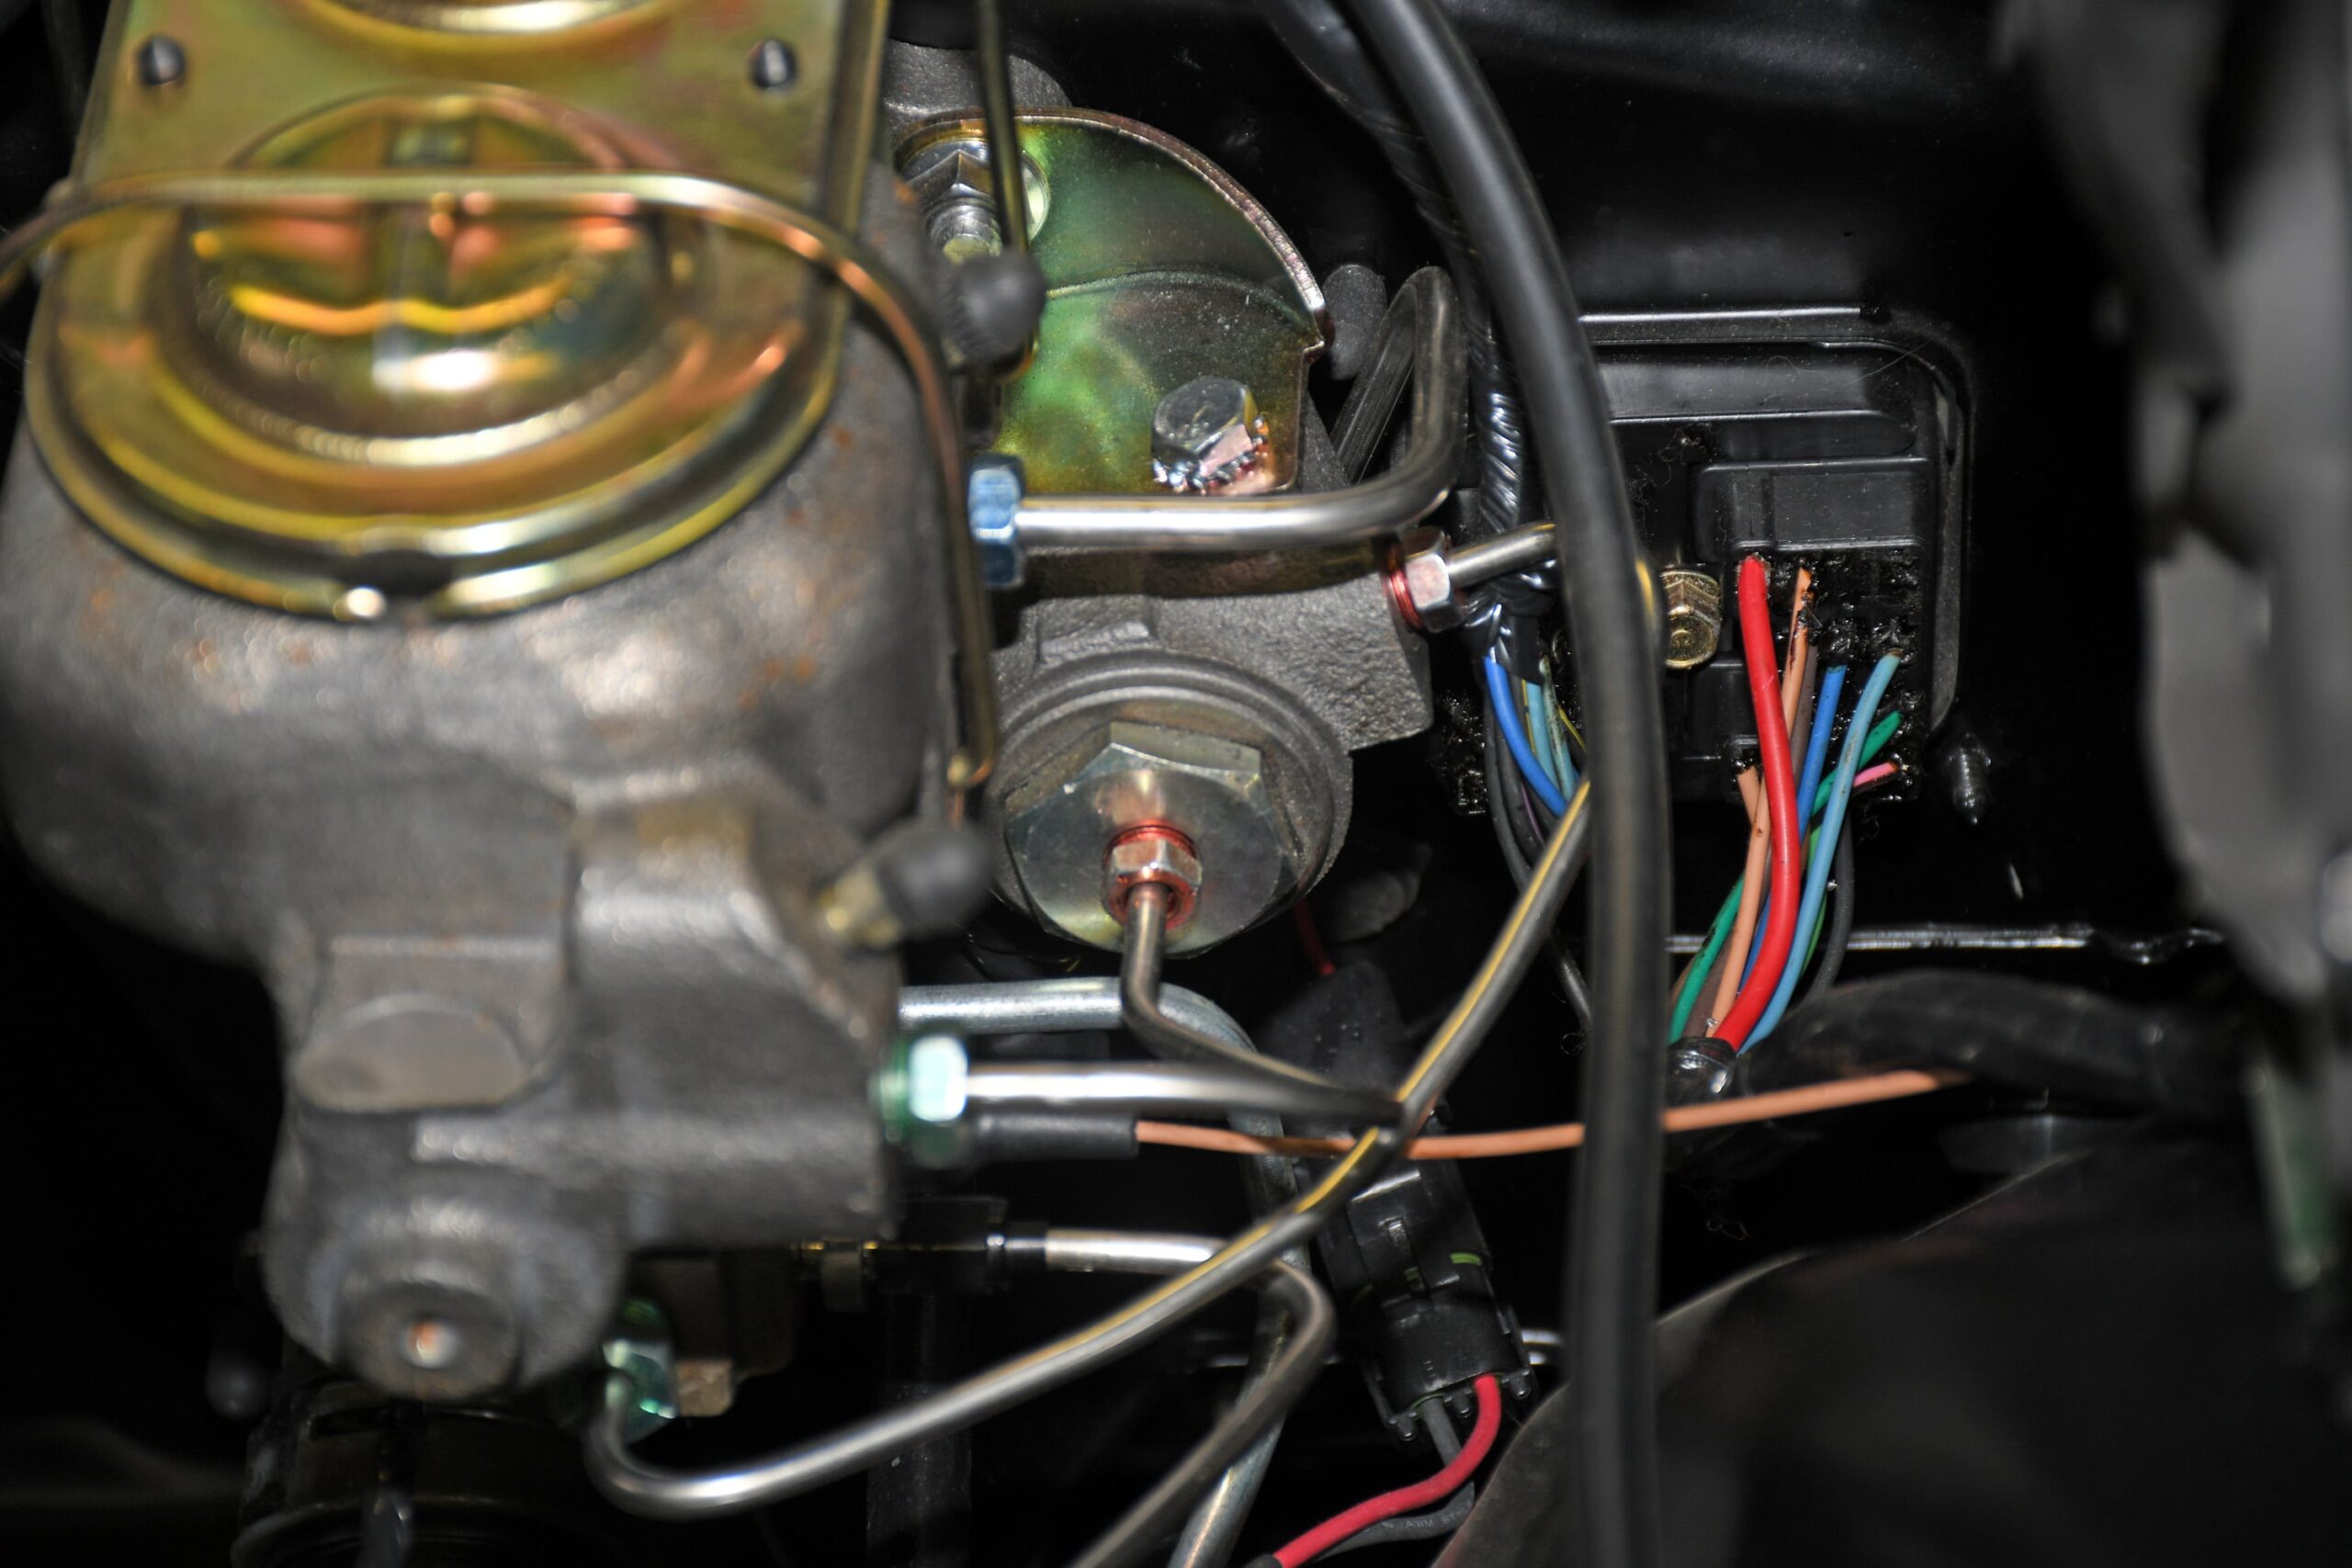
The engine harness is a new American Autowire reproduction, but I opened it up and removed the Transmission Control Spark wiring. While I was at it, I also removed the heater blower motor wiring. It’s easy enough to de-pin the bulkhead connector where it hooks to the firewall. Once complete, the new “thin” wiring harness was re-wrapped.
50 Engine Compartment Detailing Tips Part 3
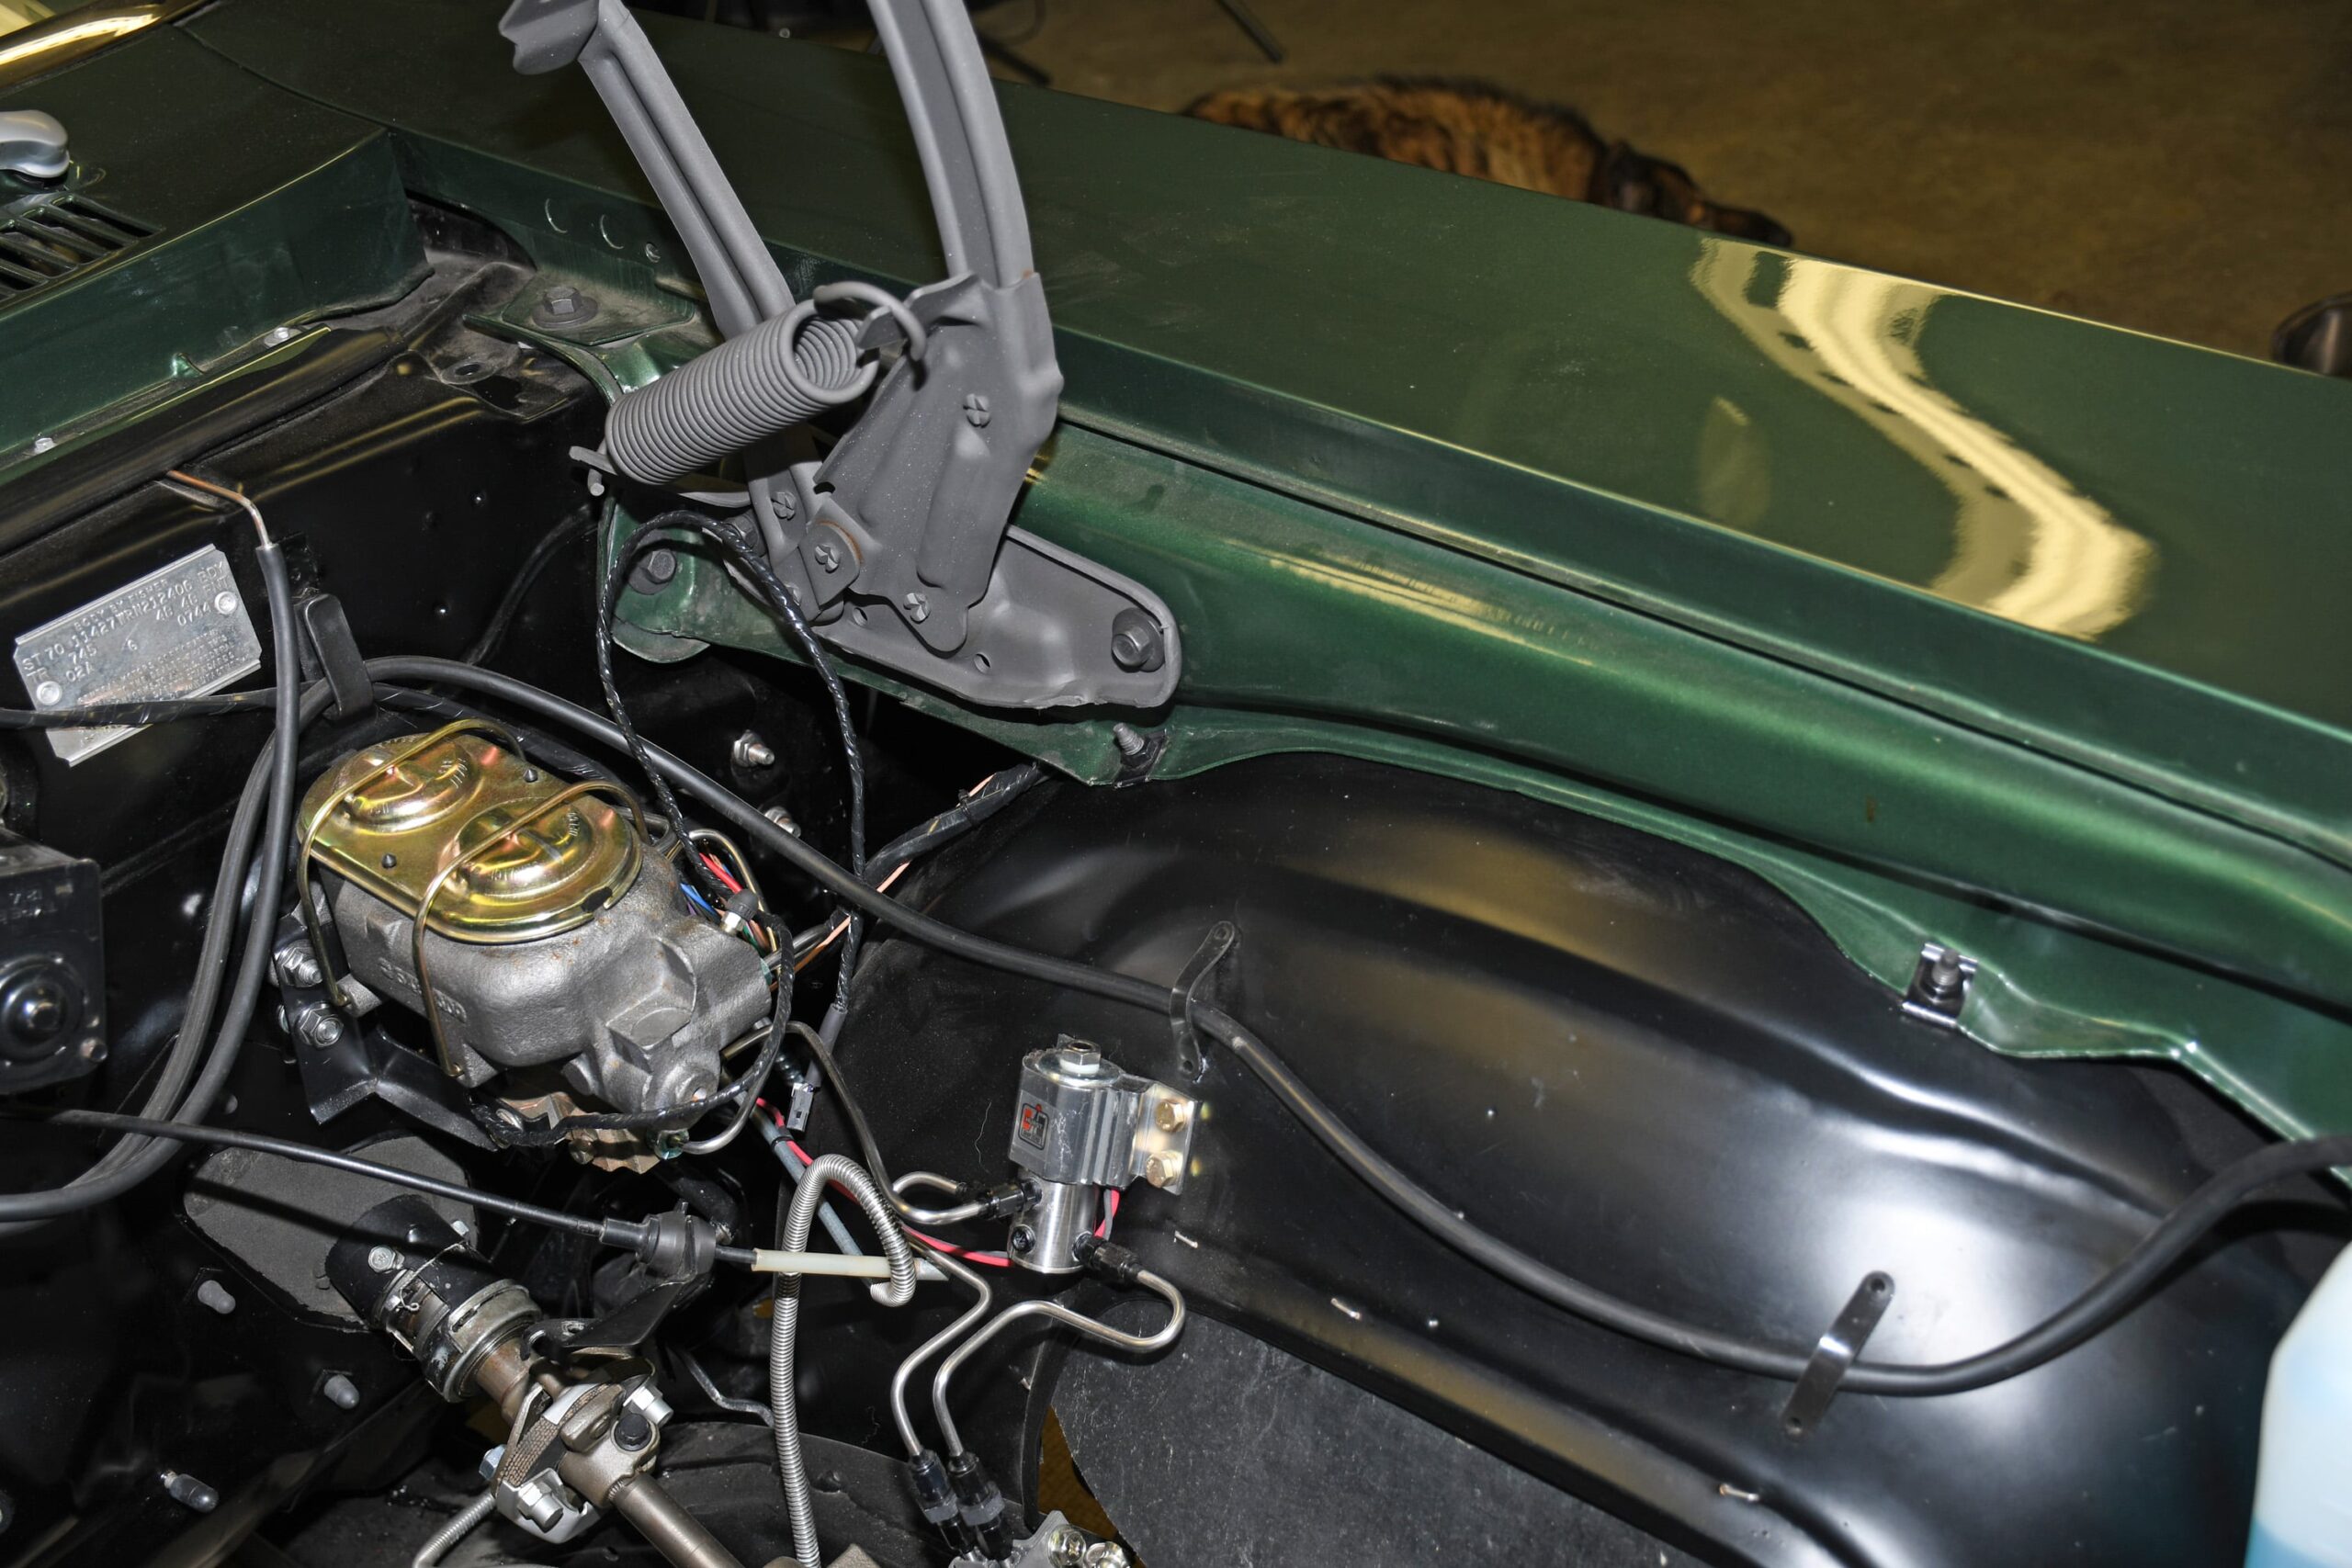
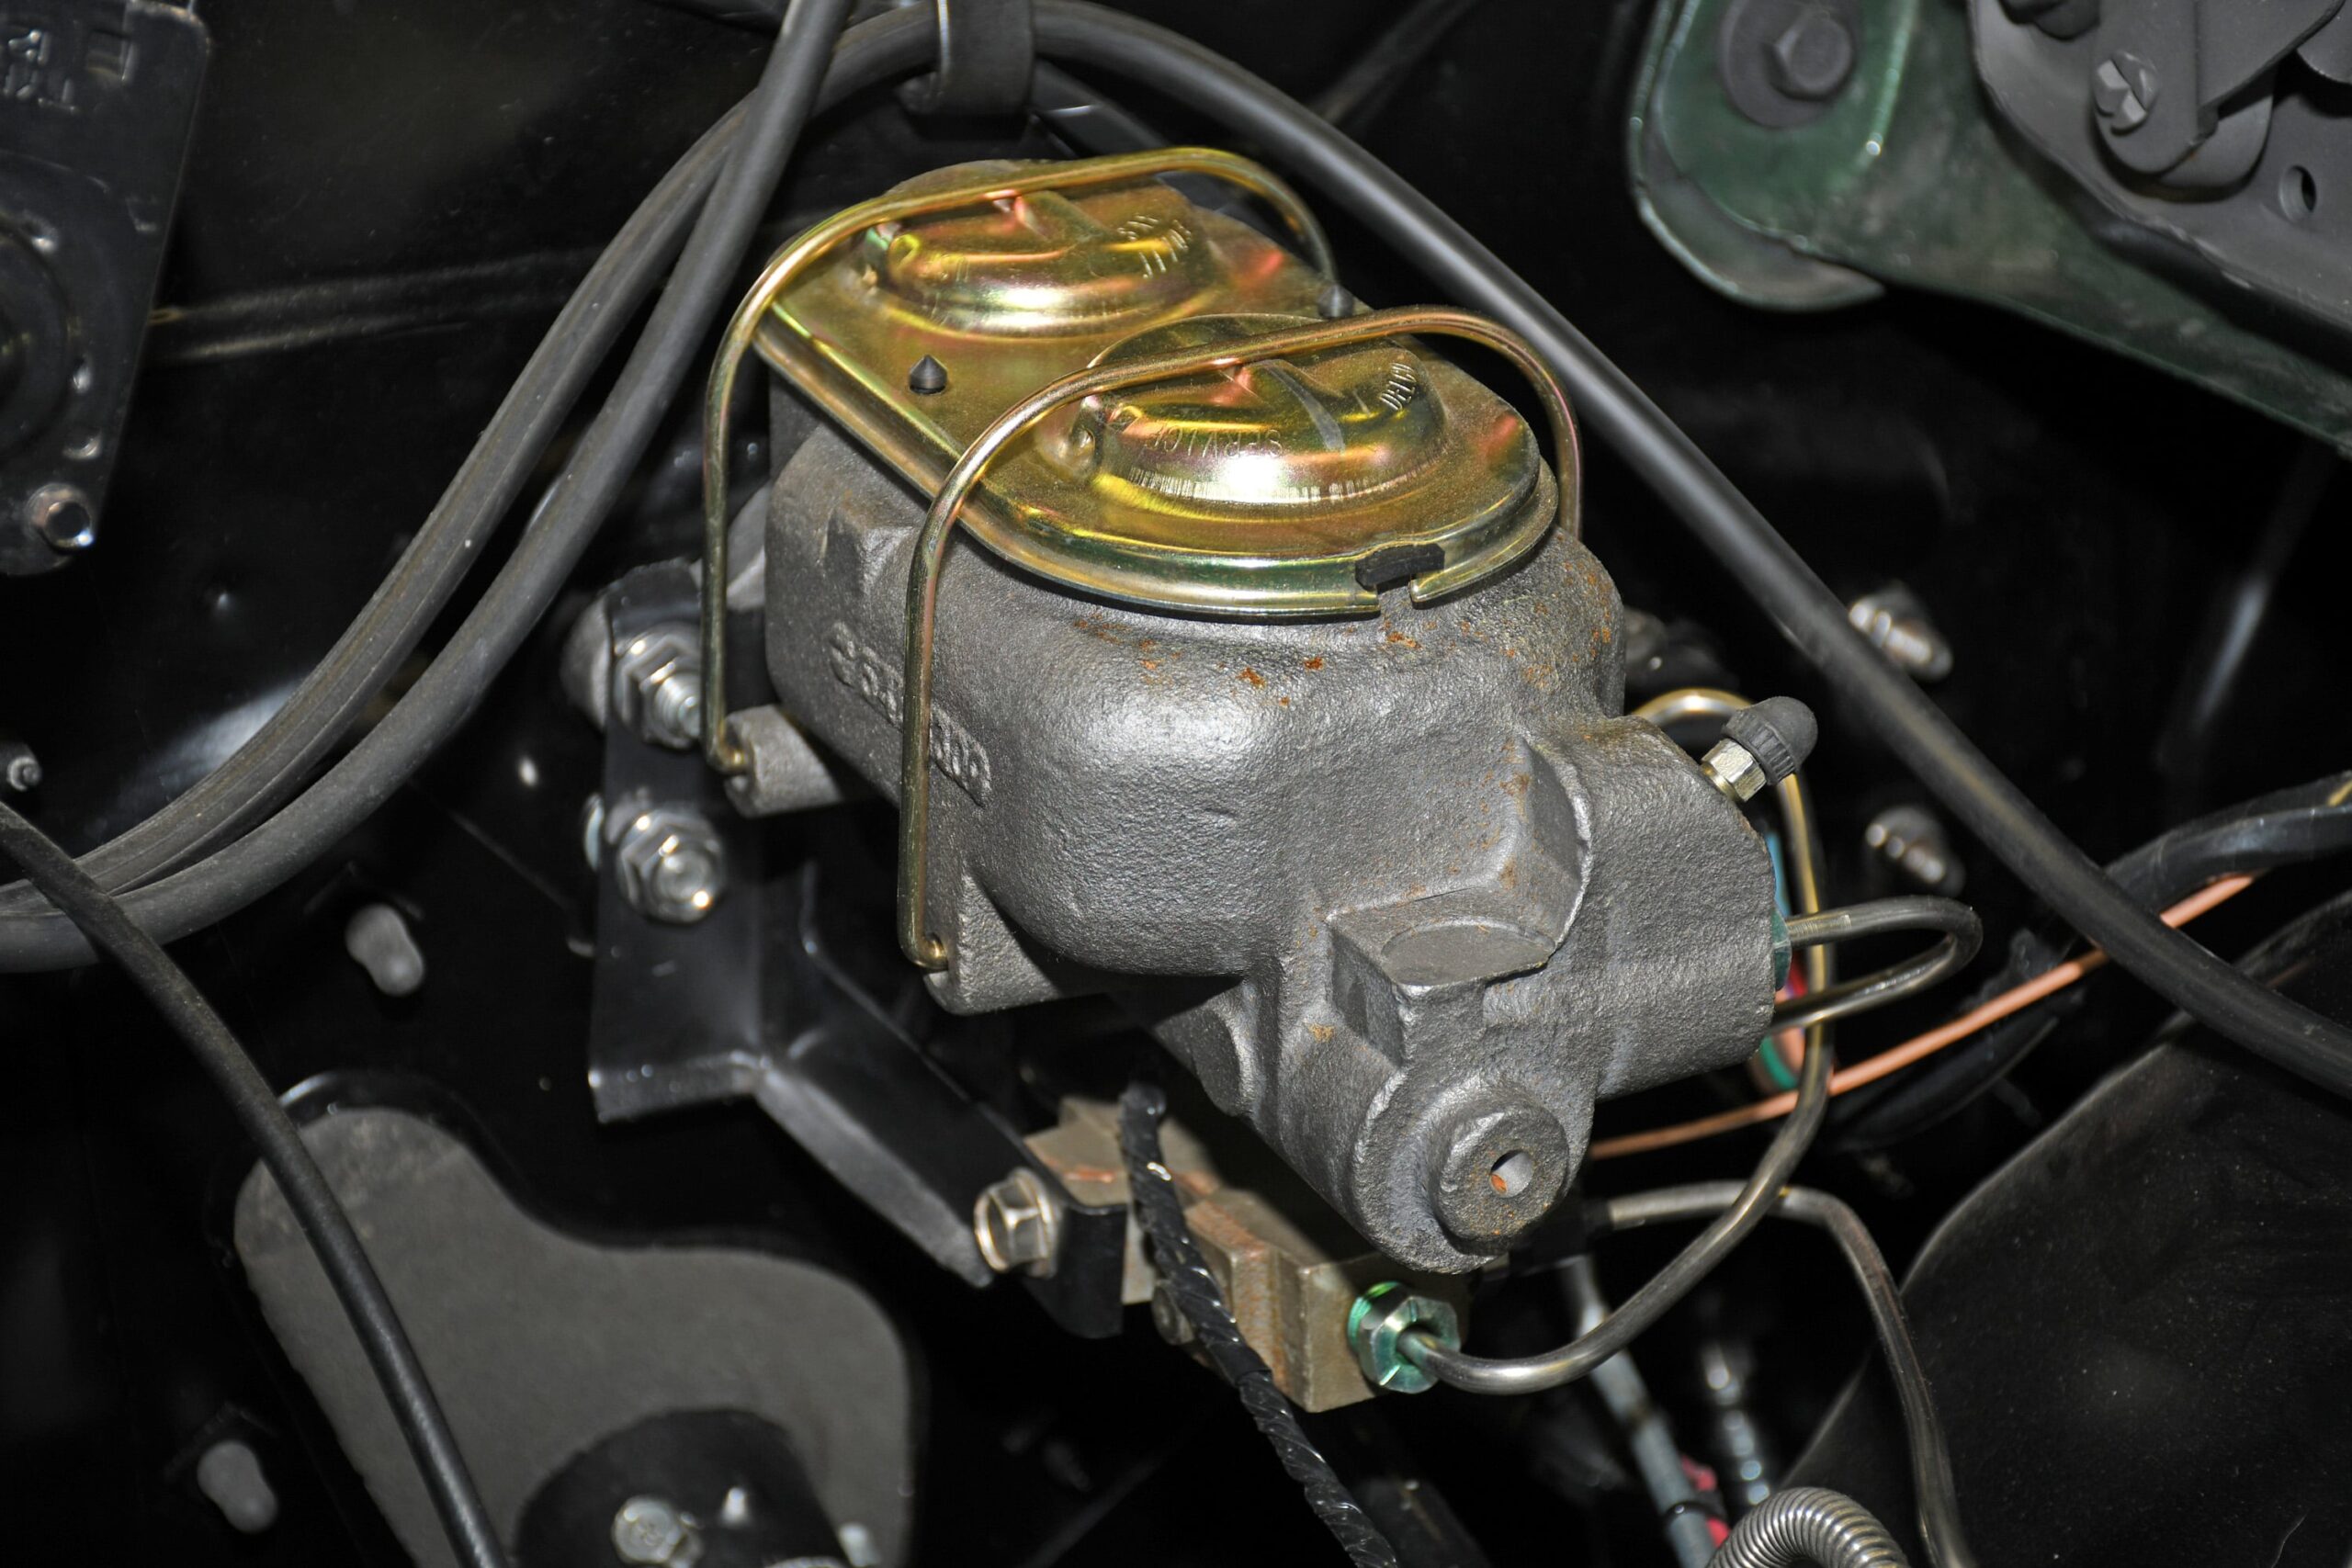
Prior to installing a new manual disc brake master cylinder, I painted the body with “cast blast” paint. In a proper restoration, the master should be lightly sprayed black (and allowed to rust). I don’t like that look, hence the combination here. And by the way, the master cylinder lid is gold zinc plated.
50 Engine Compartment Detailing Tips Part 3
I also painted the brake accumulator valve (below the master cylinder) with cast blast. The small brake lines here are stainless steel reproductions from the folks at Inline Tube.
50 Engine Compartment Detailing Tips Part 3
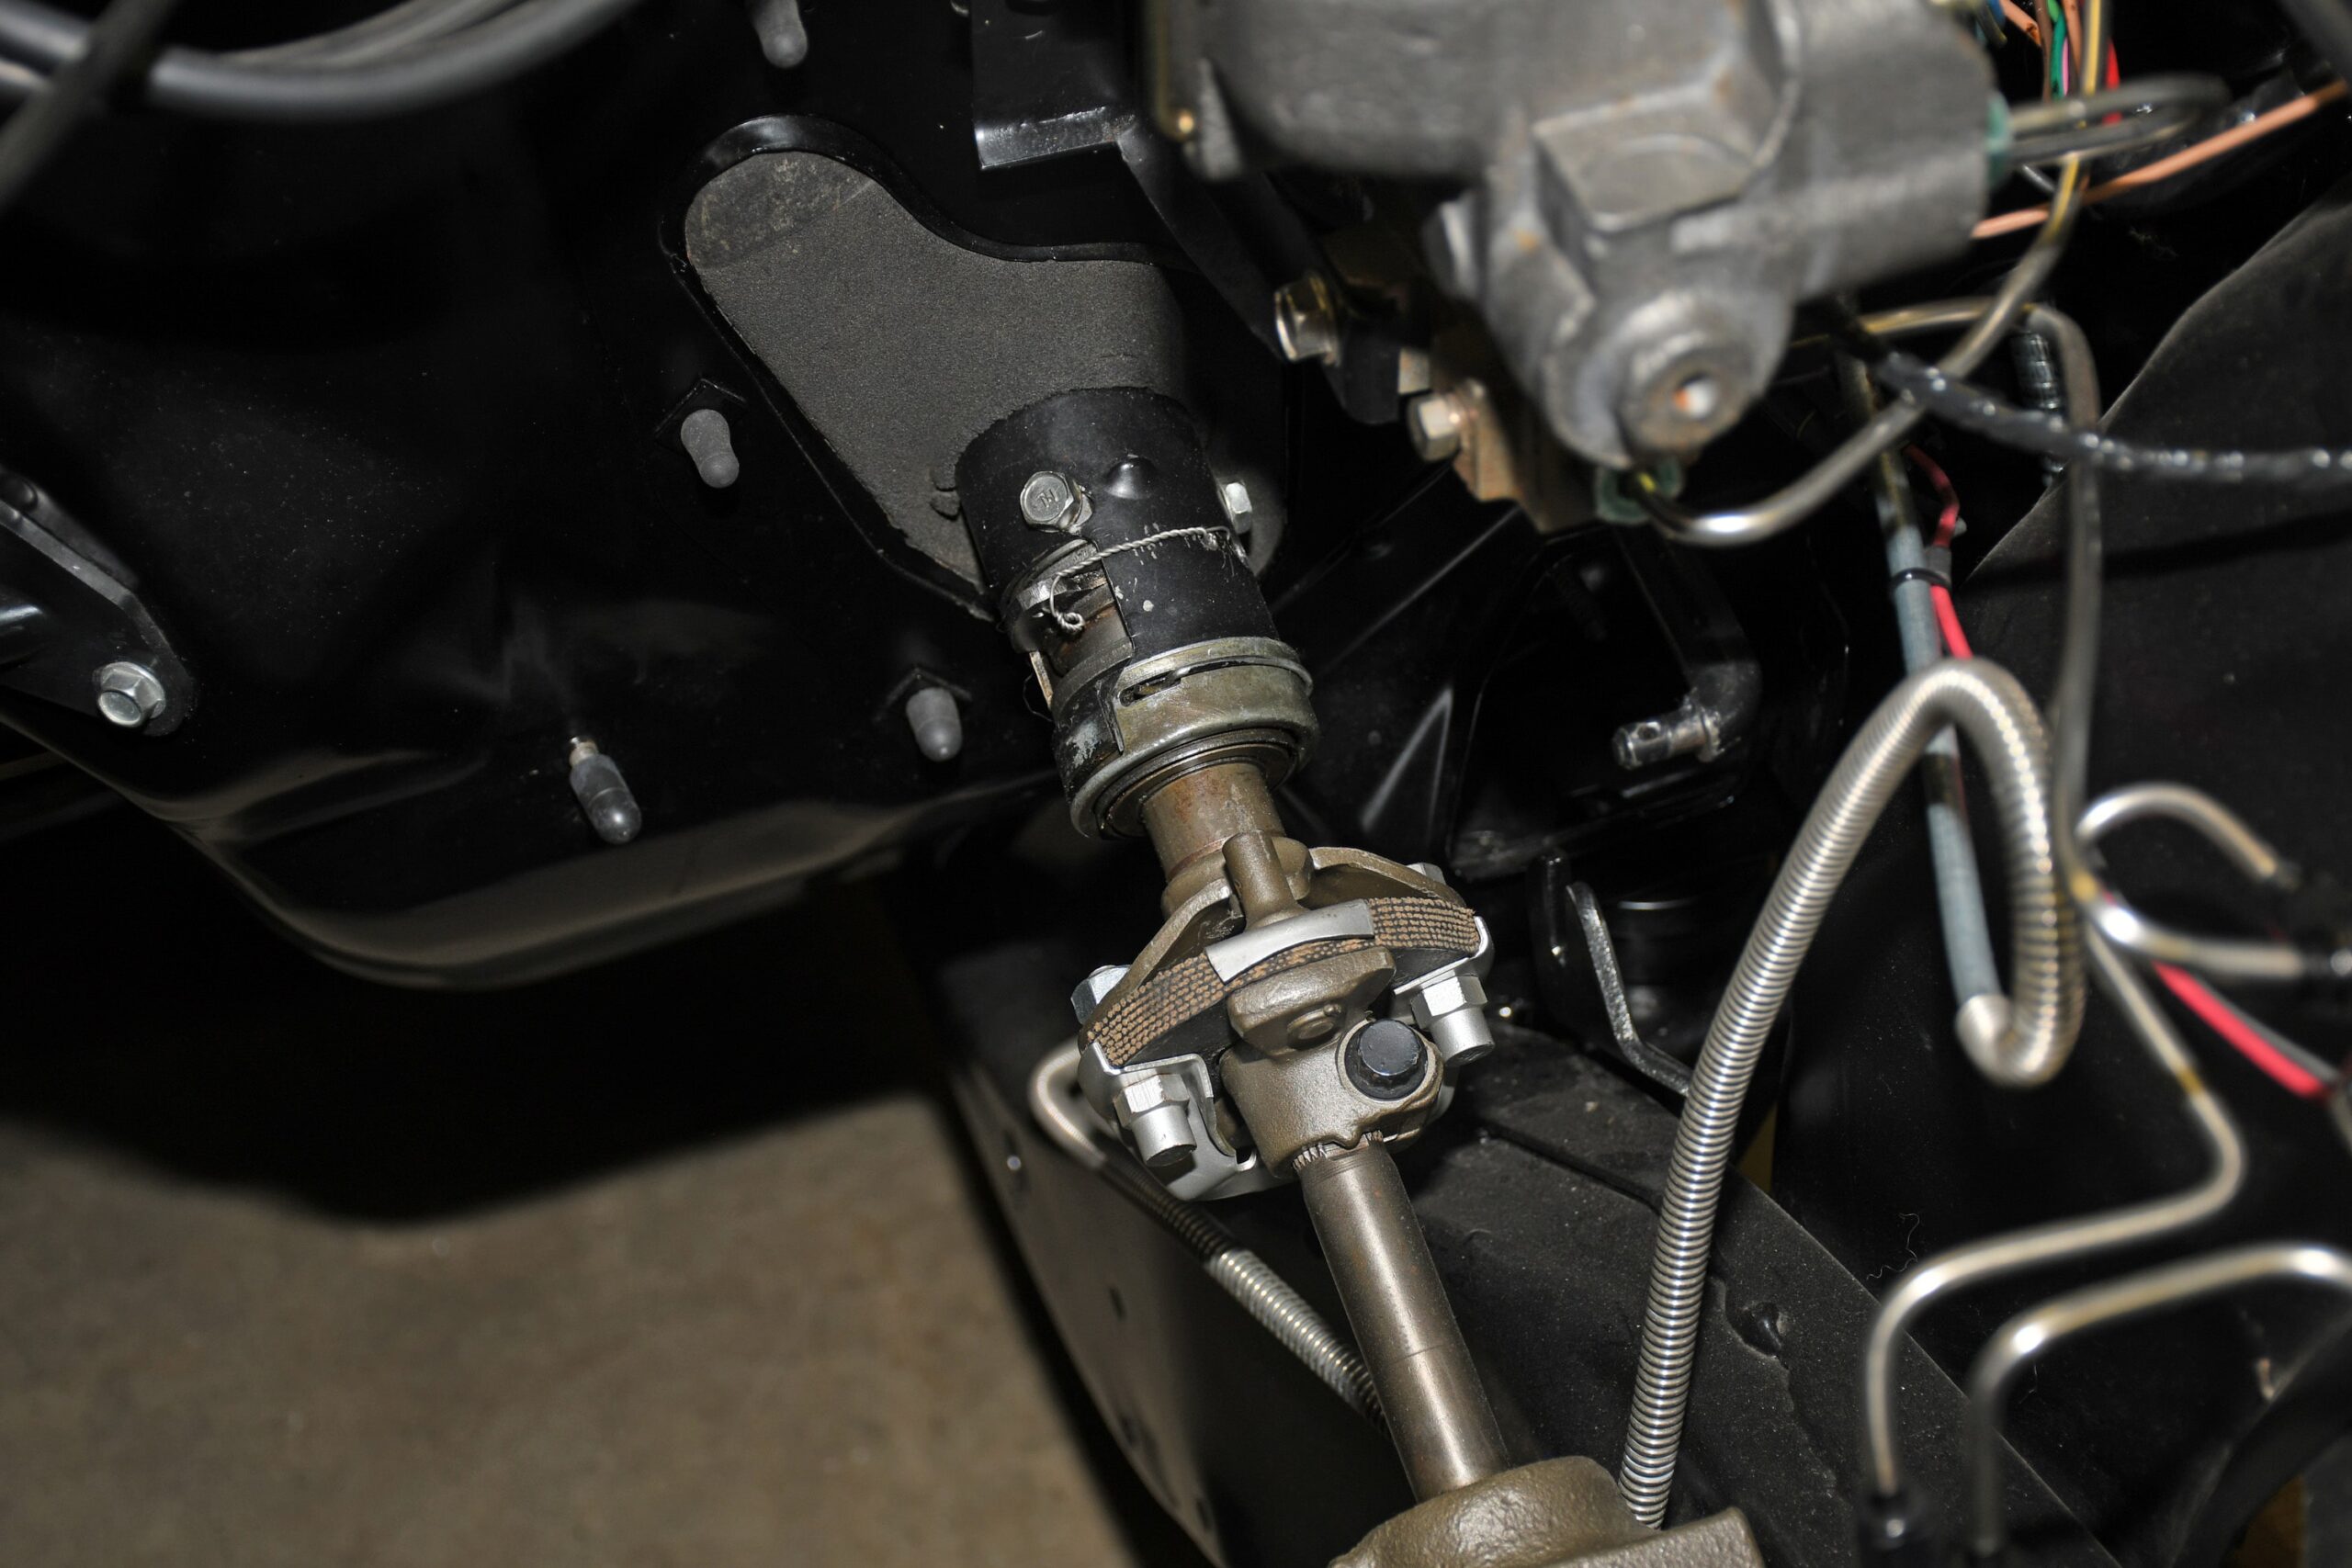
This Nova was originally a 3-on-the-tree car. It was also equipped with a back drive for the steering column lock. Setting the car up for a four speed meant removing a lot of pieces, so I pretty much “shaved” off all of the excess at the base of the steering column and then safety wired the remaining back drive mechanism to keep the column bowl from rotating.
50 Engine Compartment Detailing Tips Part 3
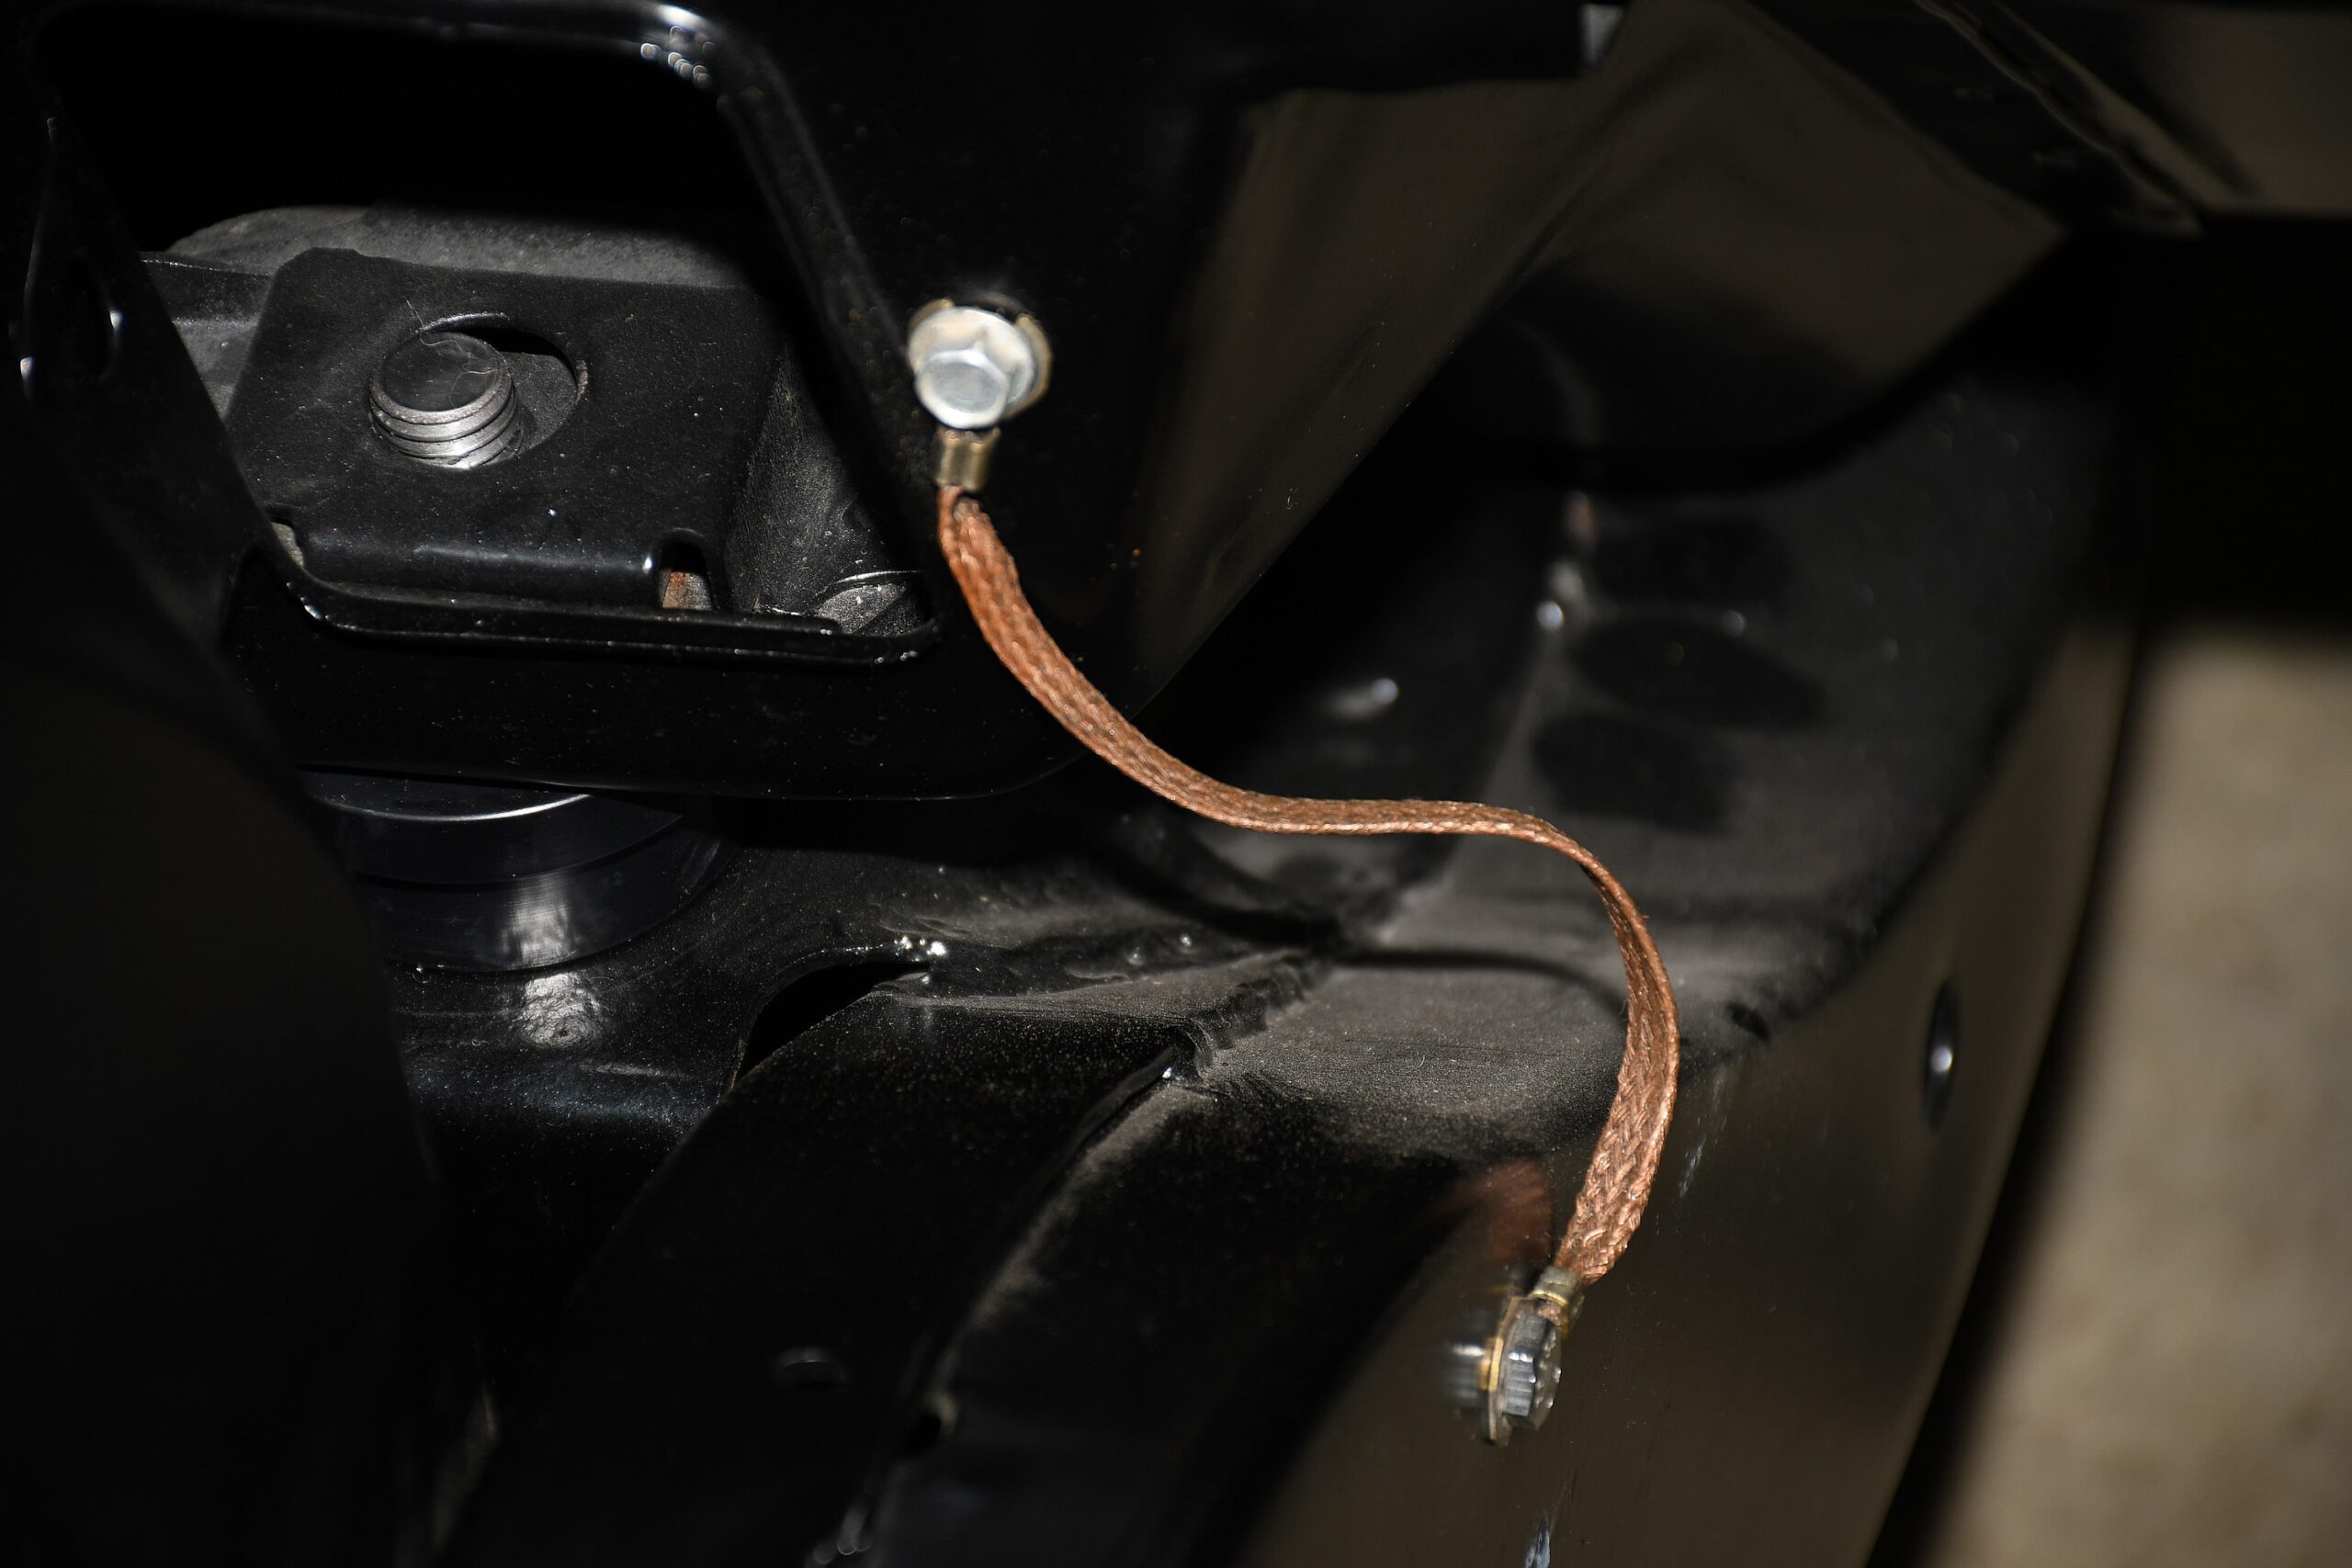
There are actually quite a few ground straps on a car – many of them are right here in the engine compartment. I replaced all of them with new examples from Classic Industries.
50 Engine Compartment Detailing Tips Part 3
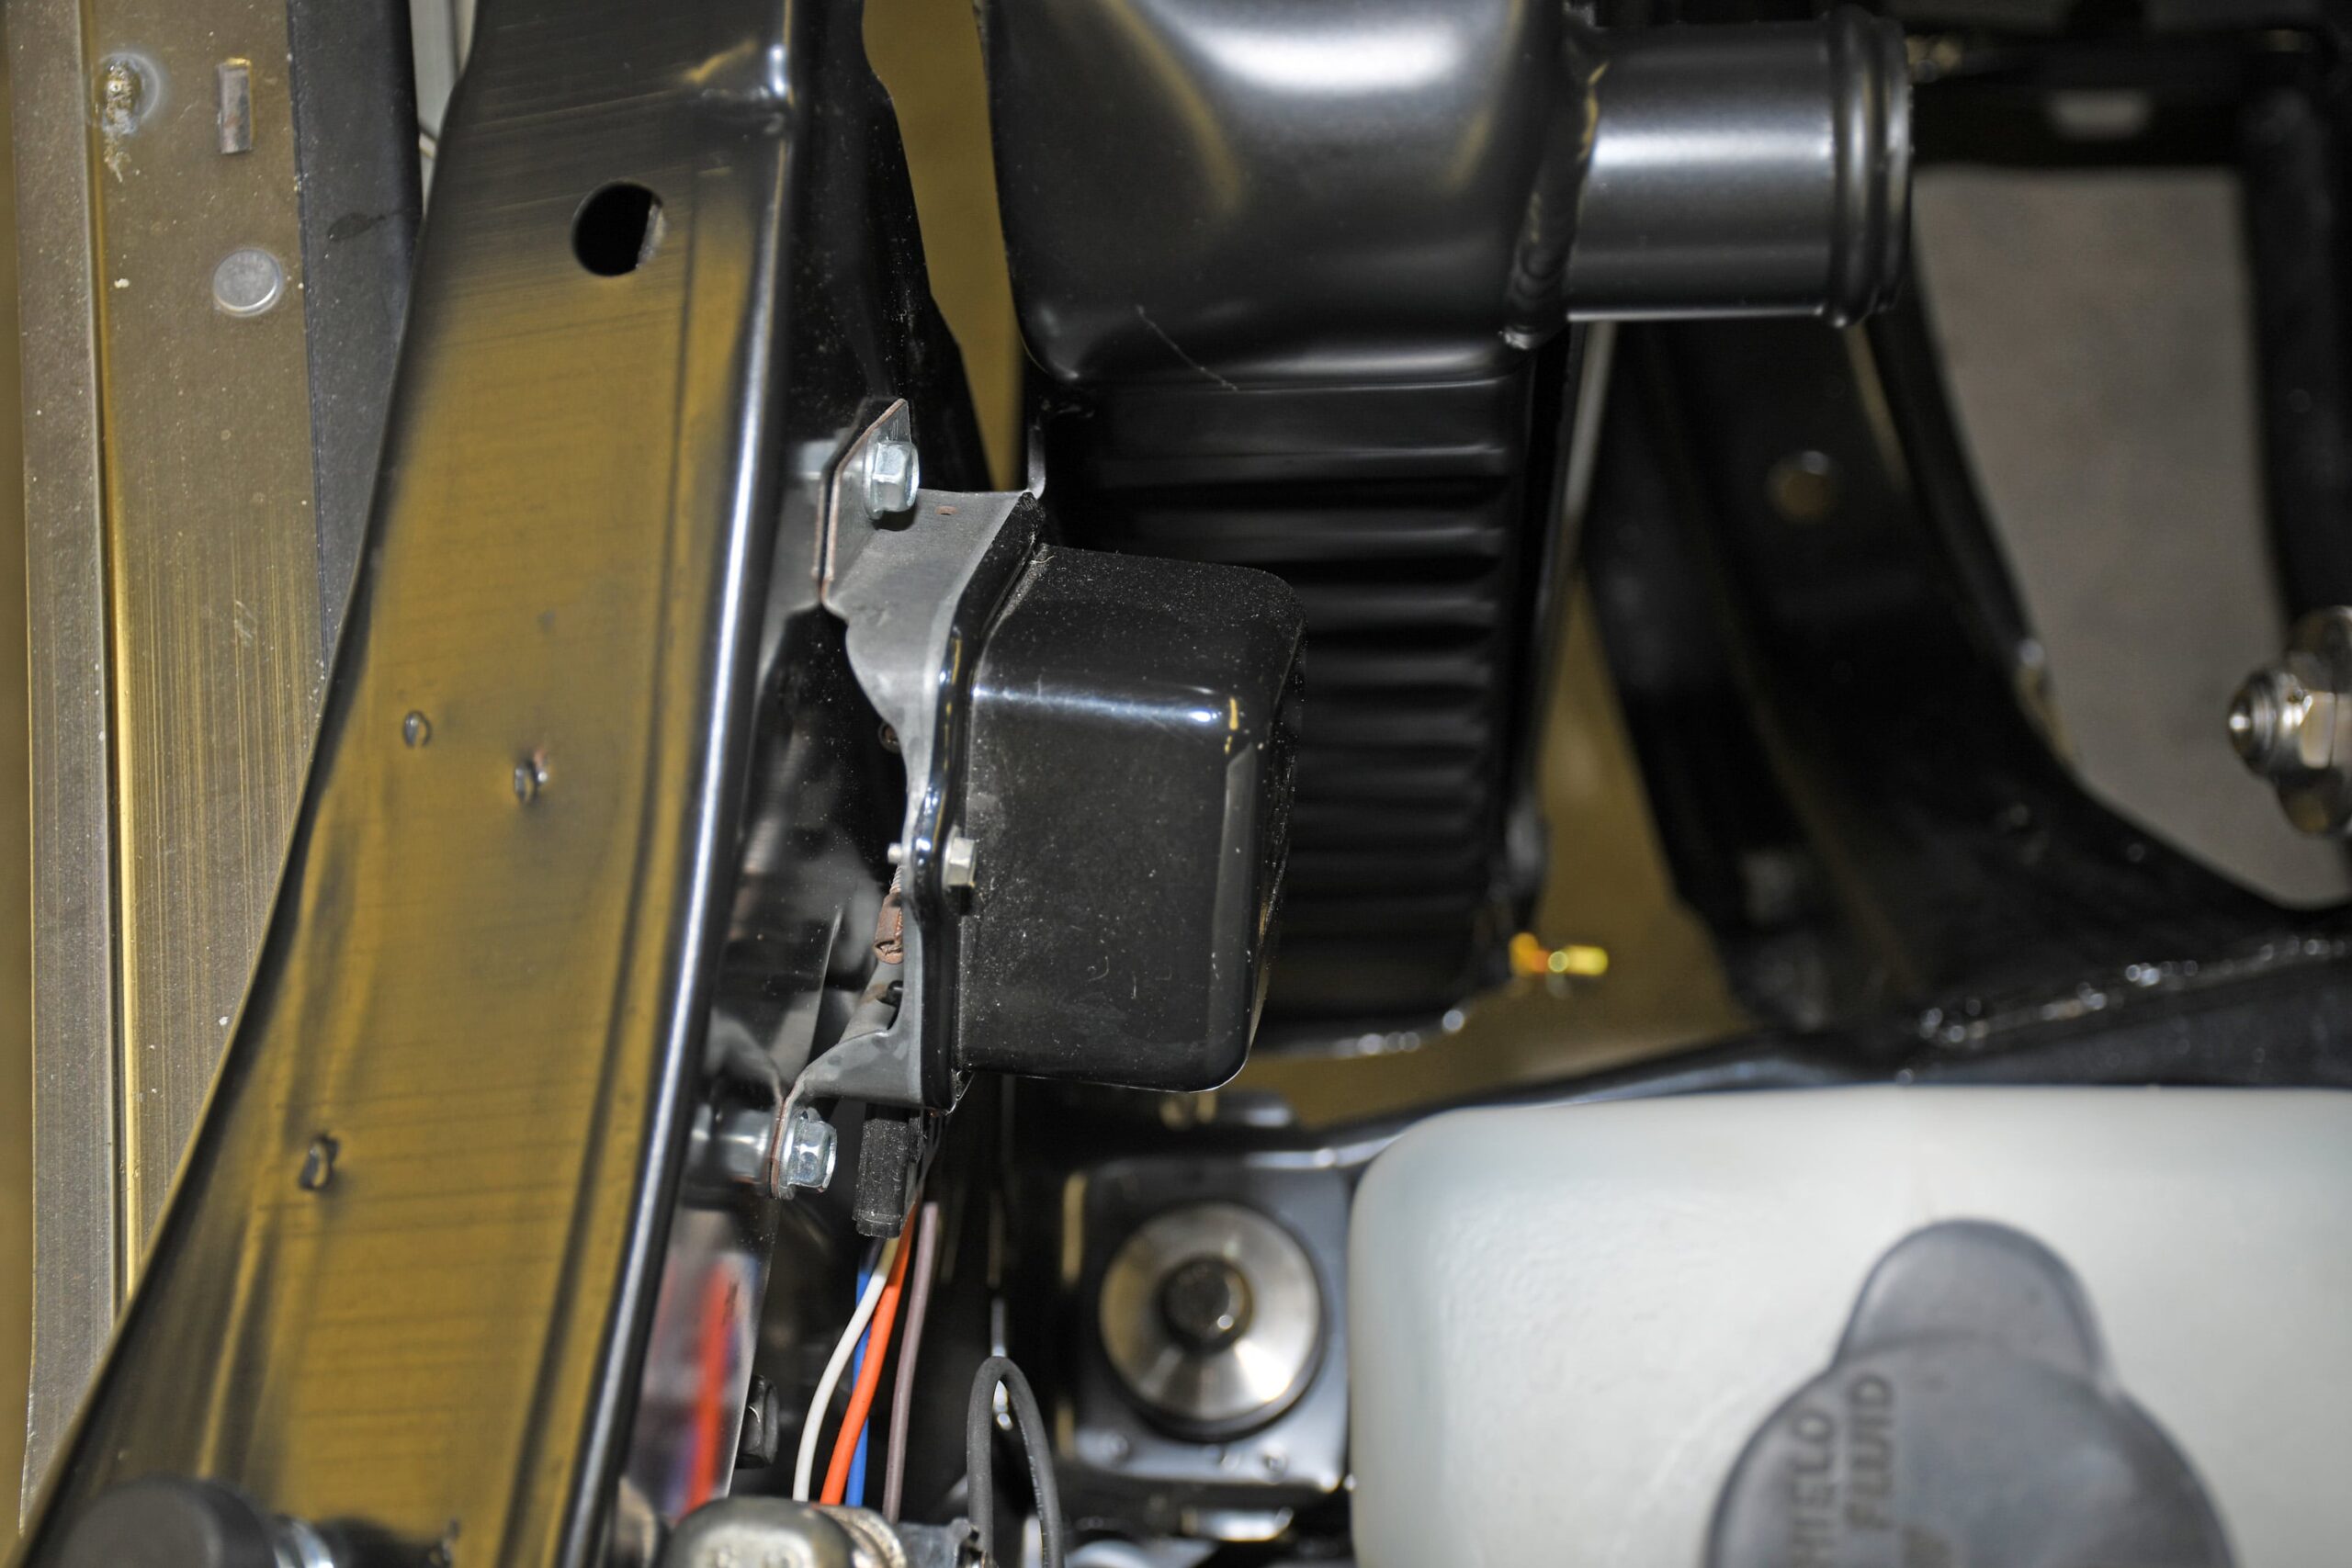
The body of the voltage regulator was cleaned and detailed. Meanwhile, I stripped and painted the cap gloss black.
50 Engine Compartment Detailing Tips Part 3
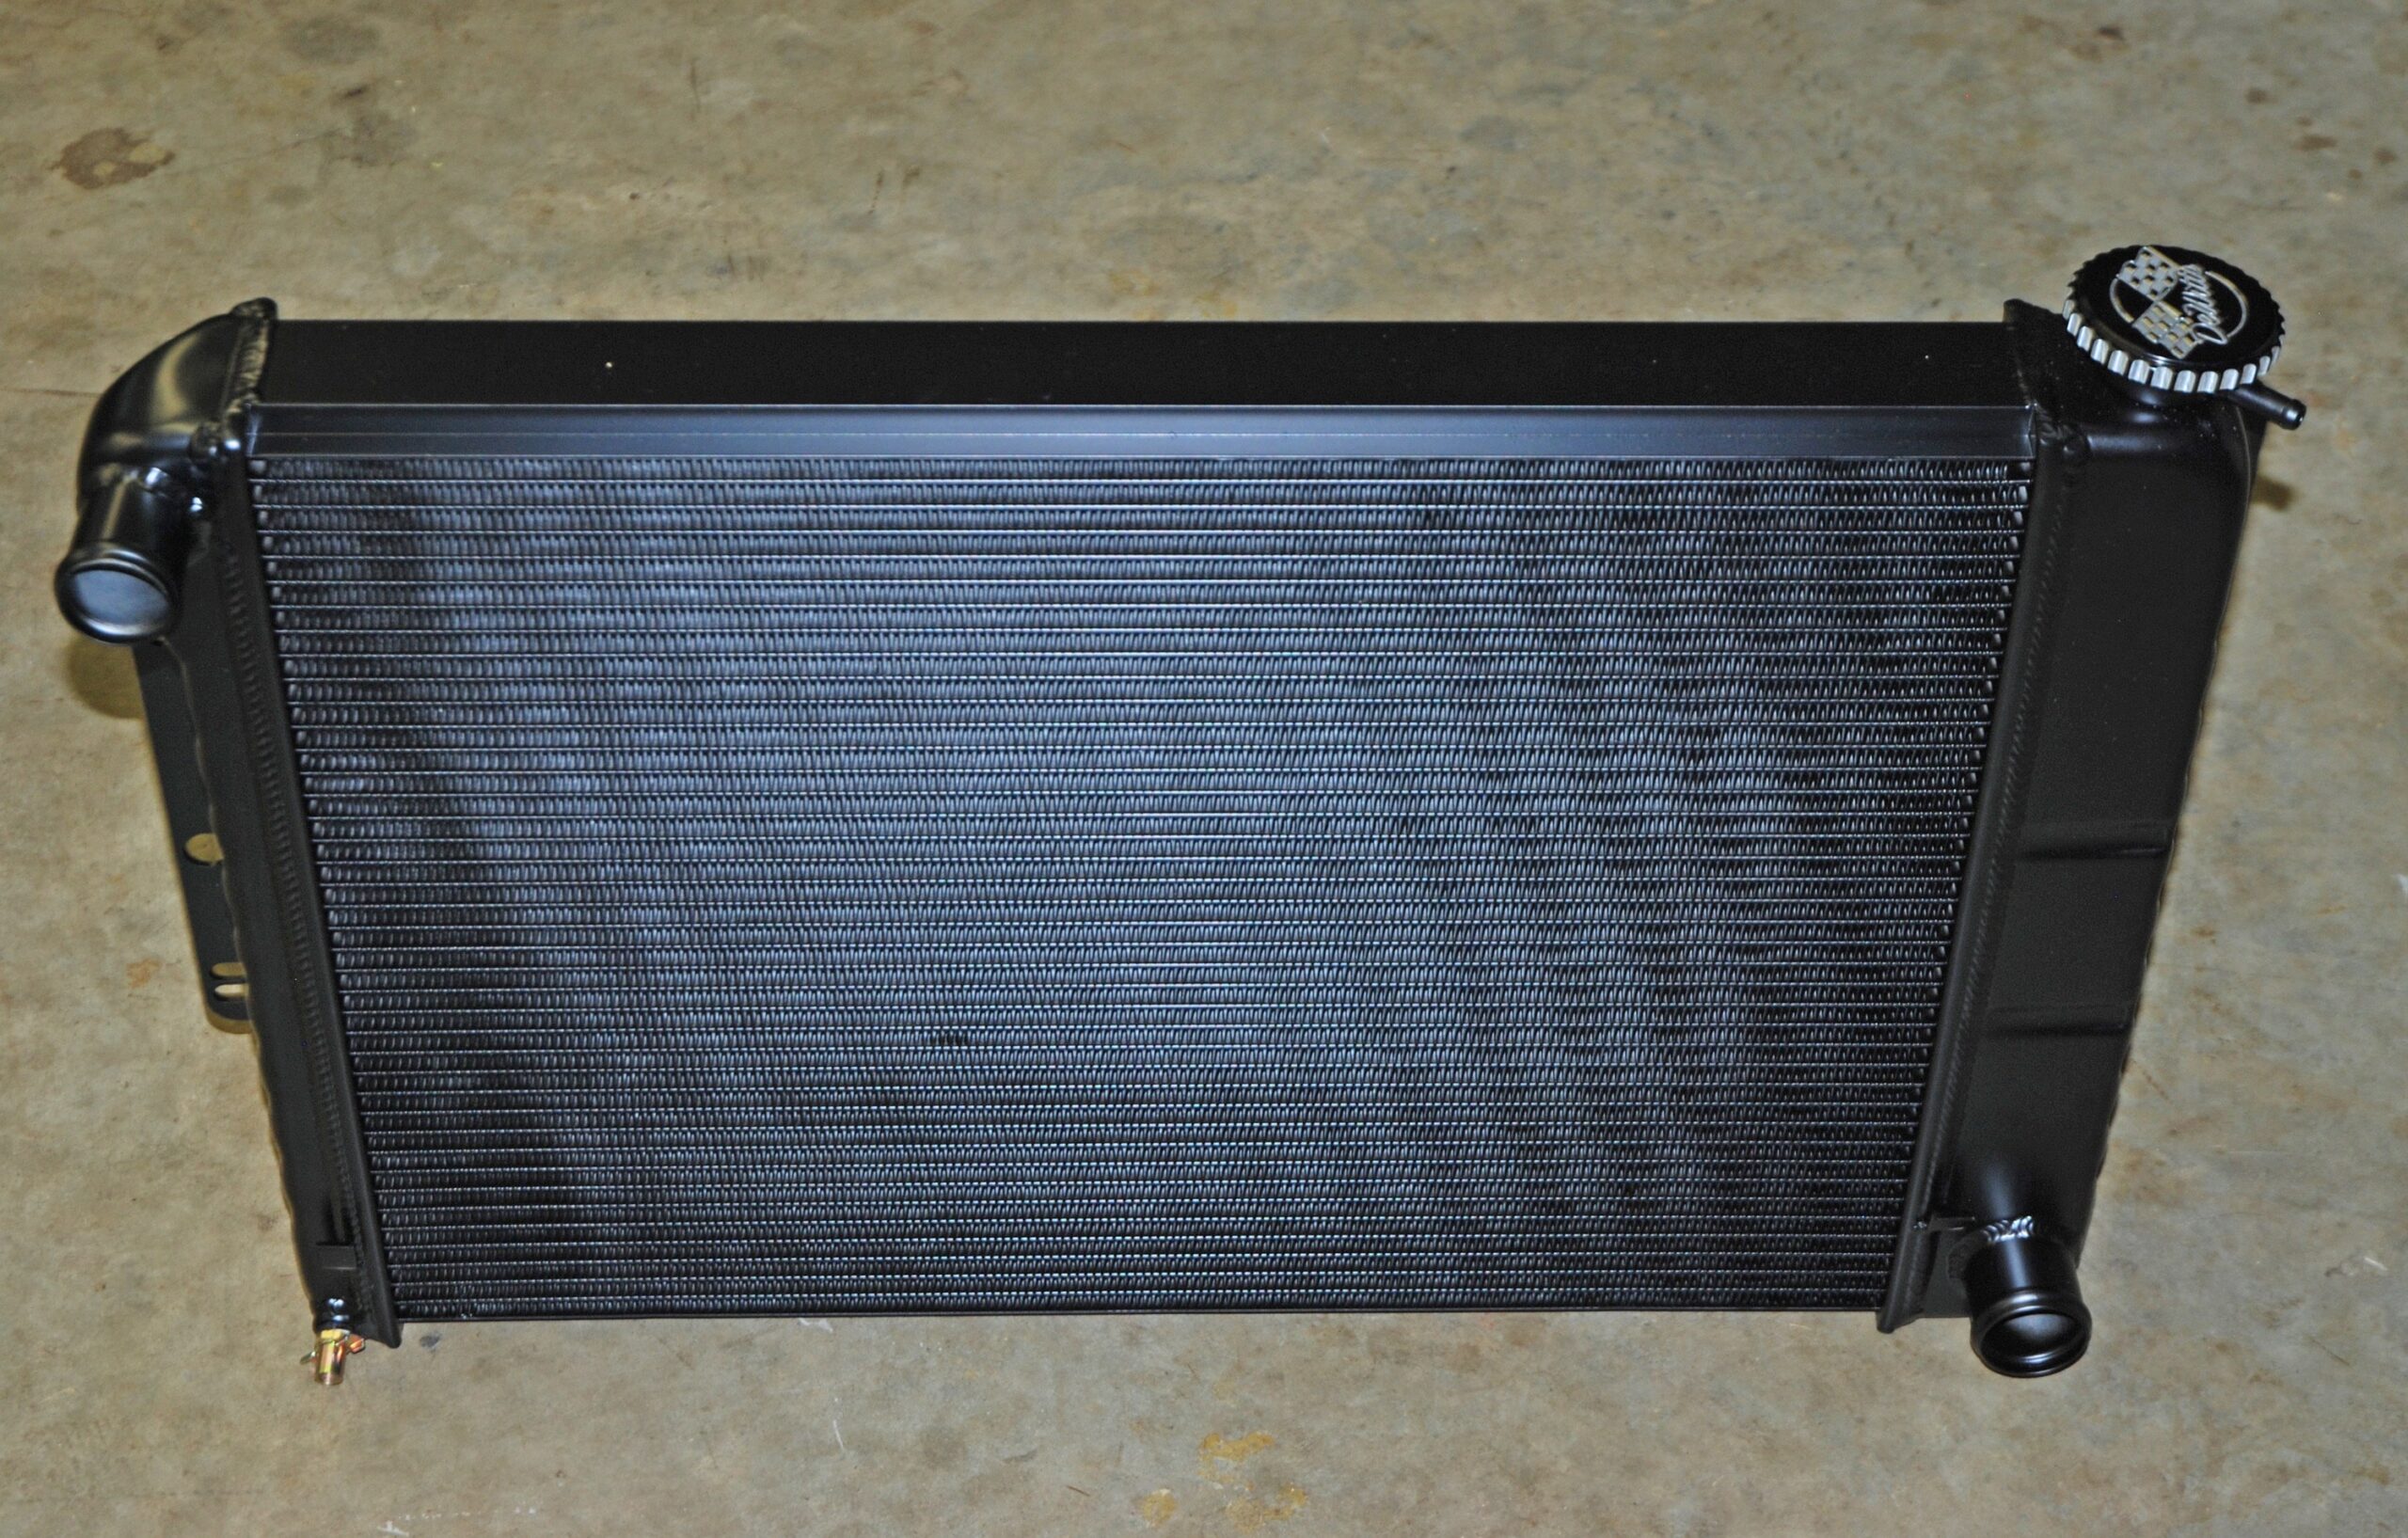
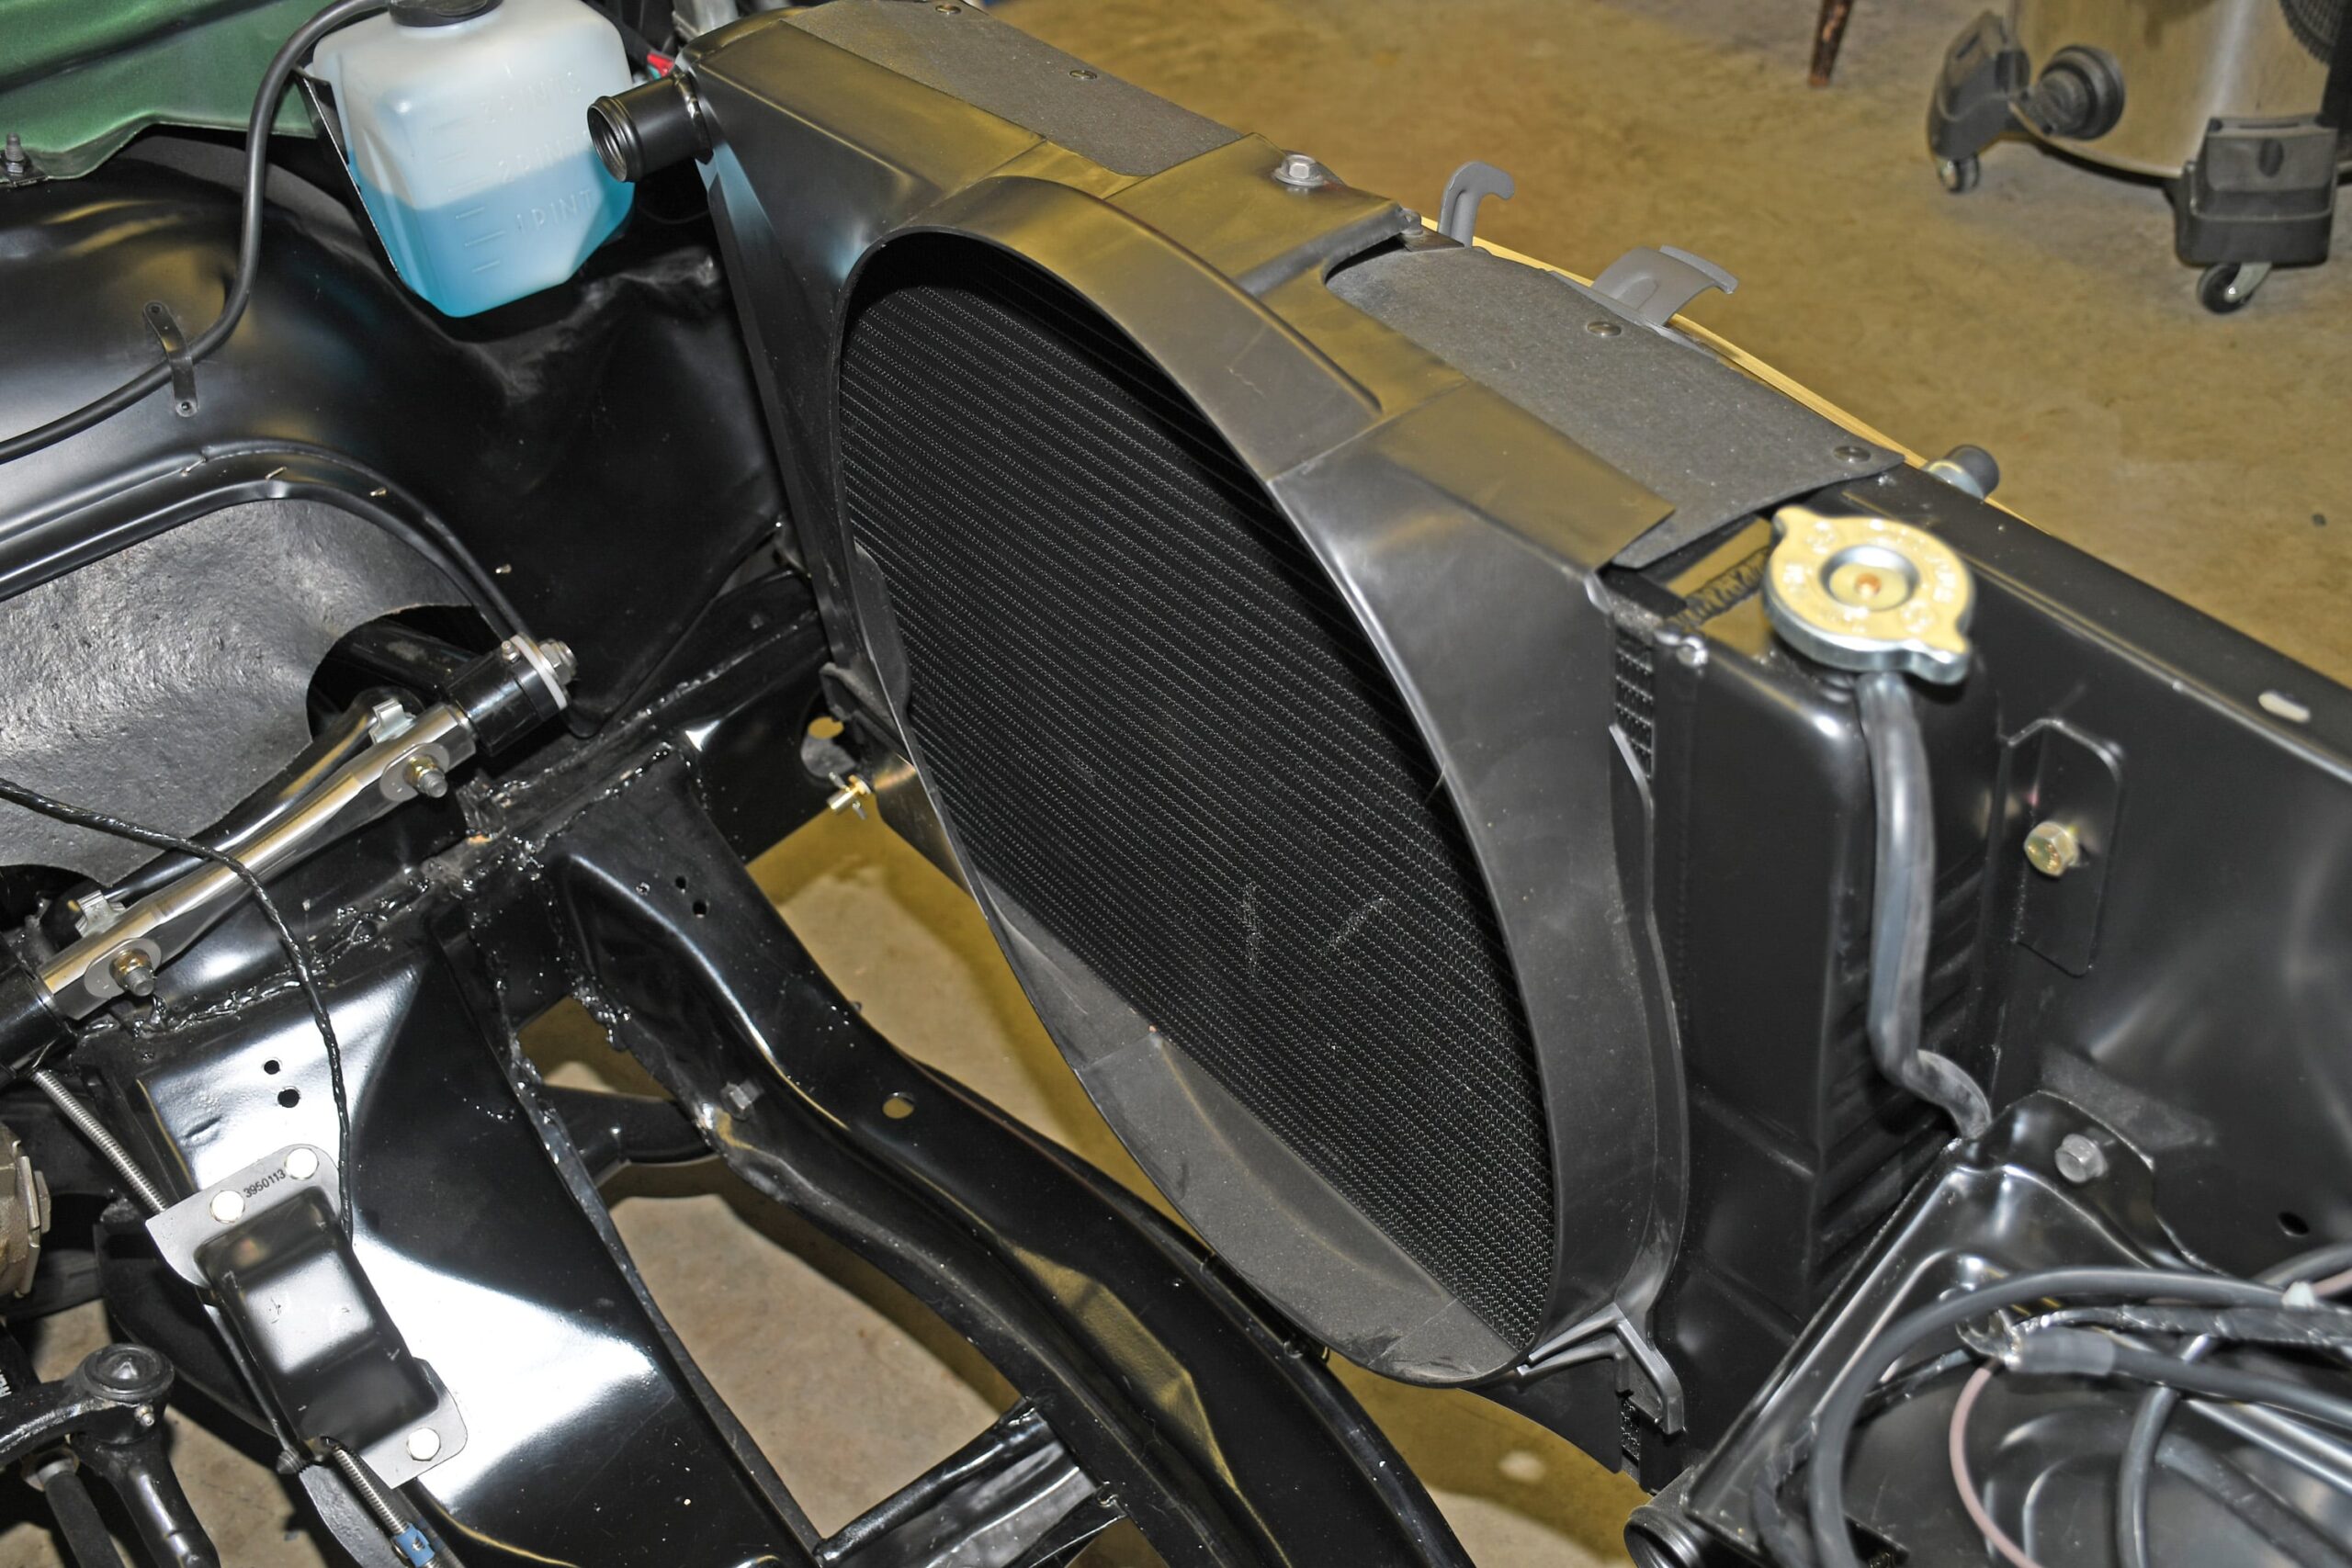
In this build I searched for a high quality, high capacity radiator that looked more or less stock. That’s where DeWitt’s Radiator entered the equation with one of their direct fit Black Ice rads. The fit is perfect and their aluminum radiator technology is over the top.
50 Engine Compartment Detailing Tips Part 3
From the beginning I decided the car should have a mechanical fan. As a result, I added a new reproduction fan shroud along with a reproduction top mount and two new well nut mounts (all of these parts came from Classic Industries). I used AN fasteners for the other two mount locations.


![[Gallery] Okolona Street Rods Kentuckiana V Foundation Car Show](https://www.racingjunk.com/news/wp-content/uploads/2022/04/IMG_0774-e1650040587750-376x206.jpg)
![[Gallery] Road Rats Car Show](https://www.racingjunk.com/news/wp-content/uploads/2022/05/2A-e1651770667920-376x206.jpg)

Excellent article series that also serves as a great checklist for those of us in the process on our own projects!