

![[Gallery] Okolona Street Rods Kentuckiana V Foundation Car Show](https://www.racingjunk.com/news/wp-content/uploads/2022/04/IMG_0774-e1650040587750-376x206.jpg)
![[Gallery] Road Rats Car Show](https://www.racingjunk.com/news/wp-content/uploads/2022/05/2A-e1651770667920-376x206.jpg)

Brakes 101: What You Need to Know, Part 4
Click Here to Begin Slideshow
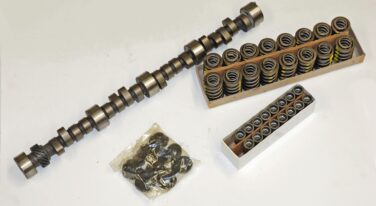
Here’s our final look “at the braking point!” As you’ve no doubt noticed, we’ve shared a dozen or more tips with each week's segment. This time around we’ll wrap our series up with another dozen tips and two bonus tips. They’re all important, and they’re all practical. Check them out. We’re certain you can use them.
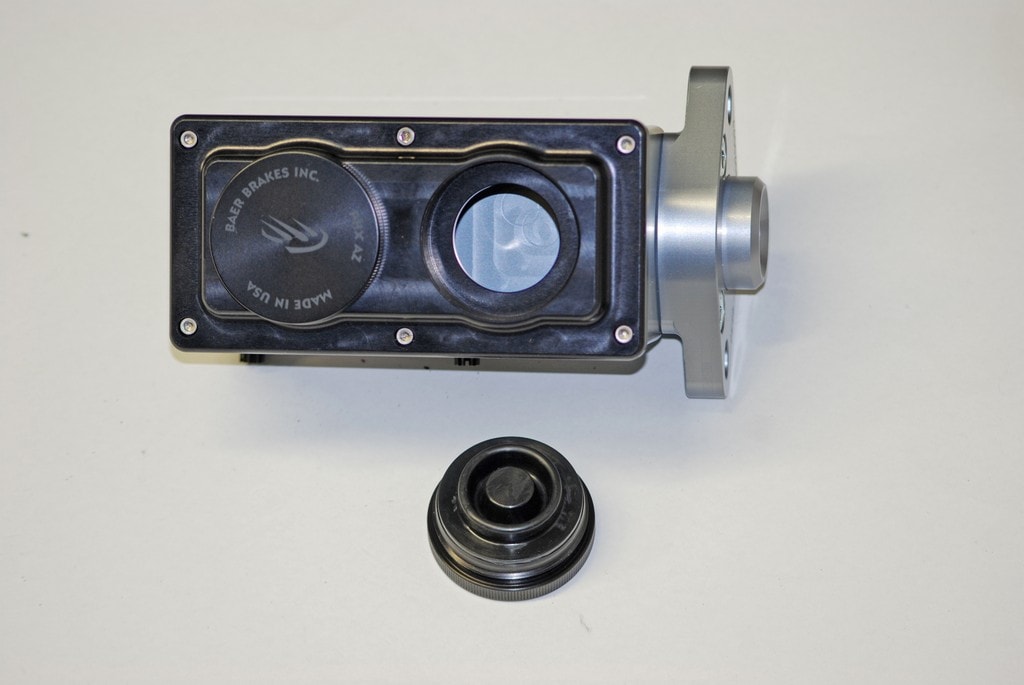
Tip 37 – PARKING PROBLEMS: If you have a car parked in storage, and the plan is to keep it there for a long period of time, pump the brake pedal occasionally to keep all cylinders (master and wheel) lubricated. This ensures the respective rubber cups don’t become unsealed from cylinder walls.
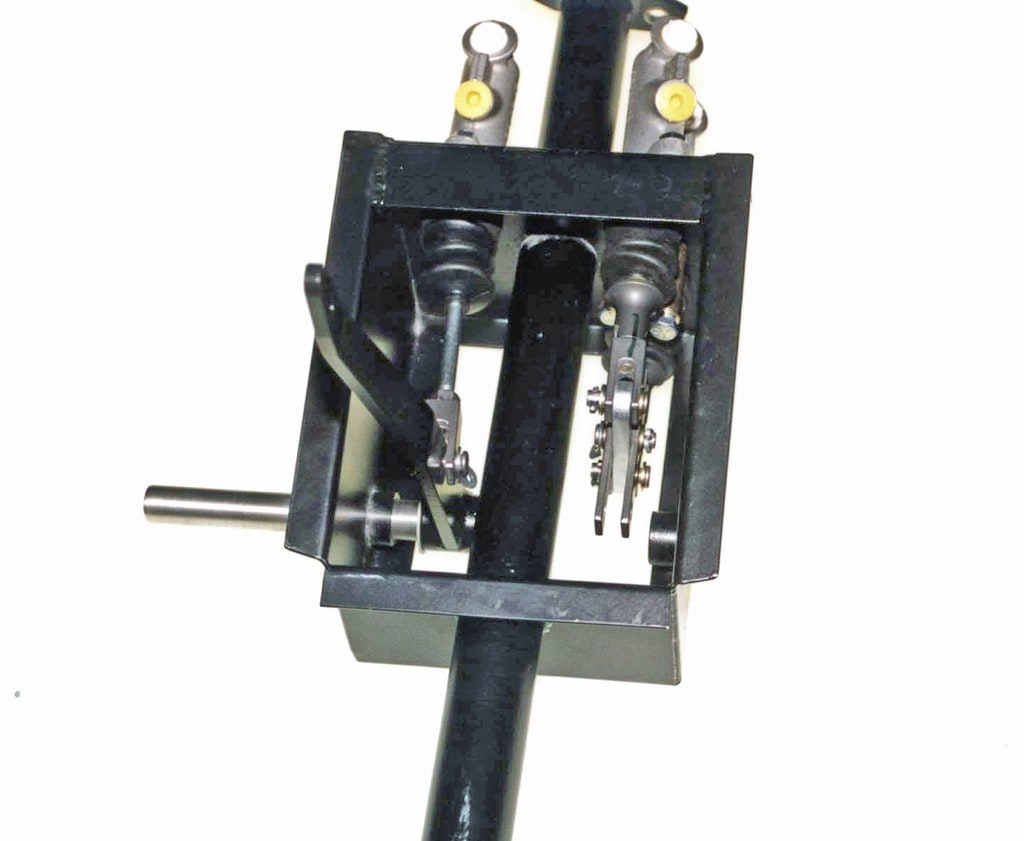
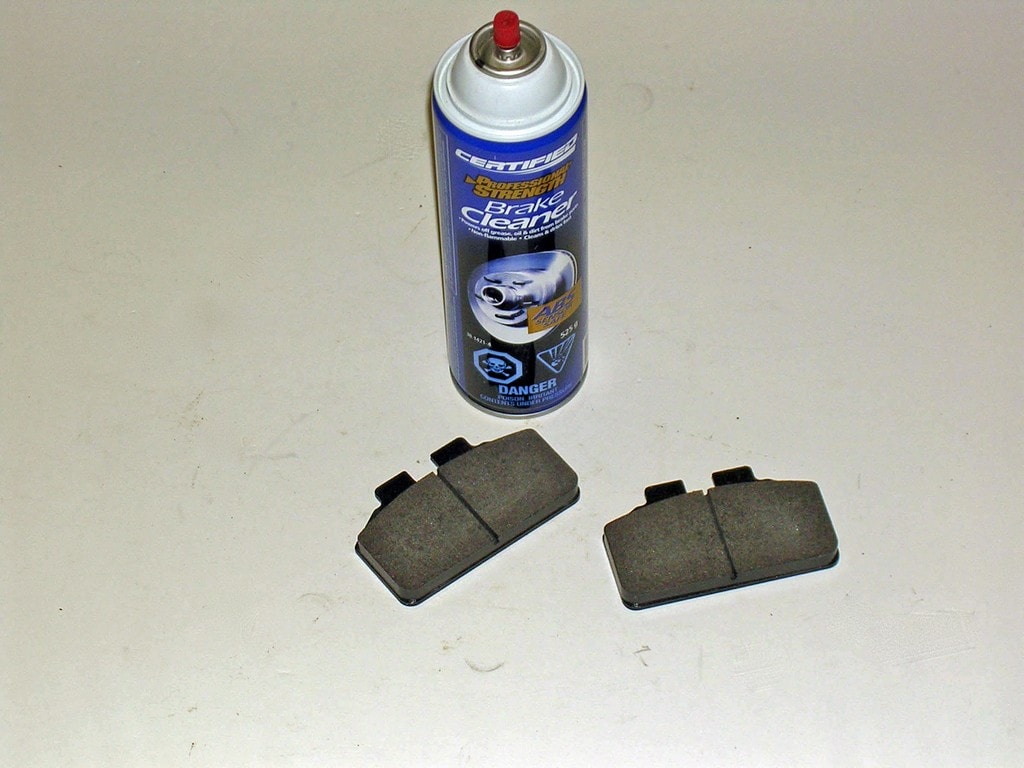
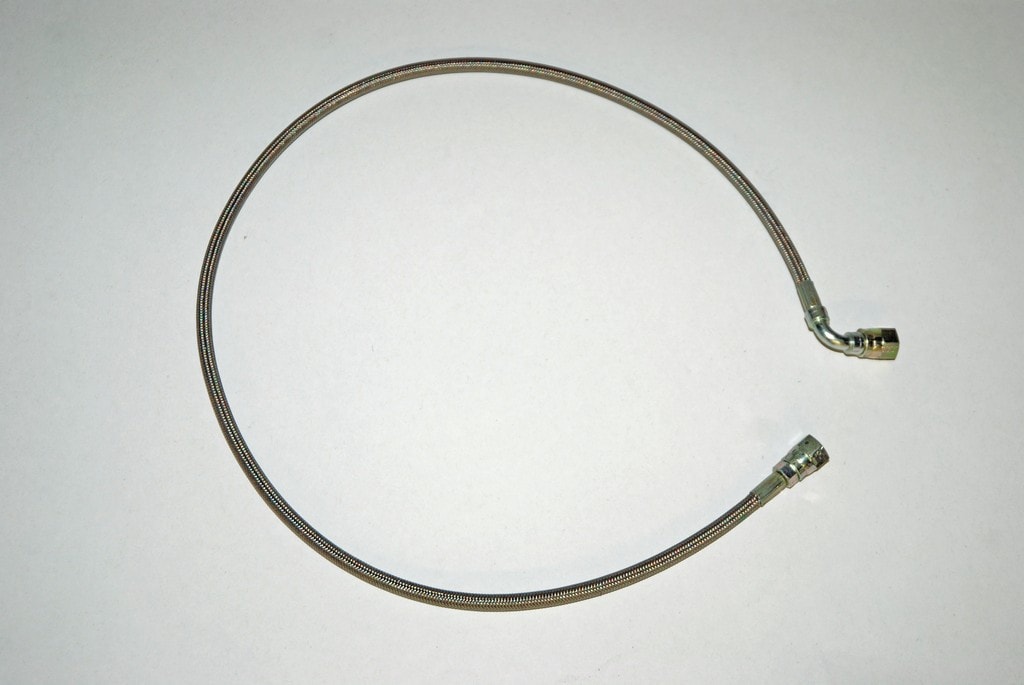
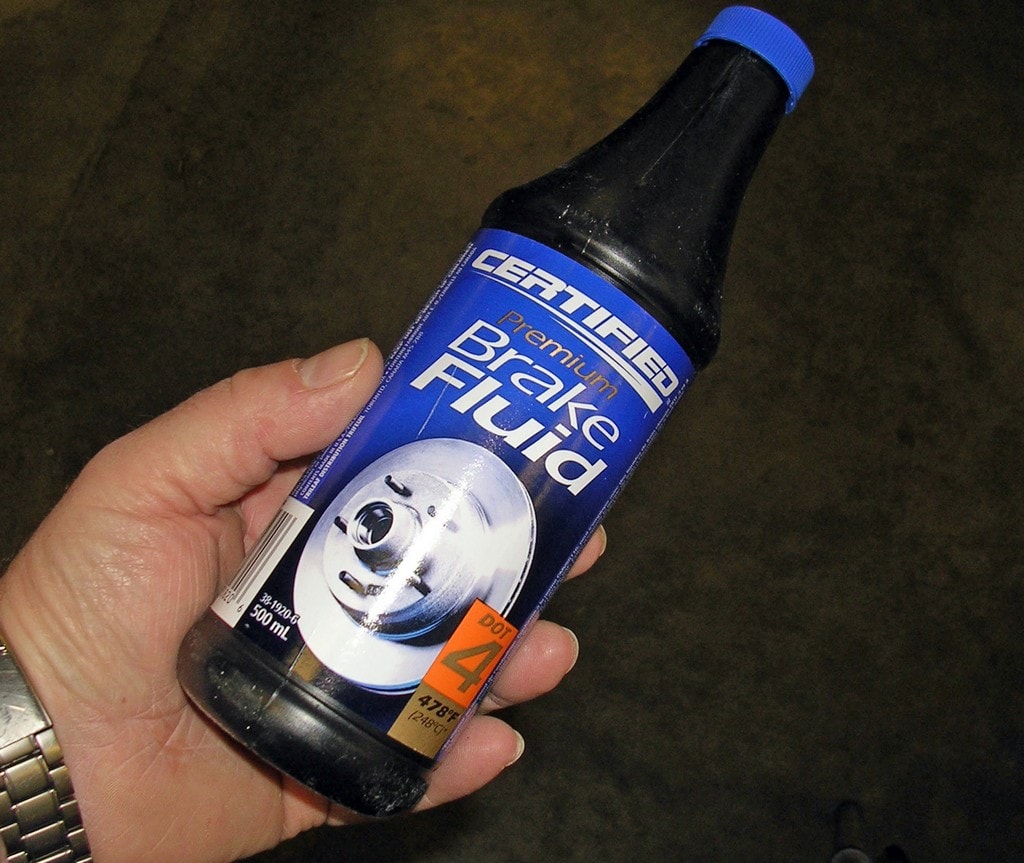
Tip 38 – THREAD LUBE: Never use anything to lubricate the threads on fasteners or bolts exposed to brake hydraulics except brake fluid (the only exception here might be bleeder screws). You can use anti-seize or other lubes on external brake parts (for example, drum brake adjusters). If you use anything other than brake fluid on fasteners that come in touch with brake hydraulics, you run the risk of contaminating the fluid. Then you’ll have nothing but trouble.
Here’s our final look “at the braking point!” As you’ve no doubt noticed, we’ve shared a dozen or more tips with each week's segment. This time around we’ll wrap our series up with another dozen tips and two bonus tips. They’re all important, and they’re all practical. Check them out. We’re certain you can use them.
Tip 37 – PARKING PROBLEMS: If you have a car parked in storage, and the plan is to keep it there for a long period of time, pump the brake pedal occasionally to keep all cylinders (master and wheel) lubricated. This ensures the respective rubber cups don’t become unsealed from cylinder walls.
Tip 38 – THREAD LUBE: Never use anything to lubricate the threads on fasteners or bolts exposed to brake hydraulics except brake fluid (the only exception here might be bleeder screws). You can use anti-seize or other lubes on external brake parts (for example, drum brake adjusters). If you use anything other than brake fluid on fasteners that come in touch with brake hydraulics, you run the risk of contaminating the fluid. Then you’ll have nothing but trouble.
Leave a Reply