


Many times, all an engine needs to pump up its power output is a new carb and intake. Many older engines, especially those from the late 50s and through the 60s, were already fairly potent in the lower end. They were just anemic in the carburetor and intake, seriously limiting their ability to make power. Take off that toy single- or double-barrel carburetor and stick a nice big four-barrel double-pumper on it and you’re already making at least 50-60 HP more than stock. Put on a new intake that lets the engine breathe better, and you could be making up to 100 HP more, if you choose the right carb and intake combination.

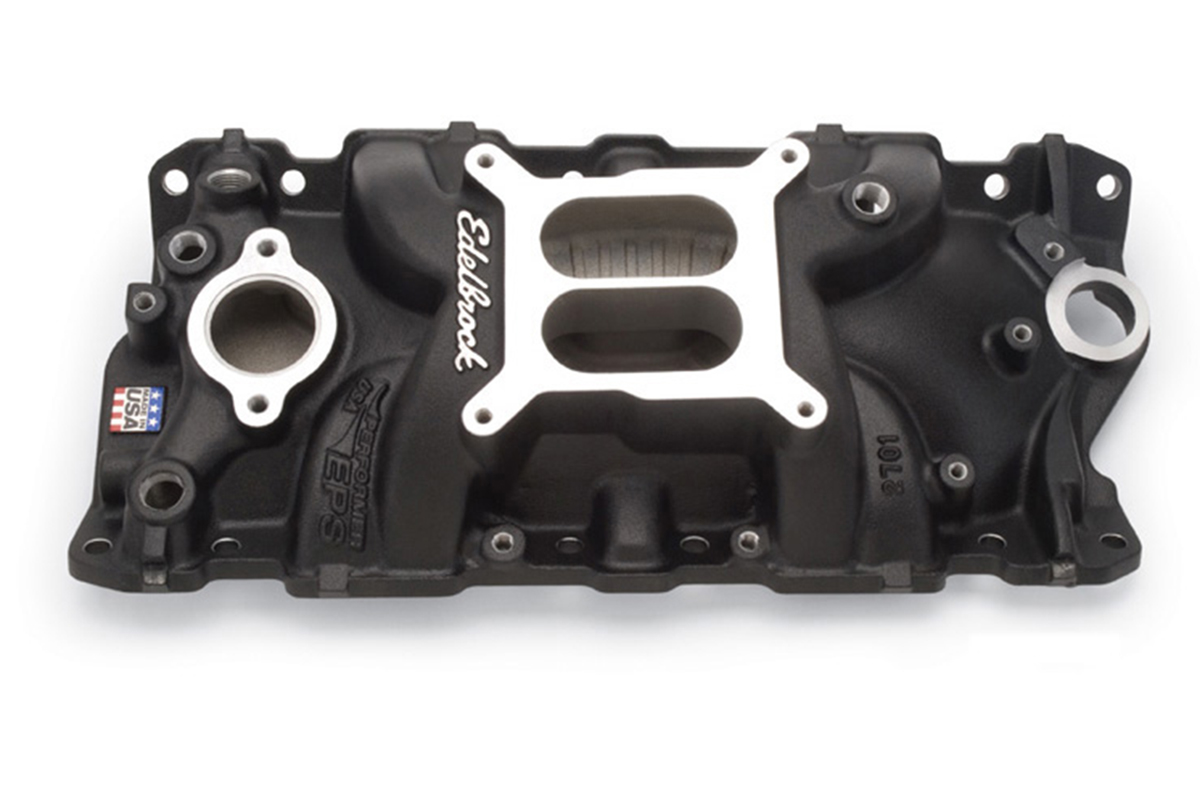
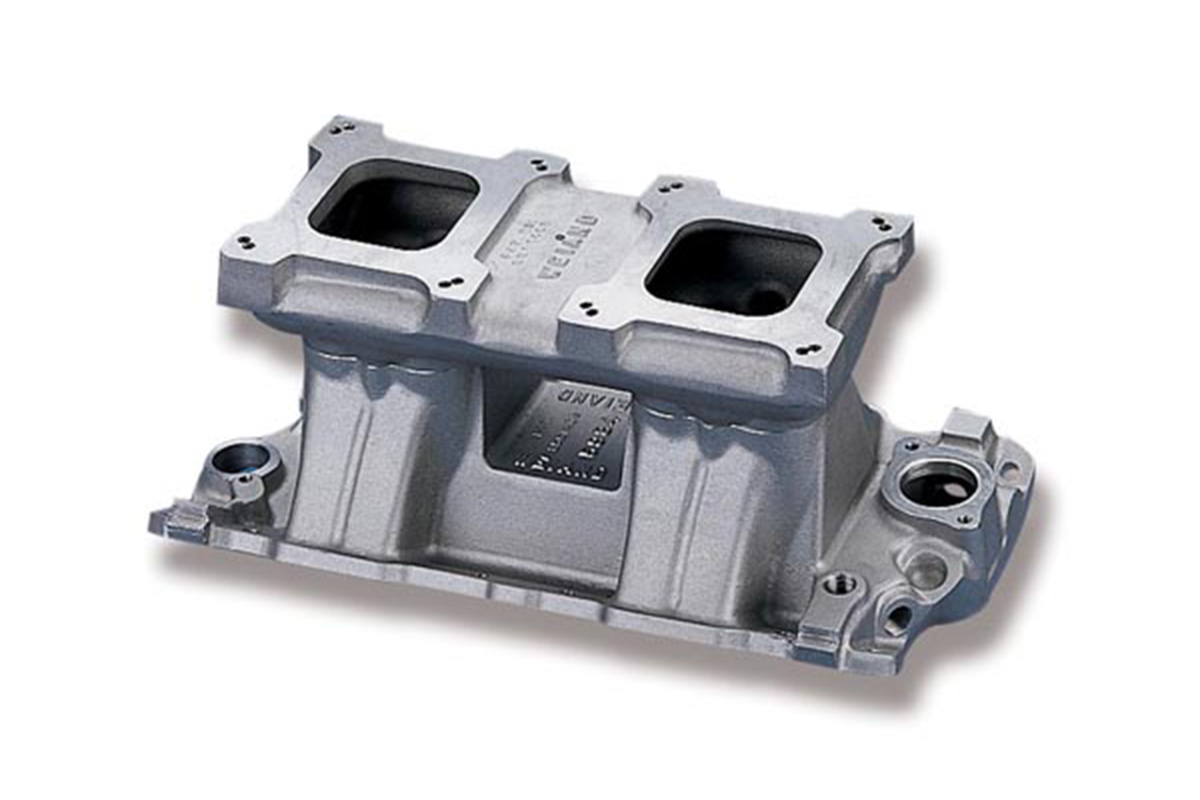
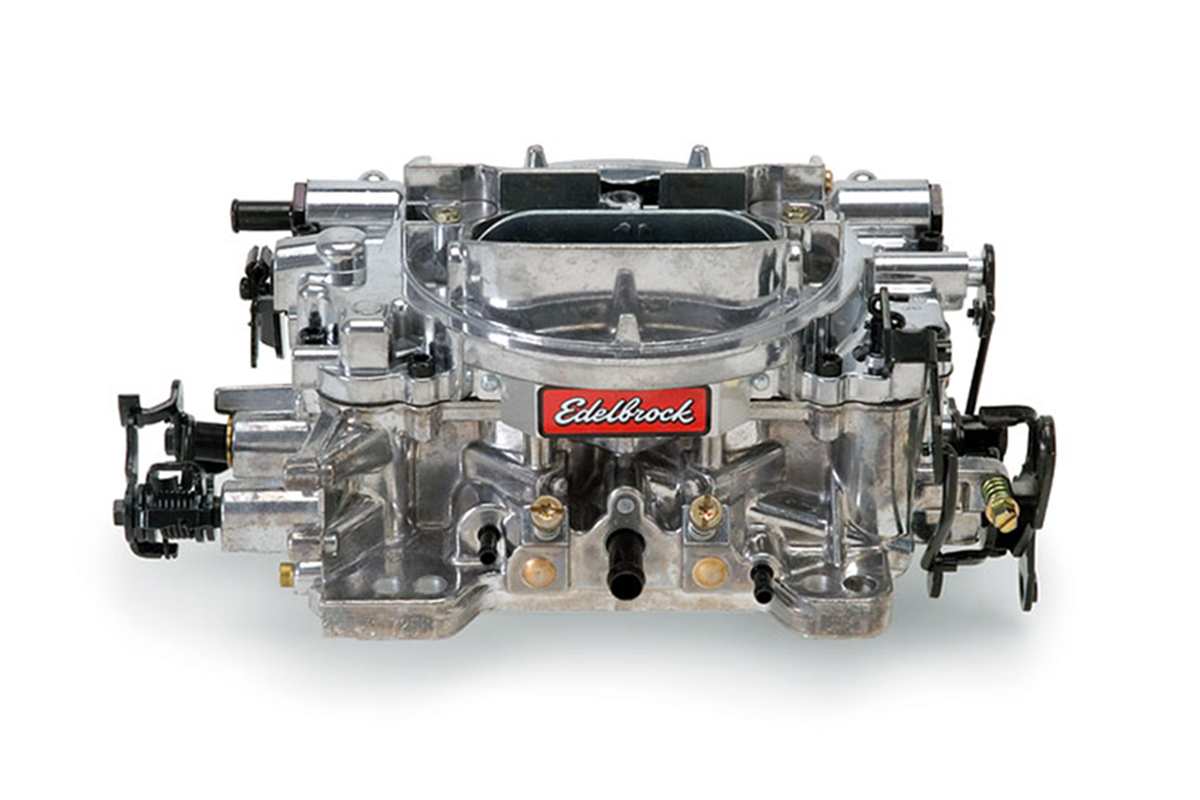
For now, I’m going to leave the choices on what to install up to you and your speed counselor, although you can’t go wrong with a carb from Holley or Weiand, and focus on the actual job of installing the new parts. We’ll presume that you’re swapping both the intake and the carb for better components that will deliver higher performance, AND that you’ve already drained the cooling system and removed the upper hose and heater bypass hose(s).
The Tools and Materials You’re Going to Need for This Job

Obviously, you’re going to need that new carburetor and intake manifold. You’ll also need a new set of intake gaskets, presuming we’re working with a V-6 or V-8 engine, that is. On top of that, you’ll also need to following:
- Clean shop rags
- Coolant catch pan
- Fresh coolant
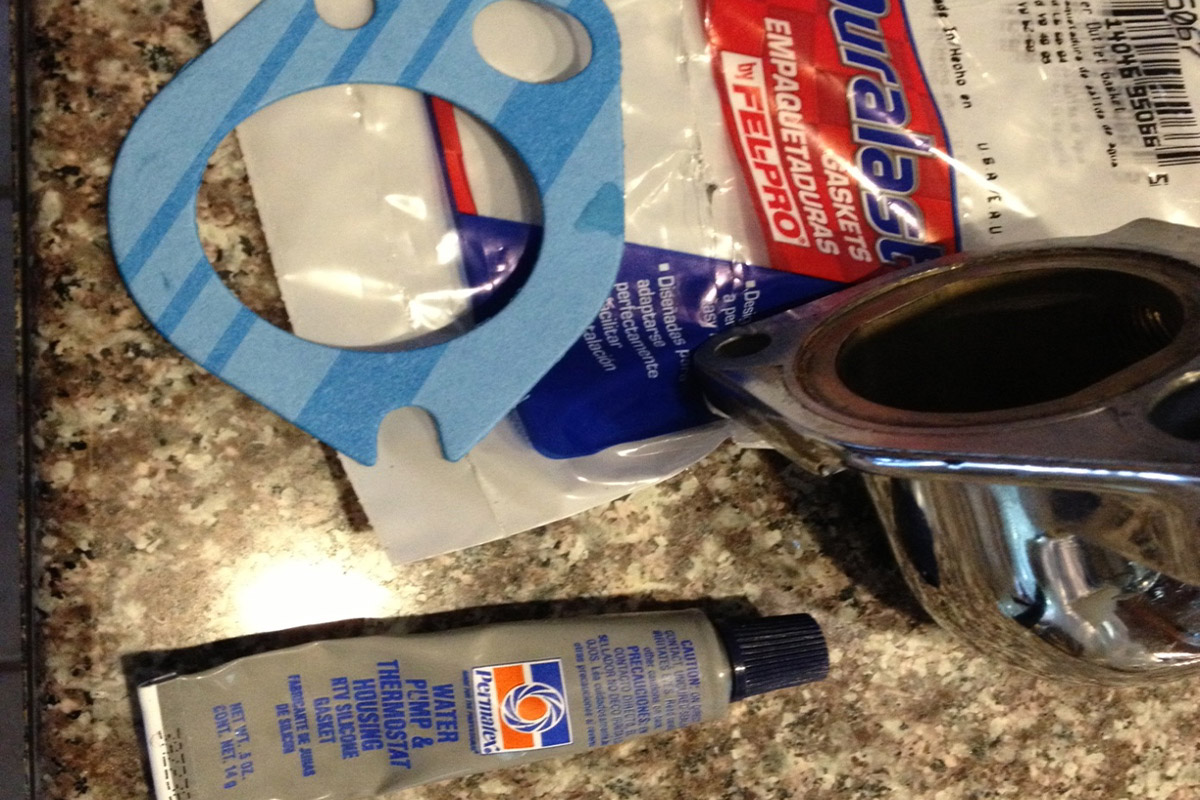
- Thermostat gasket
- Silicone or rubber gasket sealant (For thermostat housing)
- High Tack Liquid Gasket Sealant (For the intake gaskets)
- Socket or wrench set
- Socket universal joint
- Socket extensions
- Torque wrench (I can’t stress how important this is on this job.)
- Pliers or wire cutters
- Gasket scraper/cleaner
- Torque pattern and spec sheet for your engine (I will provide these for the most popular engines.)
- Timing light
- Wire ties

A Word on Gaskets and Sealants
Most intake manifold manufacturers will tell you to use their specific brand of gasket sealant. I prefer Permatex. I use RTV Black or Blue for the thermostat housing, applying an approximately 3/8 inch bead to both the intake and the housing prior to installing the gasket and housing. On the intake manifolds, I prefer to use Permatex’s High Tack Aircraft-Grade brush-on sealant. It won’t flake off and get into the combustion chamber and it’s a high-tack product, so it helps to keep the gaskets from moving while installing the manifold. On the manifold ends, I also use Permatex’s RTV Black or Blue, in the specified ¼ inch bead overlapping the gaskets at either end. This ensures a leak-free seal. You can get both of these from places like Autozone or O’Reilly’s.

Step 1: Remove the Distributor
Pop the distributor cap. Set the distributor cap aside, leaving the plug wires attached, unless you’re installing a new distributor and/or wires. Snap a picture of the orientation of the rotor to reference when reinstalling the distributor (or installing the new one). Loosen and remove the distributor hold down bolt and remove the hold down clamp. Twist the distributor left and right while pulling straight up to remove it. Set it aside so it doesn’t get in the way. Disconnect the harness if you need to.
Step 2: Disconnect the Carb
Remove the air cleaner housing and any ducting. Since we’re swapping out the intake and the carb, we don’t need to worry about separating the carb from the intake. Take a picture of the current carb and intake and where the vacuum lines and any electrical leads are connected. Next, label all of them (Ie: front vacuum port on carburetor to third port on vacuum tee on intake, etc.). Now remove all of them and, set them aside. Next, disconnect the throttle linkage from the carb, usually by pulling a c-clip or small cotter pin. If possible, I usually like to wire the linkage or throttle cable out of the way.
Step 3: Remove the Intake and Carb As a Unit
Using a 9/16 inch (usually) wrench or socket, loosen and remove the intake manifold bolts, starting in the middle and working out on both sides. We do this to keep the manifold from warping because if it’s a stock manifold, there are restorers out there that might want to buy it. If you’re lucky, the manifold and carb unit will come out easily with just a little upward elbow grease. If not, you may need to carefully use a small pry bar at the front corners to break the seal.
Step 4: Remove the Old Gasket
How you do this will depend on the type of gasket cleaner/scraper you have. I use a cleaner that resembles a Brillo pad on my drill, but have also used the razor blade type. Whichever type you use, before doing this, cover the lifter/push rod valley with the clean shop rags to keep pieces from falling into the engine. Make sure you completely clean the old gasket from the manifold mounting surfaces. If you’re using the sharp-edged scraper type of gasket remover, take care to not scratch the head around the ports as it could cause problems with sealing.
Step 5: Install the Intake Gaskets and End Seals
Test seat the intake manifold and lightly trace the front and rear ends of the manifold on the cylinder block. This will give you a template for the end seals later in this step. Remove the manifold and carefully set it aside.

Using your preferred gasket sealant, lightly brush some sealant onto the cylinder head mating surfaces that meet the intake manifold. Check the manifold gaskets carefully, they usually have a “This side down/to engine” marked on them, and firmly push them into place on the heads. Next, follow the template you drew earlier in this step and apply a ¼ inch bead of sealant to the engine block to create the end seals, overlapping the gaskets on both sides by half an inch or so. Next, lightly brush some high tack onto the manifold mating surfaces.
Step 6: Install the Intake Manifold
Now, carefully lower the manifold into place. Apply a small amount of sealant to the threads of all the manifold bolts. I know the instructions tell you to just apply the sealant to the middle eight bolts, bolt I prefer to be safe rather than sorry, so I apply it to every bolt. I usually place a good-sizes dollop of sealant on a piece of cardboard and roll the bottom ¼ inch or so of the bolts in it and set them on their heads just prior to installing the manifold. If your car has a throttle linkage/cable bracket, set it into position-install the two or three bolts that hold it first so it doesn’t shift around. Now, thread the bolts into the manifold bolt holes by hand and tighten them by hand as much as you can. DO NOT use a wrench or ratchet for this.
Step 7: Torque the Manifold Bolts in Sequence
One would think that this step is super-easy, but it really isn’t. You have to bounce back and forth and around the manifold to properly torque the manifold bolts to achieve a proper seal. Your new manifold most likely came with an instruction sheet showing the proper torque and sequence. If not, Edelbrock’s Tech Center has you covered. Just pick a manifold that fits your engine and scroll down to “Installation Instructions” section to get the final torque. For instance, for a SB Chevy, you’re looking at a final torque of 25 foot-pounds.
Set your torque wrench to approximately half of that, call it 15 foot-pounds. Scroll down on the instruction sheet to the torque pattern diagram and torque each of the bolts to 15 foot-pounds. The torque wrench will audibly click to tell you the proper torque has been reached. Now, set the torque wrench to the final torque, 25 foot-pounds in our case, and torque the bolts to this final torque spec. Be sure to properly follow the torque pattern again.
Step 8: Install the Thermostat and Housing
Apply a small bead of sealant to both the manifold and the thermostat housing. Install the thermostat where it goes, either between the manifold and the gasket or the gasket and the housing. Properly align the housing and set it in place. Thread the two or three bolts in place and tighten them to approximately 15 foot-pounds. Getting an exact torque here isn’t important; you just need to be sure the bolts are tight enough for the sealant and gasket to do their jobs, but not stretch or break the bolts.
Step 9: Install the Carburetor(s)
Thread the carburetor studs into their holes in the top of the intake manifold as far as they will go by hand. Place the carb spacer (if so equipped) and gasket(s) down (gasket, spacer, gasket) and place the carburetor over the gasket, making sure you have the front of the carb facing the front of the engine. For four barrel carbs this usually means the primaries face forward. Place a lock washer on each of the studs followed by a nut. Tighten these in a criss-cross pattern, to approximately 60-80 inch-pounds.
Note: You may have to modify the stock throttle linkage bracket to fit your new manifold. If so, the instructions for your manifold will have an illustration/template for this.
Step 10: Install/Attach the Carburetor Linkage and Connections
Reattach the carburetor linkage in the reverse of the removal method you used above. Make sure the linkage doesn’t bind up by moving the throttle through its full range of motion. Be sure to attach the throttle return spring and make sure the throttle returns smoothly to closed. Refer to the picture you took in Step 2 above and connect the vacuum lines and any electrical wiring, such as the electric choke, if so equipped. Remove the labels from the now.
Step 11: Reinstall the Distributor
Refer to the picture you took in Step 1 above and lower the distributor into place. Make sure it’s fully seated in its opening. Install the hold down clamp and bolt and tighten the bolt just a bit more than by hand. You want to leave the distributor loose enough to be able to move it by hand, but not loose enough that it moves by itself.
Step 12: Reinstall Cooling System Hoses and Refill the Cooling System
Reattach whatever cooling system hoses you had to disconnect in order to remove the manifold prior to beginning this upgrade. Tighten them down so they won’t leak and refill the cooling system with the proper coolant mix for your region/temperature range.
Step 13: Time to Tune!
I tune my installations by ear. There are tools that you can use for this but chances are you don’t have them and they’re too expensive to buy for a single installation. Tighten the idle mixture control screws by hand until they just touch the seat(s). Now, back them off a quarter turn. Crank the engine up.
Check the ignition timing. If your distributor has vacuum advance, be sure to disconnect and plug this hose first. Set the timing per spec for your engine. Now, adjust the engine idle speed using the screw on the linkage to get the idle speed where it belongs for your engine. This will vary by engine and transmission type, but the average is between 700 and 800 RPM. Recheck the timing and tighten the distributor clamp bolt.
Once you’ve got the engine running, you’ll also need to adjust the carburetor float. This is an internal part of the carburetor that controls the flow of fuel to the carb so it doesn’t get too low or too high and flood out. On the side of the carburetor, you should see a small sight glass. You want to adjust the float stop screw so the fuel comes to about halfway up that window. A little either way is fine, but you don’t want it to cover the sight glass opening.
On some carbs the “sight glass” is actually a screw that you remove. On these the trick is to adjust the float bowl so that the intake of fuel is shut off at the point where the fuel is just starting to dribble over the lip of the sight screw opening. Remember, I said “just dribbling.” I didn’t mean flowing. A drip or a drop is all. Lock it down and close it up.

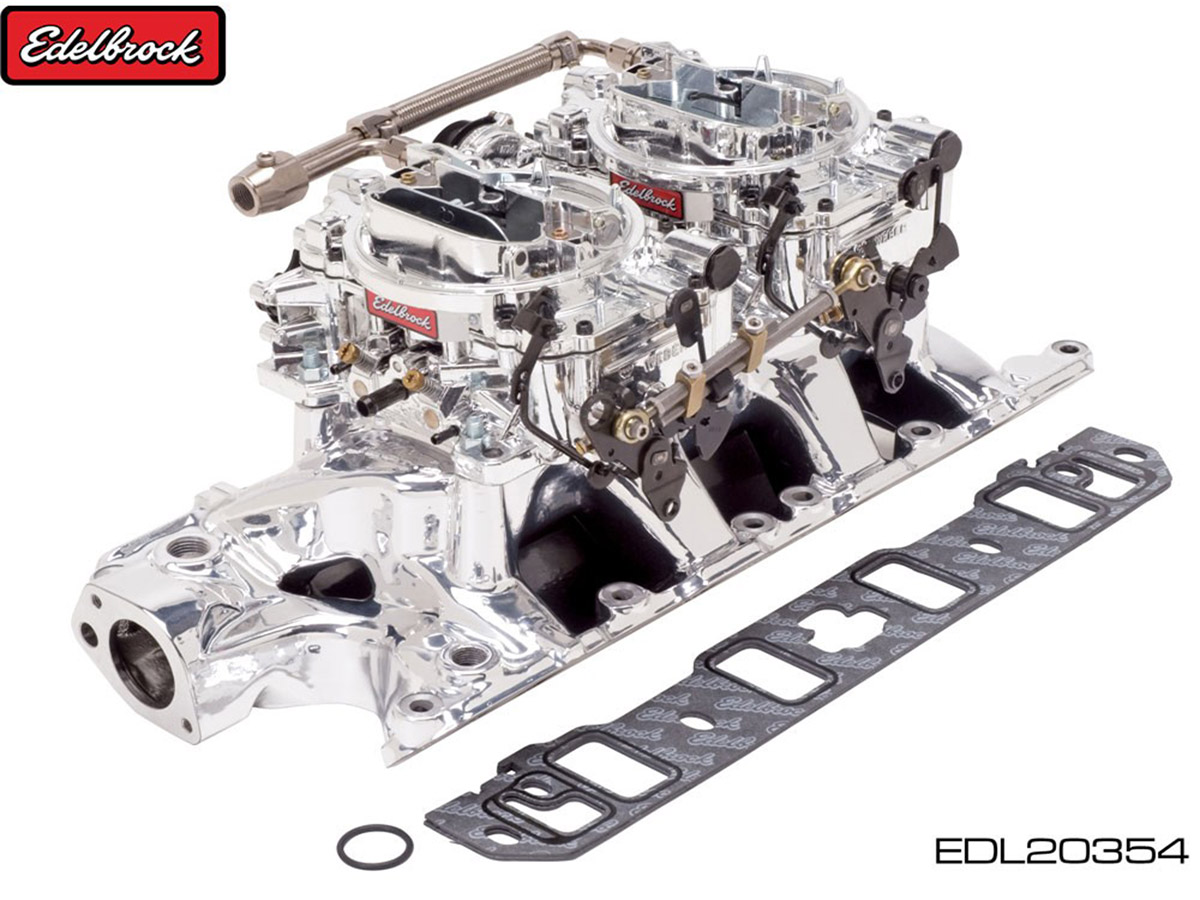
Note for Multiple Carb Set-Ups
You’ve got an extra two steps the others don’t have. First, while attaching the throttle linkage, you’ve also got to attach the linkage between the two carburetors. This usually consists of an adjustable bar between the throttle flanges on the two carbs. Next, you have to adjust idle mix and speed for both carbs. I use a carb synchronizing tool for this purpose. This isn’t the only type available, and, if you’re clever, you can make your own.
However, if you skip this step, you won’t like the results. The car won’t run right at all because the air-fuel balance between cylinders will be off, possibly horribly. Internal engine damage can result. The long and the short of carb balancing is making sure they’re both drawing the same amount of vacuum and that their throttles open and close evenly throughout their range of motion.
Enjoy the sound and power of your new carb and intake. See you on the track!
Leave a Reply