

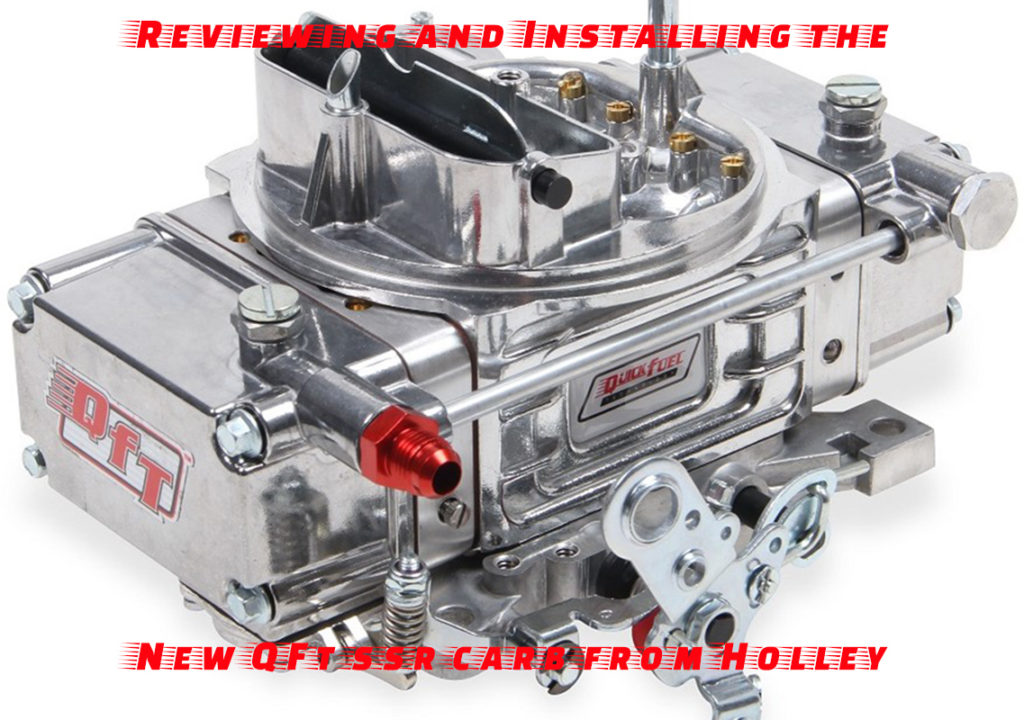
Image courtesy holley.com
NHRA class racing has very specific rules regarding allowable components in sanctioned events. One carburetor may be legal on one engine but not legal on another. Quick Fuel Technologies (QFT) allows you to either custom order your carburetor or get one of several “spec” on the shelf carburetors that will be legal for your vehicle and also perform almost perfectly right out of the box. All of them have the NHRA-approved list number stamped on their sides straight from the box.
New Design Based on Years of Research
QFT has been successful for years in the NHRA’s Stock and Super Stock divisions, both of which are highly competitive. Over those years they’ve been able to gather information that has been put to use when designing and building their custom SSR carbs. These are great replacements for the competition legal per class O.E. Holley carbs which can be hard to find and expensive when you do find them.
Now they’ve been able to massage that information in such a way as to help them design an NHRA-legal “spec” carb that customers can buy right off the shelf, allowing them save a bit of money. Give them your specifics (including location/altitude) and they’ll sell you a carb they have in stock that will be able to perform optimally with minimal, if any adjustments needed.
For example, they have a total of 11 that are rated at 850 CFM for different specific applications. For example:
• Part Number SSR-850-MS has manual secondaries and is spec for either a manual transmission or an automatic with Transbrake at sea level.
• Part Number SSR-850-VS-MS vacuum secondaries instead of manual secondaries.
• Part Number SSR-850-VS-AS has vacuum secondaries and is spec for an automatic with the foot brake at sea level.
• Part Number SSR-850-VS-AE is the same except for above 3000 feet.
• Part Number SSR-850 is a direct replacement for the Holley 4781in the Stock and Super Stock classes with 1.562 inch primary and secondary venturi and a throttle bore of 1 ¾ inches.
Installation Is Quick and Easy with Just a Few Tools
You can adjust the QFT SSR carburetors all you want, just be sure that two of the included lead balls are install over the secondary mixture screws when you get the car to the track. To remove an old carburetor and install one of these, you’ll need a ½ inch wrench or socket with an extension and swivel. You’ll need a 5/16 inch wrench, a 5/8 inch wrench, a large flat and a small flat screwdriver to make adjustments after it’s installed.
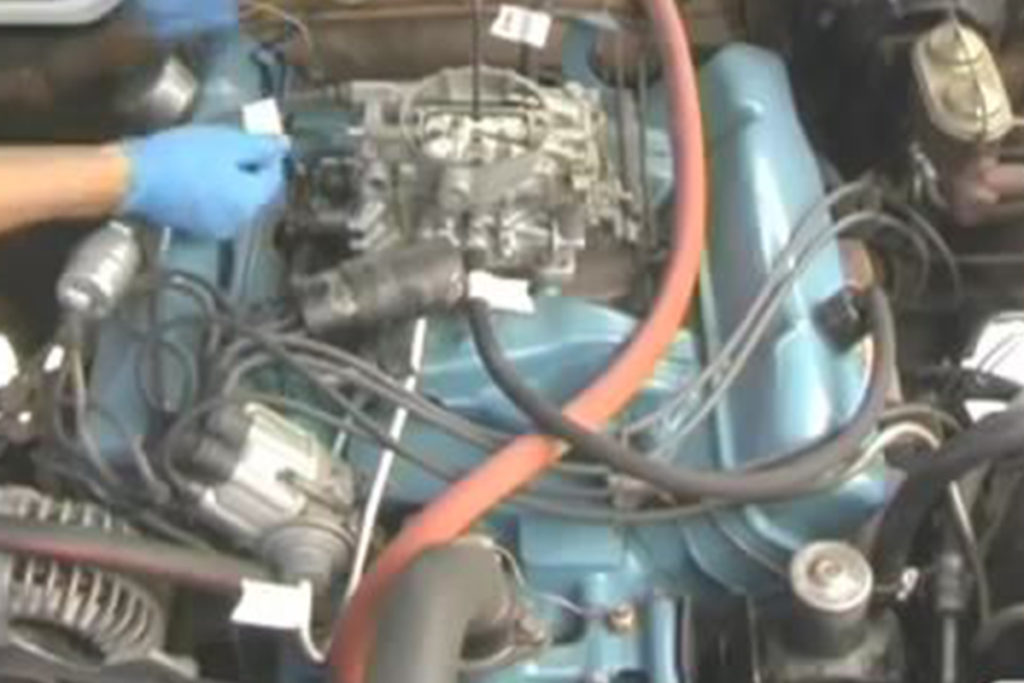
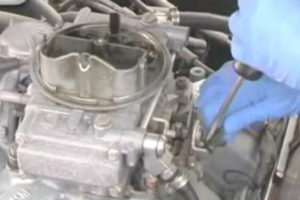
Remove the Old Carburetor
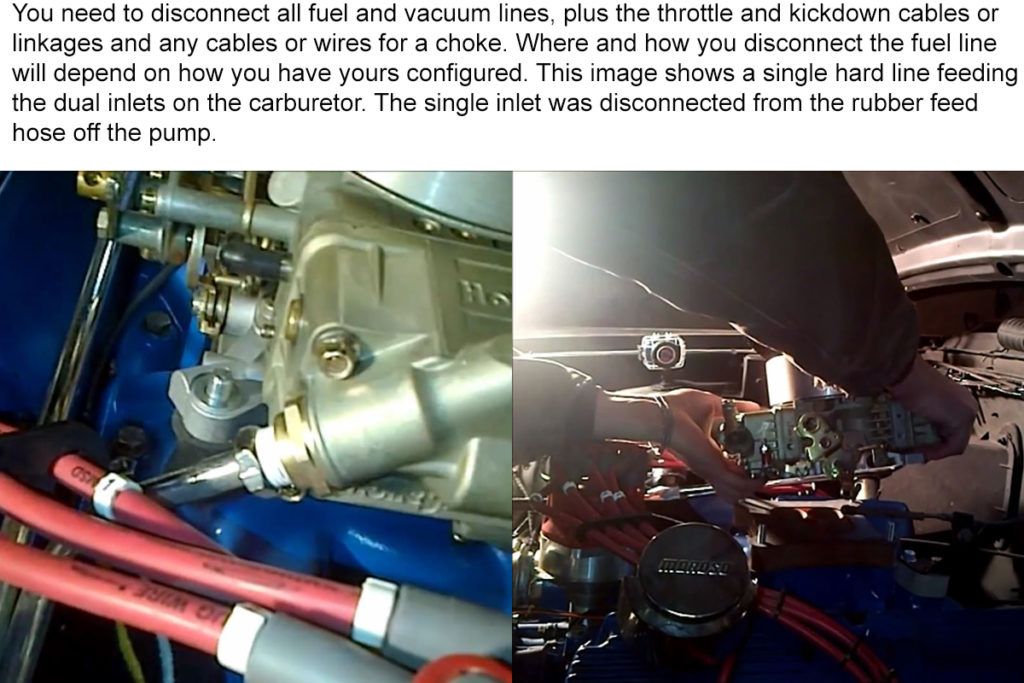
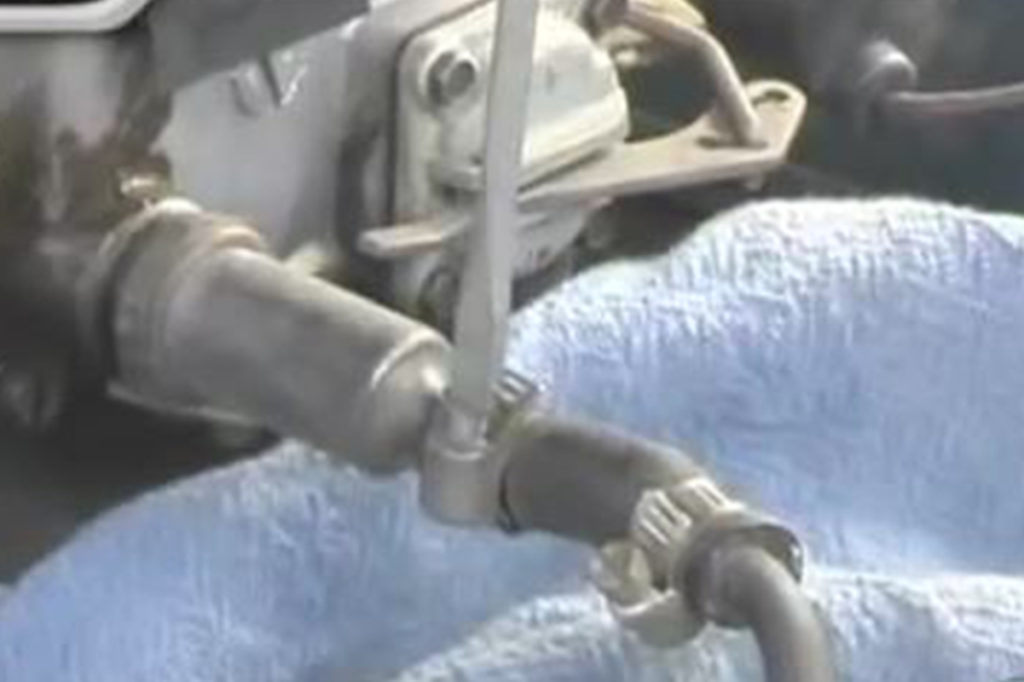
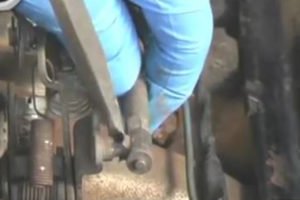
Disconnect the air horn if your car has one and remove the air cleaner housing. Disconnect the PCV and/or breather as you pull the housing off the carburetor. Remove the fuel line(s). Label and remove the vacuum lines and disconnect the throttle (and kickdown if you’ve got an OD transmission) linkage. Using the ½ inch, remove the four nuts and washers that secure the carburetor to the intake. Make sure everything is clear and pull the old carburetor out.
Clean Intake Manifold If Necessary
You need both mating surfaces to be clean in order to obtain the best seal possible. Stuff rags into the intake opening and clean any flecks of the old gasket that you see. Scrape from the opening to the outer edge of the mating surface to help keep debris from entering the engine. Install the new gasket over the intake studs.
Transfer Fittings and Connectors to New Carburetor
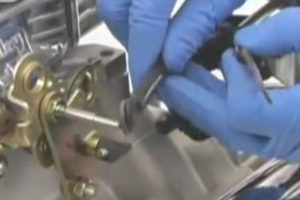
Images from Holley instruction manual.
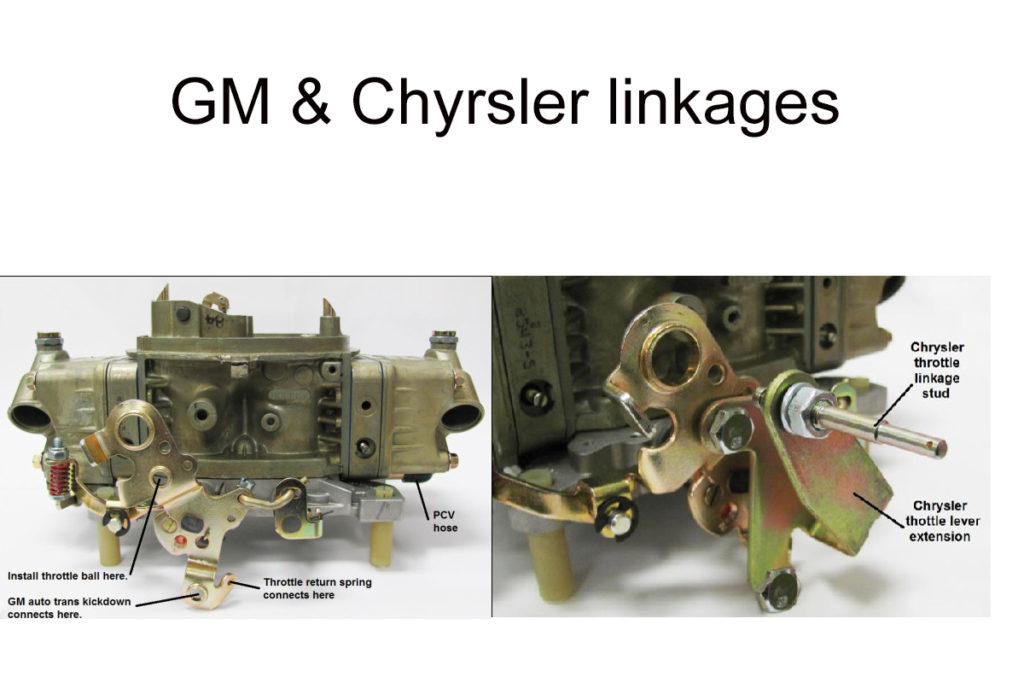
Set the old carburetor next to your new QFT SSR make note of where the throttle cable and kickdown connectors are located. Remove these from the old carb and install them in the corresponding locations on the new one. Check the old carb for any fuel or vacuum fittings that need to transfer over and do so. Don’t use Teflon tape on fuel line fittings.
Note: The Quick Fuel Technologies SSR carburetors are all equipped with fuel fittings that allow fuel to come from any corner of the carburetor. Simply remove the appropriate plug(s) and install the required adapter(s).
Install Your New QFT SSR Carburetor
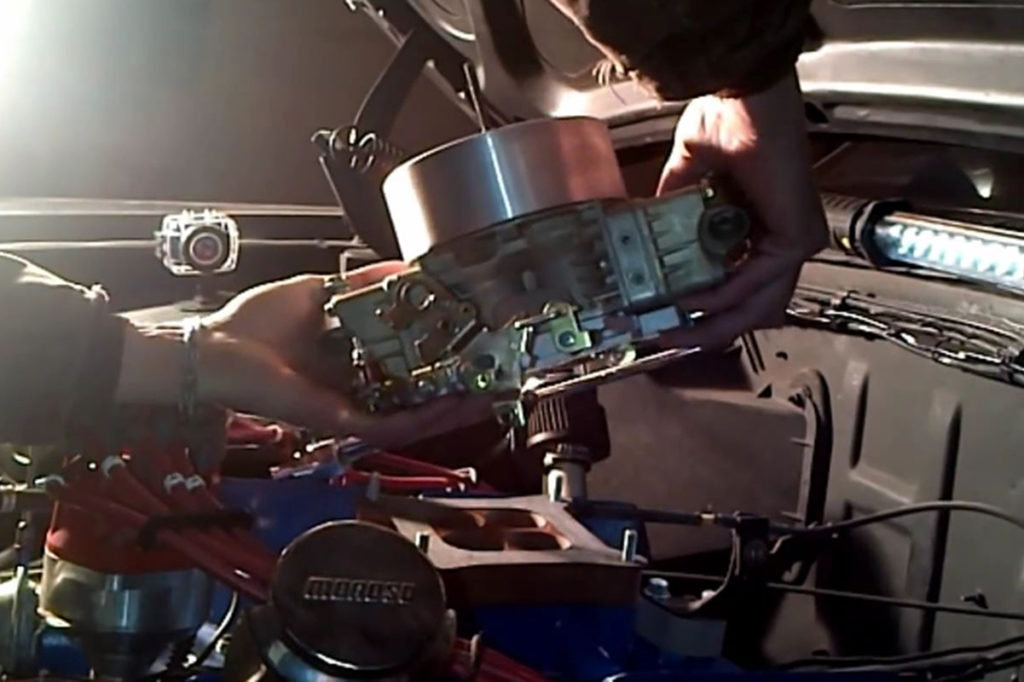
Align the carburetor so the throttle linkage is on the correct side and slide it over the intake studs. Slip a lock washer onto each stud, followed by threading a nut onto each one. If equipped, place the throttle linkage bracket over the driver side rear side before installing the washer and nut. Install the throttle and kickdown cables.
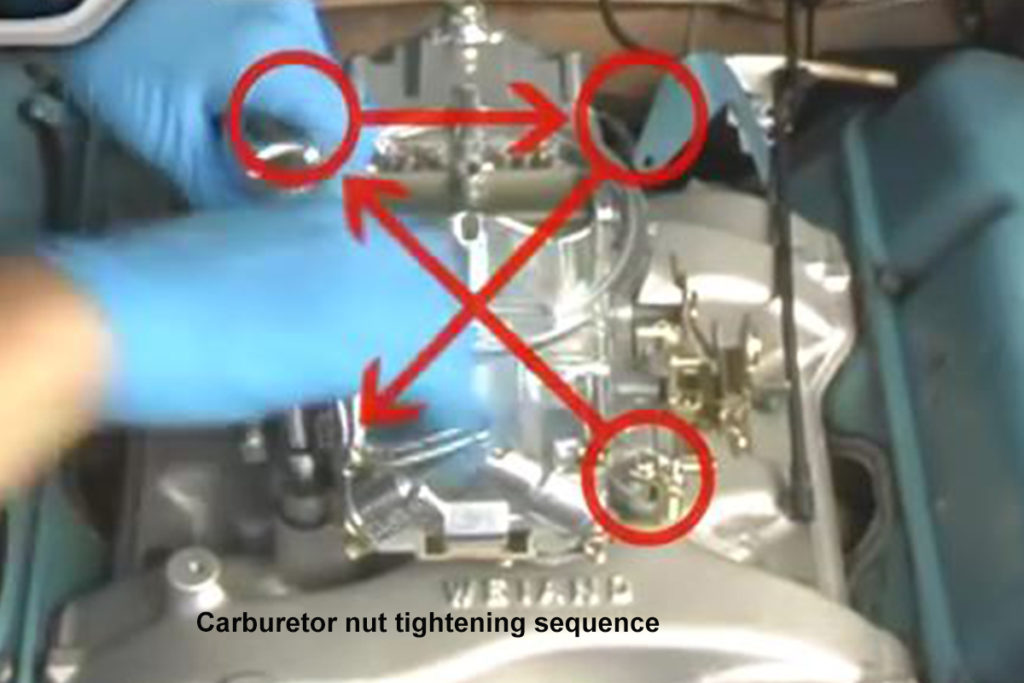
Tighten the nuts in a crossing pattern in three to four stages up to the final torque of 10 foot-pounds. I find that grabbing the top of the wrench and twisting my wrist is about 8-10 lbs-ft. Don’t tighten the nuts all the way in a single pass and also don’t over-tighten the nuts. You could warp and/or crack the throttle body.
Note: Prior to torqueing the nuts to 8-10 lbs-ft, operate the throttle and kickdown cables to make sure neither bind up. Then go stomp the gas pedal a few times. Clear any obstructions and then torque the nuts down.
Reconnect Vacuum and Fuel Lines
I like to work from the bottom up when doing carburetors. That means I route and connect all my vacuum lines next. Then I route and connect my fuel lines. Although AN- fittings look really cool, these carburetors only want a fuel pump putting out about 7 PSI (6.5, actually), so rubber lines with clamps are sufficient. If you do go with AN- fittings, just don’t use any Teflon tape on them.
Refill the Fuel Bowls
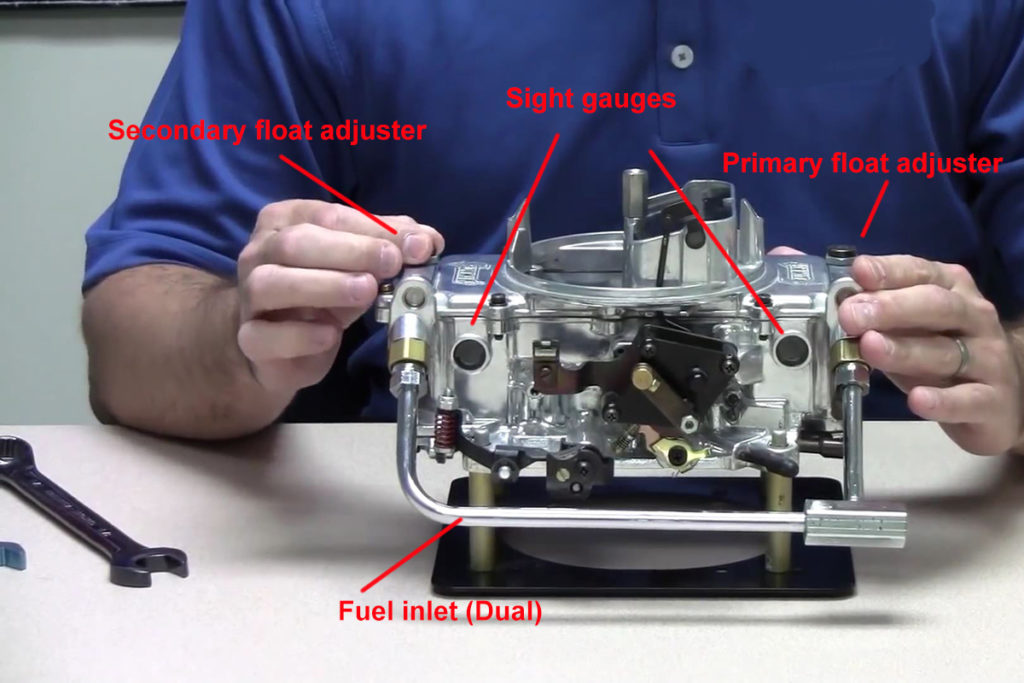
In order for the engine to start, there has to be fuel in the bowls. If you’ve got an electric pump, you only need to energize it for about 15 seconds. If you’ve got a mechanical fuel pump, crank the engine twice, for ten seconds each. Your SSR carb was factory-adjusted to fill the fuel bowls halfway up the site glass. Floor the throttle twice as you look down the throat of the carburetor. You should see fuel spraying from the accelerator pump nozzles.
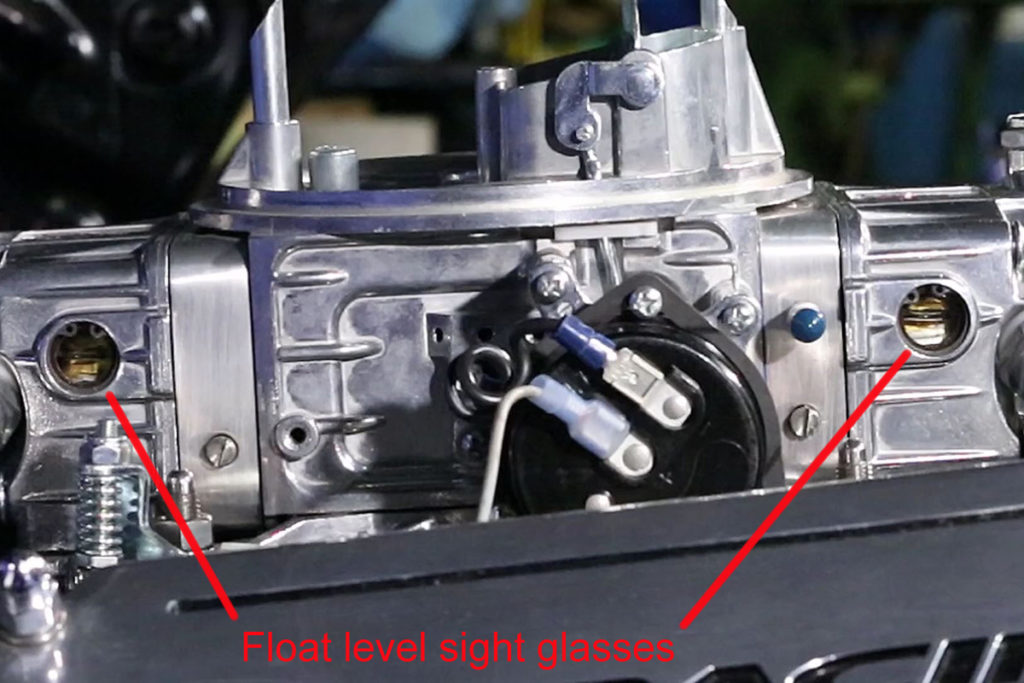
If the initial fuel float level is above or below this, you’ll need to adjust the level properly using the adjustment screw and jam nut on top of the appropriate bowl. The engine needs to be running for this adjustment. Loosen the jam nut and turn the screwdriver clockwise to lower the float level, counter-clockwise to raise the float level. Be sure to tighten the jam nut securely once the adjustment is complete.
Note: Fuel pressure above 6.5 PSI will cause the float level to be too high. Conversely, a fuel pressure below 6.5 PSI will cause the float level to be too low. The fuel level needs to be as close to the middle of the sight glass as possible for the carburetor to operate correctly.
Note: There are some that say the engine has to be off while you’re adjusting the float level. I’m not a believer in this as I feel I can get a more accurate float level more quickly if I’m just a little careful as I adjust the level. Don’t make big adjustments. You can get the adjustment in the ballpark before starting the engine and then fine tune it with the engine running.
Starting the Engine and Adjusting Idle Mixture and Speed
Sometimes your engine won’t want to start. Playing with the throttle with the engine not running could have flooded the engine. The idle speed might not be adjusted properly to allow the engine to idle. Hold the throttle cracked open and try to start the engine.
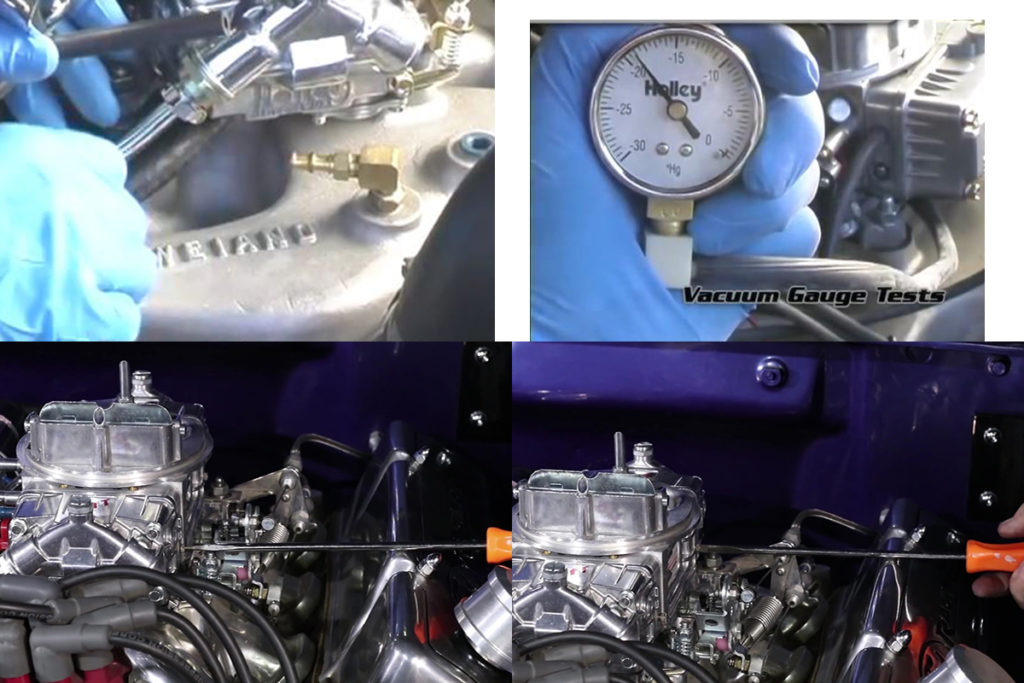
You can adjust the idle mixture and speed by touch or feel and get it really close to “gauge-perfect” with practice. However, a tach and vacuum gauge work best. With the engine at the proper idle, set each idle mixture screw until the vacuum gauge reads the highest and the idle is closest to what you want.
Each screw should be turned an equal number of turns in our out, but that’s not always going to be exactly true. Some engines will want one screw out half a turn more than the others to run right, while another might want one screw ¼ turn tighter than the others. Adjust the curb idle screw as needed during mixture adjustment to keep the idle speed where you want it.
If you’re running an automatic transmission in your strip burner, now you need to have a friend step on the brake and put the transmission in gear while you fine-tune the carburetor for mixture and idle speed.
Final High Speed Adjustments
With the idle circuit wired, it’s time to check out the carburetor’s high speed circuit. Take it for a ride (if you can) and get the car up a speed where you can keep the RPM at a steady 2500RPM. This gets you off the idle circuit and into the high speed (or high idle) circuit. If you get engine surging while driving on flat ground, the mixture is probably too lean and you need one (or two) steps up in jet size. If your engine sounds like it is laboring and doesn’t want to hold a steady RPM, the mixture is probably too rich and you need to go down one jet size. Drive for about 75 miles and then check the plugs to verify how the engine is running-too rich, too lean, just right. Ideally you’ll have O2 sensors in each exhaust pipe in your header and you can use the gauges to see what adjustments need to be made.
Note: If you’ve got a crazy cam that develops next to no vacuum at idle, typically you’re going to want open your curb idle speed until the idle smooths out. The problem with doing that is that you start exposing your high speed circuits. One way around this is to have a carb shop drill a 1/32 – 3/32 hole in the two primary butterflies as the problem is that your engine isn’t sucking in enough air. These two pinprick holes should give you the air you need.
You should be at the point now where your engine is a hair away from giving you really hot passes. All you need to do now is dial them carburetor in between hot passes or by laying into the throttle on the highway and making small adjustments to the secondaries, power valves, accelerator circuits, etc. Fine tuning jet size will be done here as well.
See ya at the track! I’ll be the one driving it like I stole it!
Leave a Reply