

![[Gallery] Show us Your Mustang! Celebrating 60 Years of Mustang](https://www.racingjunk.com/news/wp-content/uploads/2024/04/Al-Liebmann-376x206.webp)
![[Gallery] Okolona Street Rods Kentuckiana V Foundation Car Show](https://www.racingjunk.com/news/wp-content/uploads/2022/04/IMG_0774-e1650040587750-376x206.jpg)
![[Gallery] Road Rats Car Show](https://www.racingjunk.com/news/wp-content/uploads/2022/05/2A-e1651770667920-376x206.jpg)
How to Install a Jesel Belt Drive Part 2
Click Here to Begin Slideshow
In our last segment we started the installation of a Jesel belt drive. Our example was fitted to a Gen 6 Big Block Chevy, and in that particular case there was some minor trimming of the cylinder block casting for necessary clearance. This time around, we’ll install the valley cover plate for the final time and dig into the prep required for the camshaft install.
The actual timing cover valley plate is easy to install once you have the block clearanced. It’s positioned by way of the cylinder block dowels and then it simply bolts on by way of a set of Allen-head fasteners. A conventional gasket (the same as that used with a timing chain cover) holds it in place.
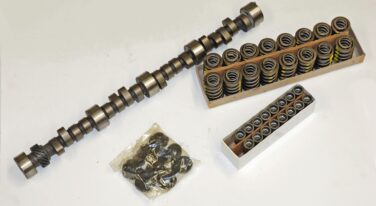
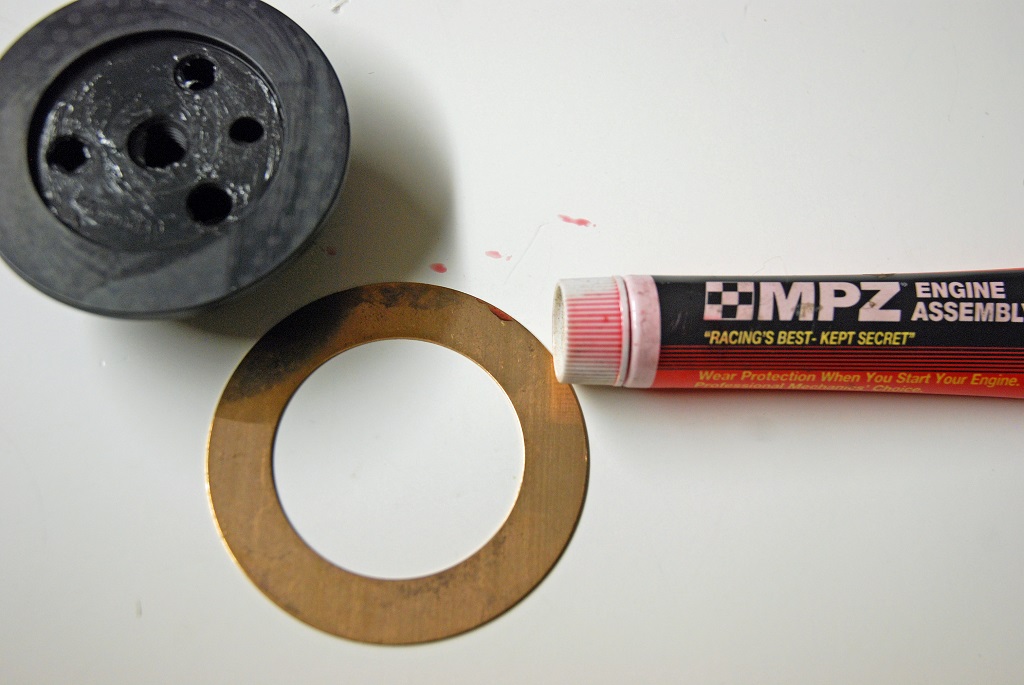
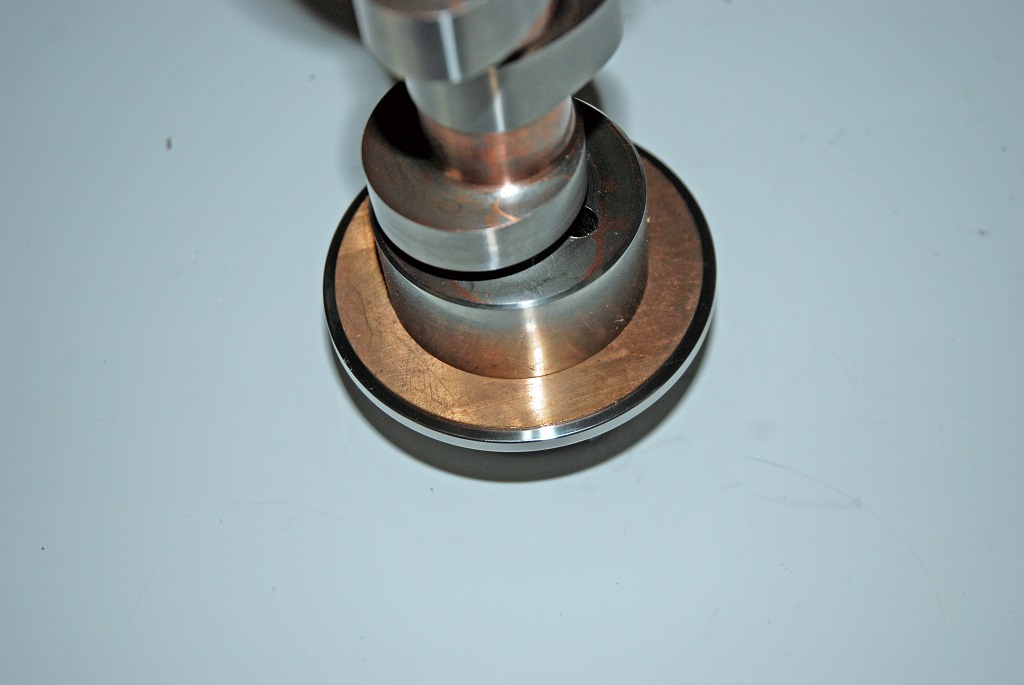
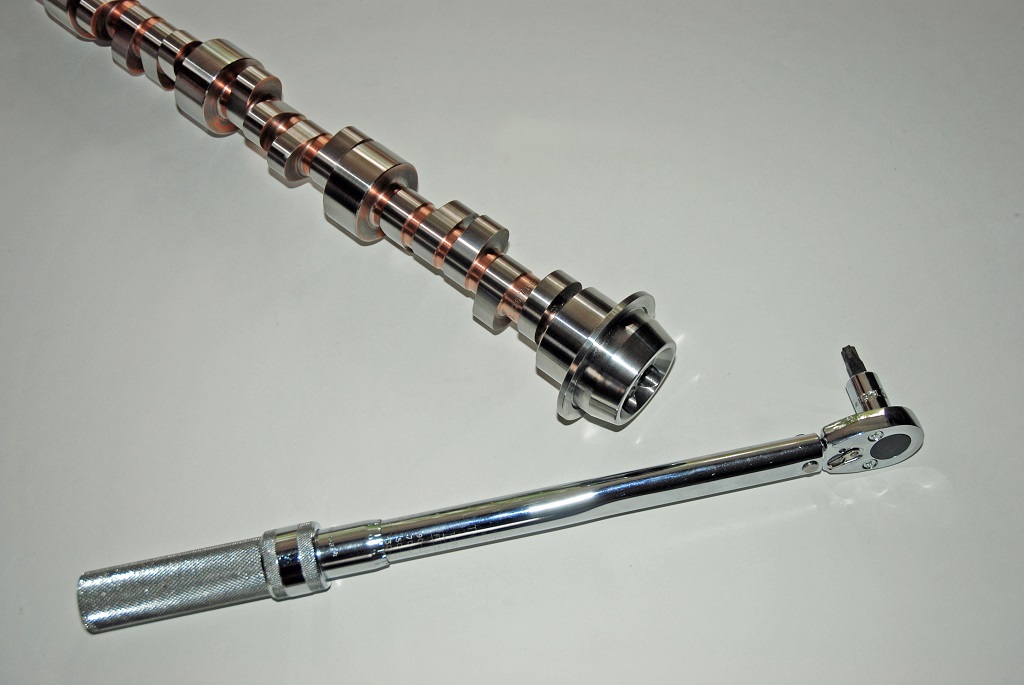
Camshaft prep is pretty simple. Instead of a top sprocket or gear, it has a top pulley. Jesel incorporates a special camshaft adapter that bolts between the cam and the top pulley. That adapter is designed to operate with a pair of thrust washers (one front and one back of the adapter). In turn, a set of shims is used to position the camshaft front to rear (basically the system allows you to set camshaft end play). We’ll get into the shimming part of the equation down the road. Meanwhile, here’s how the install progresses:
In our last segment we started the installation of a Jesel belt drive. Our example was fitted to a Gen 6 Big Block Chevy, and in that particular case there was some minor trimming of the cylinder block casting for necessary clearance. This time around, we’ll install the valley cover plate for the final time and dig into the prep required for the camshaft install.
The actual timing cover valley plate is easy to install once you have the block clearanced. It’s positioned by way of the cylinder block dowels and then it simply bolts on by way of a set of Allen-head fasteners. A conventional gasket (the same as that used with a timing chain cover) holds it in place.
Camshaft prep is pretty simple. Instead of a top sprocket or gear, it has a top pulley. Jesel incorporates a special camshaft adapter that bolts between the cam and the top pulley. That adapter is designed to operate with a pair of thrust washers (one front and one back of the adapter). In turn, a set of shims is used to position the camshaft front to rear (basically the system allows you to set camshaft end play). We’ll get into the shimming part of the equation down the road. Meanwhile, here’s how the install progresses:
Leave a Reply