

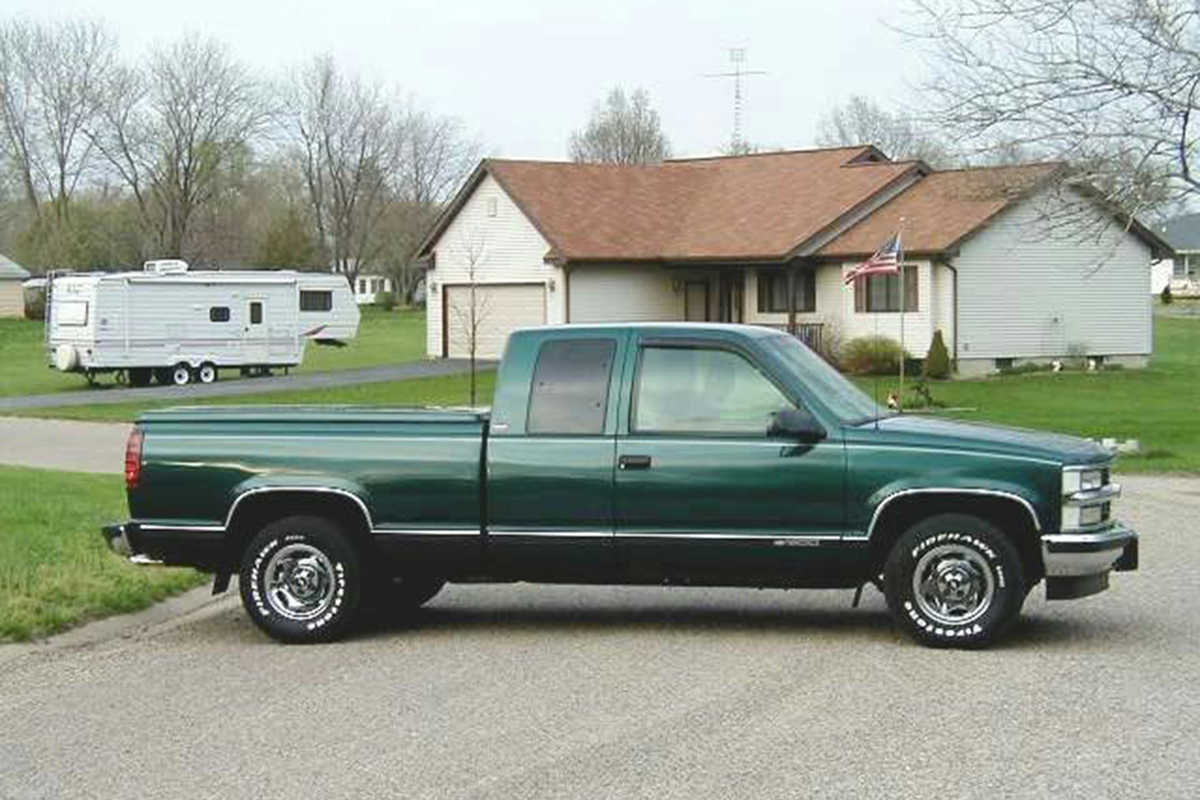
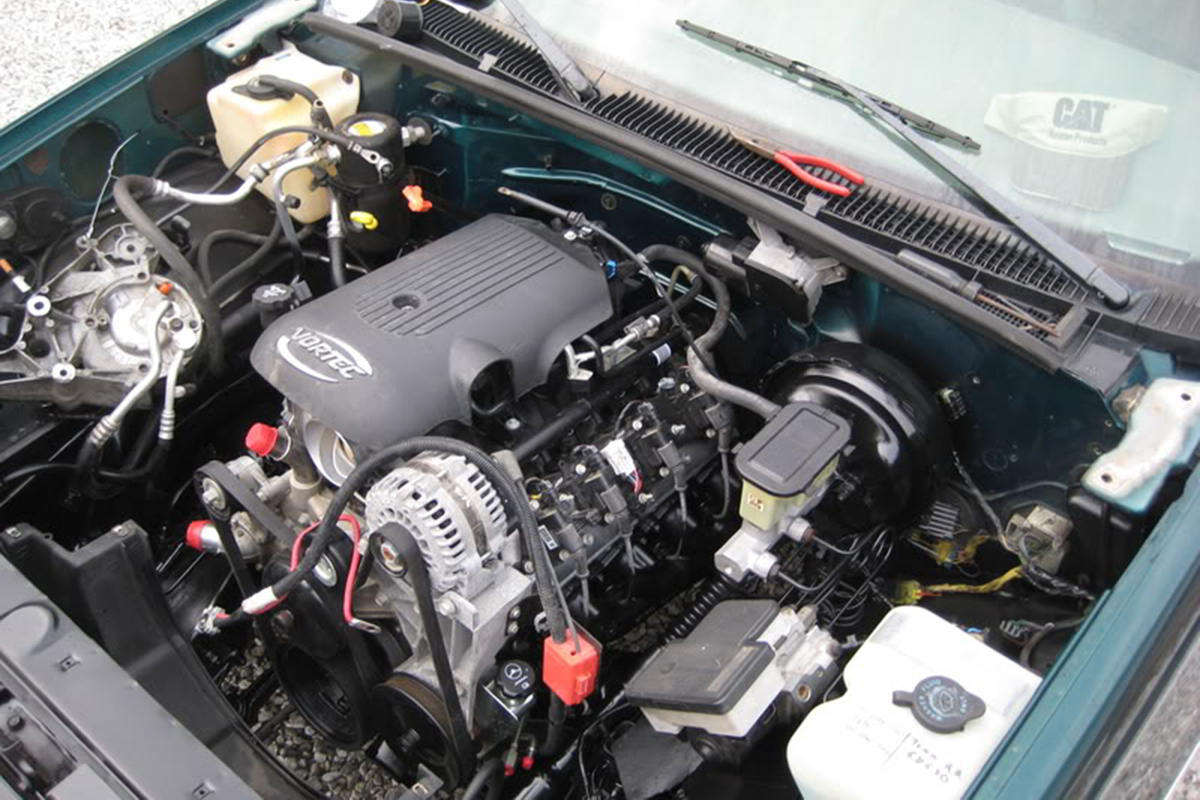
One of Brad Pierson’s passions is performing LS swaps. We’re lucky in that the last few that he’s done he’s put in the extra time and effort to document these builds in both words and photos. Because of this, we’re able to take advantage of his experience and learn from him as we see what he did to make these engine swaps possible. One of his latest builds is his dad’s metallic forest green ’95 Chevy C1500 extended can two-wheel drive truck. His dad was tired of the poor power and gas mileage of the stock 5.7-liter. So, dad pulled the trigger on a 5.3/4L60E combo out of a 2005 Silverado with 27,000 miles on it. Since the engine/trans came with just about everything he’d need from MAF to tailshaft, including the harness and gas pedal, he had to do very little running around to pick up parts and pieces during the installation.
Prepping for the Install
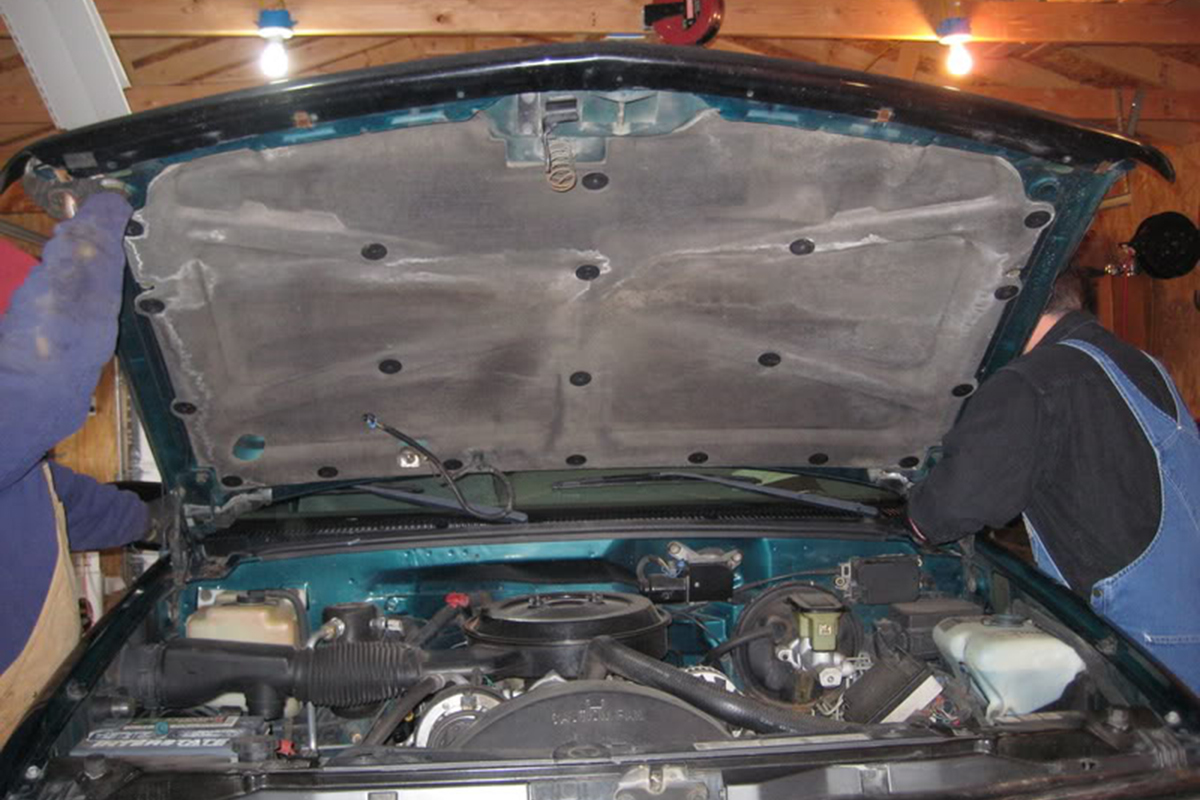
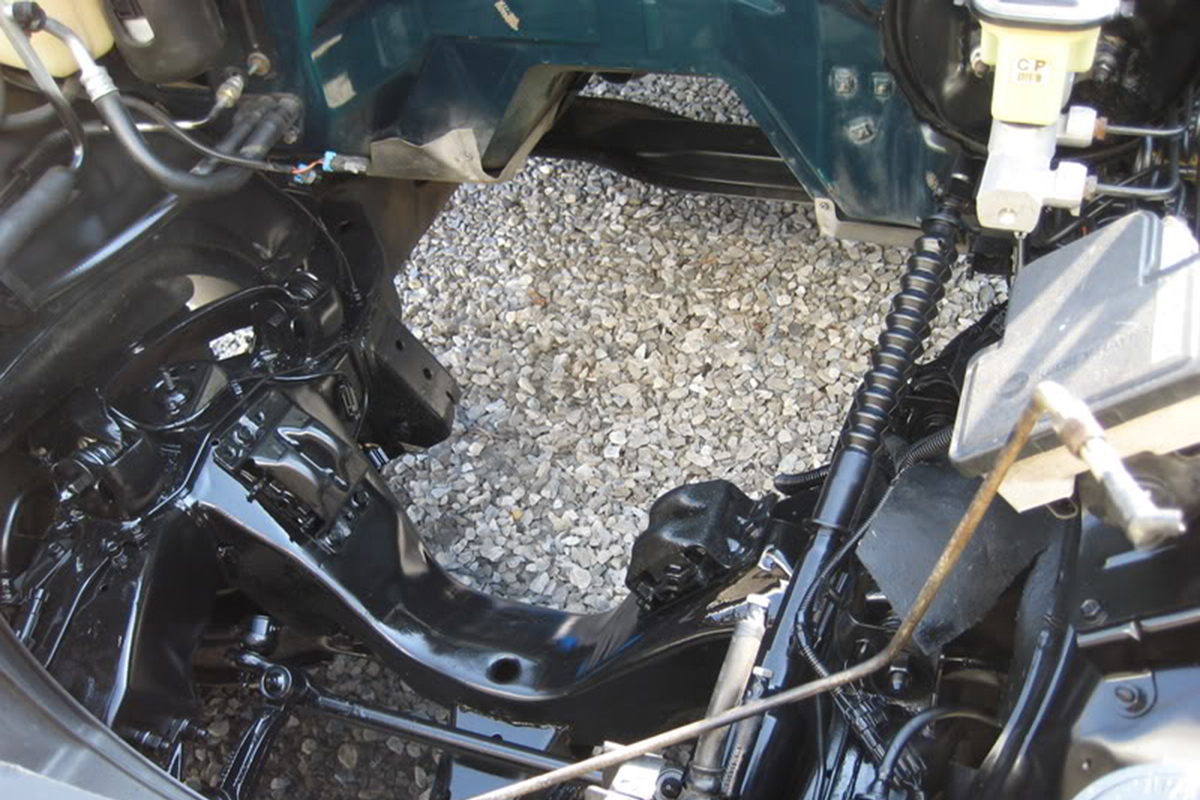
Prepping for the installation of the “new” 5.3 LS engine was a four stage process. The hood came off to facilitate the removal of the old and installation of the new. The old engine was then removed. The bed was removed to give access to the fuel system. The engine bay was then thoroughly cleaned with Simple Green.

Installing the New Fuel System
Although the truck was already an EFI truck, the fuel system didn’t support the newer LS engine and computer. They upgraded the pump and sending unit to those out of a ’96 with a 350 Vortec engine. These were connected to the OEM line from the tank to the stock (Wix brand) Corvette filter.
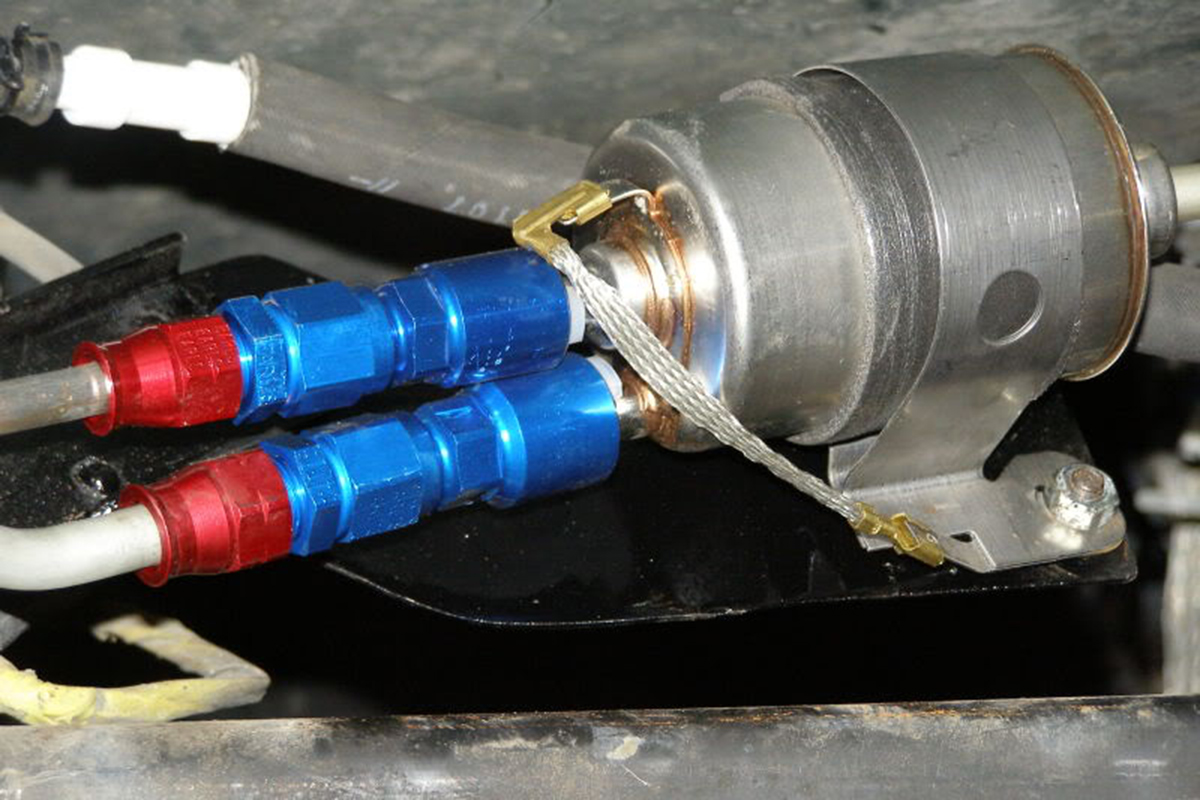
He cut the stock fitting off the fuel filter and attached an AN to tubing adapter to connect to a Corvette regulator. The fuel line from the regulator to the engine itself was retained at the junkyard and used. A return was then routed back to the stock ’95 tank. Wherever he needed some flexibility with the fuel lines, he inserted braided fuel lines.
Adapting the LS’s Drive-by-Wire Accelerator Pedal

The LS engine they used was a drive-by-wire engine whereas the original 5.7L had a cable attached to the accelerator pedal. As mentioned above, they picked up the drive-by-wire pedal they needed with the engine.


However this pedal was a little too long. Brad cut it down by about three inches and welded it back together. This brought the beginning of two opposing curves together, causing the pedal to cant off to the right more than 45 degrees. This necessitated bending the pedal arm to the left quite a bit as can be seen in the photos.

The wiring harness from the pedal to the TAC and throttle body gave them fits through several attempts to fix. They modified the existing harness and bought a new one from EFI Connections. Neither of these steps worked. They ended up converting to a cable-actuated throttle using a 2002 harness connected to a 0411 ECM.
Dropping the LS between the Frame Rails
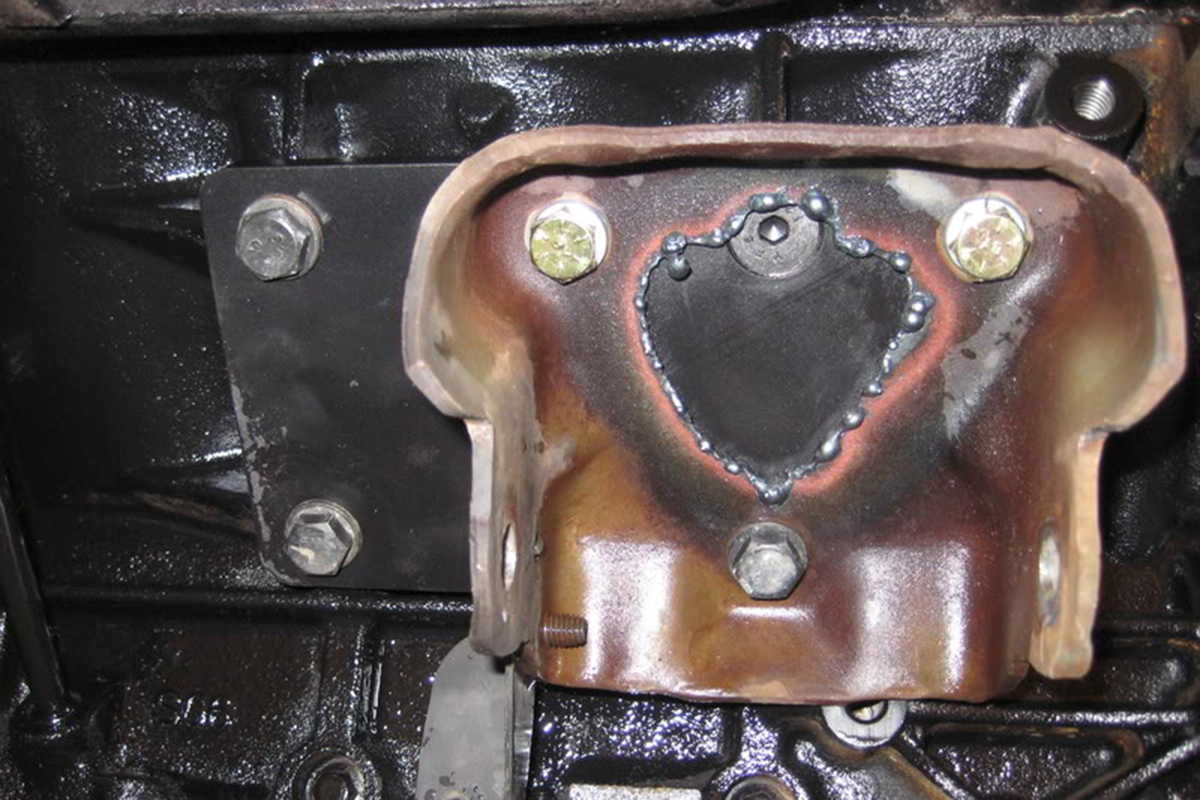
Space-wise, the LS swap was no problem. However, the motor mounts to the frame on the stock 5.7 and new 5.3 LS are in different locations, requiring the use of Trans Dapt TRD-4572 LS swap motor mounts. This kept the engine and trans in the stock locations, allowing them to keep the original driveshaft since the tailshaft on the original and 4L60E transmissions are the same length. They did have to notch the crossmember half an inch to get the transmission to sit correctly, though. As Brad put it: “Just a small touch of the blue tip wrench and good to go.” Out back sits a POSI open diff putting power to the 27-inch tires. We’re told this combination does very well.
The Cooling System

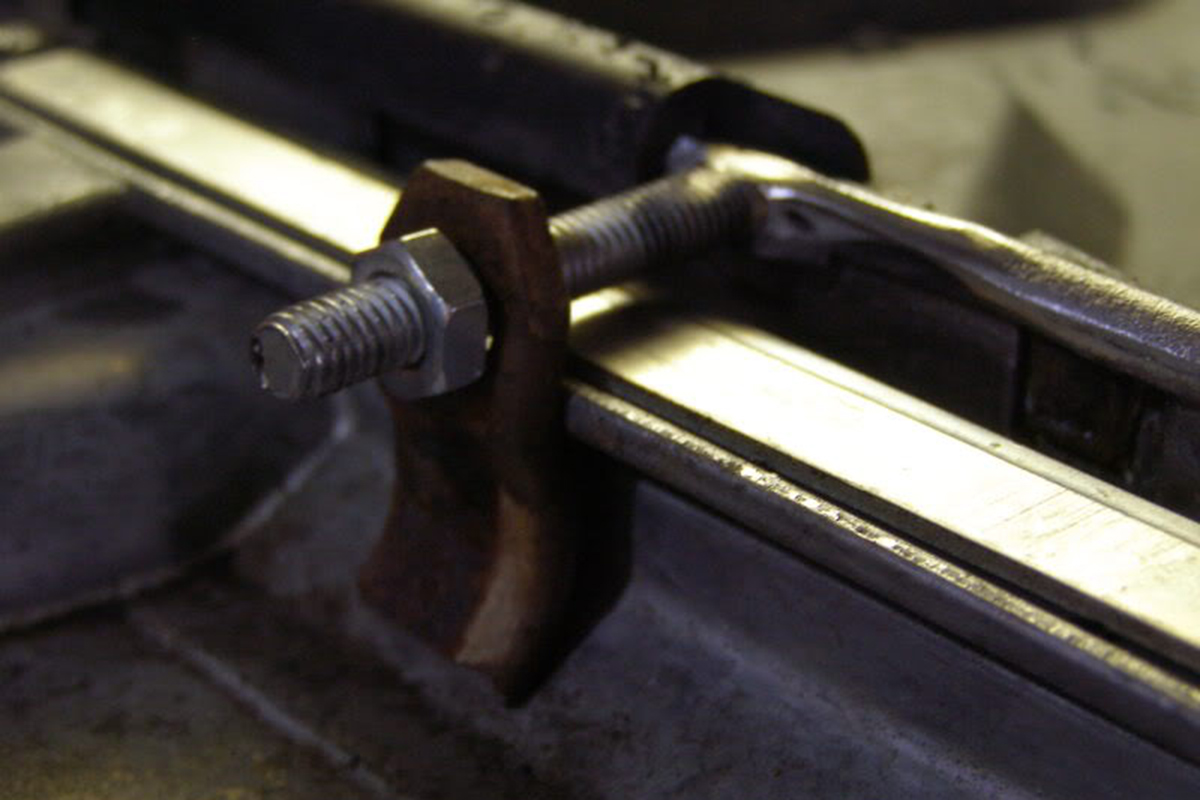
The cooling system started with using the stock radiator from the ’95 C1500. Attaching the electronic fans out of the donor ’05 was a simple matter of welding tabs to a couple of bolts. The factory LS ECM out of the ’05 was used to control the fans after a factory style three-relay harness was added to the engine harness. The Trans Dapt adapter brackets allowed the engine to sit the stock distance from the radiator and fans, making the cooling system incredibly easy to put together.
Fabricating the LS’s Exhaust System

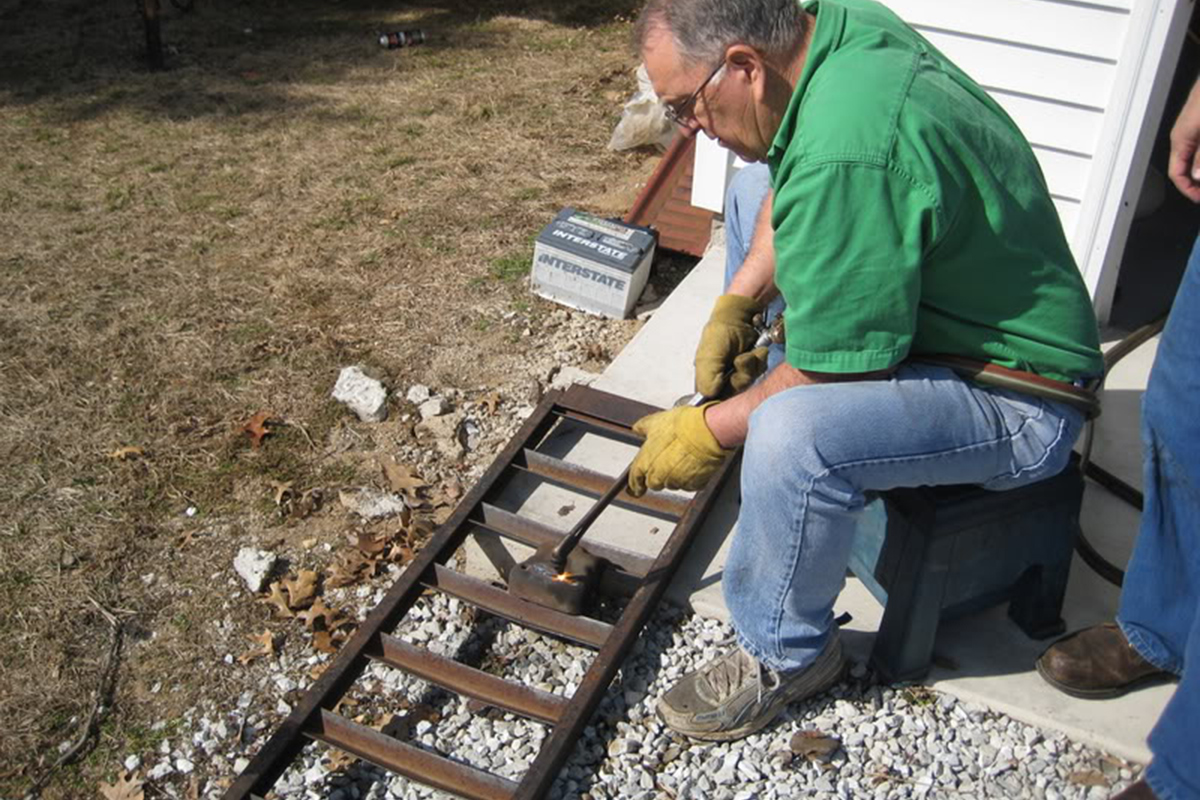
The exhaust system was put together with the truck up on jack stands, adding a degree of difficulty to the job. He started with the original exhaust from the cat back. In front of this he installed a pair of Magna Flow 2.5 inch high flow catalytic converters. These were connected to a mandrel-bent 2.5 inch Y-pipe, to approximate the stock Y-pipe, and thence to the stock exhaust.
Installing the New LS/4L60E Wiring Harness

Brad and his buddy Dave installed the donor harness over several days. Because they retained most of the truck’s original wiring, this was quite a bit more involved than simply routing wires and connectors where they needed to go. The first thing they had to do was find pinout charts and diagrams that explain what each wire is and where it goes for both the ’95 project truck and the ’05 donor vehicle. He said it was a very involved process that had them running back and forth between the garage and the computer.


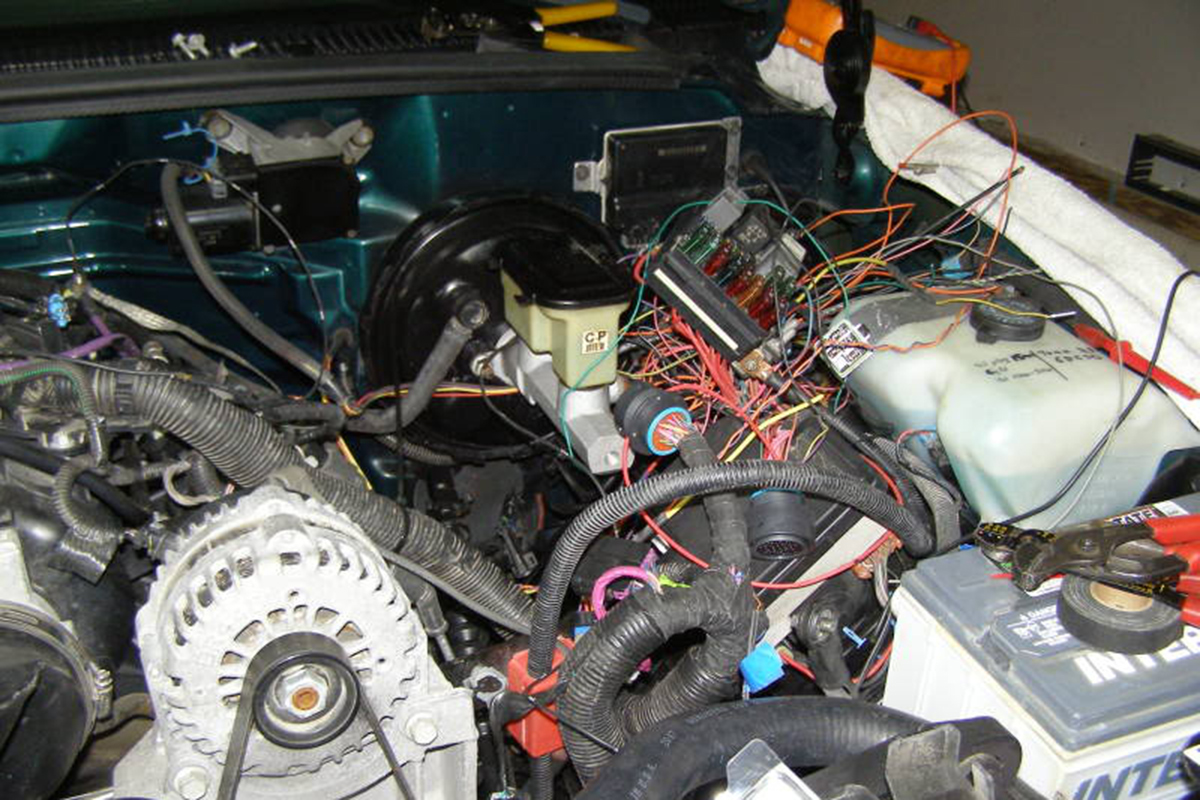
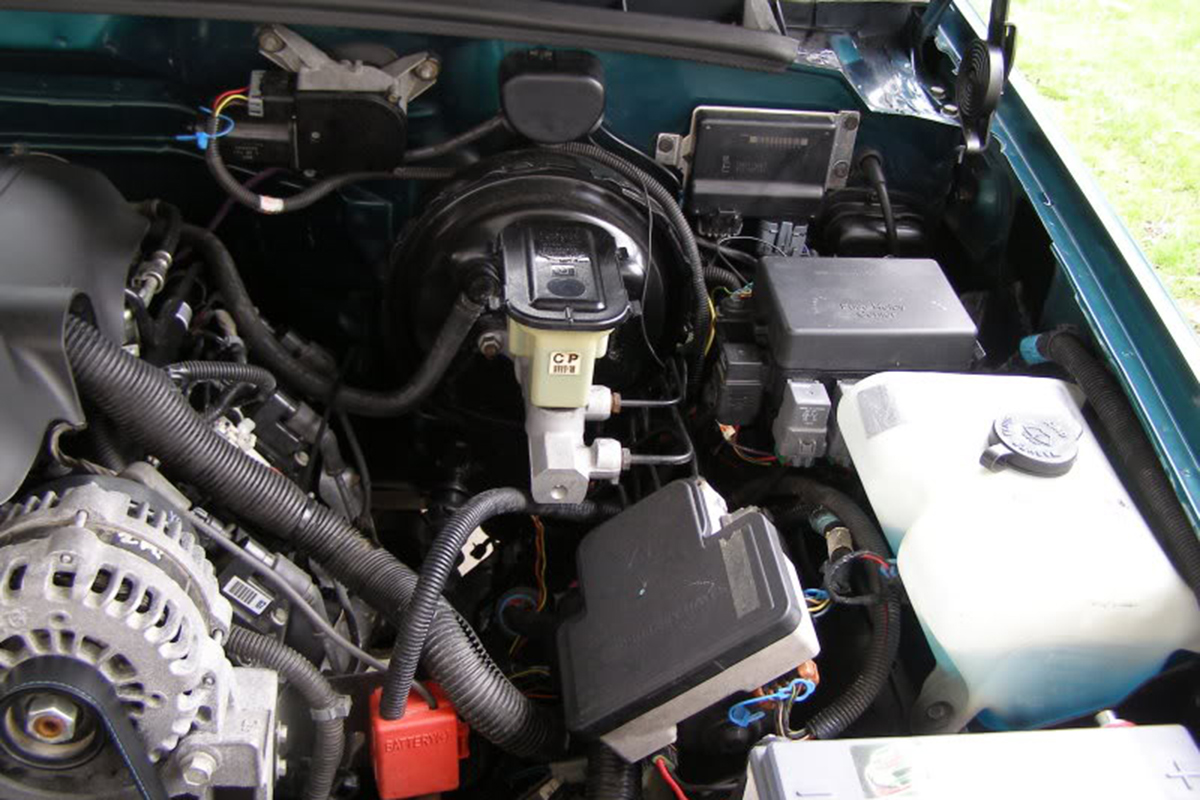
The wiring for the engine and transmission were fairly straightforward once they had the schematics for both vehicles telling them what plugs and sensors went where. The fun part came in patching in the donor harness to the truck’s original fuse panel. This involved the careful insertion of the wires/circuits needing interconnection with the truck’s harness into the stock fuse panel. The major problem they ran into was the LS and 4L60E required splicing-in a few larger gauge wires capable of carrying more current than the original wires.
The Odds and Ends
Brad’s mom and dad like their vehicles to have air conditioning, but the stock ’95 AC bracket didn’t work with the 5.3 LS that was used. To muont the compressor, Brad used a Novak AC bracket, part number ACG3-3 and it mounted up sweetly.

The system worked once thus installed, but it had problems. These were attributed to the compressor sitting on its side for several months and AC lubricant making its way into the receiver/dryer. These were changed out and the system recharged. Up to this writing, this has solved the AC problems.
Nobody involved with the project was satisfied with the stock ’05 tune up on the PCM. So, Dave put a nasty Tuner Cats tune on it. Brad and dad both say it’s a blast to drive now. It’s got great performance and the transmission shifts really firmly.
After both Brad and his dad had driven the truck around for a while, the speedo pooped out. They were also still trying unsuccessfully to track down why the tach wasn’t working. Brad bought a set of Dolphin gauges to replace the stock ones and now they’re all working properly.
Brad tells me that LS swaps on ’88-’98 trucks using ’99-’06 engines is quite easy. The similarities between them far outweigh the differences that require head-banging and brainstorming to overcome. He says: “There is so much that just fits like a glove.”
Brad has no before and after proofs of power gains such as dyno tickets, but he says the acceleration, even on the freeway when passing, is quite noticeably better than with the stock engine and transmission. Prior to swap, his dad was getting in the area of 15 mpg on the freeway. The 20 mpg he got on the recent long trip is a fairly hefty improvement of five miles per gallon.
Leave a Reply