Over the last couple of issues (Part I, Part II), we’ve dug deep into the workings of rod ends. We’ve provided you with a good idea of what makes a high rod end (and if you rewind and read through those articles again, you’ll see what we mean). But we’re certainly not done. This time around, we’ll examine rod end sizing and we’ll also look into clocking rod ends. For a closer look, check out the following:
Is Bigger Better?
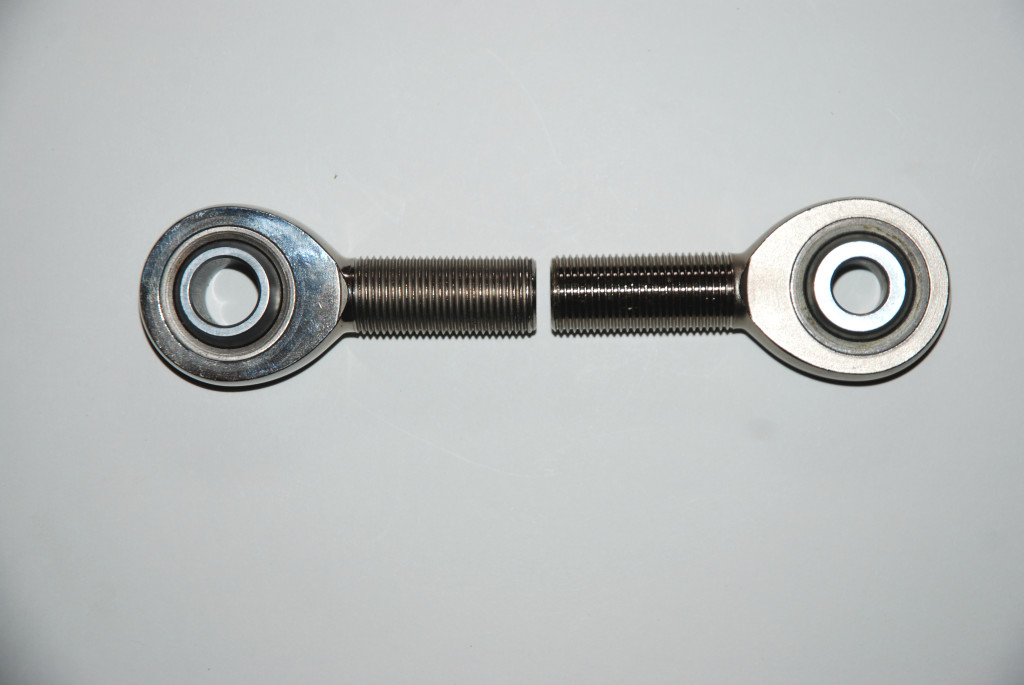
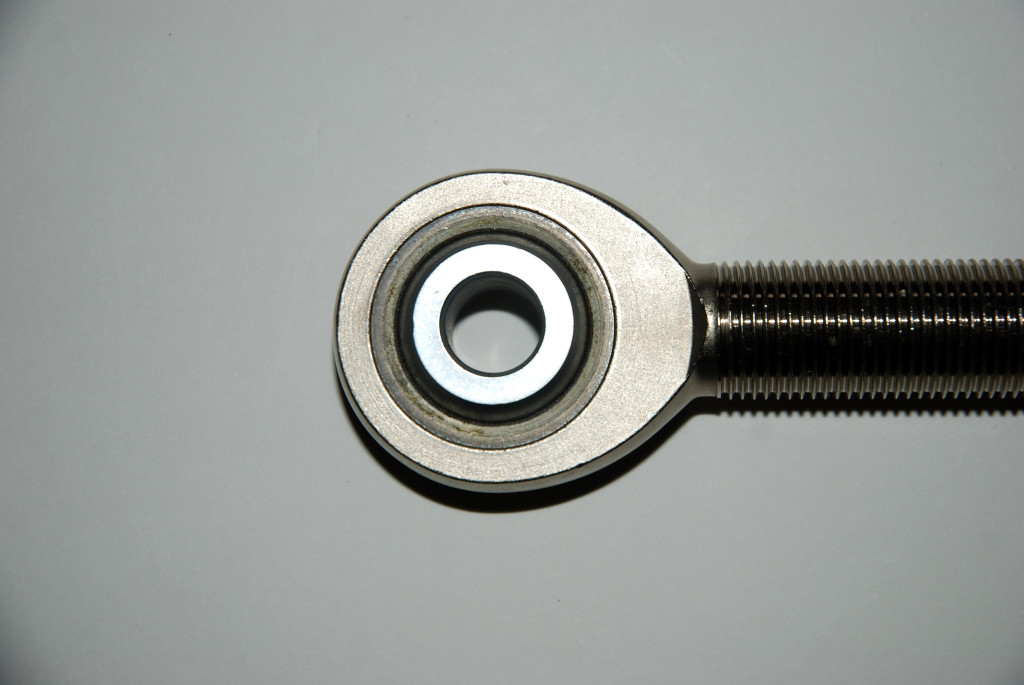
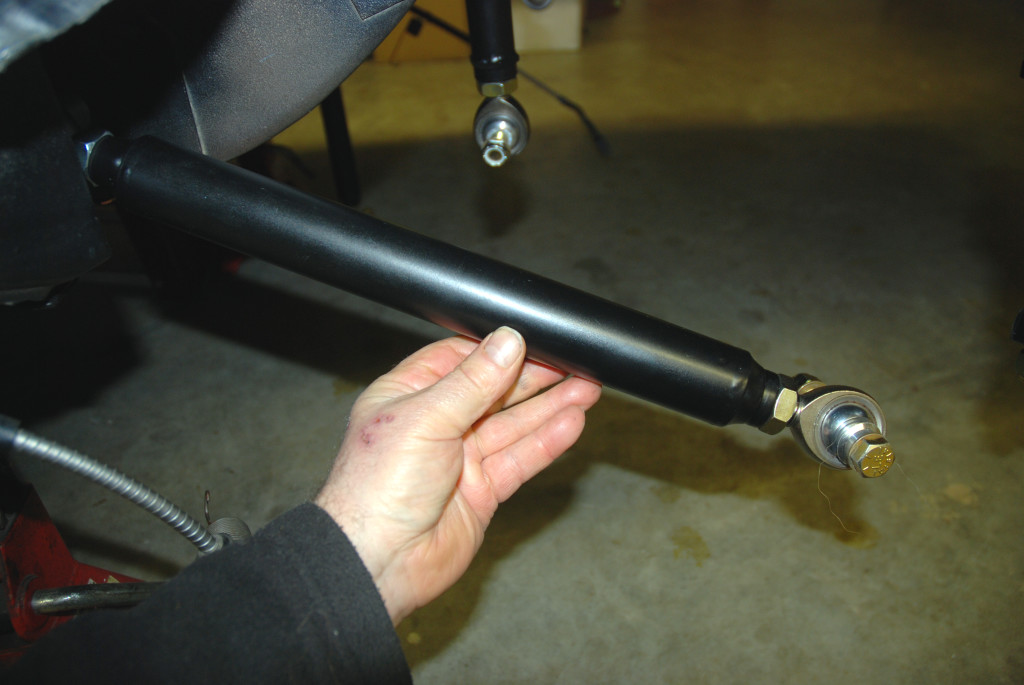
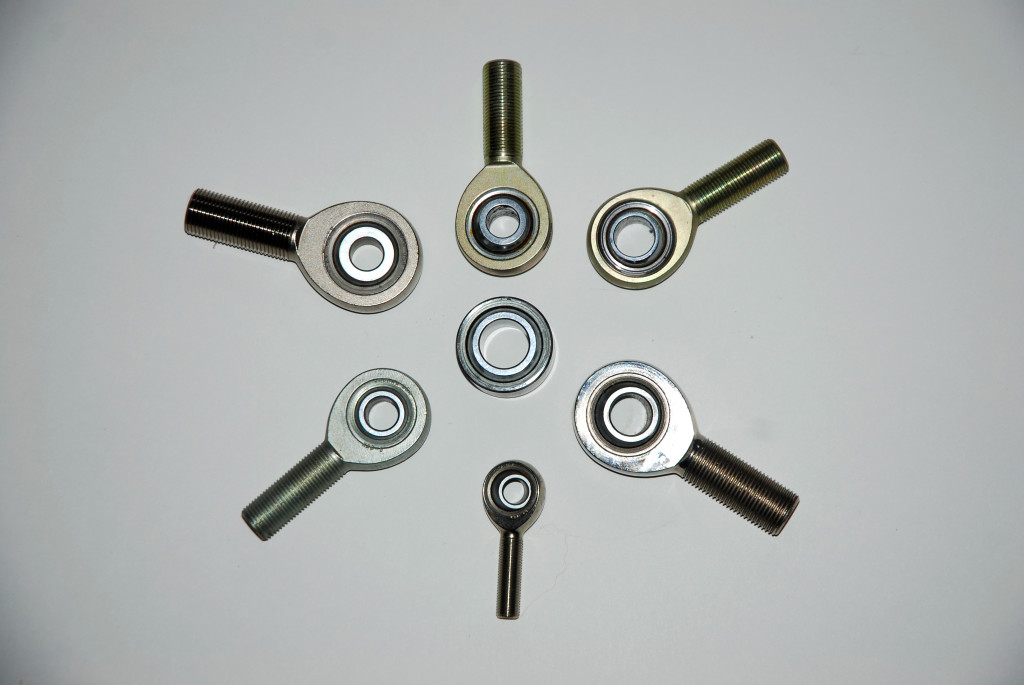
When it comes to rod ends, is bigger better? From a size point of view, a rod end can be constructed two ways. The first example incorporates a shank (the threaded segment) that is exactly the same diameter as the hole in the ball (as an example, a 1/2-inch bore coupled with a 1/2-inch shank). The next setup is built with shank one size larger than the bore (a common example here is a 1/2-inch bore mated to a 5/8-inch shank). The second configuration (small bore, large shank) comes with benefits, particularly where rod end encounters bending loads. You don’t have to look too far to find this in a drag car. Think 4-link. Here we have four links that act as levers. They transfer (often) huge forces from the chassis to the rolling stock, transmitting considerable forces from the chassis to the tires (and vice-versa). Because of this, the larger than normal large shank gives the rod end more ultimate strength, but it also adds a large margin of additional reserve strength to the respective four link bar.
The oversize shank rod end is most often built by installing an insert one size smaller in the body of a rod end. Here, a 1/2-inch X 5/8-inch rod end will always demonstrate higher load capacities than a 5/8-inch X 5/8-inch rod end, assuming both are built with similar materials and specifications. The reason is due to the amount of body material found around the insert. Rod ends of this configuration give you added wrench access too. The reason is the fastener that goes through the bore of the rod end ball is smaller. One thing to keep in mind is this: there’s another way to build an asymmetrical rod end. Here, a larger shank is added to a smaller body. It serves the same purpose, but you end up with less material surrounding the ball, which in turn, makes it less desirable.
How to Clock Rod Ends…
When a pair of rod ends is used in a single component (using that four link bar as an example), the orientation of the rod ends on either end is important. This is what chassis builders refer to as “clocking” the rod end. Stop right here for one second: When you make very small adjustments in a suspension ink that sees pre-load, it turns out you can make a huge difference in the way the car works or handles. According to Pro chassis builder, Jerry Bickel, one-sixth of a turn at a time is all that is required in order to see a change in the way the car works. Keeping this in mind, counting the number of “flats” (the flat side of the rod end jamb nut) you turn on a link is critical.
Attached are a couple of illustrations (courtesy of Jerry Bickel Race Cars). The first one shows you how a typical link is configured: One side of the link is fitted with right hand threads while the other end of the link is fitted with left hand threads. By simply loosening the jam nuts, you can lengthen or shorten the entire four link bar.
What about clocking? It’s easy. Look at the second illustration (again, courtesy of Jerry Bickel Race Cars). When the rod ends are properly “clocked”, then they are aligned. When aligned you won’t encounter binding in the suspension. At the same time, a link with clocked rod ends makes it easy to determine if the link is under tension. Simply grab the link by hand, and rotate it back and forth. You’ll be able to tell if the link is neutral or under load.
That wraps up this issue’s look at rod ends. Next time around, we’ll conclude the series with an examination of rod end life (no matter how good the rod ends are, they’re still wear items). Watch for it. It’s important.


Leave a Reply