


Having compressed air at your disposal is essential in your shop, but it is just as important when you are at the racetrack, off-roading, or even if you’re just travelling down the highway. You never know when you’re going to need compressed air to inflate tires, run a rattle gun, or save yourself from some backbreaking work. We enjoy having a compact compressor and a small tank mounted underneath our Ford F-250 pick-up. It takes up no bed or cabin space, and it is always with us.
The VIAIR Constant Duty On Board Air system seemed a good fit for the task. Their OBA (On Board Air) systems have been used in many automotive applications such as: inflating air bags, blowing train horns, powering air lockers and actuating pneumatic cylinders, and are available in 12 volt, 24 volt, portable, hard-mount and compressors rated up to 200PSI. The model selected has a 100% duty cycle on the compressor, 2.5 gallon tank, a comprehensive set of fasteners, air lines, and is a universal, which provided us with the flexibility to install anywhere on the vehicle .
After mounting all the fittings to the tank, the first task to be undertaken was finding a mounting location. The obvious position was on our truck was the frame, but the system can be installed anywhere it will fit. We wanted to preserve cabin and bed space in our pickup, so we wanted to mount the OBA on the frame rails. As our F250 has factory “upfitter” switches, we used those instead of VIAIR dash panel switch and gauge provided.
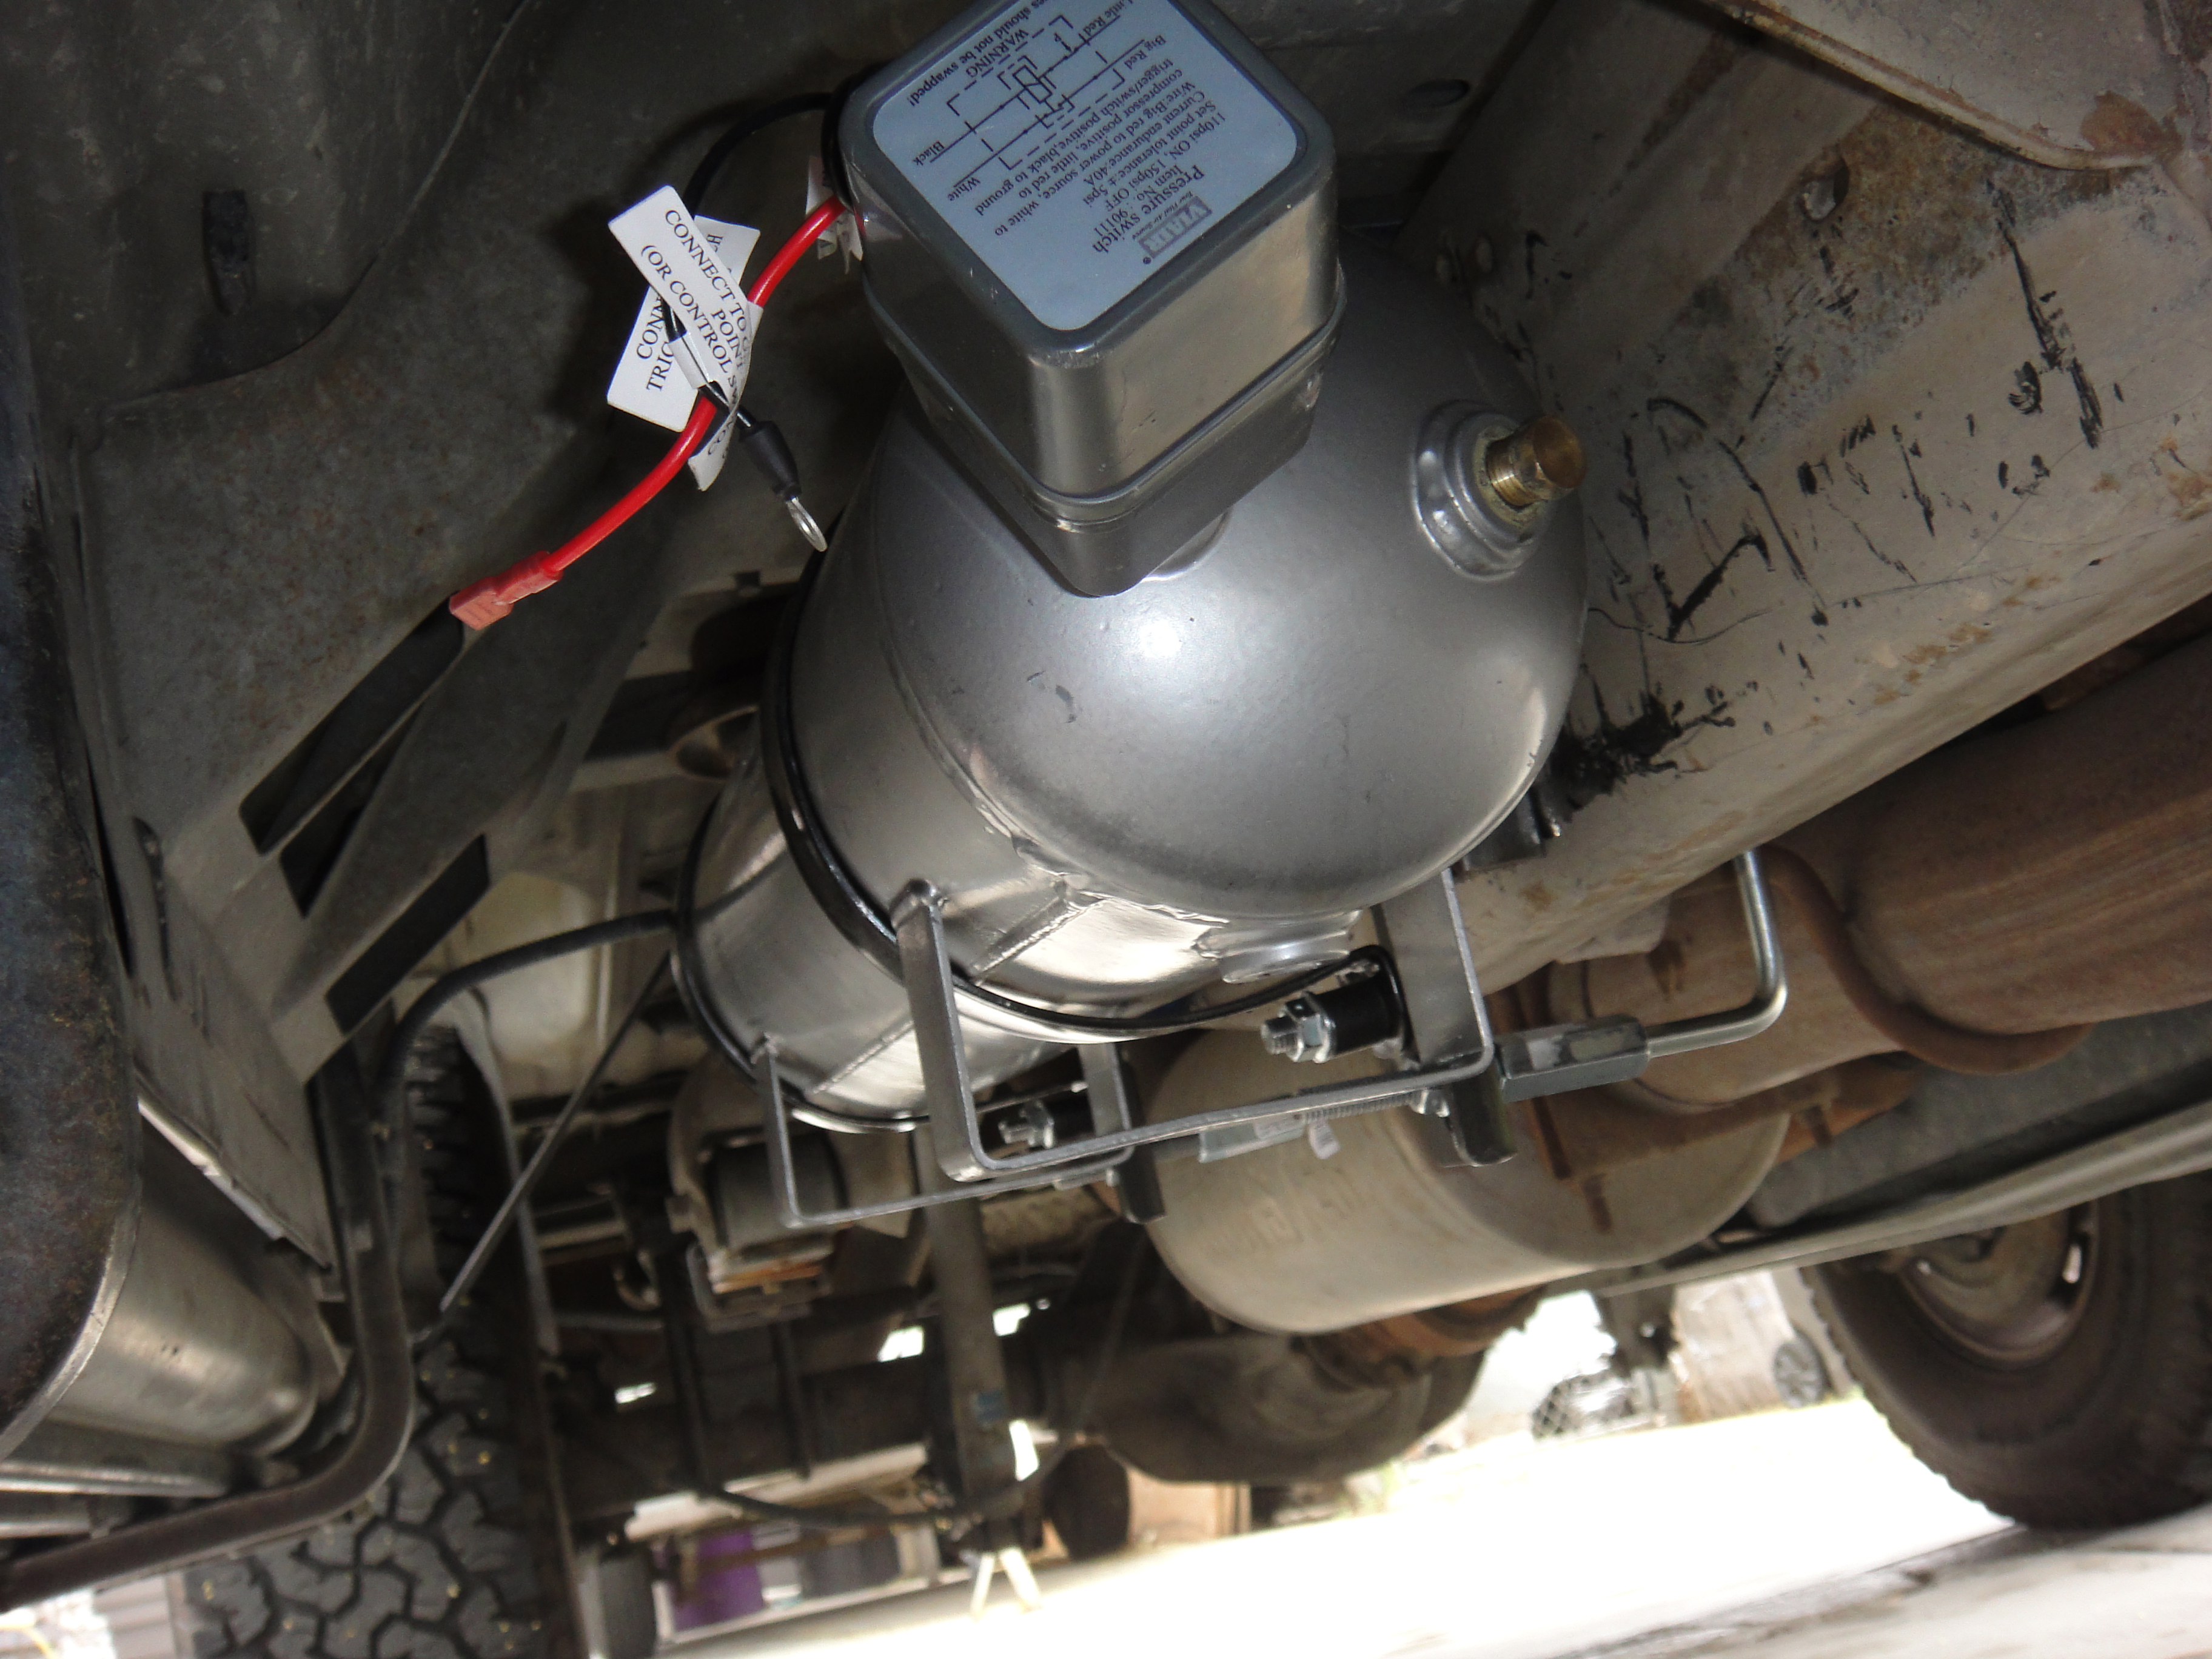
The air tank has six ¼” NPT Ports tapped into the top and bottom side of the tank. The tank’s mounting bracket is located at the bottom of the air tank as well. So we fabricated some mounts that clamp to the frame rails and allow us keep the air tank right side up. This way we can still use the provided ¼” port to expel moisture. We were able to use some parts leftover from a previous project installing airbags, and we hand bent the loops that would wrap around the tank by hand/hammer/help of an oxy torch.


We then fitted the assembly to the frame rail, and attached all the fittings to the tank – including pressure switch/solenoid.
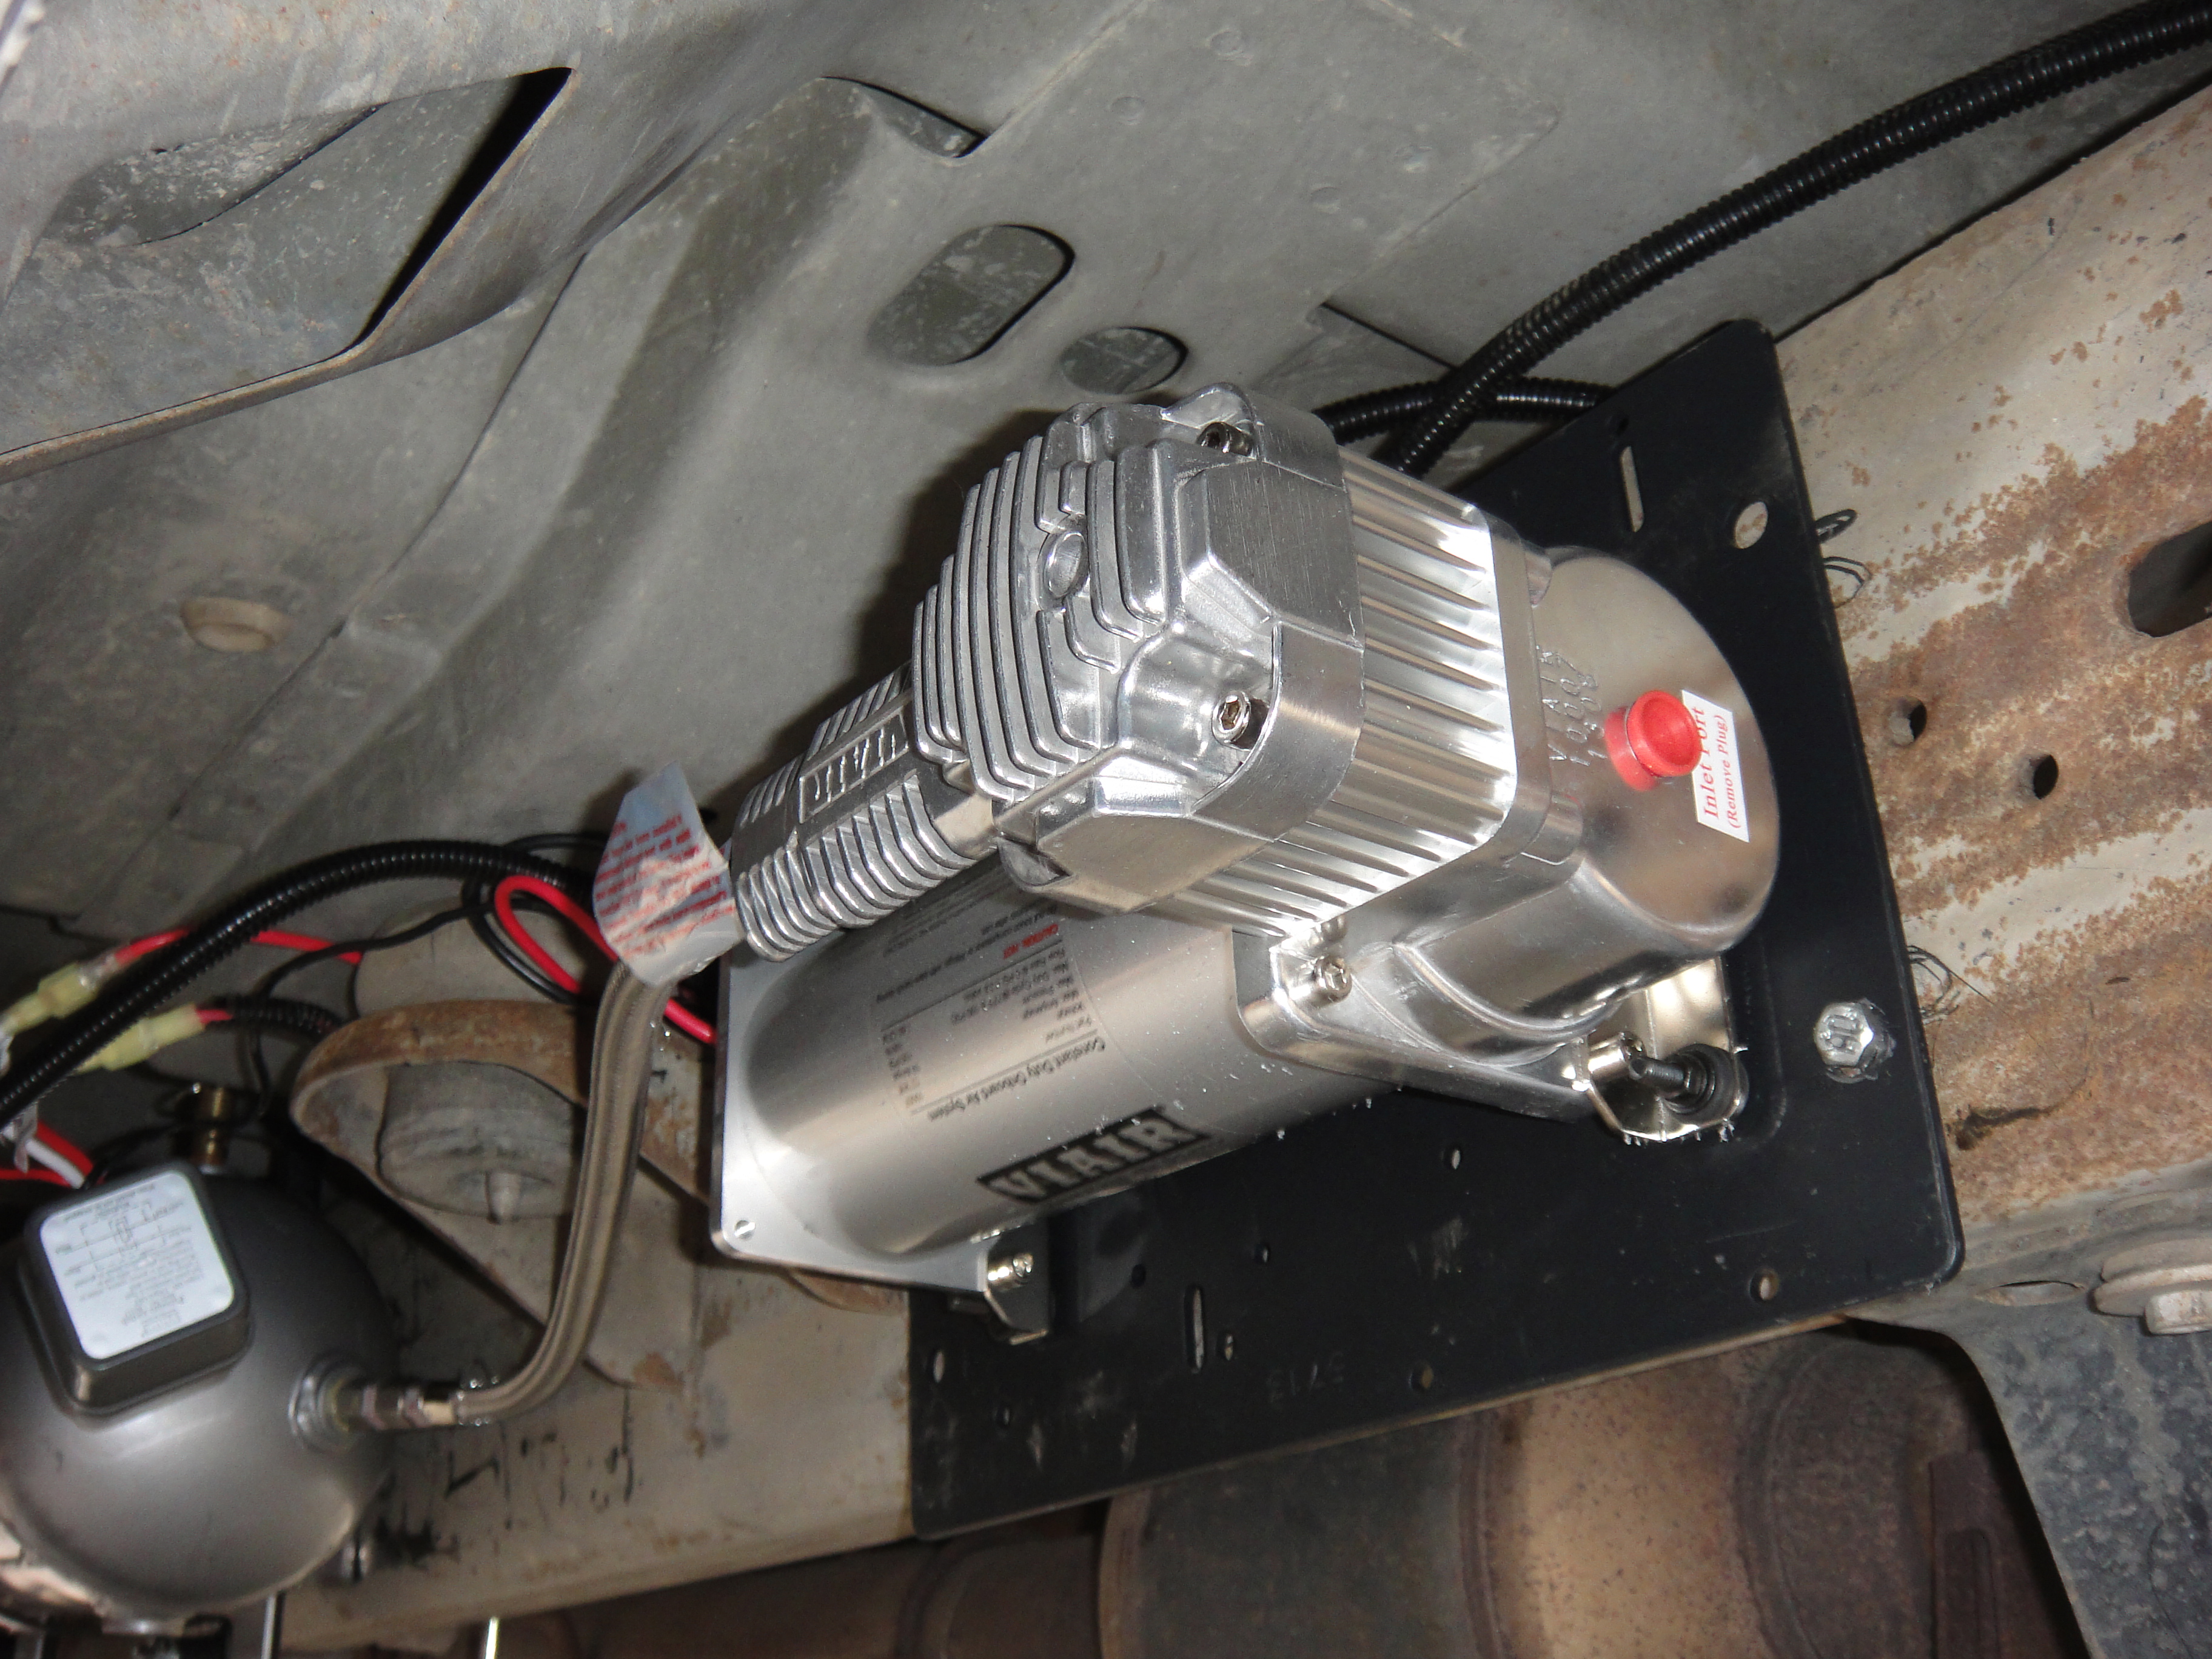
For the compressor, we soldered the fused wire up to our battery terminal, and covered the wire with sheathing.

We also had some left over plate which we mounted the compressor to, and bolted that up to the frame, we attached the compressor line to the tank, and ran power to the compressor solenoid.
We ran the wire from our upfitter switch

and ran it to to the solenoid with the power source, and then wired that to the compressor.

We switched our ignition on, and flicked our upfitter switch, and the compressor came to life. (Ensure engine is running when using compressor, so you do not drain your battery)

As we didn’t use the switch/gauge provided, we didn’t need to run any wires/air lines into the cabin – but a downside is that we don’t know what pressure the tank has in it. The pressure switch ensures it should stay between 110psi and 145psi – as long as we don’t drain it excessively, there is also a safety valve included in case the switch fails.
The system seems to produce enough air to do up eight lug nuts on our truck (at which point the tank is exhausted), and can inflate our 35″ tires not much slower than our shop compressor. Overall it meets our needs, and looks to be well made, and we would recommend the kit to others who off-road, tow a race car or need to use tools at a track.
If you want fill rates, dimensional drawings or more information on the VIAIR Constant Duty OBA. Please visit VIAIR’s site here.
Leave a Reply